
One cracked tablet doesn’t seem like a big deal—until it turns into 5,000 rejected units. I’ve seen a single lot get trashed just because sticking wasn’t caught early.
Whether you’re new to tablet compression or already facing issues on your line, knowing the common problems—and how to fix them fast—makes all the difference.
This guide covers the most frequent tablet manufacturing problems and tablet press machine-related issues. You’ll learn to spot defects, understand why they happen, and fix them before they hurt your output or quality.
Tablet Defects and Practical Solutions
When people talk about tablet manufacturing problems, they almost always start with visible tablet defects—chips on the edge, layer separation, or tablets that stick together.
In the following section, let’s walk through each defect, dig into the real causes behind it, and lay out practical fixes worth trying.
1. Sticking
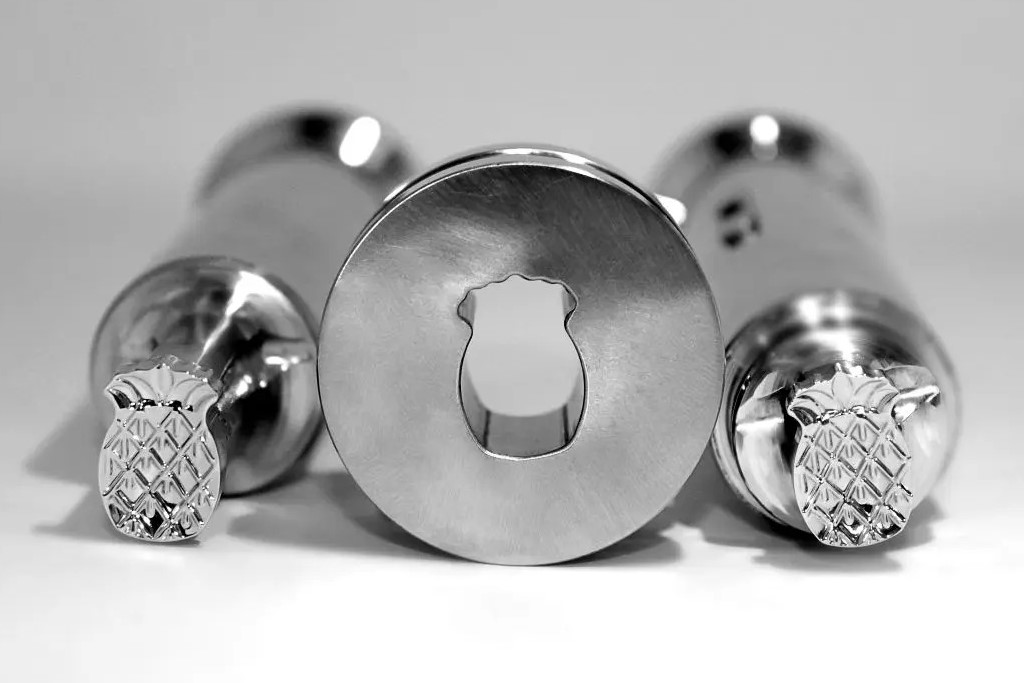
Sticking is when powder adheres to the punch face or die wall during tablet compression. Your tablets may have uneven surfaces or damaged logos. This problem is more likely to happen on engraved punch tips.
Causes:
- Moist or sticky active ingredients
- High humidity in the compression room
- Worn or rough punch faces
- Inadequate lubrication
Fixes:
- Increase internal lubricant (e.g., 0.5–1% magnesium stearate)
- Keep relative humidity between 40%-60%
- Use polished or chrome-coated punches
- Consider anti-stick coatings or add talc as an external lubricant
2. Capping
Capping is a phenomenon where a tablet’s top or bottom layer separates. This problem may not always be visible immediately. Sometimes, you notice it during coating or packing.
Causes:
- Entrapped air in the powder blend
- Granules that are too dry or lack binding strength
- Low compression or improper dwell time
- High turret speed that doesn’t allow air to escape
Fixes:
- Reformulate with a better binder or tweak its level
- Bring the moisture content of the granules down to an optimal 1-2%
- Adjust compression force in small steps
- Reduce turret speed to increase dwell time
3. Weight Variation
It’s a consistency issue. This means that some tablets are heavier or lighter in weight than intended. The worst part is that the dosage of these tablets may not deliver the correct amount of active pharmaceutical ingredients they should.
Causes:
- Poor powder flow into dies
- Inconsistent granule size or density
- Worn fill cams or feed-frame issues
Fixes:
- Add flow enhancers like colloidal silicon dioxide
- Improve granule sizing and density consistency
- Recalibrate fill cams and maintain agitators regularly
4. Hardness Variation
It talks about the inconsistent mechanical strength of tablets. Some tablets are harder, others are softer within the same batch. Hard tablets dissolve slowly and cause delayed release of APIs. Soft tablets are prone to breakage during the use of the bottling and tablet coating machine.
Causes:
- Non-uniform powder blend
- Wide granule-size spread
- Press-force drift between stations
Fixes:
- Use an intensifier bar to blend a little longer
- Re-mill oversized granules
- Inspect pressure rollers and springs daily
5. Picking
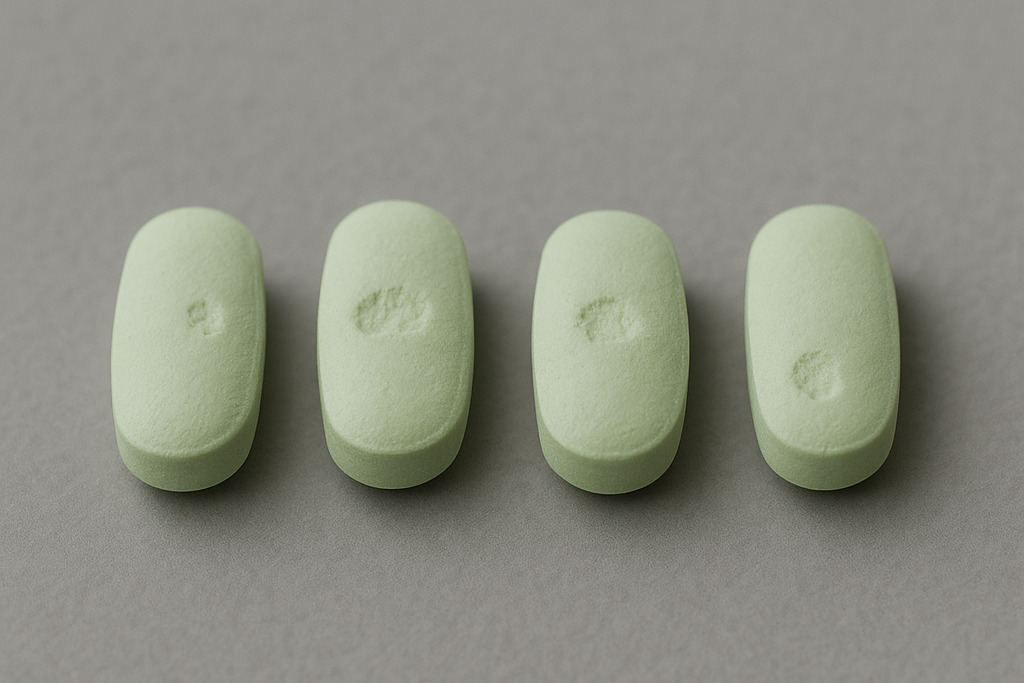
This is a specific form of sticking. It often happens to tablets with embossed areas. The material is peeled away from the tablet. The surface ends up with partially missing designs or patterns. This results in part of a tablet surface being “picked out” and a poor visual appearance of the batch.
Causes:
- Low melting-point ingredients
- Poorly etched punch designs
- Over-compression that generates heat
Fixes:
- Use shallow logo etching or switch to flat punches
- Apply a small amount of external lubricant directly to the punches
- Decrease compression force if heat is building up
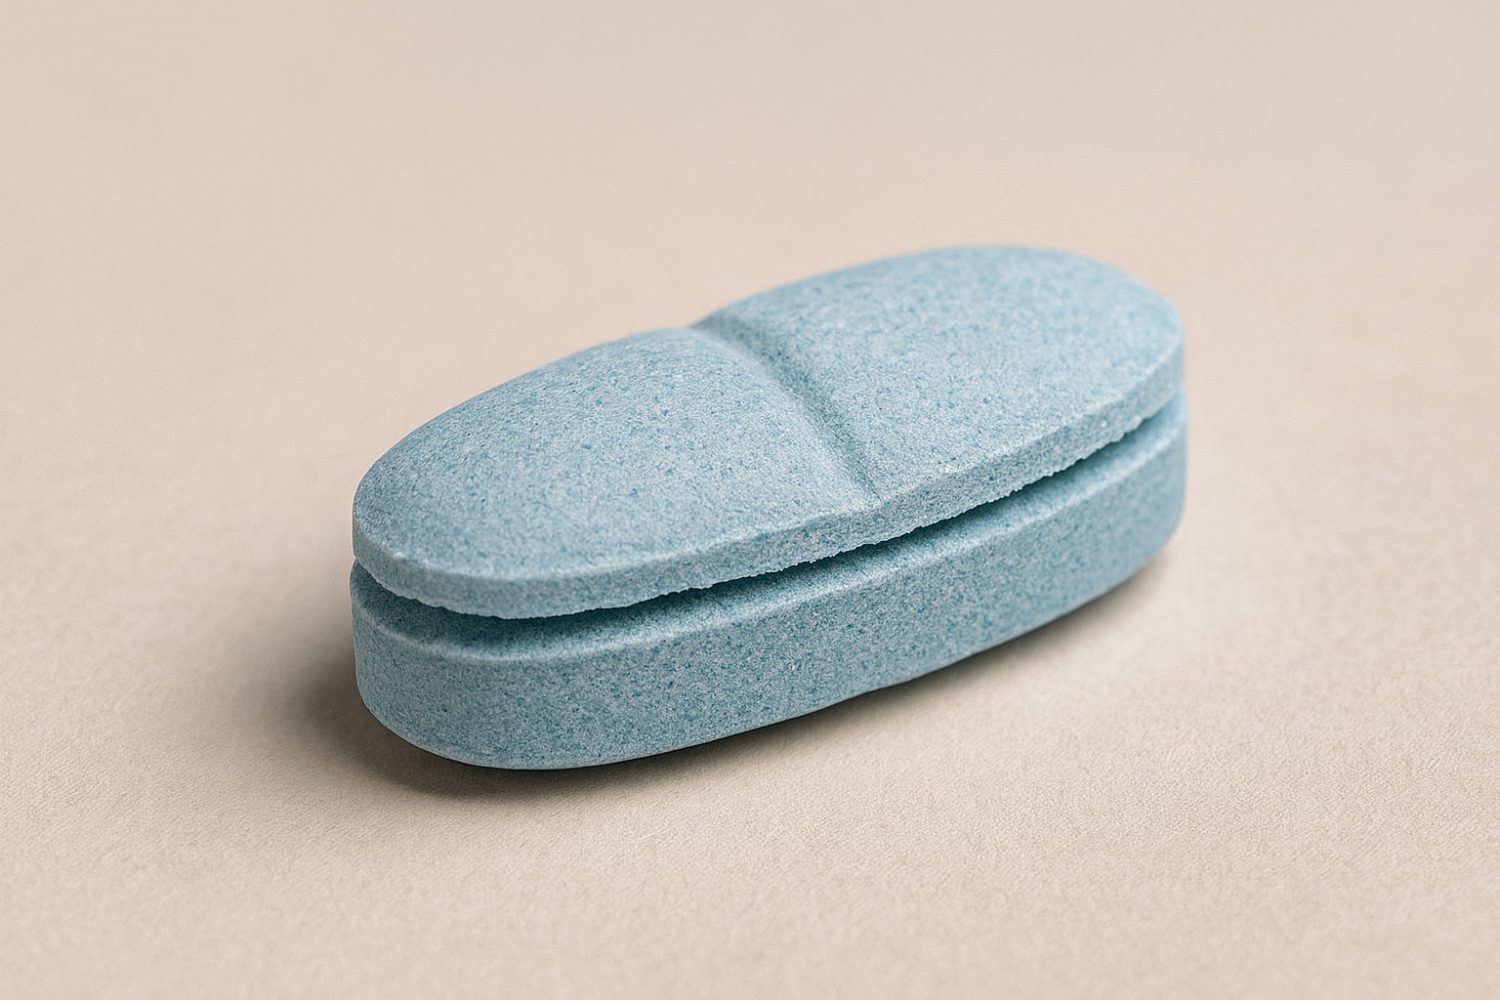
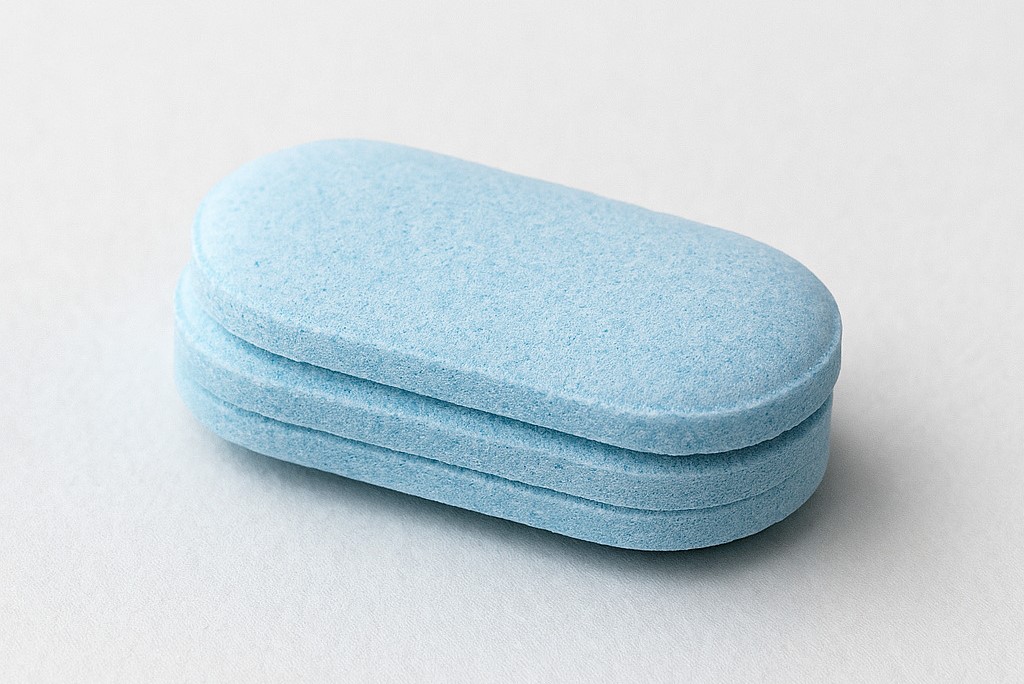
6. Lamination
If you see an image of this defect, you might confuse it with capping. Yes, both display tablet separation in a horizontal manner. Lamination shows your tablet splits into multiple layers, not just at the top or bottom. Capping often leads to lamination if not addressed.
Causes:
- Too many small particles reduce proper bonding
- Excessive air entrapment
- Very dry or non-cohesive granules
- High press speeds with low dwell time
Fixes:
- Improve granulation uniformity (re-screen or adjust binder)
- Add a pre-compression step to remove entrapped air
- Adjust formulation to retain minimal moisture without over-drying
- Slow the press slightly to extend dwell
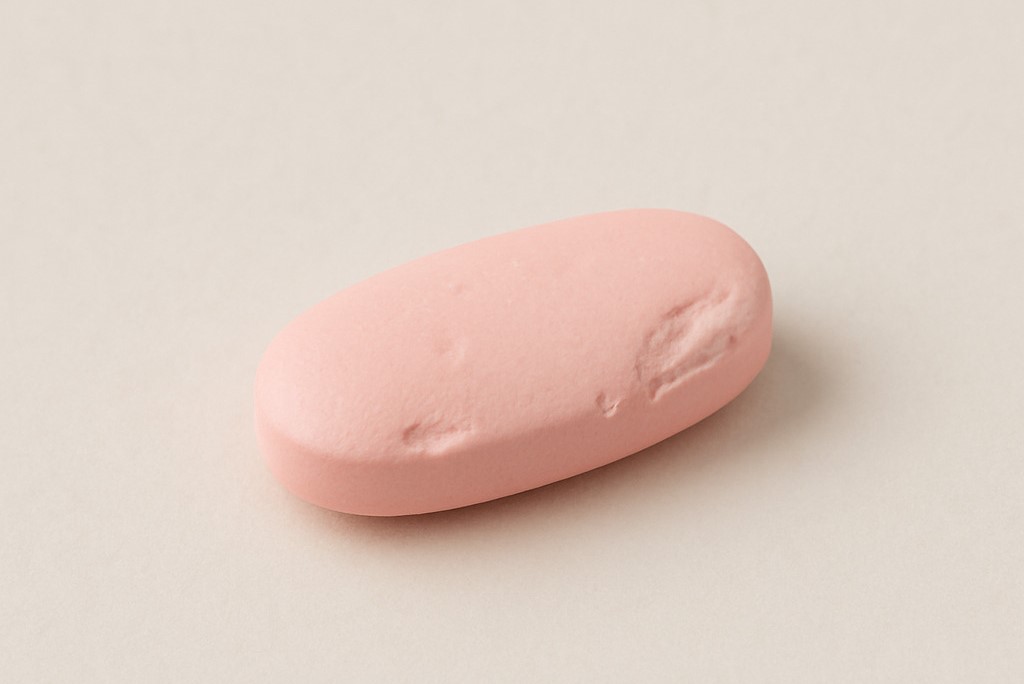
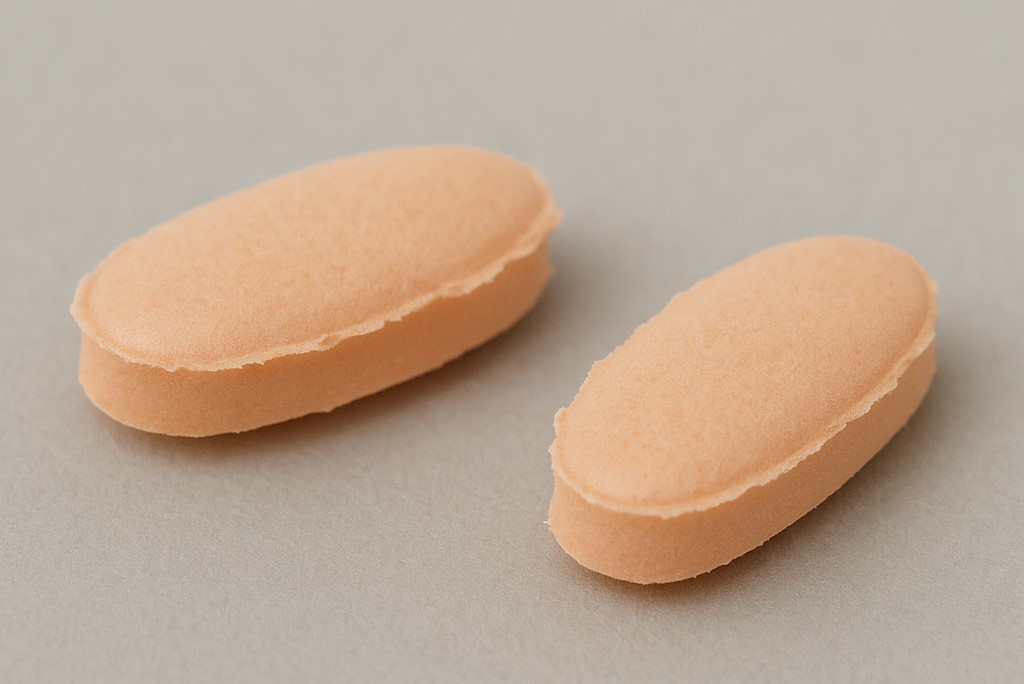
7. Chipping
When you see your tablets have rough or dented edges, that’s where chipping happens. This defect is most noticeable around the tablet’s periphery and sometimes on its surface. It usually occurs during handling or coating.
Causes:
- Insufficient tablet hardness
- Excess compression force
- Poor tablet design (sharp edges, no bevel)
- Poor granule quality or over-dried granules
Fixes:
- Optimize formulation to adjust tablet hardness
- Reduce the main compression pressure gradually
- Design tablets with rounded edges
- Control granule moisture and binding
8. Cracking
This problem brings visible fine lines or splits on the tablet’s surface. Cracks may be present on the upper and lower faces or the sides of the tablet. If it gets worse, cracking will lead to defects like capping or lamination.
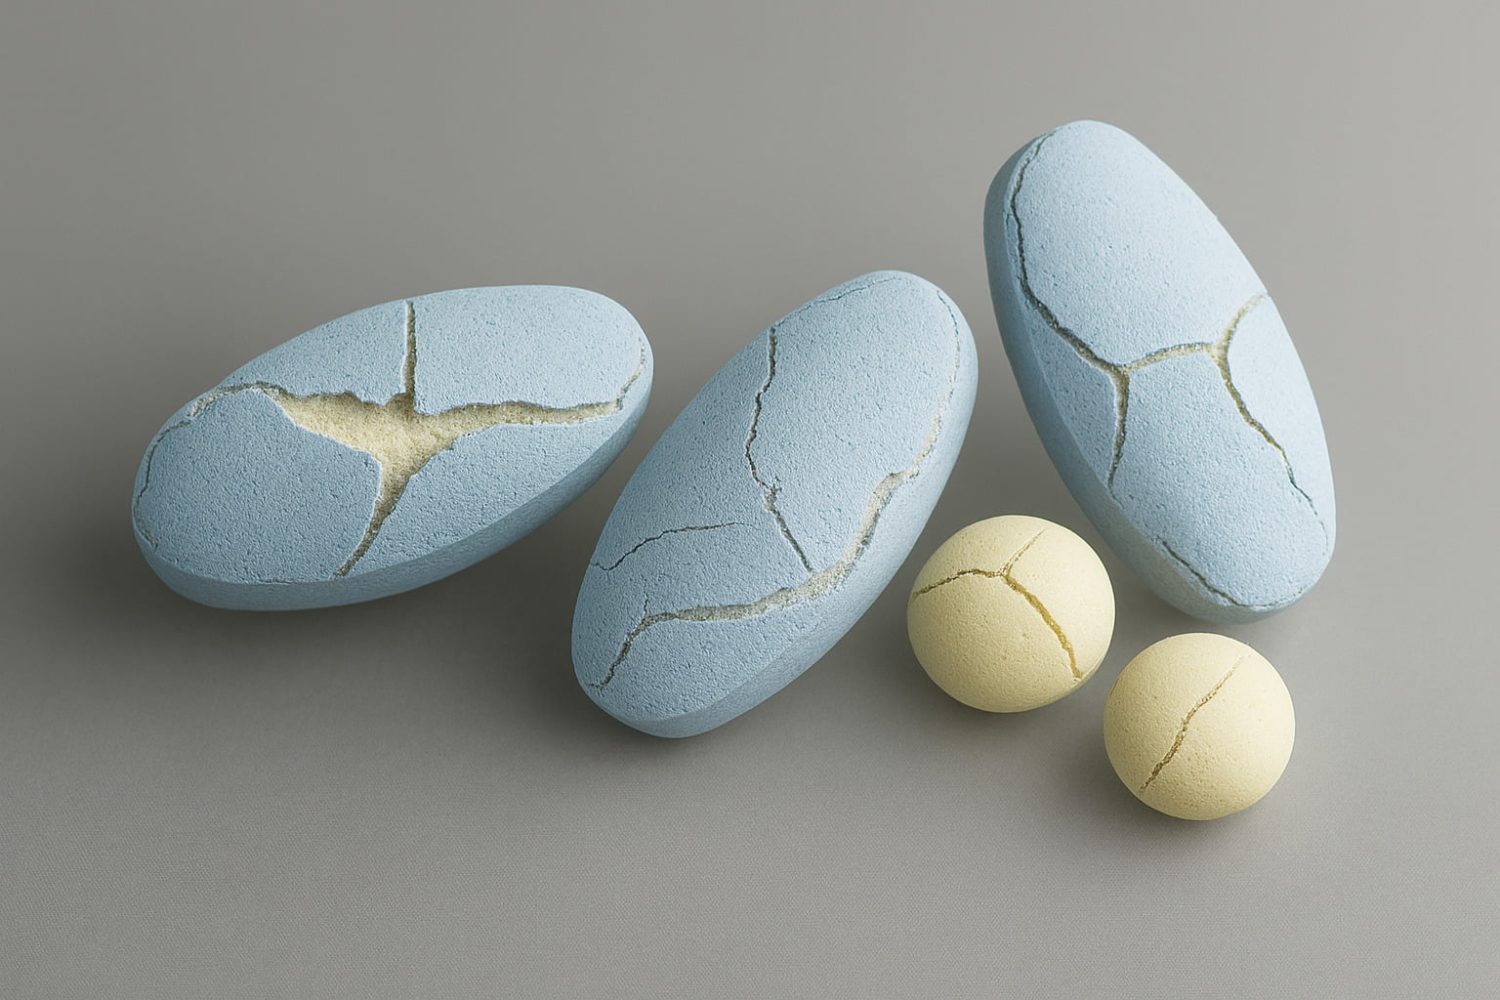
Causes:
- Exaggerated expansion of the tablet
- High internal stresses
- Rapid moisture loss
- Weak binding agents
Fixes:
- Avoid deep concave punches
- Optimize compression force and dwell time
- Control drying time and temperature
- Use appropriate binders to improve granule cohesion
9. Binding
The tablet material sticks inside the die wall during compression. The finished product fails to eject cleanly. This causes cracked or crumbled tablets. Sometimes, residue forms inside the die, so you may end up with irregular tablet shapes in the next run.
Causes:
- Granules are too moist or too soft
- Rough or unlubricated die surfaces
- Inadequate clearance between punches and dies
Fixes:
- Dry granules properly and adjust binder ratio
- Polish dies regularly to reduce friction
- Apply external lubrication
10. Mottling
This defect manifests as irregular color distribution on the tablet. This gives the tablet light and dark patches, speckles, or spots. Mottling typically occurs in tablets containing colorants. But if the excipient is not evenly distributed, even uncolored drugs may have this issue.
Causes:
- Poor pigment blending
- Dye migration due to moisture
- Incompatible colorants or excipients
Fixes:
- Increase blending time for colour uniformity
- Switch from soluble dyes to lake pigments
- Use moisture barriers or store blends in dry conditions
11. Flashing
Rough and sharp edges are visible on the tablet, where excess material forms thin, unwanted burrs. In coated tablets, flashing can lead to worn coating at the edges. This defect may also bring further damage to the well-defined tablets or even the equipment.
Causes:
- Over-filled dies
- Misaligned or worn punches
- Poor ejection timing
Fixes:
- Adjust fill cams to control granule volume
- Replace or recalibrate punch tooling
- Check compression timing to ensure smooth ejection
12. Double Impression
With this defect, tablets display two sets of the same embossed design on the surface. The overlapping or repeated marks can be bisect lines, logos, or embossing, depending on your punch patterns. Double impression gives a poor appearance and affects branding.
Causes:
- Punches rotate freely after compression
- Loose or worn punch guides
Fixes:
- Tighten punch-retention systems
- Install anti-rotation devices or replace guides
13. Inconsistent Thickness
This is one of the most noticeable problems in tablet manufacturing. Within the same batch, tablets exhibit varied heights. Some may be thinner, others are thicker. It’s not just a defect in visual appearance, but can result in uneven distribution of APIs. Both the dosage accuracy and drug release rate may be affected.
Causes:
- Uneven die fill
- Inconsistent compression force
- Worn-out tooling
- Variable density of material
Fixes:
- Verify fill depth every hour
- Calibrate load cells and pressure sensors
- Replace worn punches and dies
- Produce uniform granules
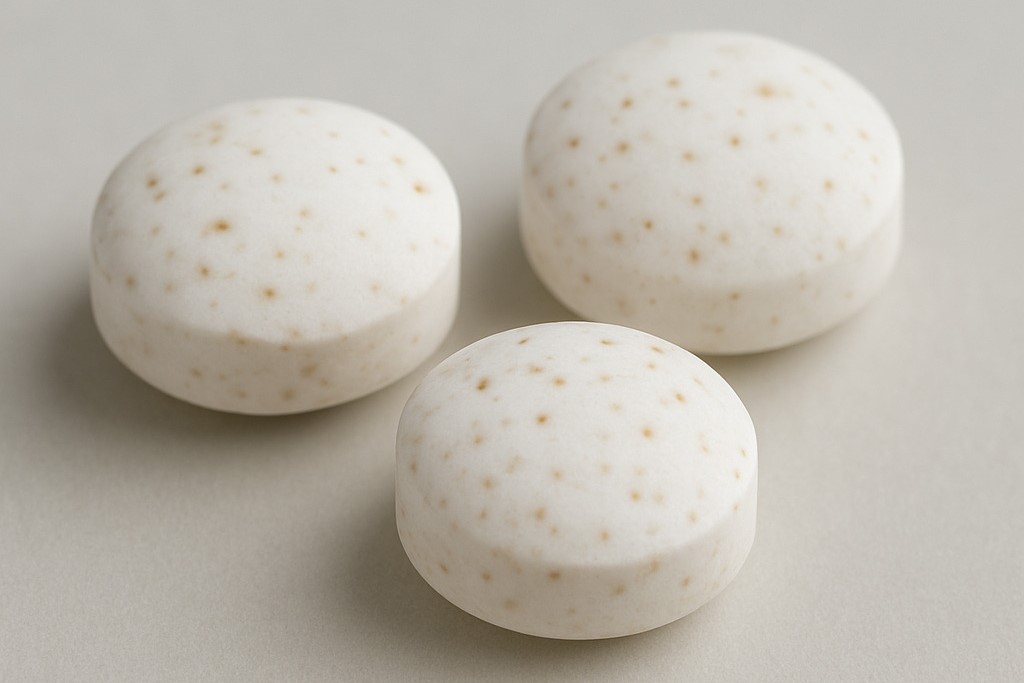
14. Black Spots
Tablets show dark spots or speckles distributed across their surface. The black spots can be located on the tablet’s face, edges, or perimeter. In some cases, spots may also be found inside the tablet if you split it.
Causes:
- Contaminated raw materials
- Poor tooling or room hygiene
- Burnt lubricant agglomerates
Fixes:
- Source GMP-grade excipients only
- Clean the machine, tooling, and production zones after every shift
- Sieve blend through a #40 mesh before compression
15. Twinning
Two tablets fuse together, producing a “double” tablet. It is especially common with capsule-shaped or oblong tablets, as they have relatively flat sides. This defect often occurs during or after the coating process. Separating twinned tablets may cause surface damage or breakage.
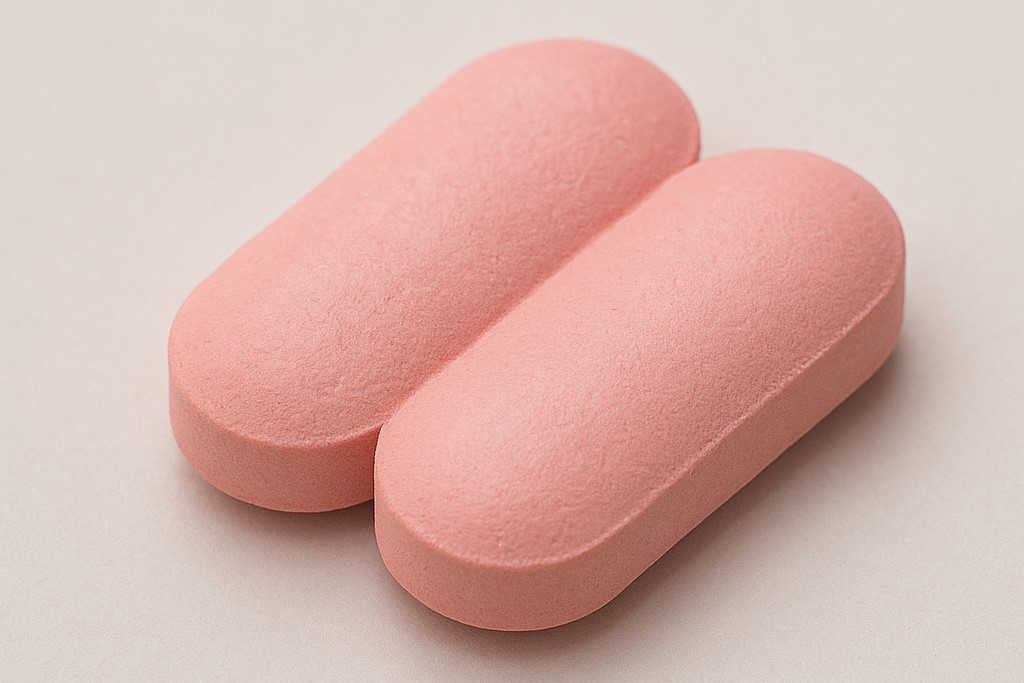
Causes:
- Coating formulation too viscous
- Improper drying conditions
- Inadequate spray gun to tablet bed distance
- Low coating pan speed
Fixes:
- Add anti-sticking agents to the coating formulation
- Increase the inlet air temperature for faster evaporation
- Adjust the spray gun position
- Speed up the rotation of the coating pan
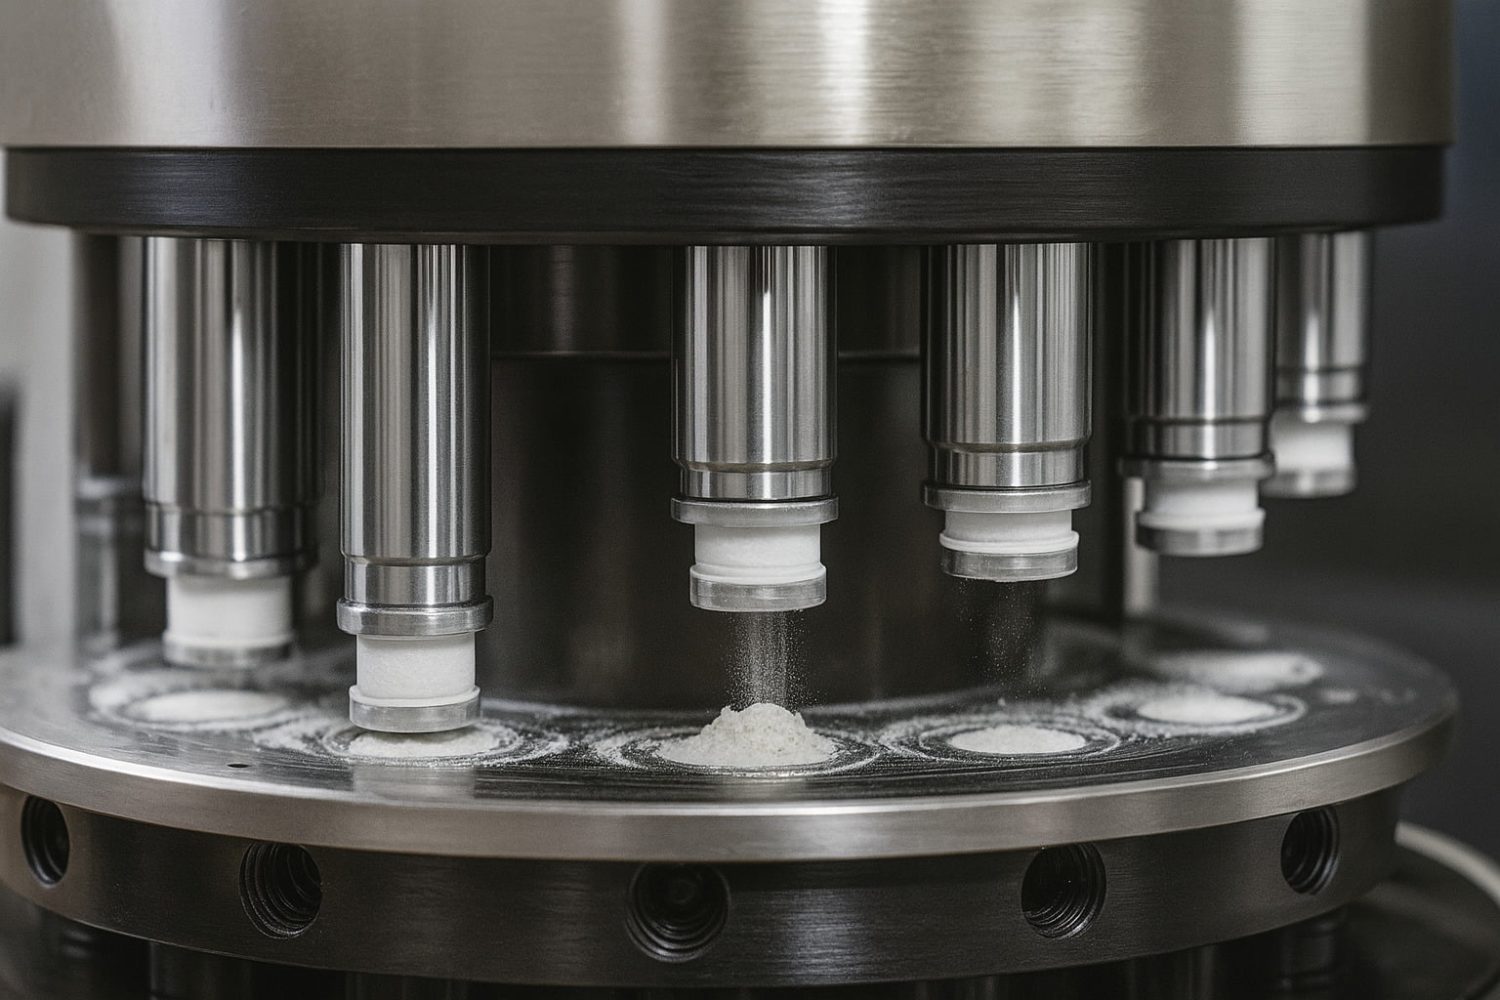
Machine-Related Issues in Tablet Compression
Problems in tablet manufacturing aren’t always about visible defects; sometimes, the machine itself is the culprit. Tooling wear, bad settings, and neglected maintenance can wreck a shift just as fast as any sticking tablet.
Now let’s see how to tackle each machine-related headache to get you a healthy pill tablet press machine for trouble-free batches.
1. Tooling Wear
Punches and dies tend to wear out or get damaged over time. This causes problems with tablet quality. Tooling wear can show up as scratches, nicks, J-hooks, or reduced cup depth.
Causes:
- Abrasive ingredients
- Inadequate punch lubrication
- Extended use without inspection and replacement
Fixes:
- Rotate tooling sets every 100–150 hours
- Invest in TiN or DLC-coated punches
- Schedule regular inspections with a digital microscope
2. Tablet Press Setting Errors
They happen when the tablet press machine settings, like compression force, fill depth, or speed, are incorrect during tablet making. These errors can cause the common tablet defects we discussed earlier.
Causes:
- Inexperienced operators
- Manual setting errors
- Lack of SOPs or routine checks
Fixes:
- Create clear SOPs with photo references
- Run regular calibration checks
- Lock non-operator settings with access codes
3. Inadequate Lubrication or Overheating
Not enough or the wrong lubricant is used for the tablet press. Friction builds up and generates heat between the machine’s moving parts. Punch movement and granule compression are affected thereby.
Causes:
- Low oil levels
- Skipped lubrication schedule
- High-speed runs in hot environments
Fixes:
- Stick to a lubrication log—daily punch lube, monthly gear oil
- Use heat-resistant grease for high-speed presses
- Slow down slightly during hot weather or run in air-conditioned areas
Final Word
Capping, sticking, cracking, weight variation—they’re frustrating, but they’re also fixable. Most tablet manufacturing problems come down to three things: formulation inconsistencies, machine wear, or overlooked settings.
With the right preventive steps and operator awareness, these problems can be caught before they turn into rejected batches. And if you’re stuck, don’t hesitate to bring in a technician or expert. At Anxine, we provide the support you need to elevate your tablet manufacturing processes. Get in touch with us today if you need help!