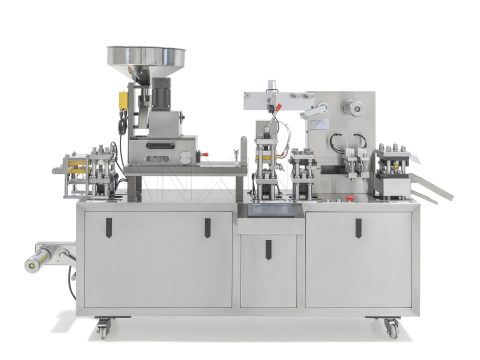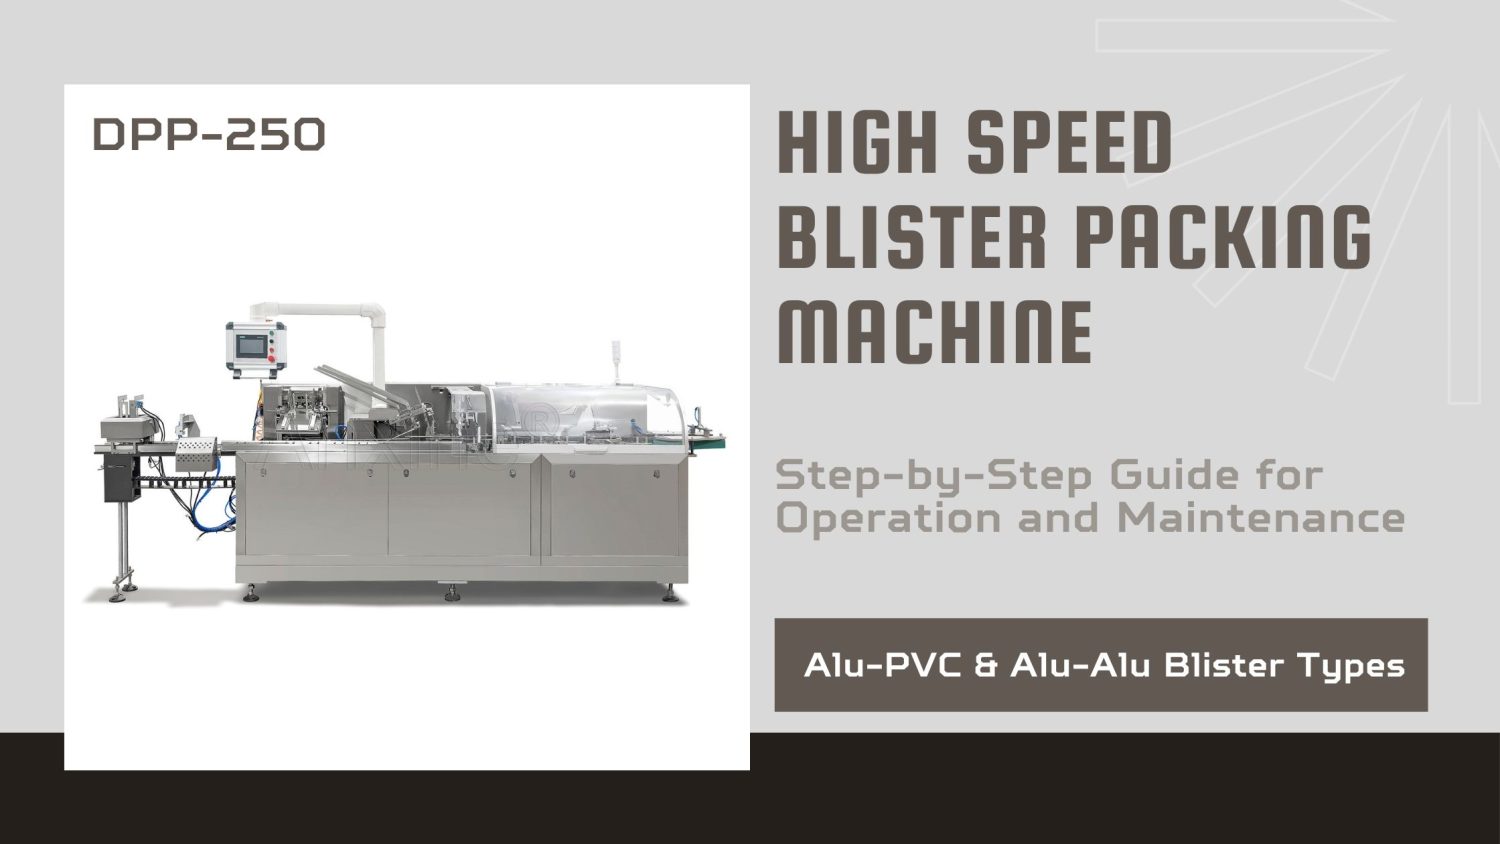
NOTICE
- The following procedures are intended for the Anxine DPP-250 only. For other brands, refer to the original manufacturer’s instructions.
- Always disconnect and lock out both the power and compressed-air supplies, and release all residual pressure, before performing maintenance, cleaning, or mold changeover.
- Only trained and authorized persons are permitted to work on the equipment.
- Your equipment may vary from images or videos due to ongoing upgrades.
- If any part of this guide is unclear, contact Anxine for technical support before proceeding.
Section 1: Installation Guides
Step 1: Before installation, attach the adjustable support feet. After installation, adjust the support feet to ensure the machine is level.
Step 2: Perform a thorough cleaning before starting the machine. Use a soft cloth slightly dampened with soapy water (or detergent) to wipe off surface oil and dirt, then dry with a clean soft cloth.
Step 3: Connect the grounding wire to the designated grounding point as indicated on the grounding label to ensure safe operation.
Step 4: Operators must read the user manual thoroughly and gain a basic understanding of the machine’s structure and operating methods before use.
Step 5: Ensure that the pressure on the forming, heat sealing, and embossing components is not excessive, as this may affect the machine’s service life and cause damage. For the forming and embossing components, ensure that the disc-shaped gaskets have approximately 1 mm compression allowance.
Section 2: Operation Procedures
Step 1: Add the materials to be packaged into the hopper.
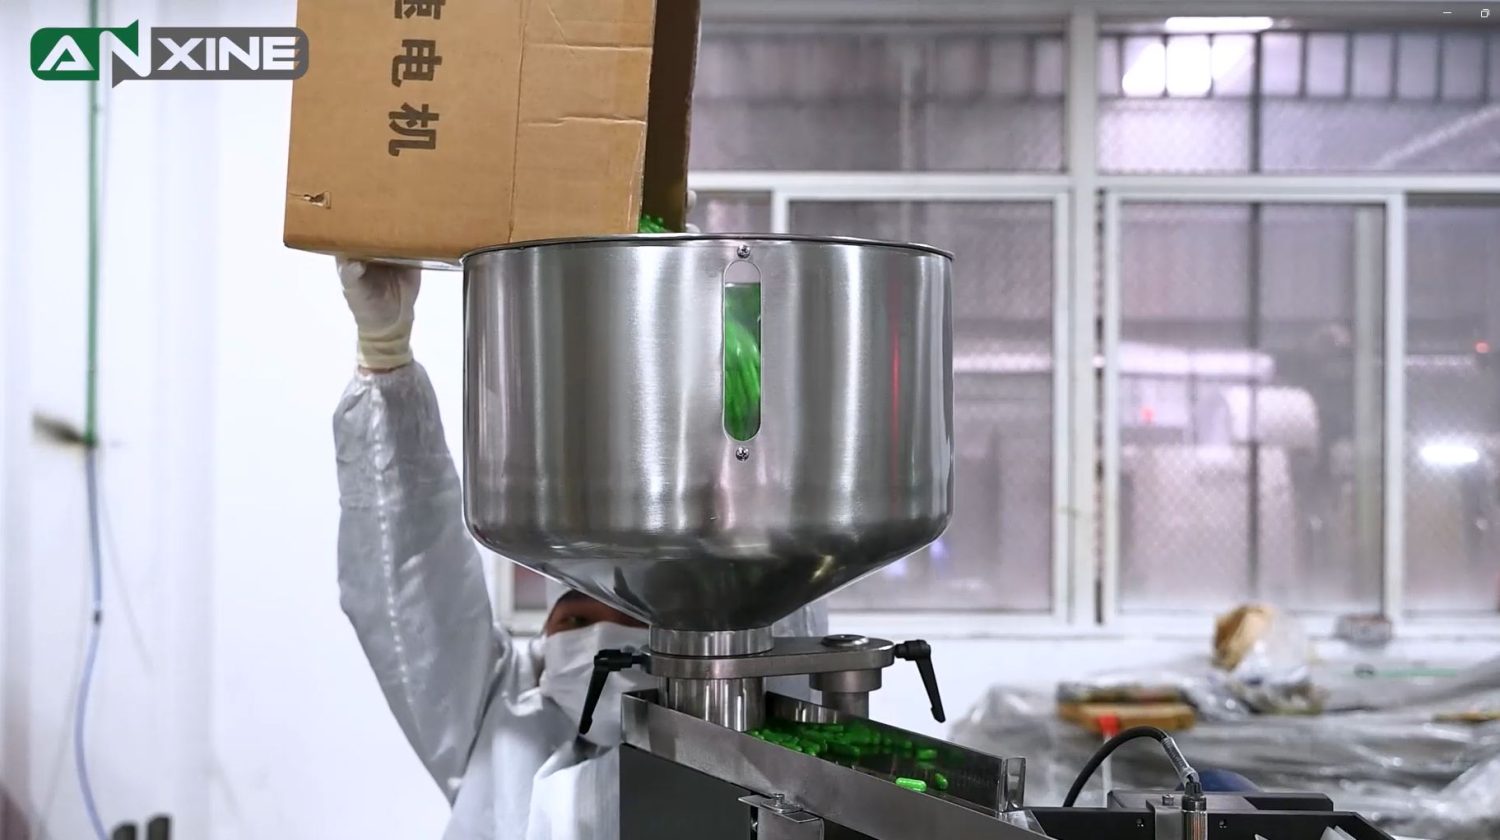
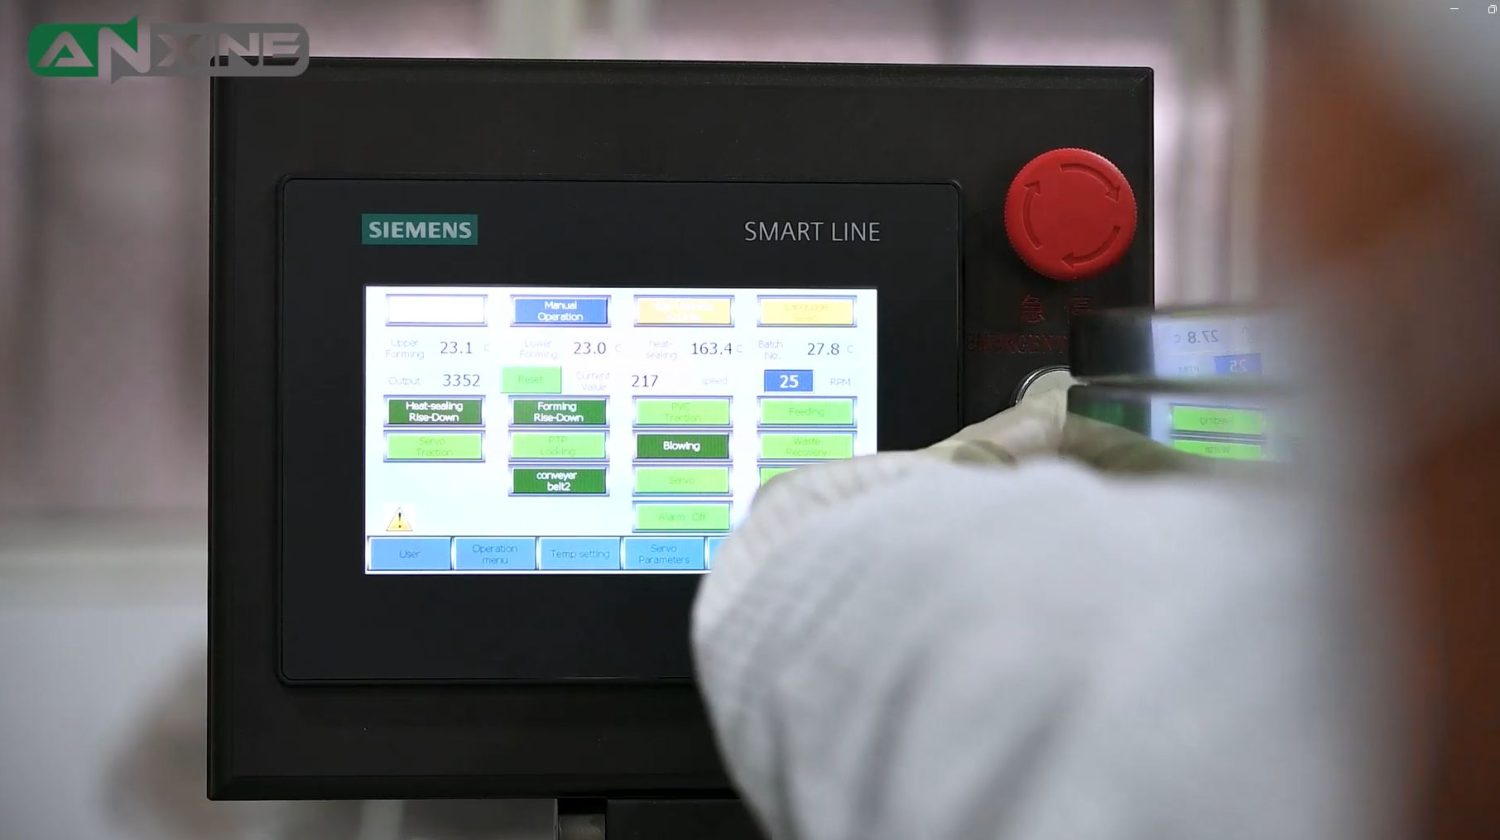
Step 2: Power on and heat each electric heater as required.
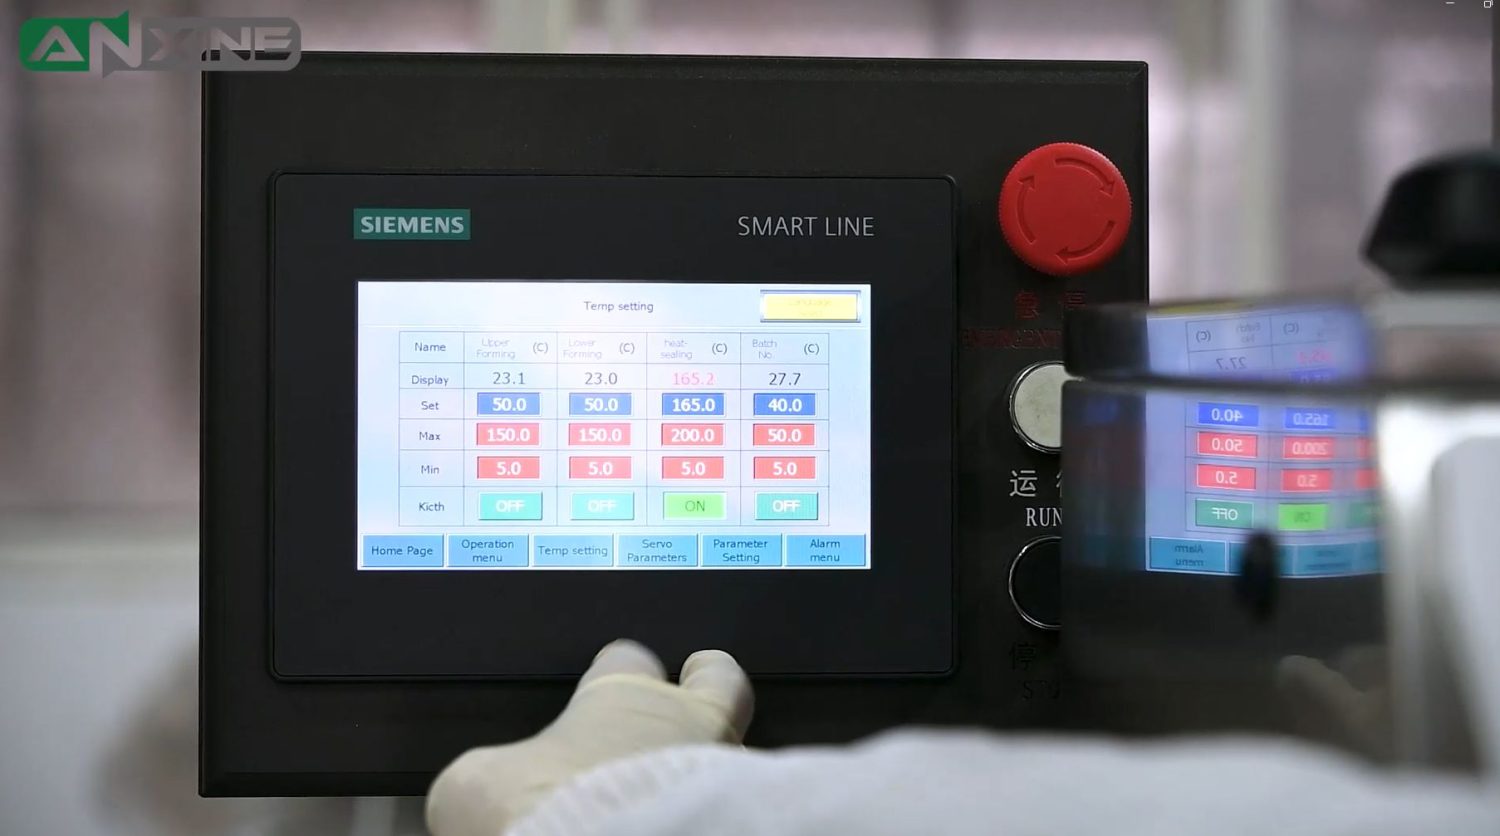
Step 3: Turn on the feeder power switch and open the gate to start feeding.
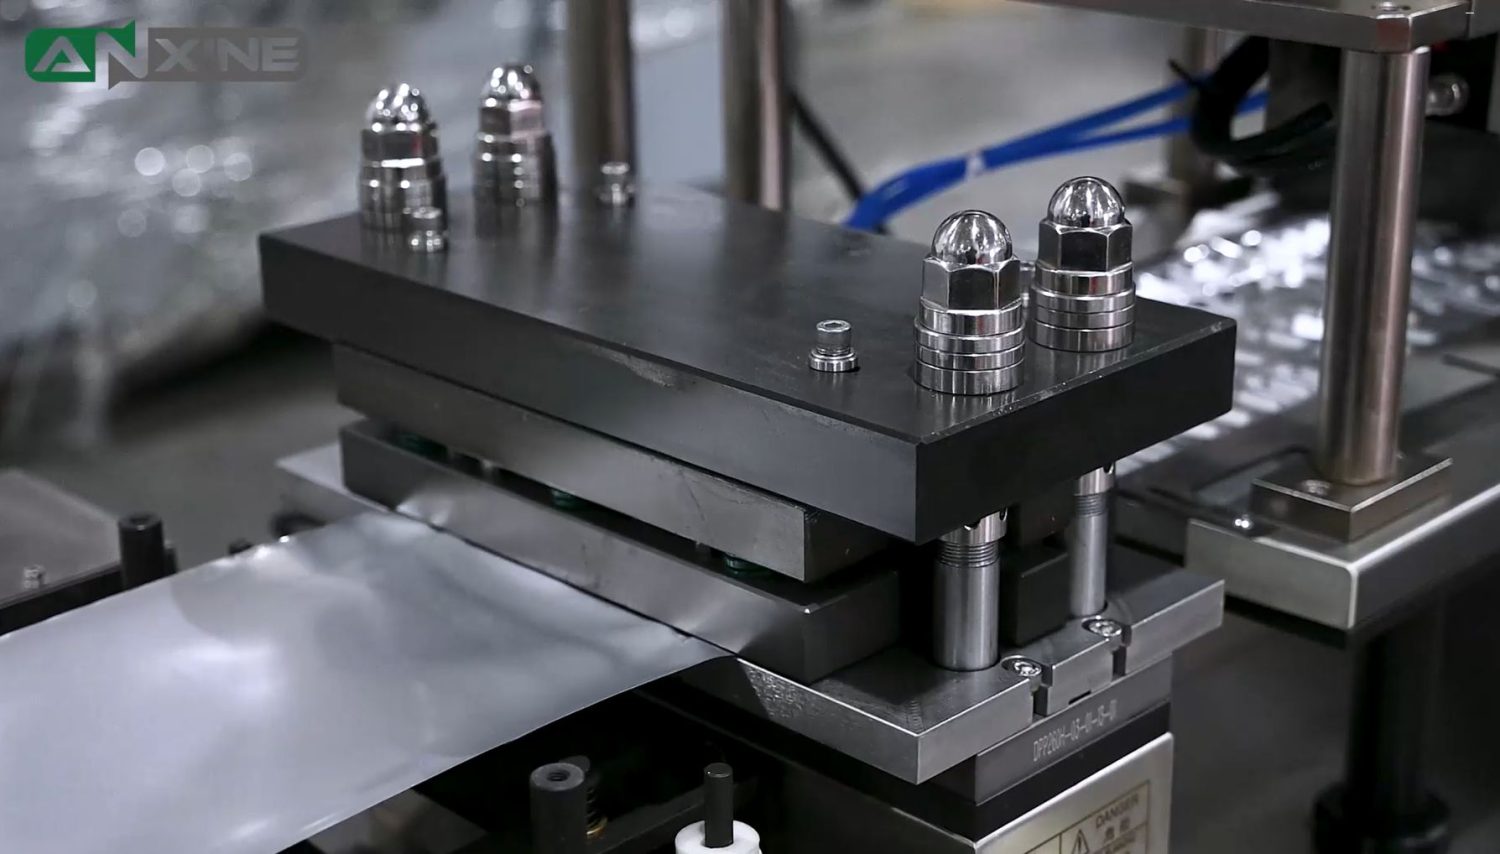
Step 4: Alu-PVC or Alu-Alu materials are heated and softened by the heating plate, and then formed into blisters by mechanical stamping.
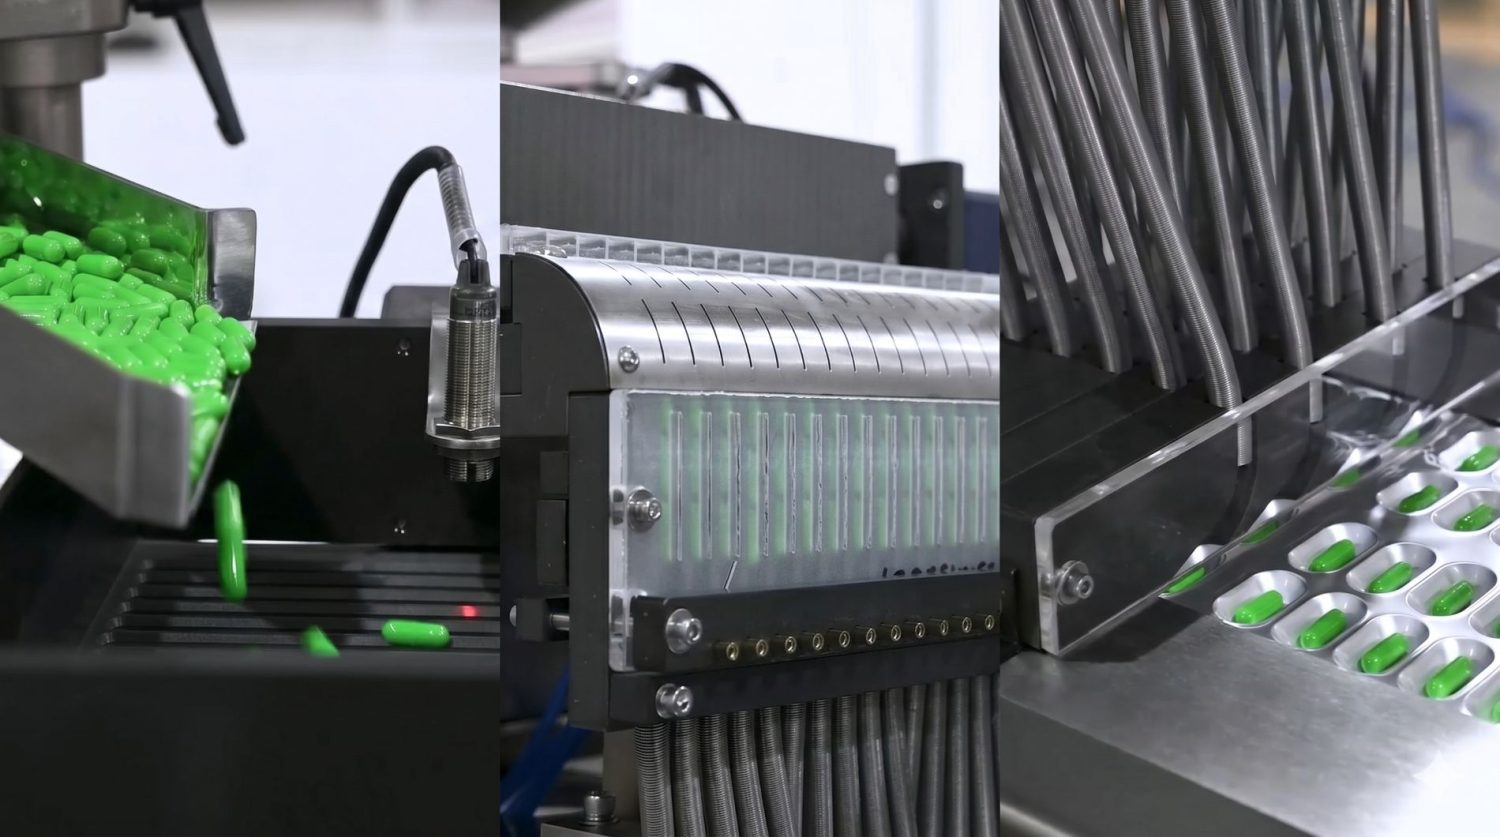
Step 5: Capsules or tablets are filled into the formed blisters by the feeder.
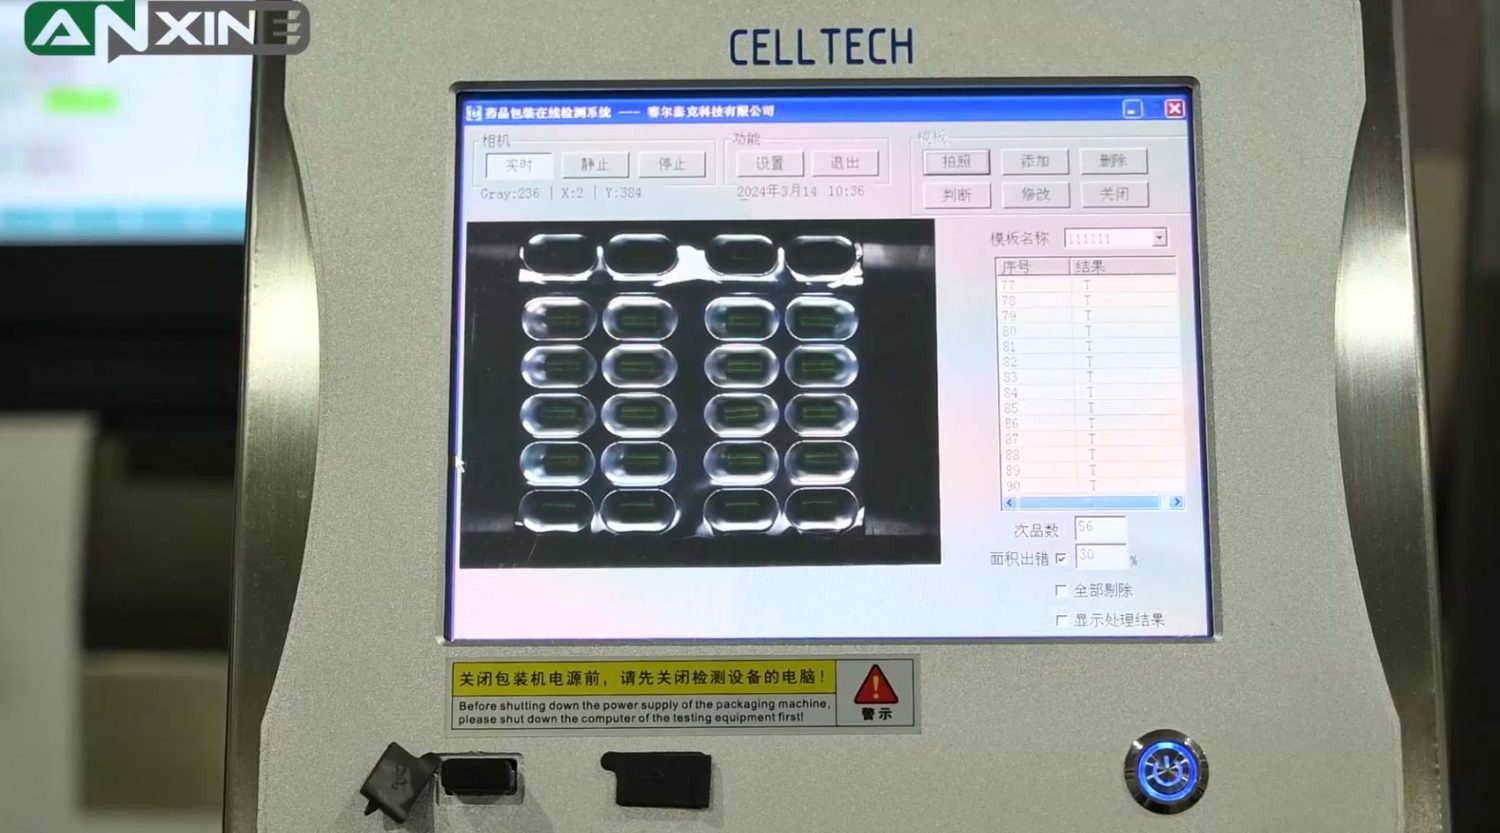
Step 6: Before heating, the blisters filled with products pass through the detection station.
Step 7: The aluminum foil is automatically fed into the heat-sealing mold, where it is heat-sealed with the filled plastic sheet using a net pattern.
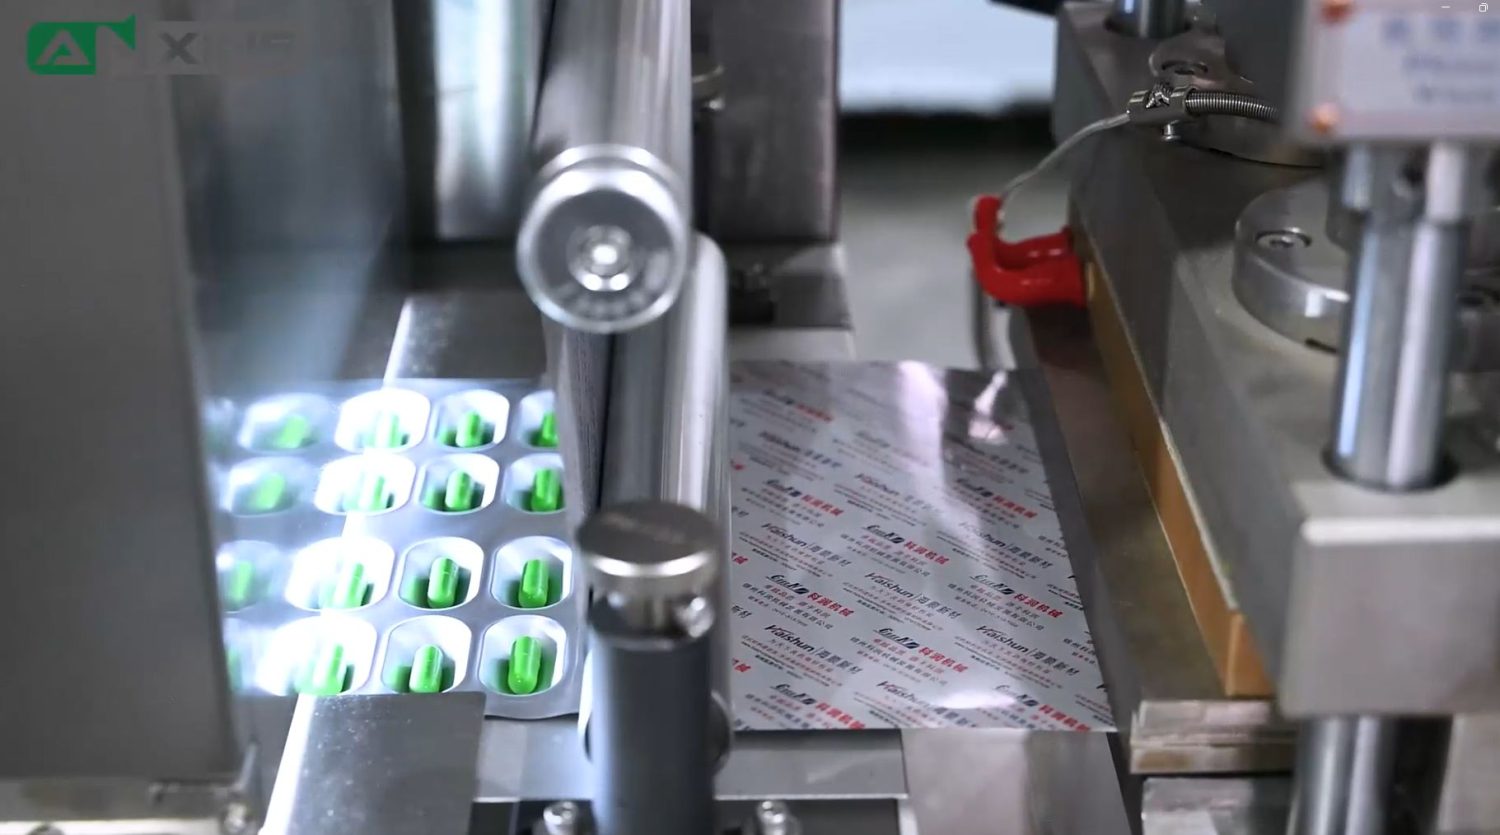
Watch the video to see how blister packs are formed, filled, inspected, and sealed.
Section 3: Adjustment Guides
- Adjustment of the Forming Mold: Loosen the circular nut on the column to adjust the vertical position. Additionally, use the crank handle to adjust the alignment between the blister and the heat-sealing mold.
- Adjustment of Heat Sealing Mold: The initial pressure should not be too high. During normal machine operation, make fine adjustments based on the heat sealing results. After adjusting the pressure, rotate the adjusting lock nut upwards until the upper cover plate is secured. Once the forming and heat sealing molds are properly adjusted, adjust the rails on the workbench so that one side of each rail is aligned with the edges of the blisters, taking care not to make the fit too tight.
- Adjustment of Embossing Mold: The distance between the upper and lower plates should not be too small, as this could damage the blades and type. Adjust the pressure gradually, starting lightly and increasing until the cut line allows the plates to tear apart easily. The correct cut line position should be centered between the blisters.
- Adjustment of Punching Mold: If the punched plates are misaligned left or right, loosen the mold clamping bolts on the cover plate and punching guide plate, adjust them, and then tighten. If the punched plates are misaligned front or back, use the crank handle to adjust the position.
- Adjustment of Air Pressure: The air pressure should be controlled between 0.4-0.6 MPa, depending on the forming and heat sealing results. It is important to use the lowest possible air pressure to achieve the desired product quality. Ensure that the air pressure does not exceed 0.6 MPa.
- Adjustment of Stroke: Loosen the set screw of the stroke adjusting nut 10, and turn the adjusting knob 1. Turning left will increase the stroke while turning right will decrease it. Once adjusted to the desired size, tighten the set screw to secure the setting and proceed with the operation.
Section 4: Maintenance Procedures
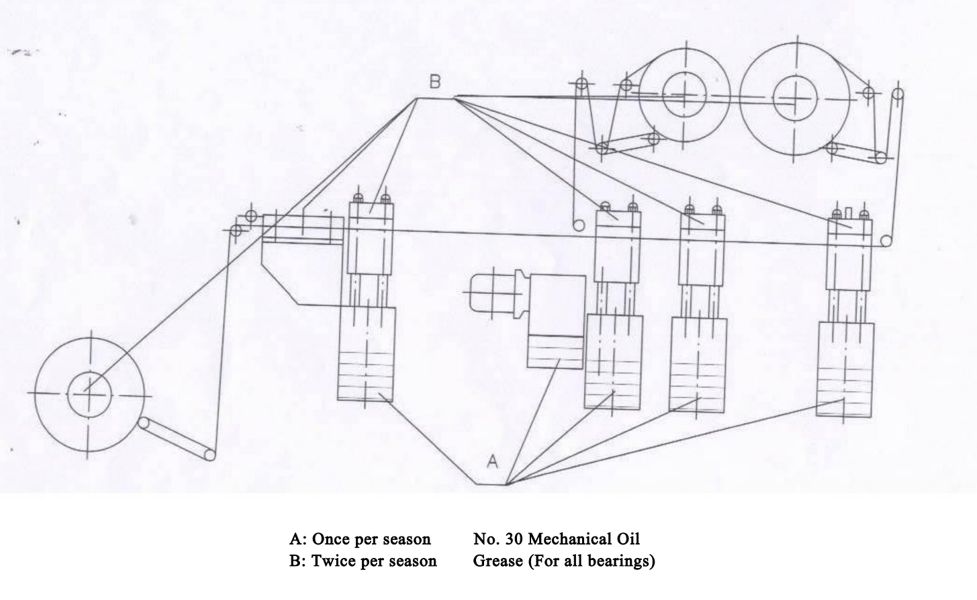
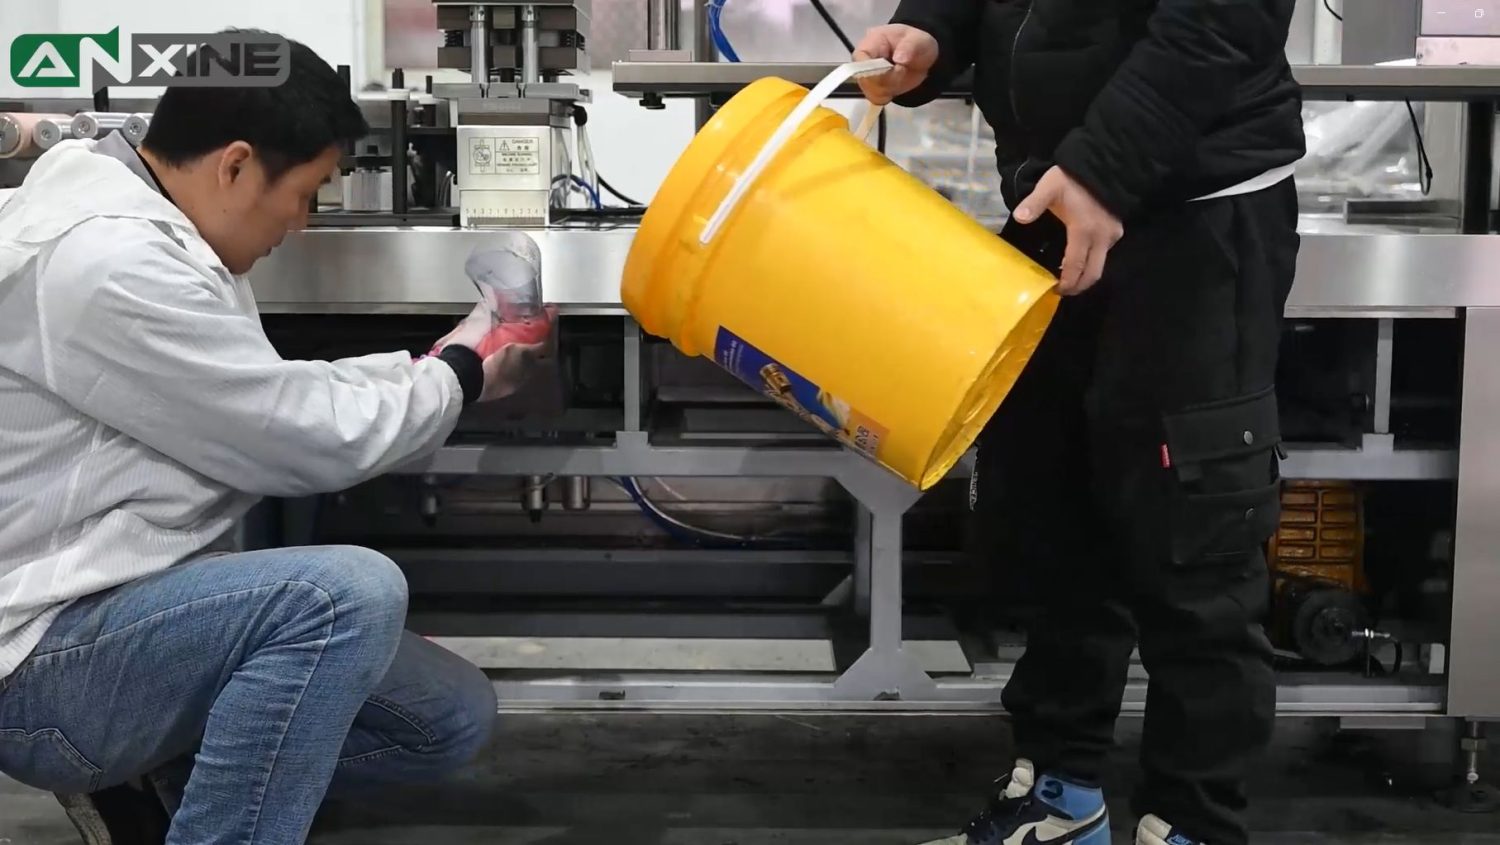
The machine is shipped without lubrication oil. Before starting, add oil to ensure that it reaches approximately 3 cm below the cam or eccentric wheel. Change the oil after the first half month of use, and then follow the lubrication diagram to add oil regularly every three months.
Step 1: Use a suitable guide, like an improvised funnel, to add lubricating oil into the oil tank.
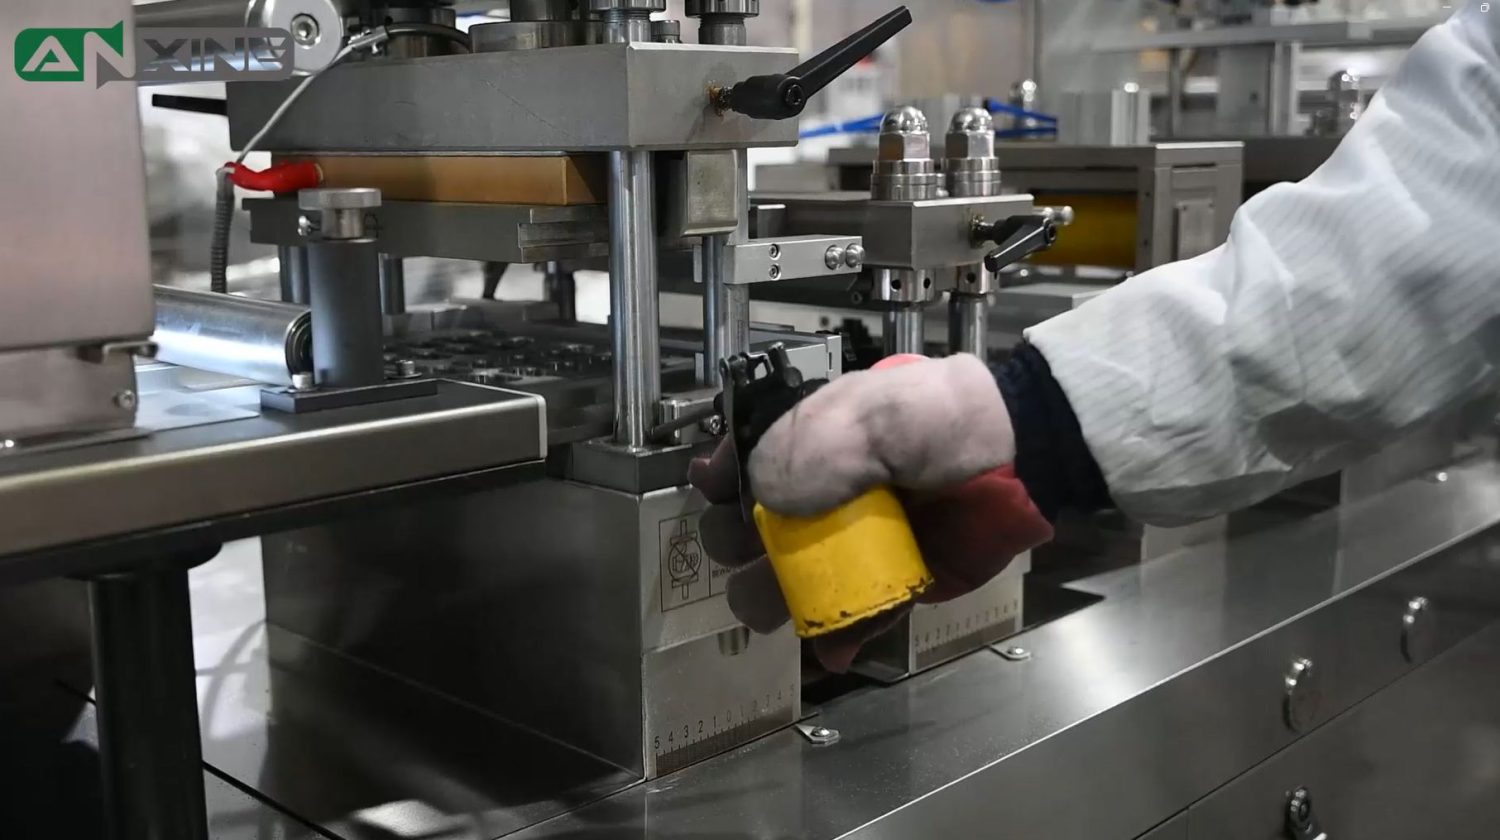
Step 2: Add lubricating oil to the guide rails. You can use an oil gun or spray oiler.
Step 3: Use a brush to apply lubricating oil to transmission components such as gears.
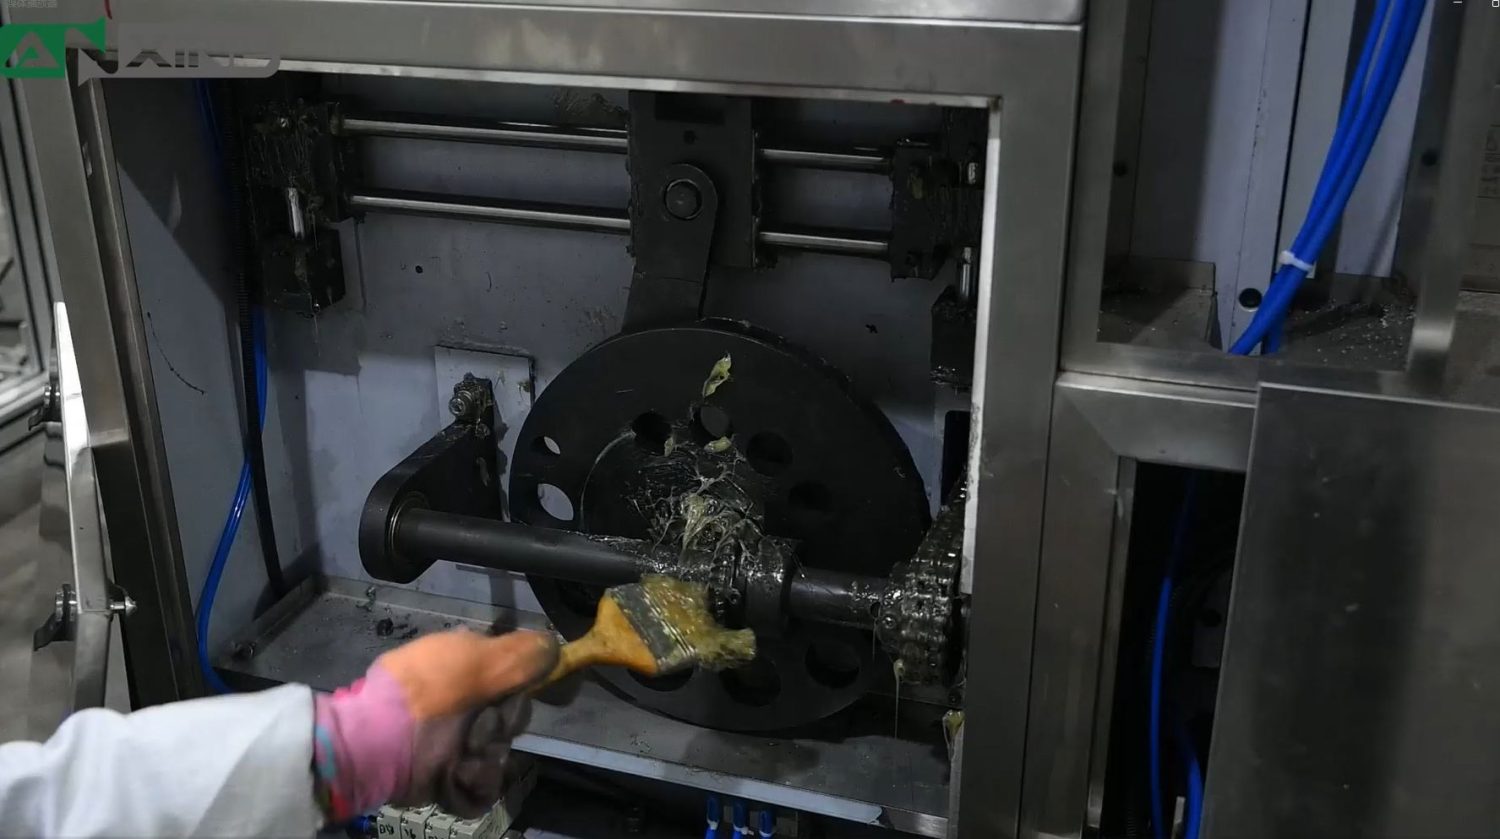
If you’re still unsure, please watch the video below.