NOTICE
- The following procedures are intended for the Anxine equipment only. For other brands, refer to the original manufacturer’s instructions.
- Always disconnect and lock out both the power and compressed-air supplies, and release all residual pressure, before performing maintenance, cleaning, or mold changeover.
- Only trained and authorized persons are permitted to work on the equipment.
- Your equipment may vary from images or videos due to ongoing upgrades.
- If any part of this guide is unclear, contact Anxine for technical support before proceeding.
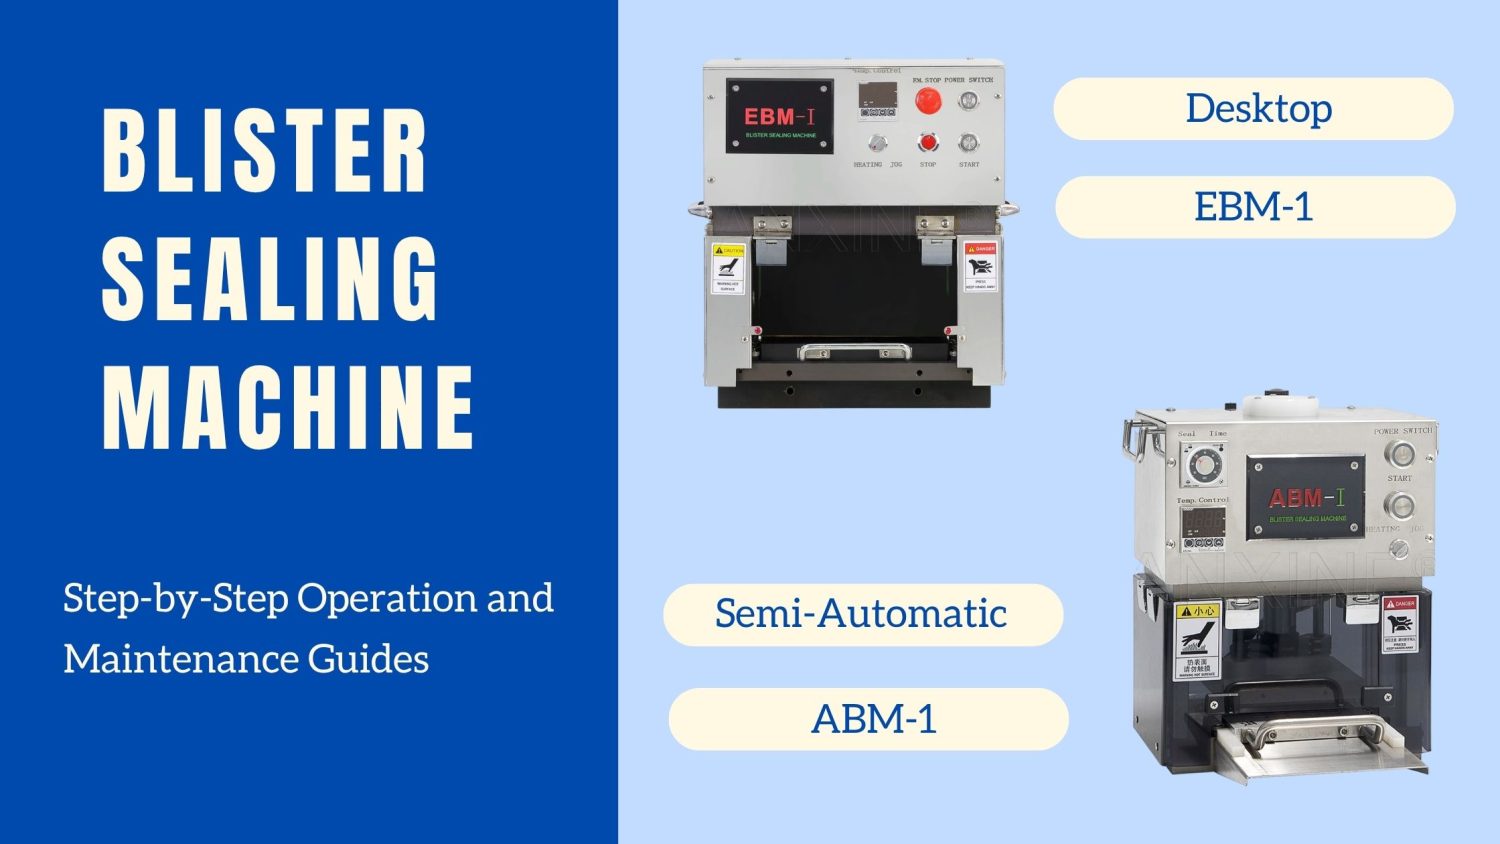
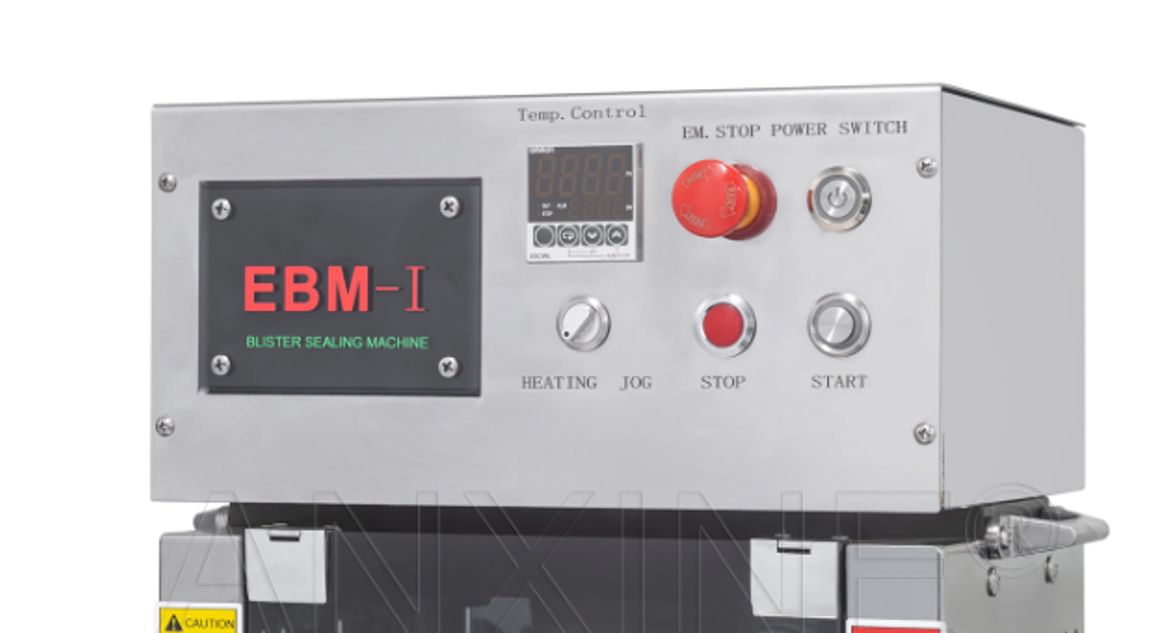
The EBM-I and ABM-I models have similar structures and feature good efficiency. Their operation is also easy. Take EBM-I for example. You can check the video to see how it works.
Section 1: Operation Procedures
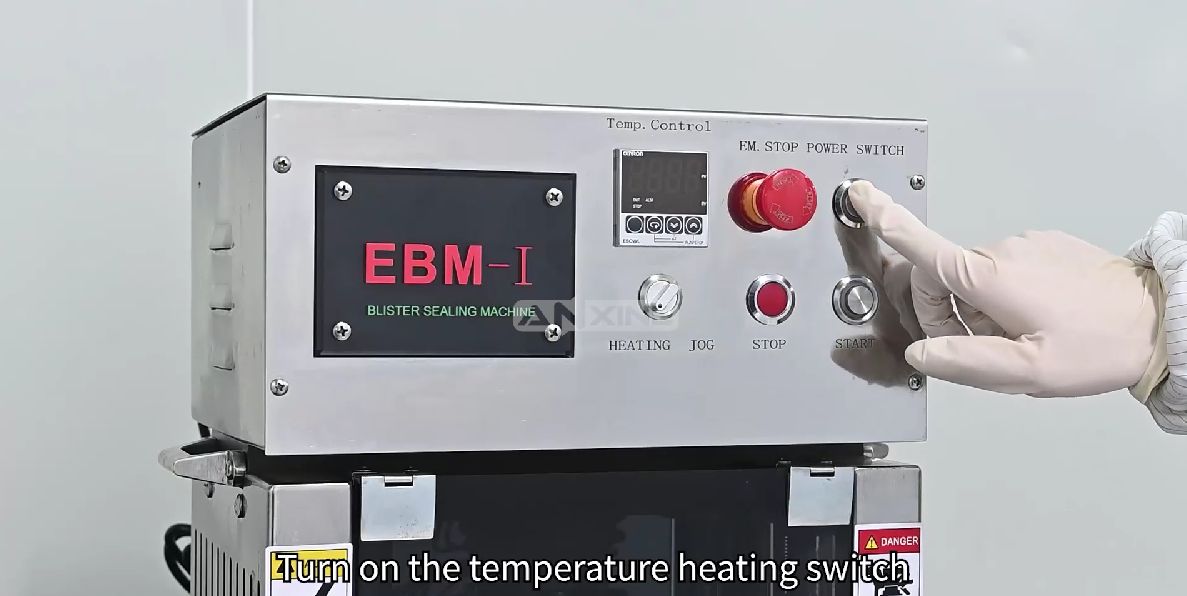
Step 1: Turn on the temperature heating switch.
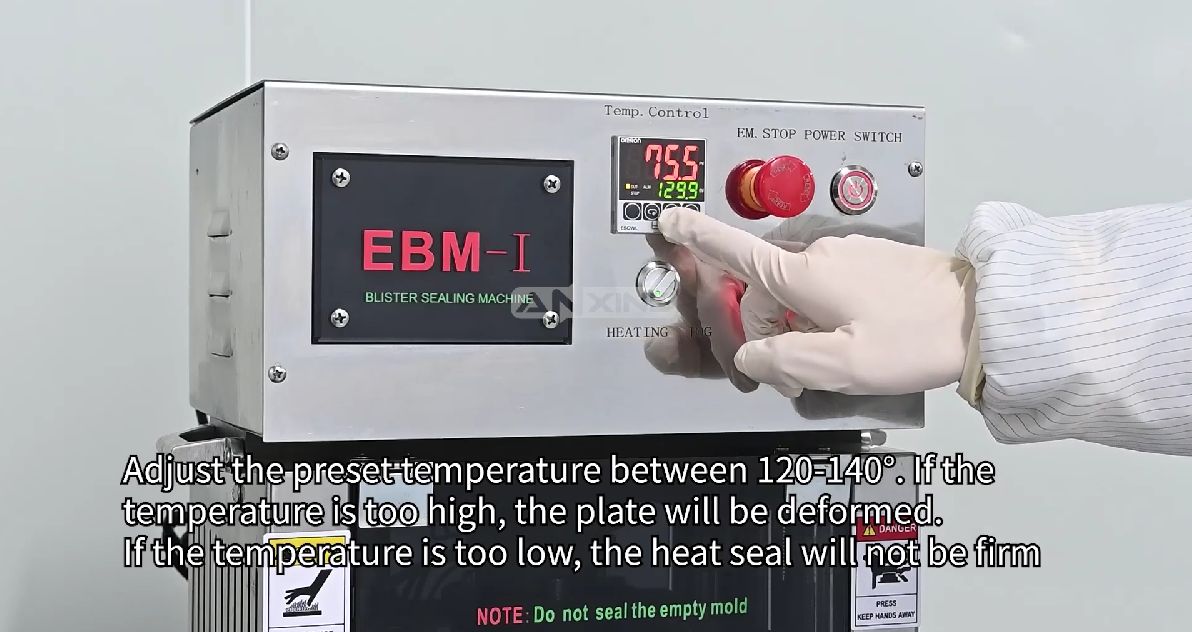
Step 2: Adjust the preset temperature between 120-140℃. If the temperature is too high, the plate will be deformed. If the temperature is too low, the heat seal will not be firm. The exact setting is adjusted within this range according to the sealing result.
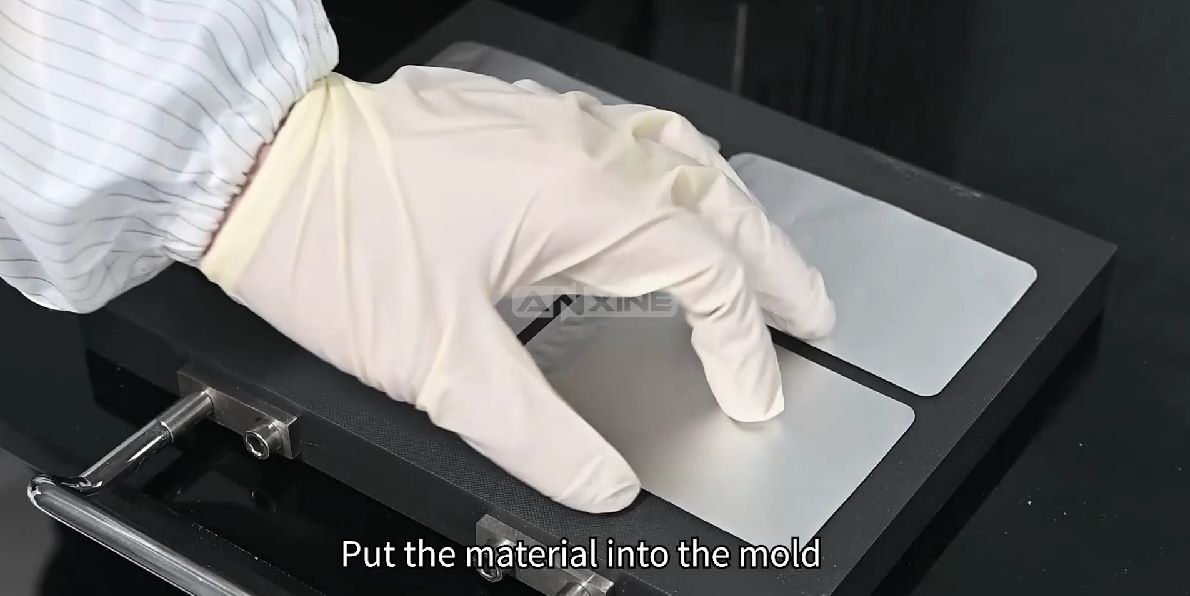
Step 3: Put the material into the mold. You can put 4 blister packs at one time.
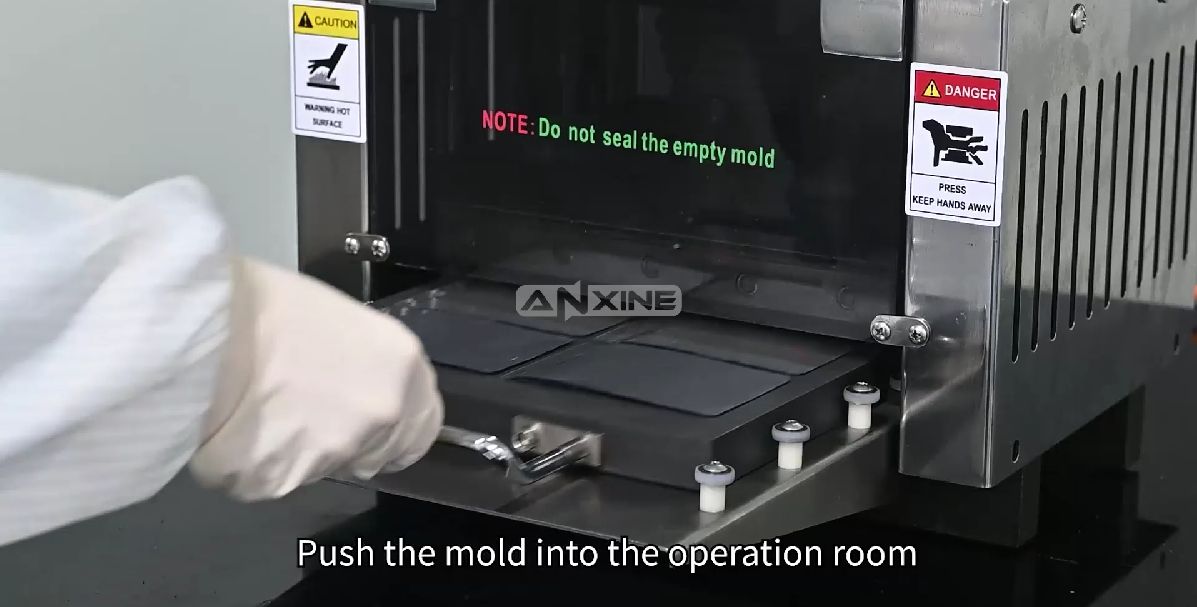
Step 4: Push the mold into the operation room.
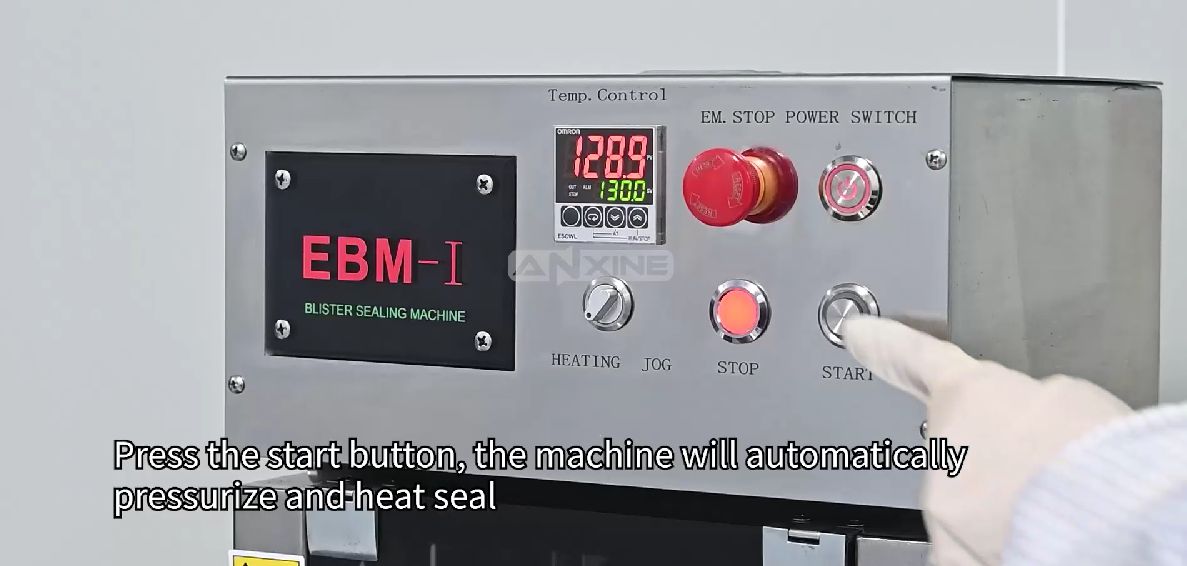
Step 5: Press the start button, the machine will automatically pressurize and heat seal.
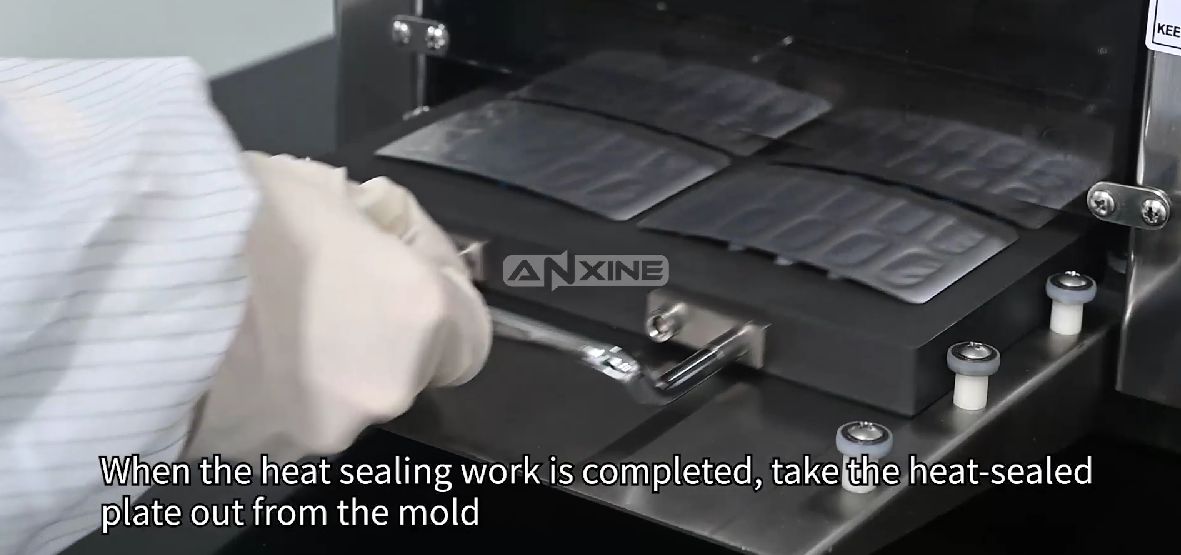
Step 6: When the heat sealing work is completed, take the heat-sealed plate out from the mold.
Section 2: Temperature Adjustment Guides
1. For Model ABM-I
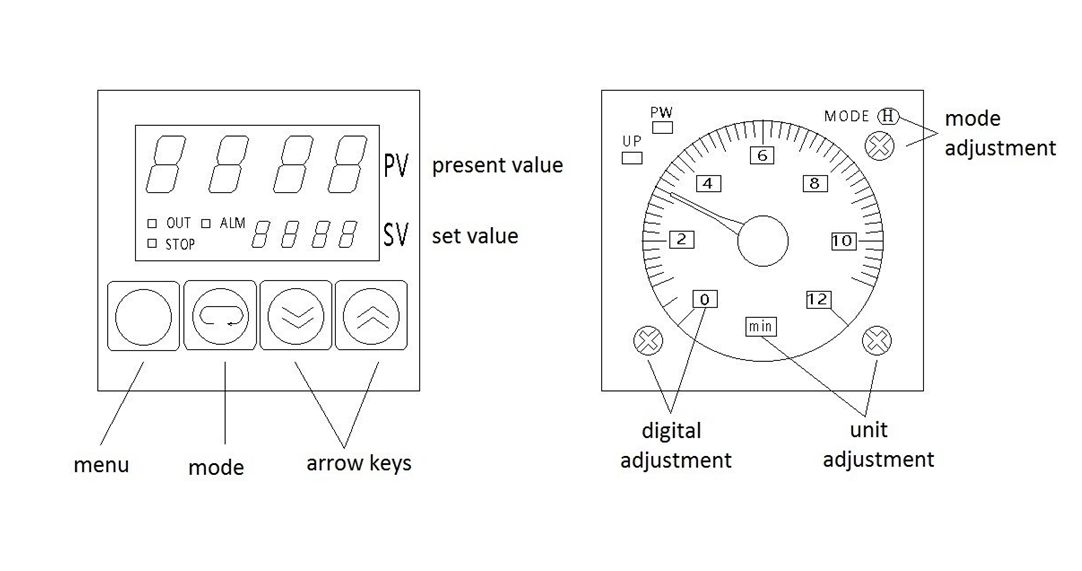
Note 1: Adjust the temperature by pressing the arrow keys. The program of the temperature controller has been locked up; please do not try to enter it.
Note 2: Please adjust the temperature between 95-140℃. If the temperature is too high, the blister sheet would be deformed, while if the temperature is too low, the heating effect would not be good.
Note 3: Time setting (Note: the unit, mode and numerical range have been set, please do not adjust them): rotate the rotary cover of the timer. If the time is set too long, the blister sheet will be deformed.
2. For Model EBM-I
Note 1: Press the up and down keys to adjust the temperature directly (Figure 5). The program of the temperature controller has been locked. Please do not enter the program.
Note 2: The temperature should be set between 120-140℃. If the temperature is too high, the plate will be deformed, and if the temperature is too low, the heat seal will not be firm.
Section 3: Maintenance Guides
Step 1: After the operation, clean the working surface. Check whether there are impurities on the mold surface. Use a wire brush to clean the working surface, and clean the rest of the machine with a soft dry cloth. For areas with dust that cannot be removed by cloth, use compressed air.
Step 2: Regularly check whether the bearings in the operating area can move smoothly. There are a total of six bearings, three on the left and three on the right.
Step 3: When testing, check whether the sealed blister sheets meet the requirements; if not, adjust the machine accordingly.


