NOTICE
- The following procedures are intended for the Anxine equipment only. For other brands, refer to the original manufacturer’s instructions.
- Always disconnect and lock out both the power and compressed-air supplies, and release all residual pressure, before performing maintenance, cleaning, or mold changeover.
- Only trained and authorized persons are permitted to work on the equipment.
- Your equipment may vary from images or videos due to ongoing upgrades.
- If any part of this guide is unclear, contact Anxine for technical support before proceeding.
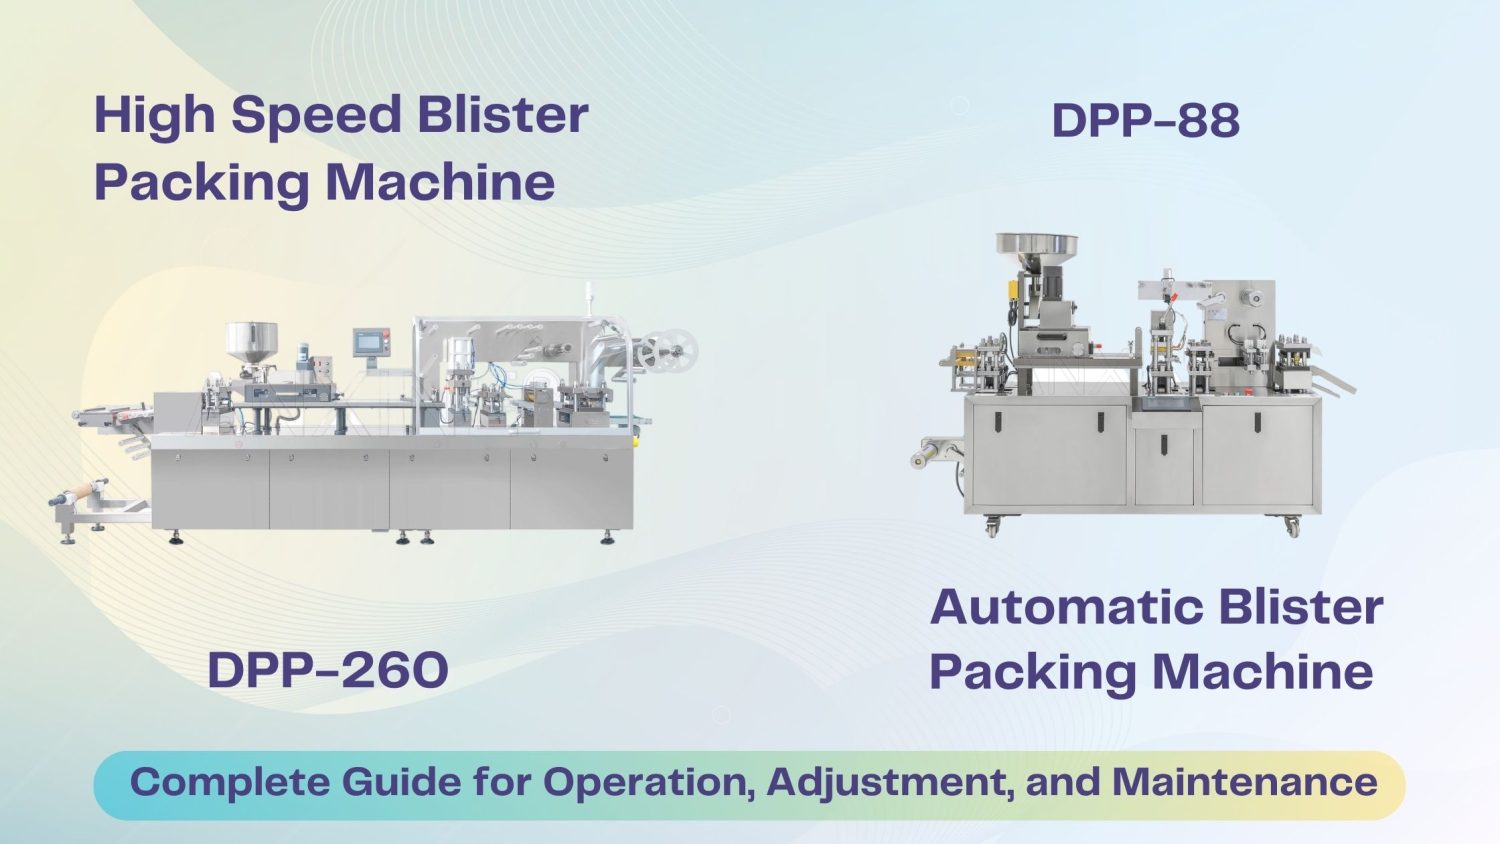
These two automatic machines, DPP88 and DPP-260, are used for efficient blister packaging. They heat and form rigid PVC sheets, then heat seals them with aluminum foil. Finally, the machine punches them into individual blister packs. This machine features high quality and a low investment cost. Moreover, the operation is also easy.
Please note that the step-by-step guides below are for reference only. Actual operation may vary between the two models.
Section 1: Operation Procedures
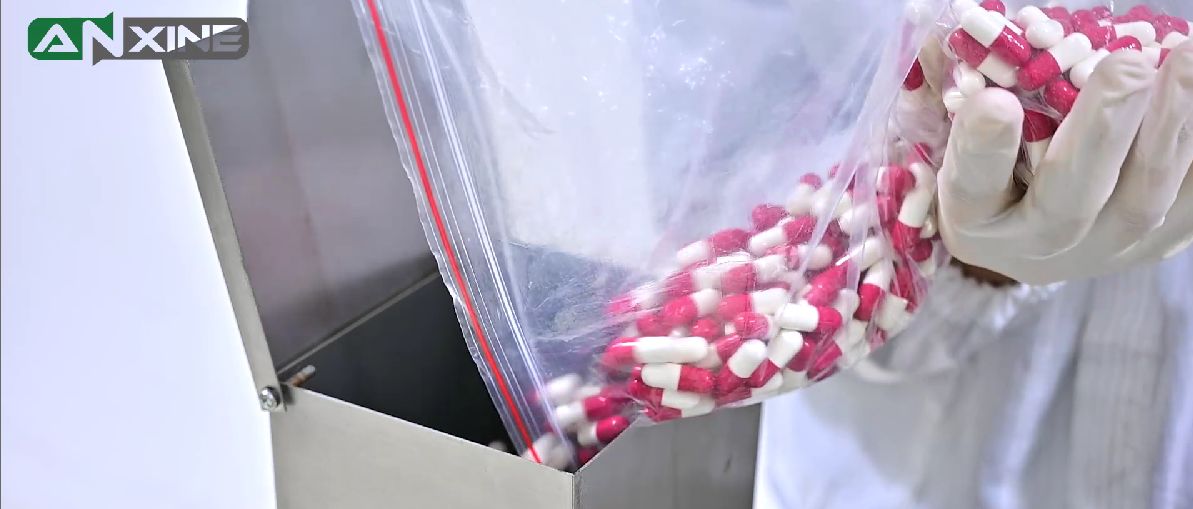
Step 1: Add the materials like capsules into the hopper and close the cover to prevent dust.
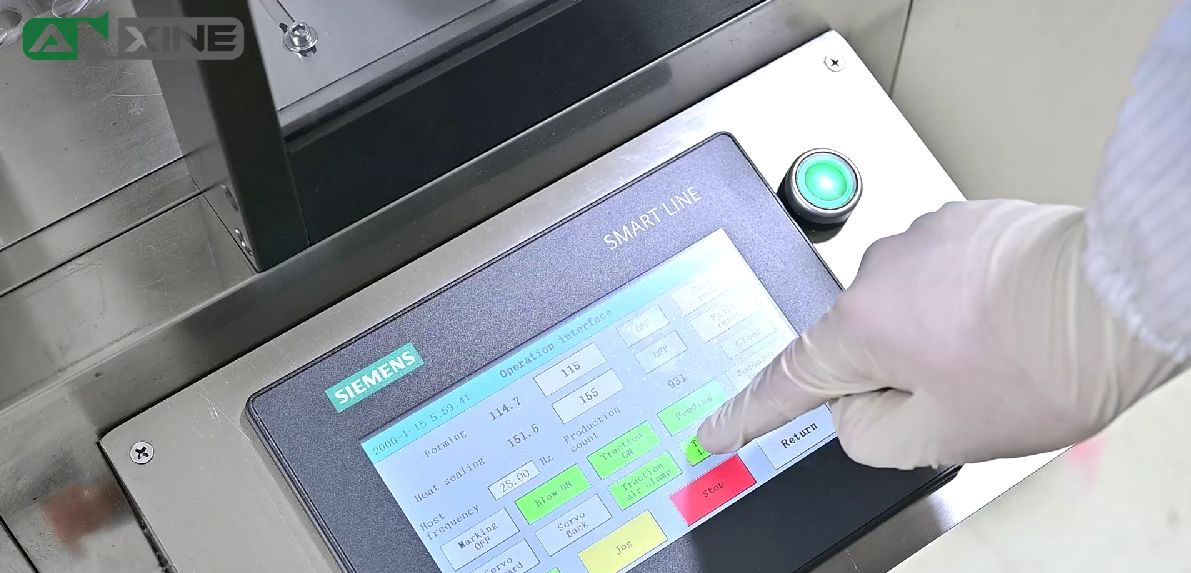
Step 2: You can change the settings on the control panel, such as speed, forming, and sealing temperature.
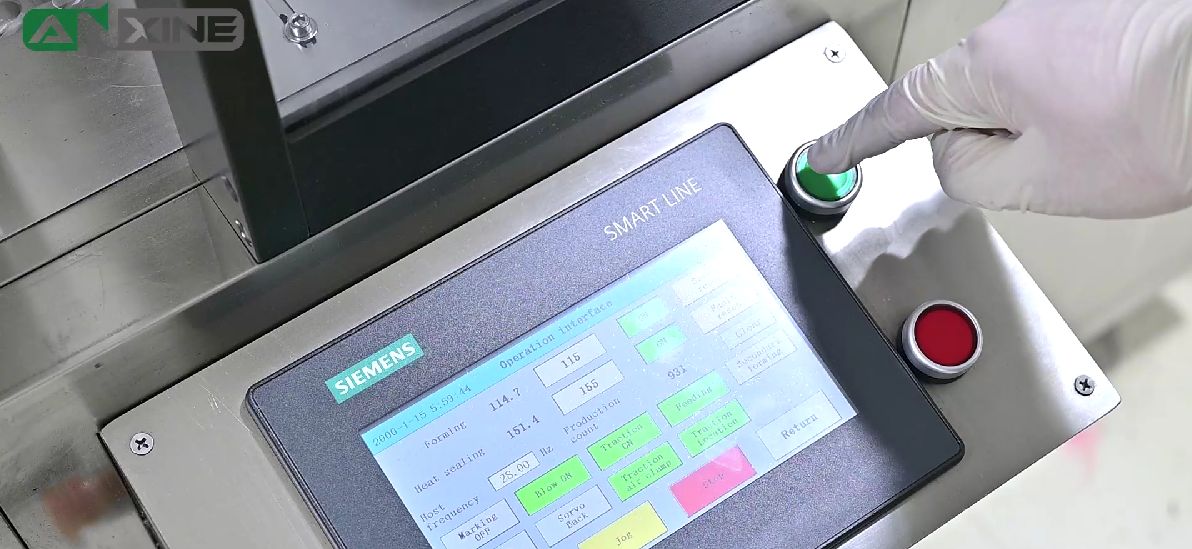
Step 3: Start the machine.
Step 4: Then the process begins. The machine cuts and discharges the blister packs.
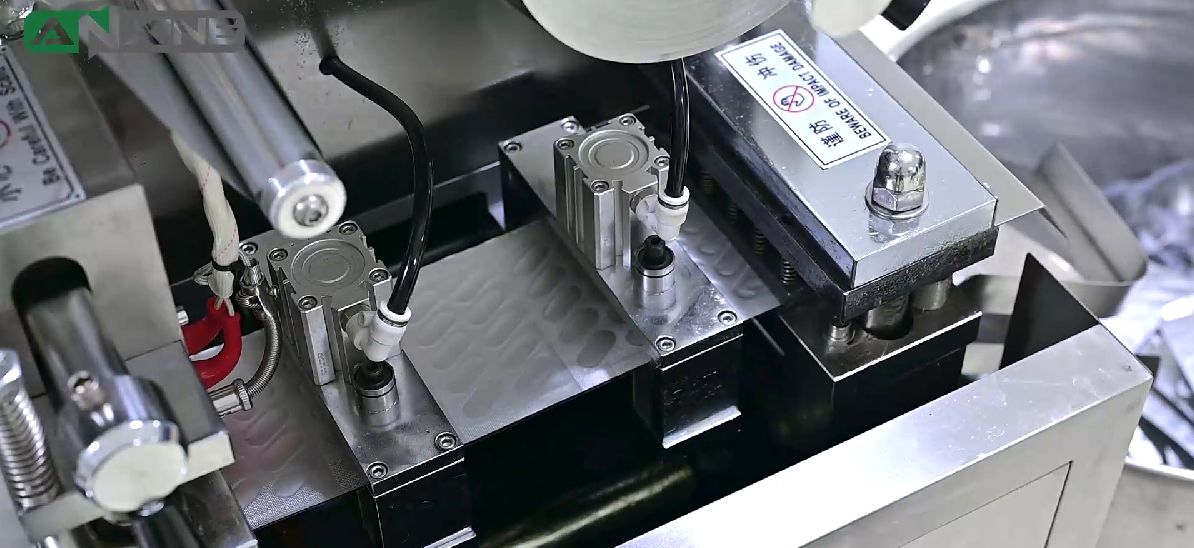
You can check the video to see how it works in detail.
Section 2: How to Feed the Film for Blister Packaging?
Blister packs are made of aluminum foil and plastic. If the materials are used up, they need to be replaced with new ones. Here is a video to show how to feed the films.
Step 1: Place the plastic film around the transfer roller and fix it.
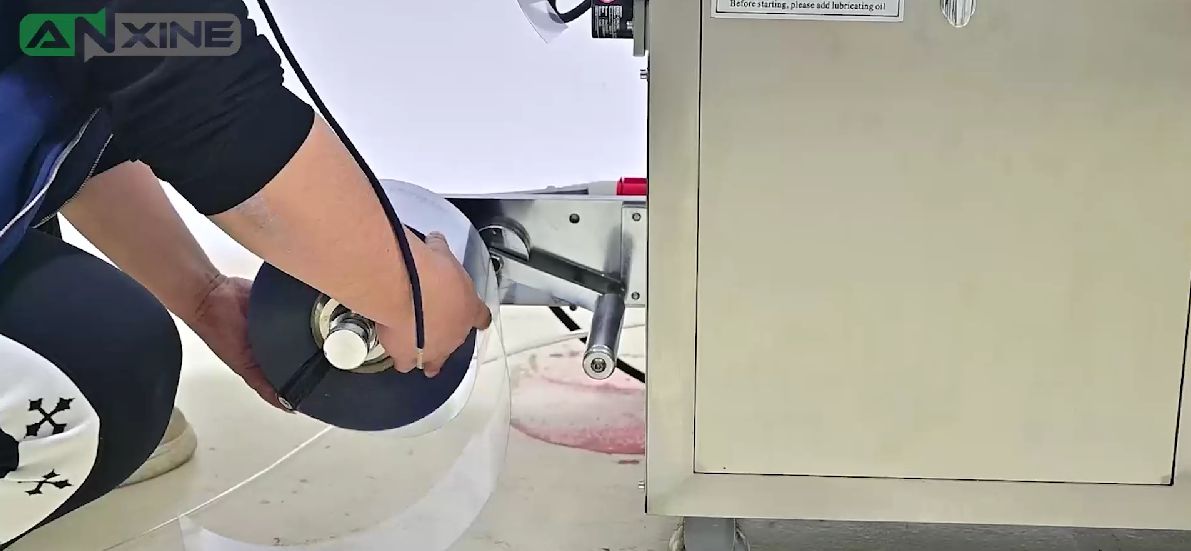
Step 2: Wrap the plastic around another roller, and connect it to the other film end.
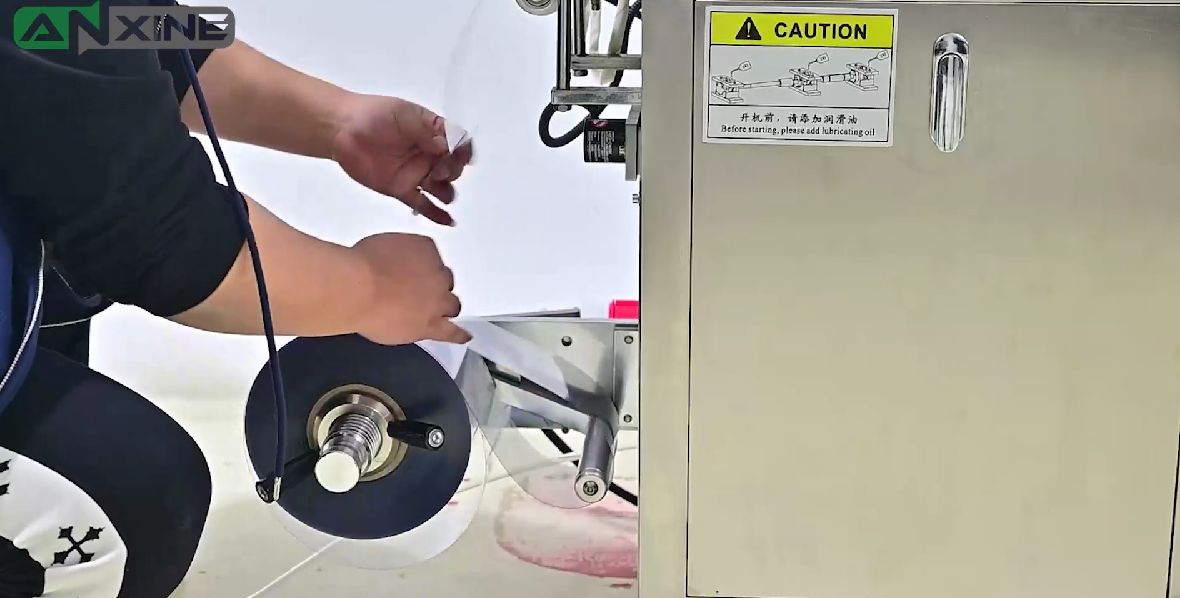
Step 3: Use the tape to secure the two films together firmly. Please notice that the connected surface should be flat for smooth feeding.
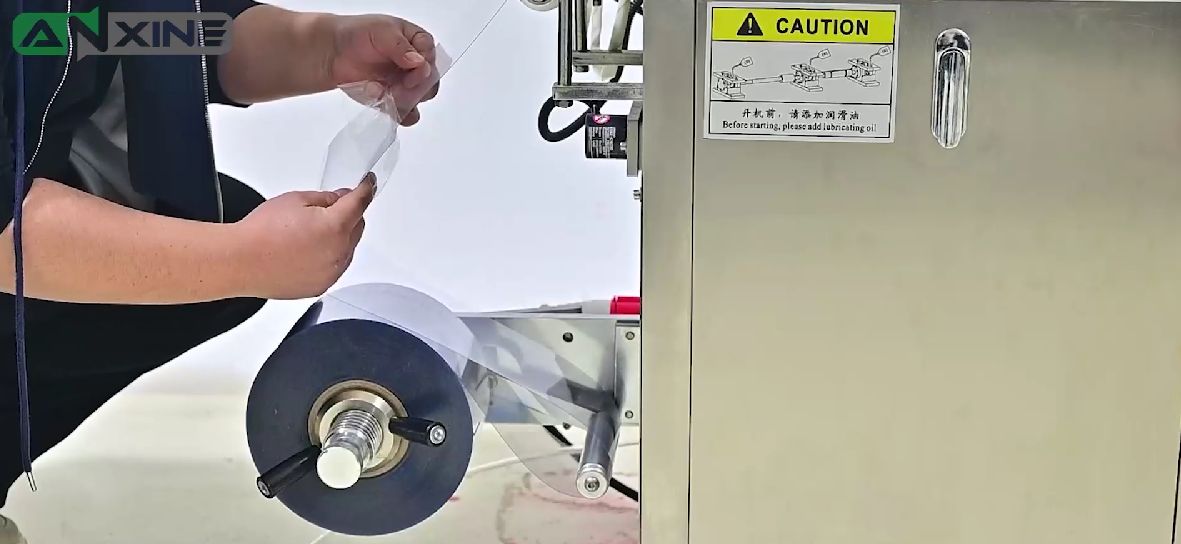
Step 4: Rotate the mold to the lower point and pass PVC plastic through. Then open the rear guide to press it down. You need to ensure the PVC plastic aligns with the track on the machine’s surface and is evenly distributed on both sides.
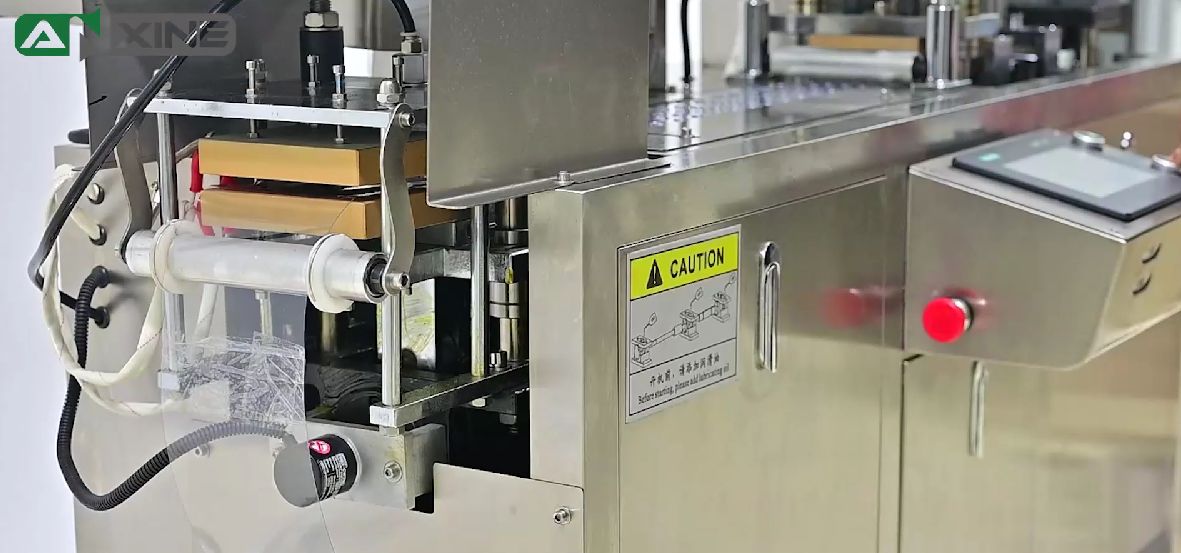
Step 5: Place the aluminum foil around the roller and fix it.
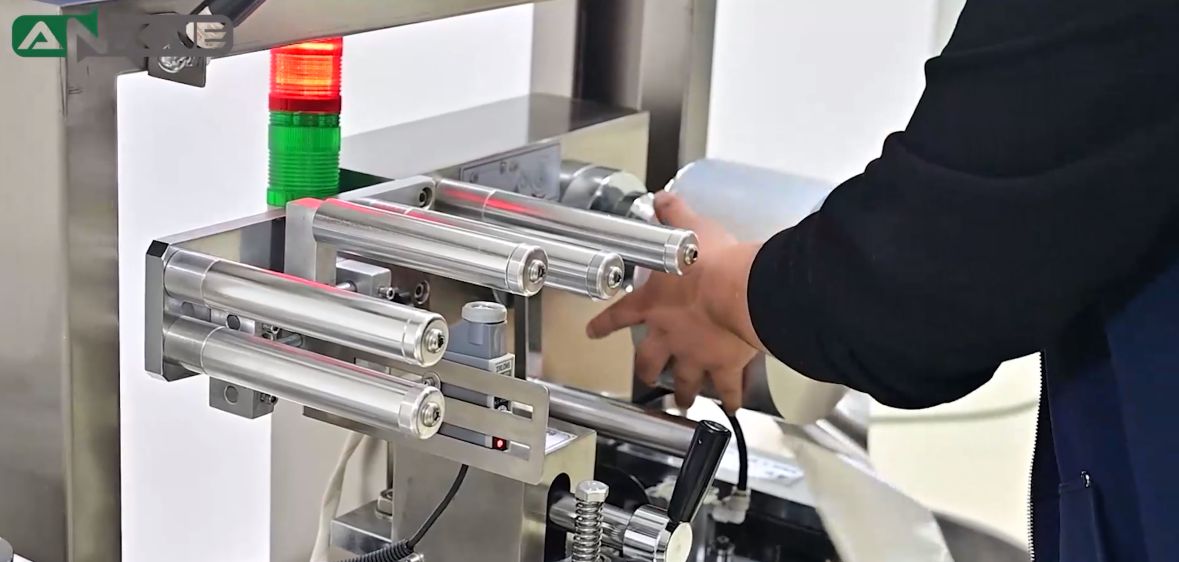
Step 6: Make the aluminum foil pass through the guide rollers along the designed path. The foil must follow the correct route inside the machine.
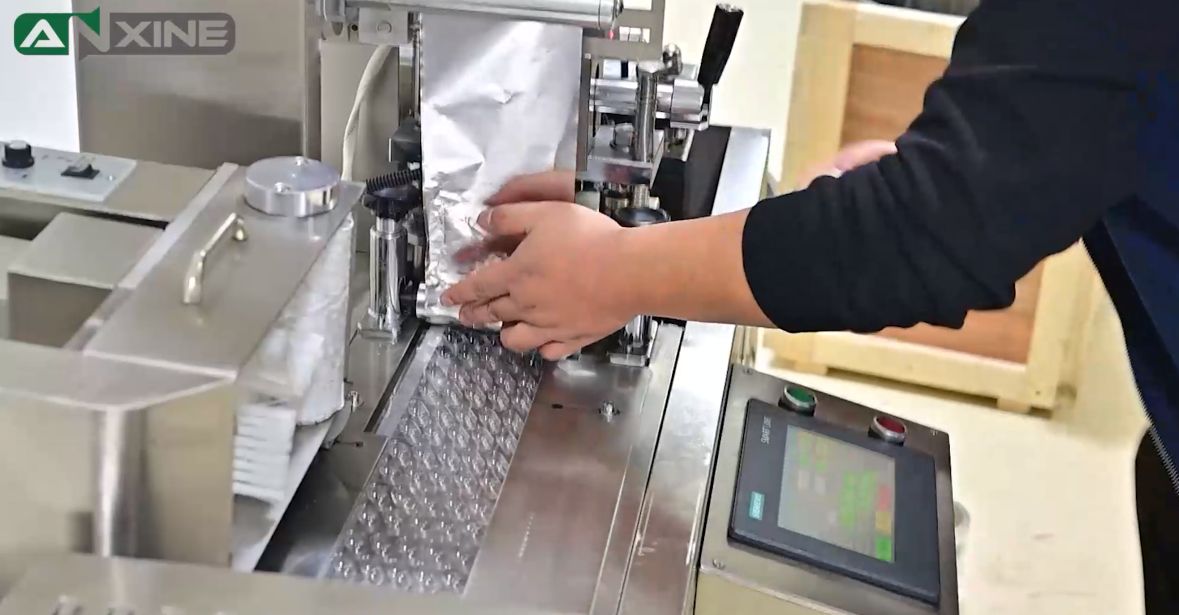
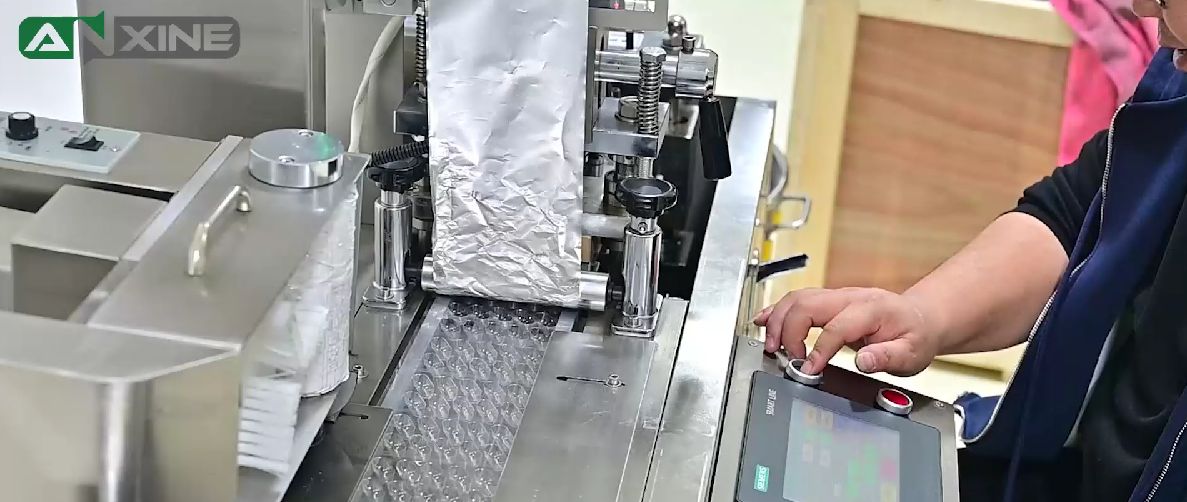
Step 7: Align the aluminum foil with the heat sealing mold. The foil must match the sealing area, so the PVC and aluminum foil seal in the correct position.
Section 3: How to Install the Blister Forming Mold?
Step 1: Press the key “Jog” on the operation interface to make the forming bracket located at the lowest point, and push the forming mold into the bracket.
Step 2: Install the lower mold first and lock the pressing plate.
Step 3: Align the upper mold with the locating slot and lock the pressing plate.
Step 4: If the forming mechanism needs to be adjusted, loosen the set screw at the bottom of the forming box, rotate the hand wheel to move the box along the track chute until the blister aligns with other molds.
Step 5: Finally, fix the box by tightening the hex nuts below.
Notice: The clearance between the forming mold and the heating box should be kept at 2~3mm.
Section 4: How to Install Heat Sealing Mechanism?
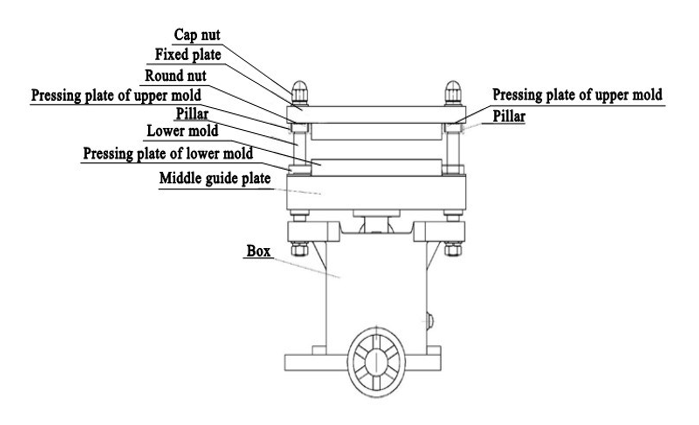
Step 1: Put a plastic sheet between the lower mold and the upper mold to avoid damaging them.
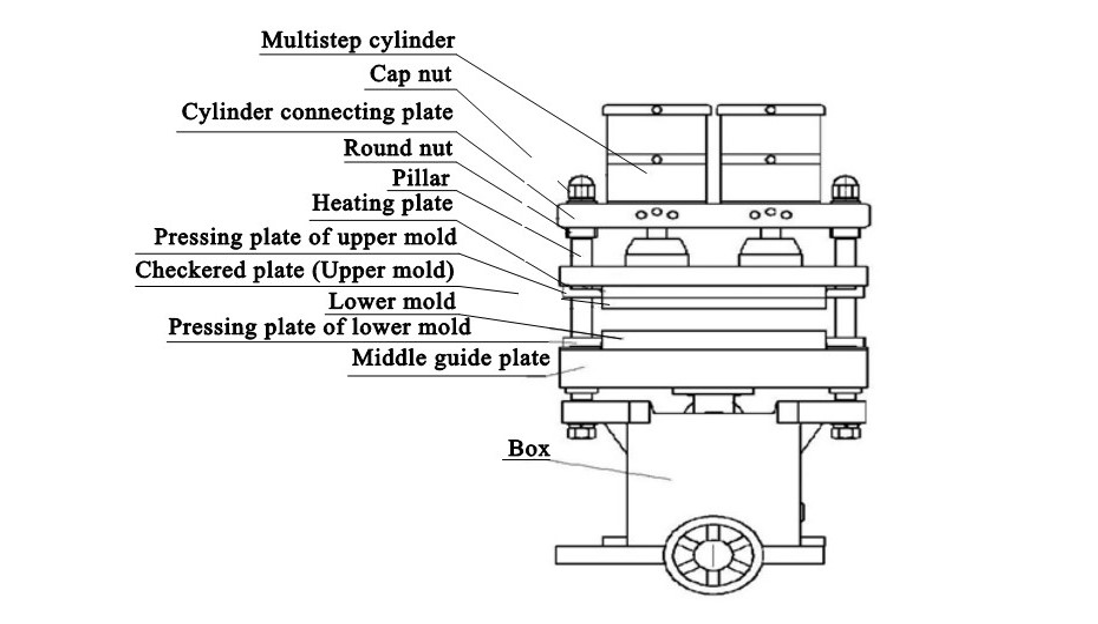
Step 2: Loosen the four cap nuts.
Step 3: Press the key “Jog” on the operation interface and move the lower mold to its highest position.
Step 4: Press the key “Jog” to make the upper mold contact the lower mold.
Step 5: Rotate the round nut on the pillar upward until there is about 0.5 mm clearance from the cylinder connecting plate.
Step 6: Press the key “Jog” to separate the upper mold from the lower mold.
Step 7: Tighten the four cap nuts.
Notice: During initial adjustment, do not set the pressure too high. During operation, make fine adjustments according to the actual heat-sealing effect.
Section 5: How to Install Blanking Mold?
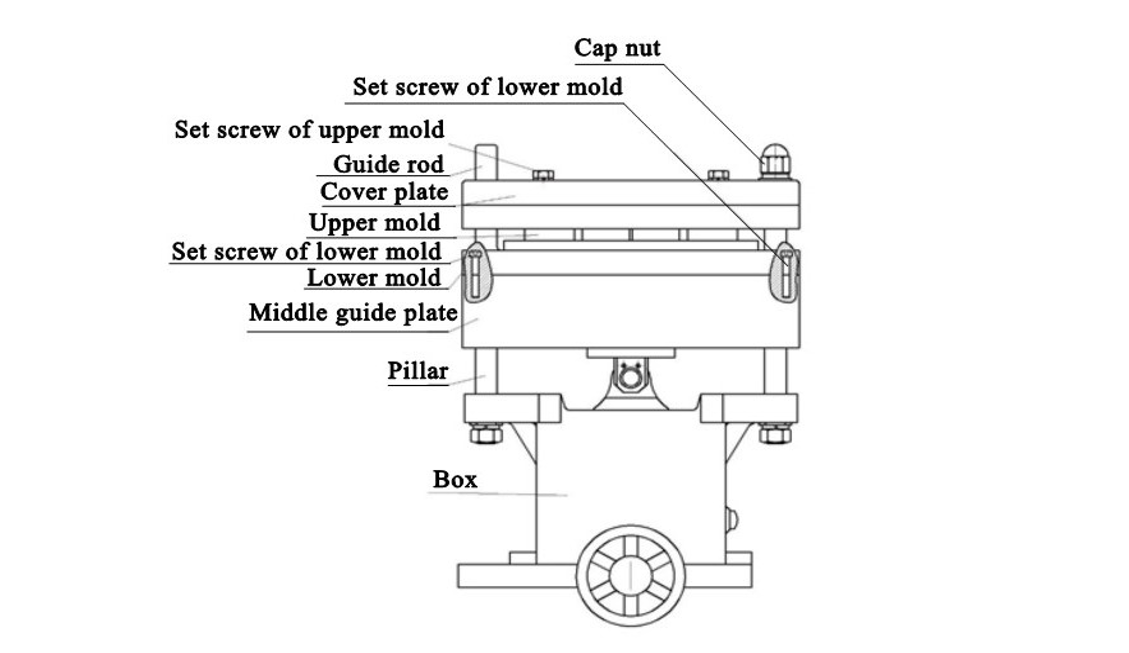
Step 1: Remove the four cap nuts on the pillars and remove the cover plate as well.
Step 2: Place the assembled lower mold properly and secure it with the set screws of the lower mold.
Step 3: Then install the upper mold and place the cover plate on it.
Step 4: Tighten the four cap nuts on the pillars.
Step 5: After that, press the key “Jog” to raise the blanking lower mold, keep the upper mold aligned, and fix the upper mold on the cover plate with the set screw of the upper mold.
Section 6: Maintenance Guides
Step 1: The machine shall be operated and maintained by qualified personnel.
Step 2: Add lubricating oil once per shift to all gears, shafts, guide sleeves, and cams of the transmission mechanism.
Step 3: The worm gear reducer shall be lubricated regularly with No. 3 molybdenum disulfide sodium-based grease.


