NOTICE
- The following procedures are intended for the Anxine equipment only. For other brands, refer to the original manufacturer’s instructions.
- Always disconnect and lock out both the power and compressed-air supplies, and release all residual pressure, before performing maintenance, cleaning, or mold changeover.
- Only trained and authorized persons are permitted to work on the equipment.
- Your equipment may vary from images or videos due to ongoing upgrades.
- If any part of this guide is unclear, contact Anxine for technical support before proceeding.
Section 1: Operation Procedures
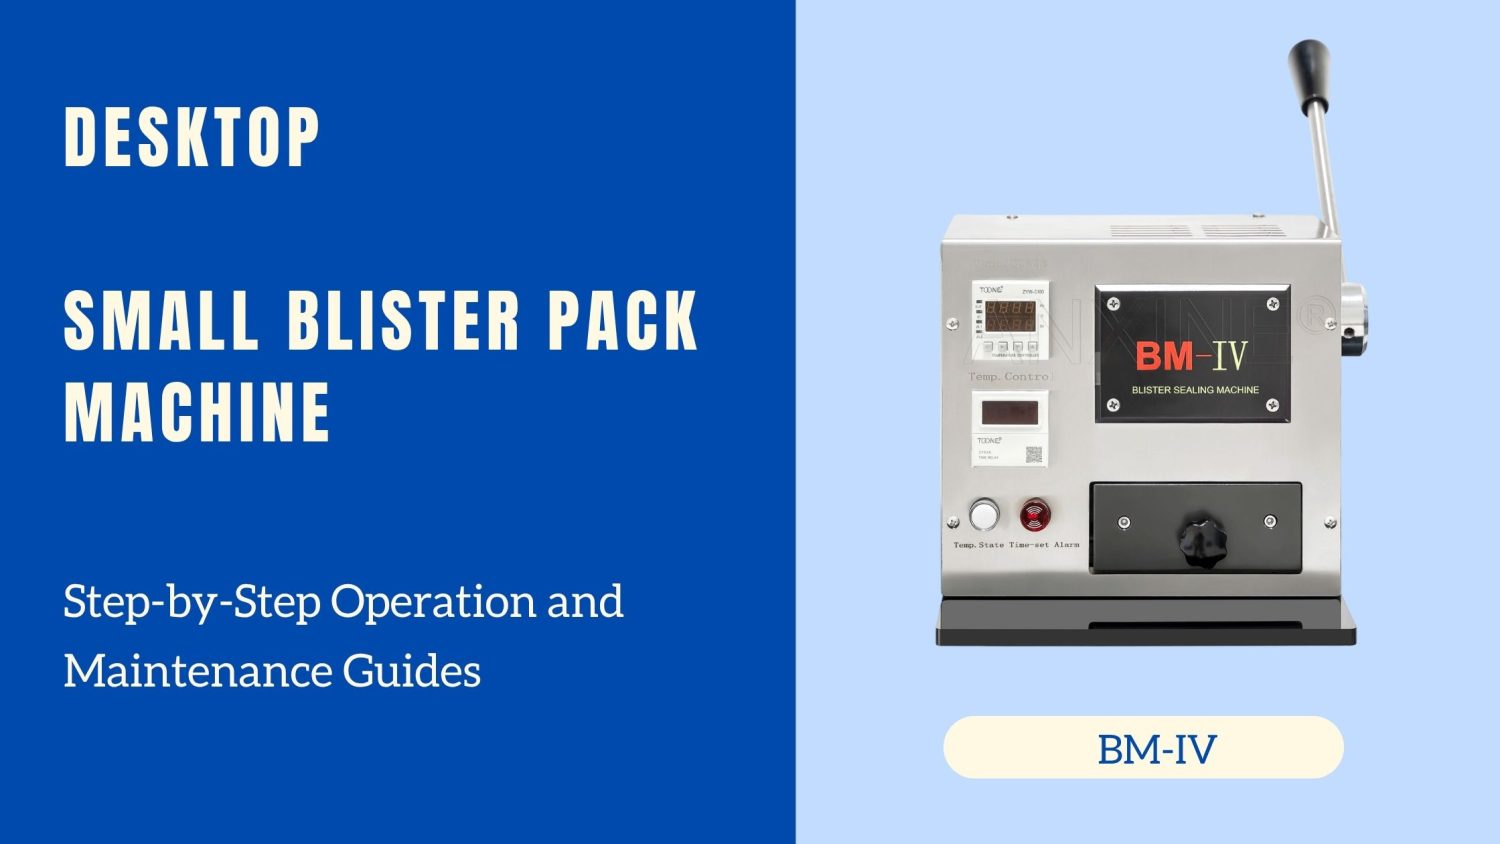
This model BM-IV is designed with a compact structure, ideal for start-up businesses and lab research. It can pack tablets, capsules, and small medical devices for convenient use. It can be set up quickly and doesn’t require a lot of automation. There is a video of the operation for your reference.
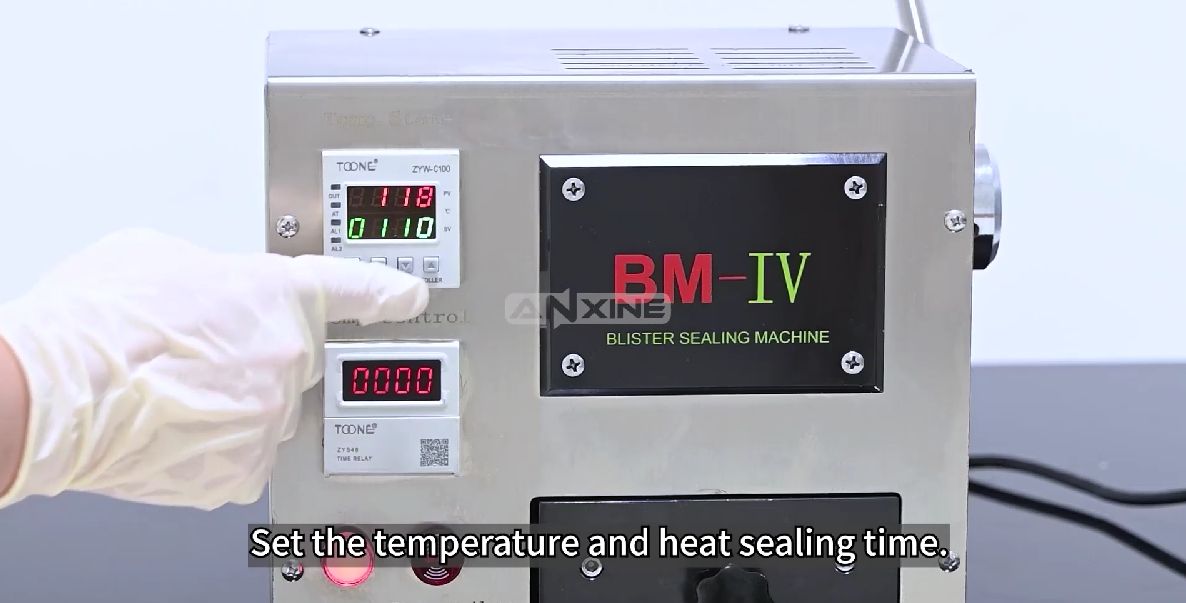
Step 1: Set the temperature and heat sealing time. The machine is pre-set with a sealing temperature and heat sealing time before delivery. During the first use, you can run a trial sealing with these settings. If the result is not good, you can adjust them further. An appropriate temperature allows the aluminum foil to seal firmly without wrinkles or scorching.
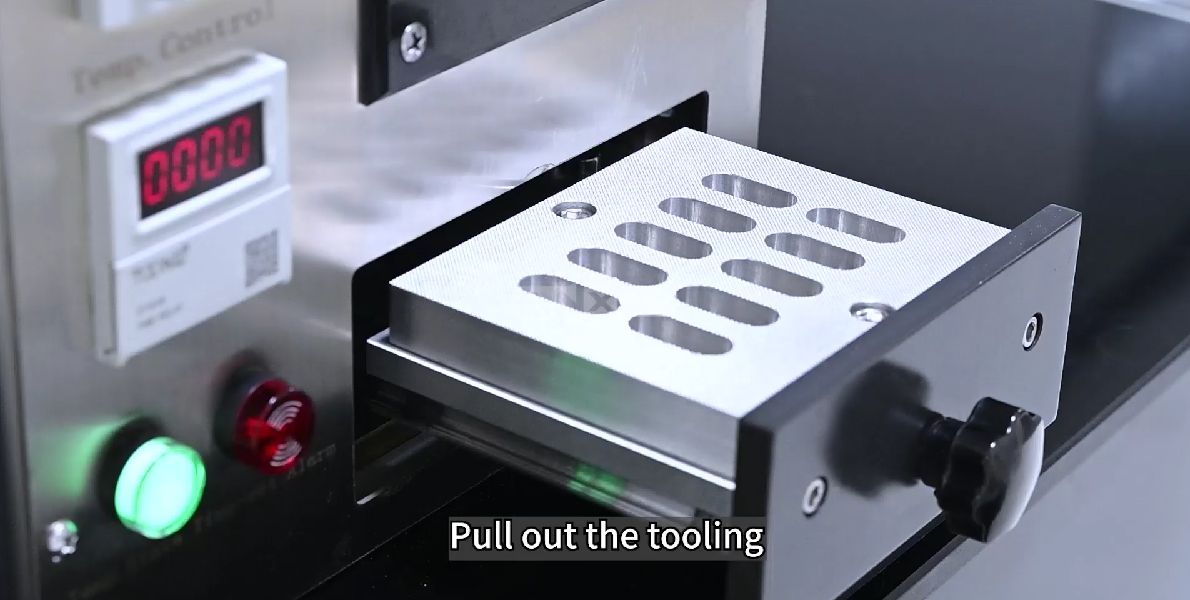
Step 2: Pull out the tooling. This ensures that the blister pack stays in a fixed position and is not removed. So, different blister sizes require matched tooling.
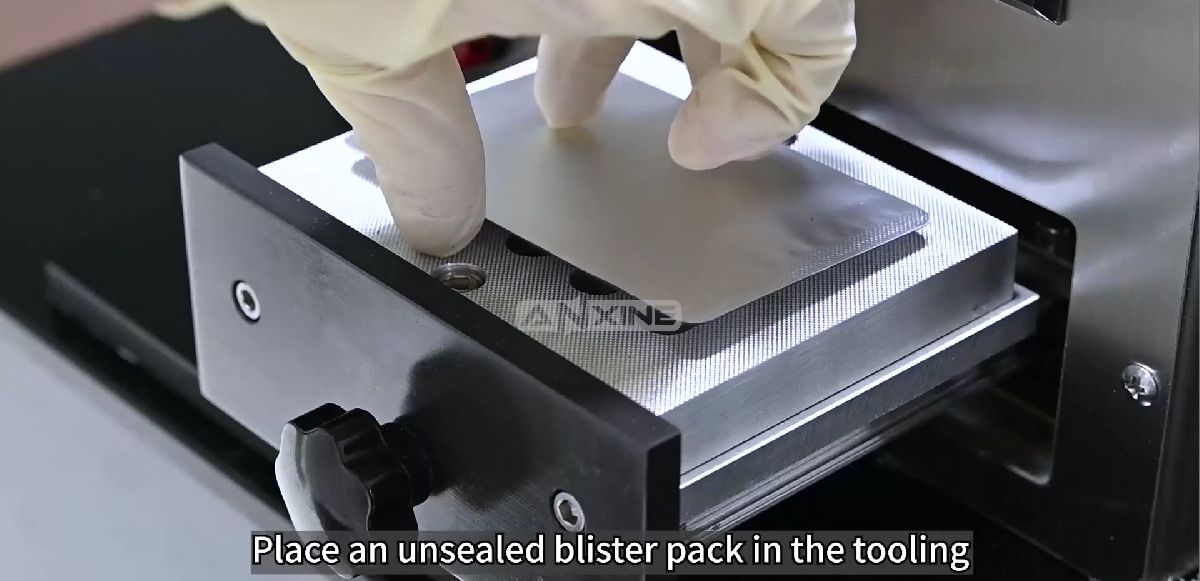
Step 3: Place an unsealed blister pack in the tooling. During heating and pressing, it allows the aluminum foil and the blister to receive even heat and even pressure.
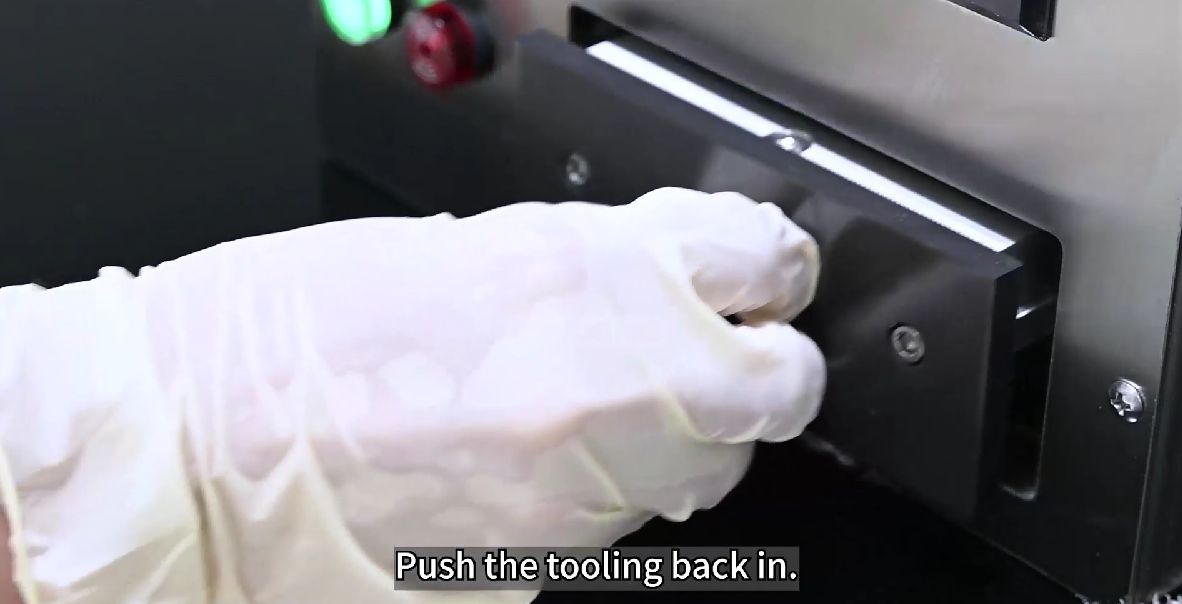
Step 4: Push the tooling back in for sealing.
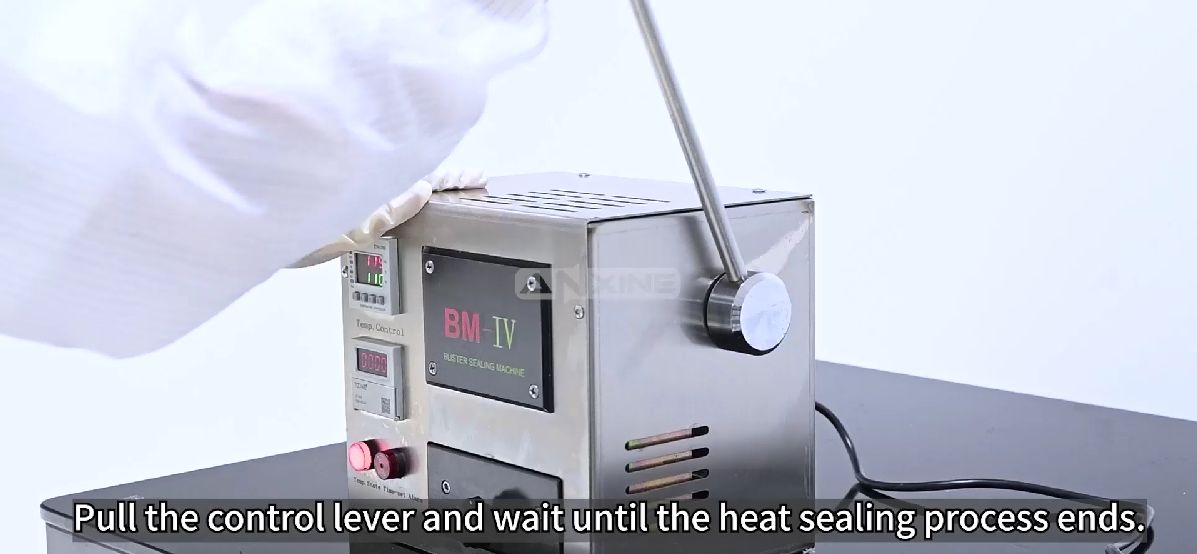
Step 5: Pull the control lever and wait until the heat sealing process ends.
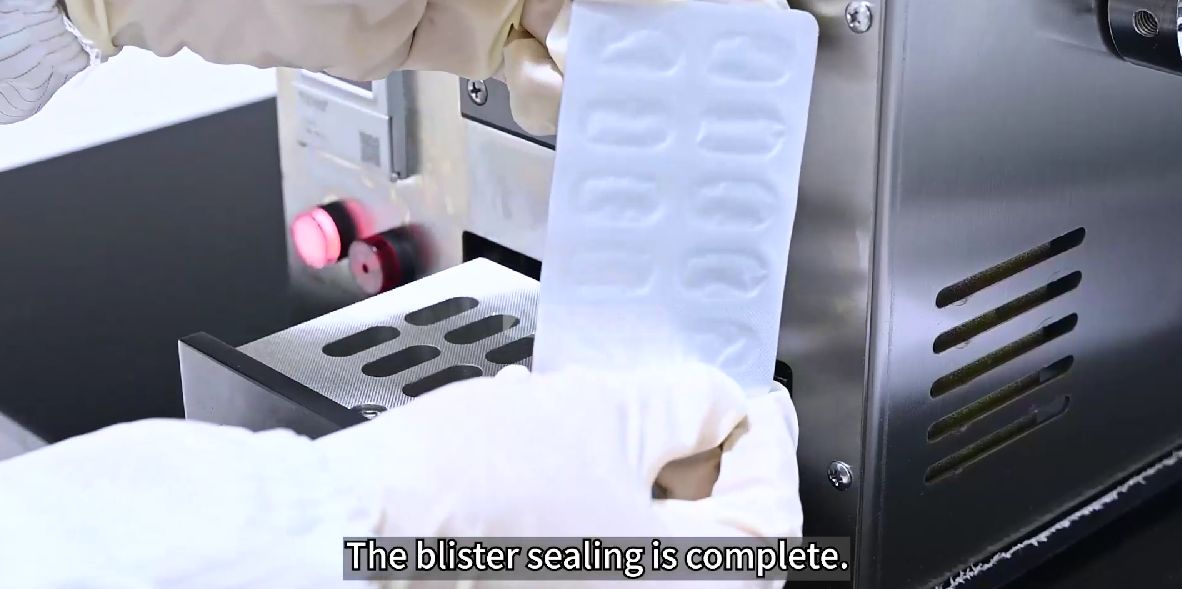
Step 6: Push the lever and get the finished blister pack.
Section 2: How to Set the Temperature?
Note: The machine is pre-configured. In case of insufficient sealing, follow these steps.
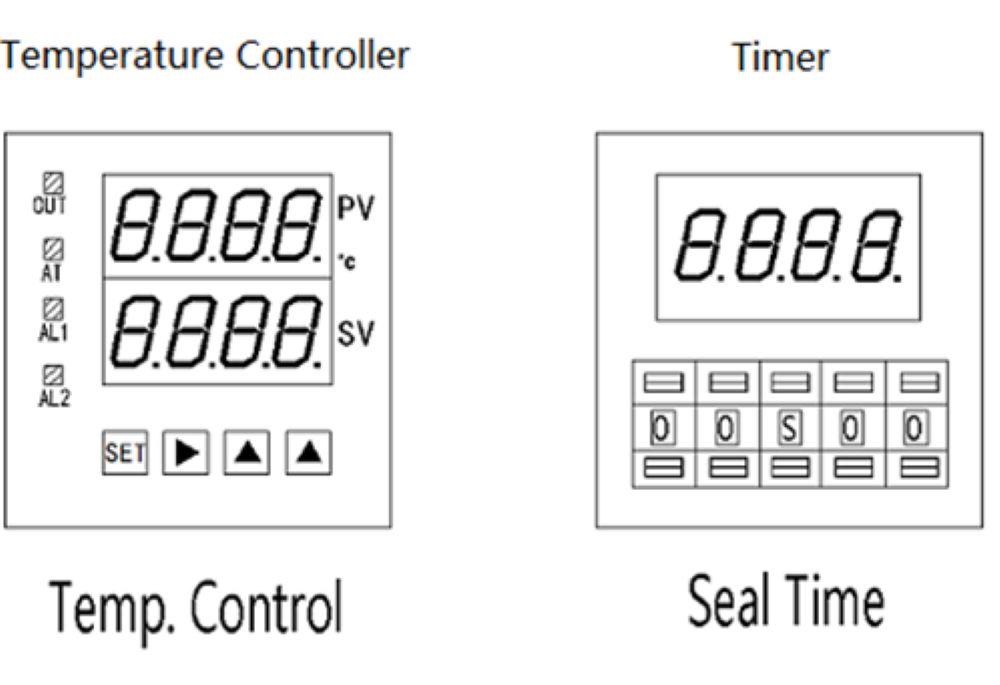
Step 1: Press and hold SET and ▶ for 3 seconds; the display will show “COD”=000.
Step 2: Press ▲ to change to 0001.
Step 3: Press SET; the display will show “SLH” (High Limit).
Step 4: Use ▲ or ▼ to adjust the high limit value. ▶ is the shift key.
Step 5: Press SET; the display will show “SLL” (Low Limit).
Step 6: Use ▲ or ▼ to adjust the low limit value. Ensure that the difference between the high and low limits does not exceed 3°C.
Step 7: Press SET to confirm.
Step 8: Press and hold SET and ▲ for 3 seconds to save and return.
Step 9: Press SET; the SV digits will blink. Set the number to the midpoint between the high and low limits.
Section 3: How to Set the Time?
Note: Excessive time may lead to deformation of the blister pack.
Step 1: Open the timer cover.
Step 2: Use the “+” or “-” buttons to adjust the time.
Step 3: Close the cover when done.
Section 4: Maintenance Guides
Note 1: Check for any foreign objects in the moving tooling.
Note 2: After every run, clean the tooling holder. Check for any dirt or debris on the tooling surface; if found, use a wire brush to remove it. Clean other parts of the machine with a dry, soft cloth.
Note 3: Use a dry, soft cloth to wipe the exterior of the machine clean. Use compressed air to blow away dust buildups in hard-to-reach places.
Note 4: Perform a trial run and check for any abnormal machine behavior. If any anomalies are detected, address them promptly. Check whether the sealing result meets the requirements; if not, make adjustments.


