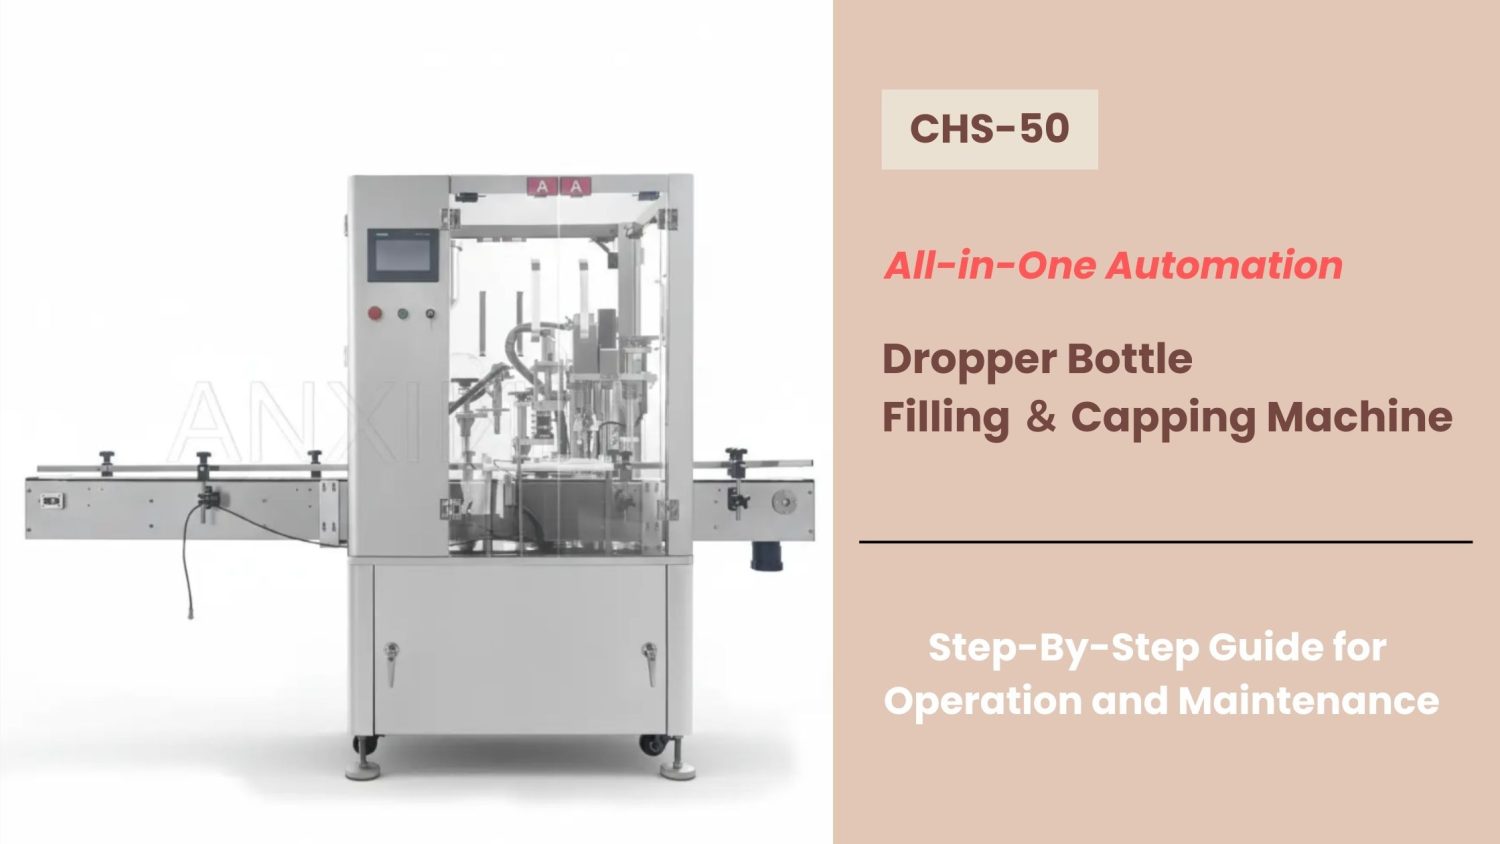
NOTICE
- The following procedures are intended for the Anxine CHS-50 only. For other brands, refer to the original manufacturer’s instructions.
- Always disconnect and lock out both the power and compressed-air supplies, and release all residual pressure, before performing maintenance, cleaning, or mold changeover.
- Only trained and authorized persons are permitted to work on the equipment.
- Your equipment may vary from images or videos due to ongoing upgrades.
- If any part of this guide is unclear, contact Anxine for technical support before proceeding.
Section 1: Operation Procedures
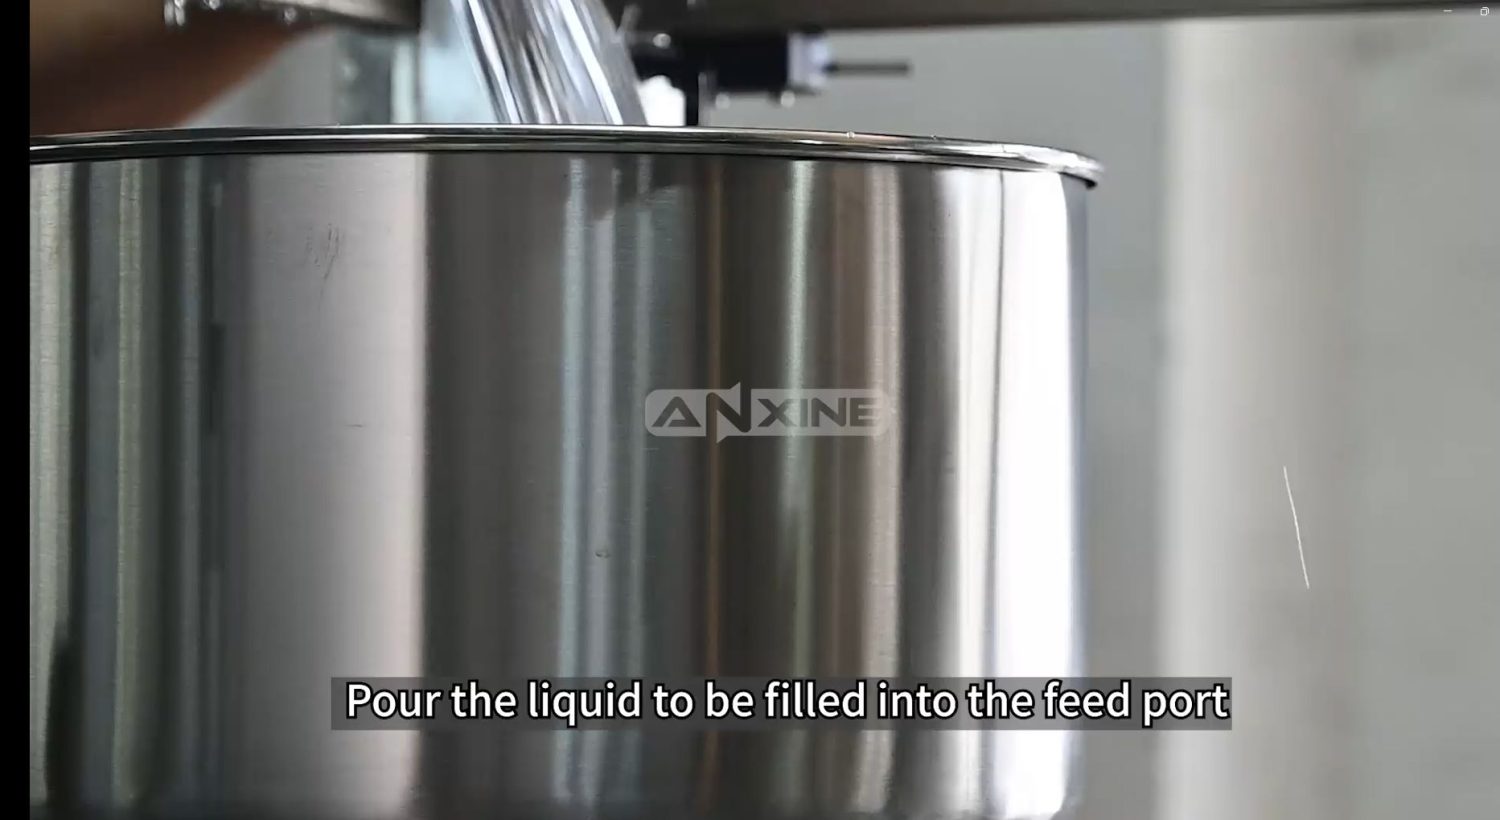
Step 1: Pour the liquid to be filled into the feed port.
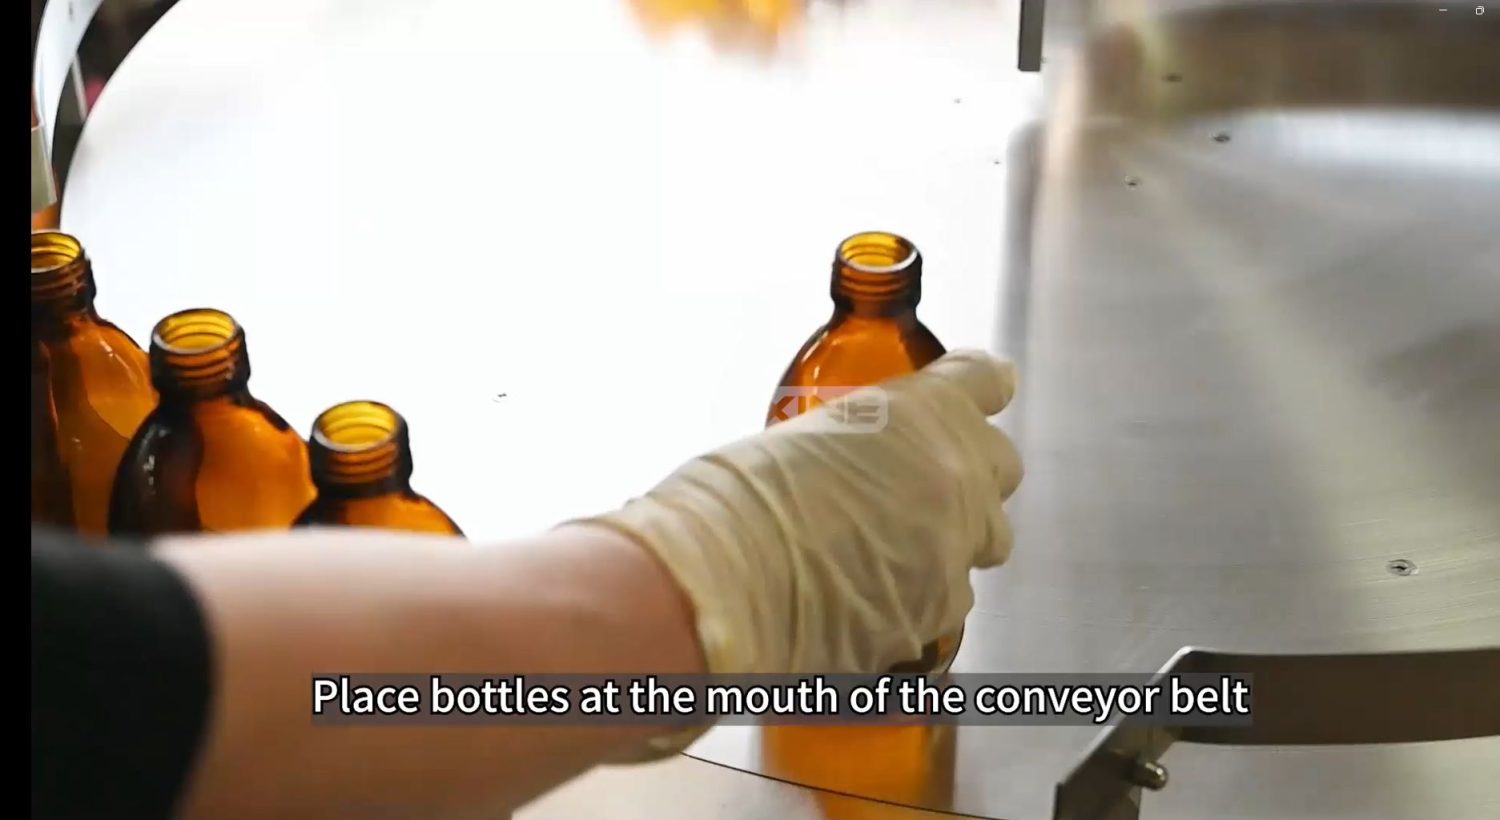
Step 2: Place bottles at the mouth of the conveyor belt.
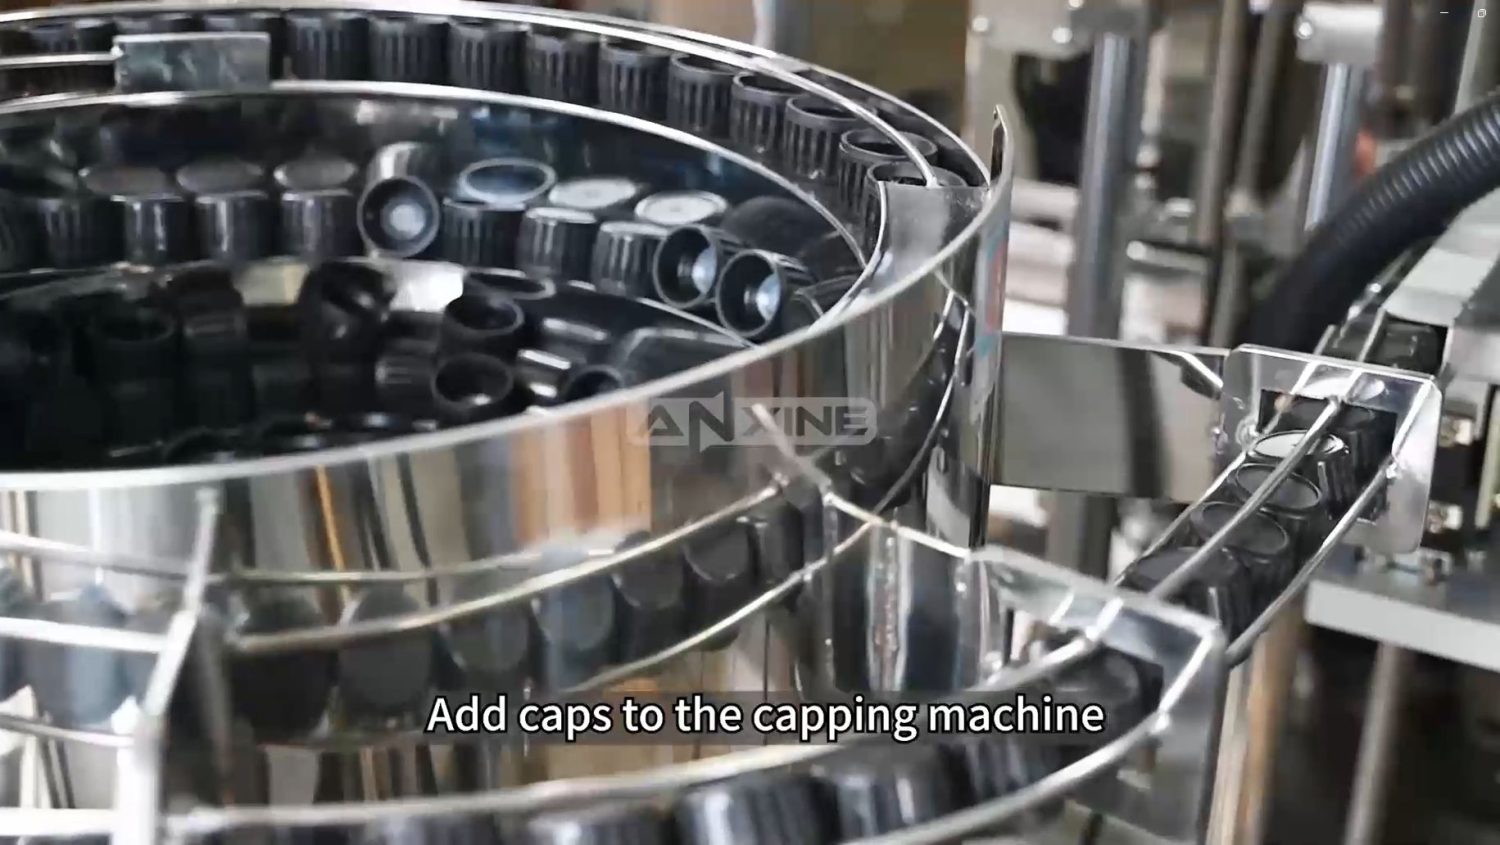
Step 3: Add caps to the capping machine.
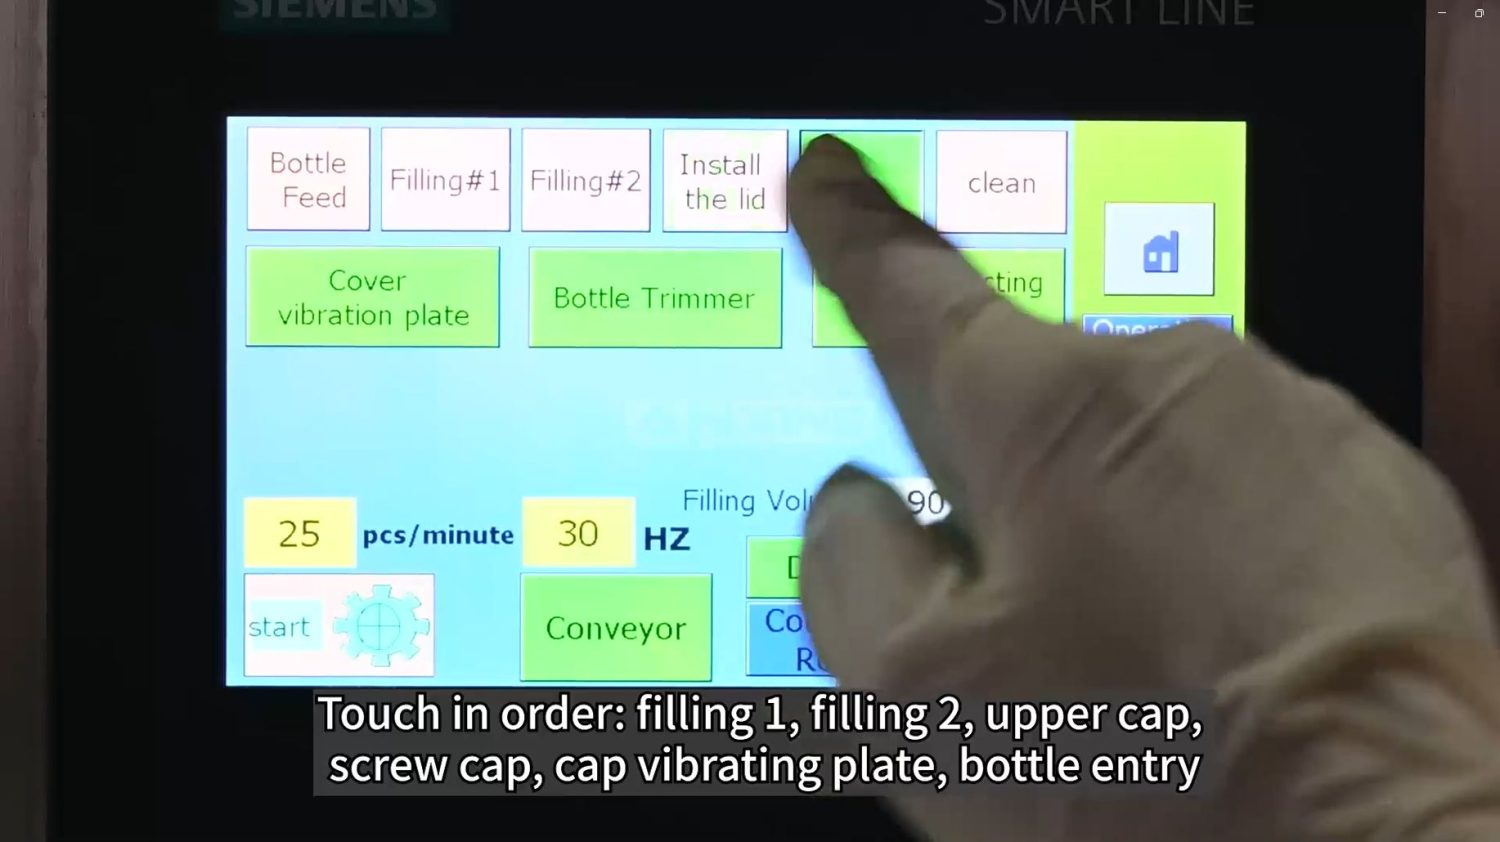
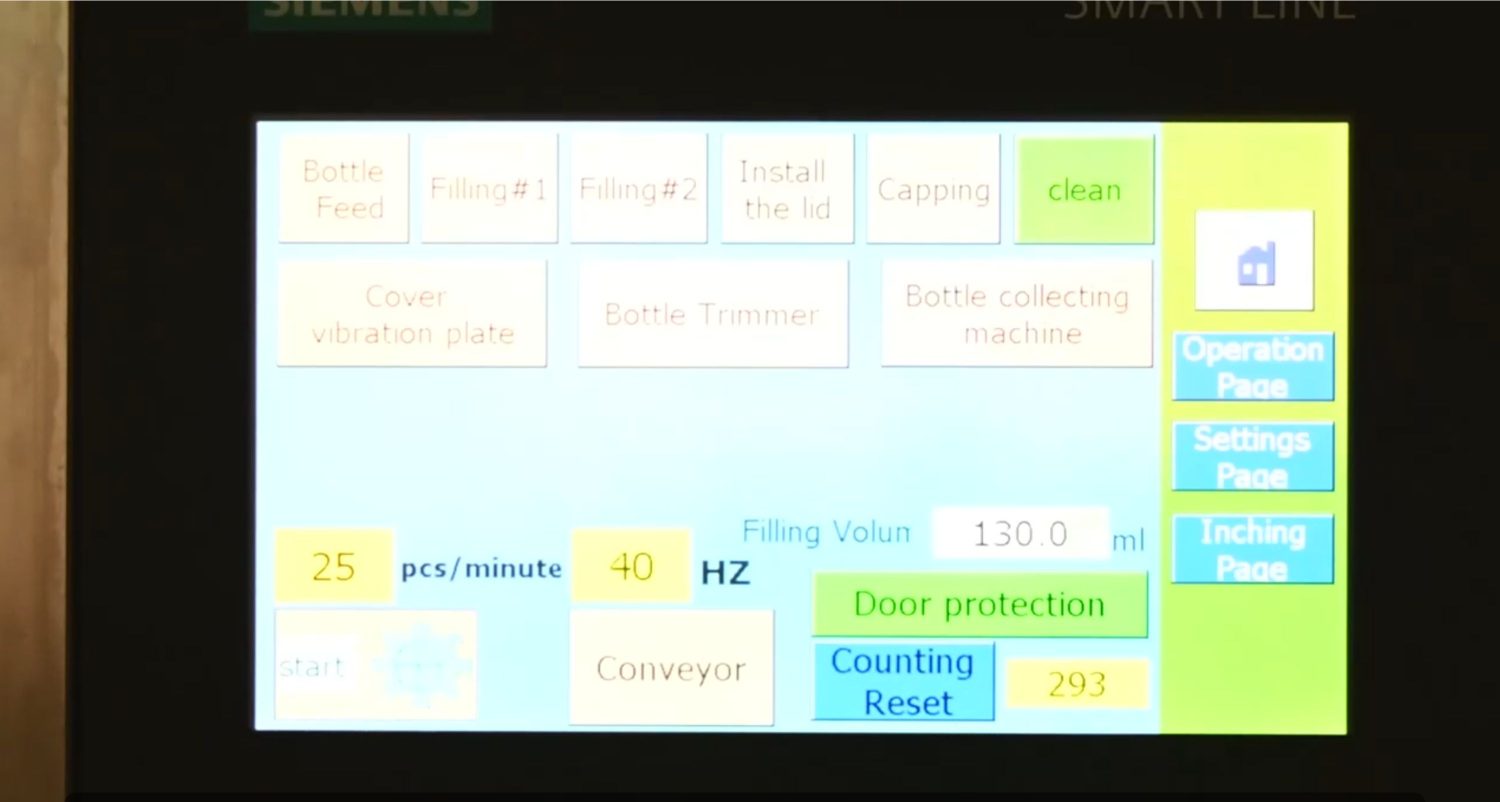
Step 4: Touch in order: filling 1, filling 2, upper cap, screw cap, cap vibrating plate, bottle entry.
Step 5: After the filling and capping is completed, wait for the discharge.
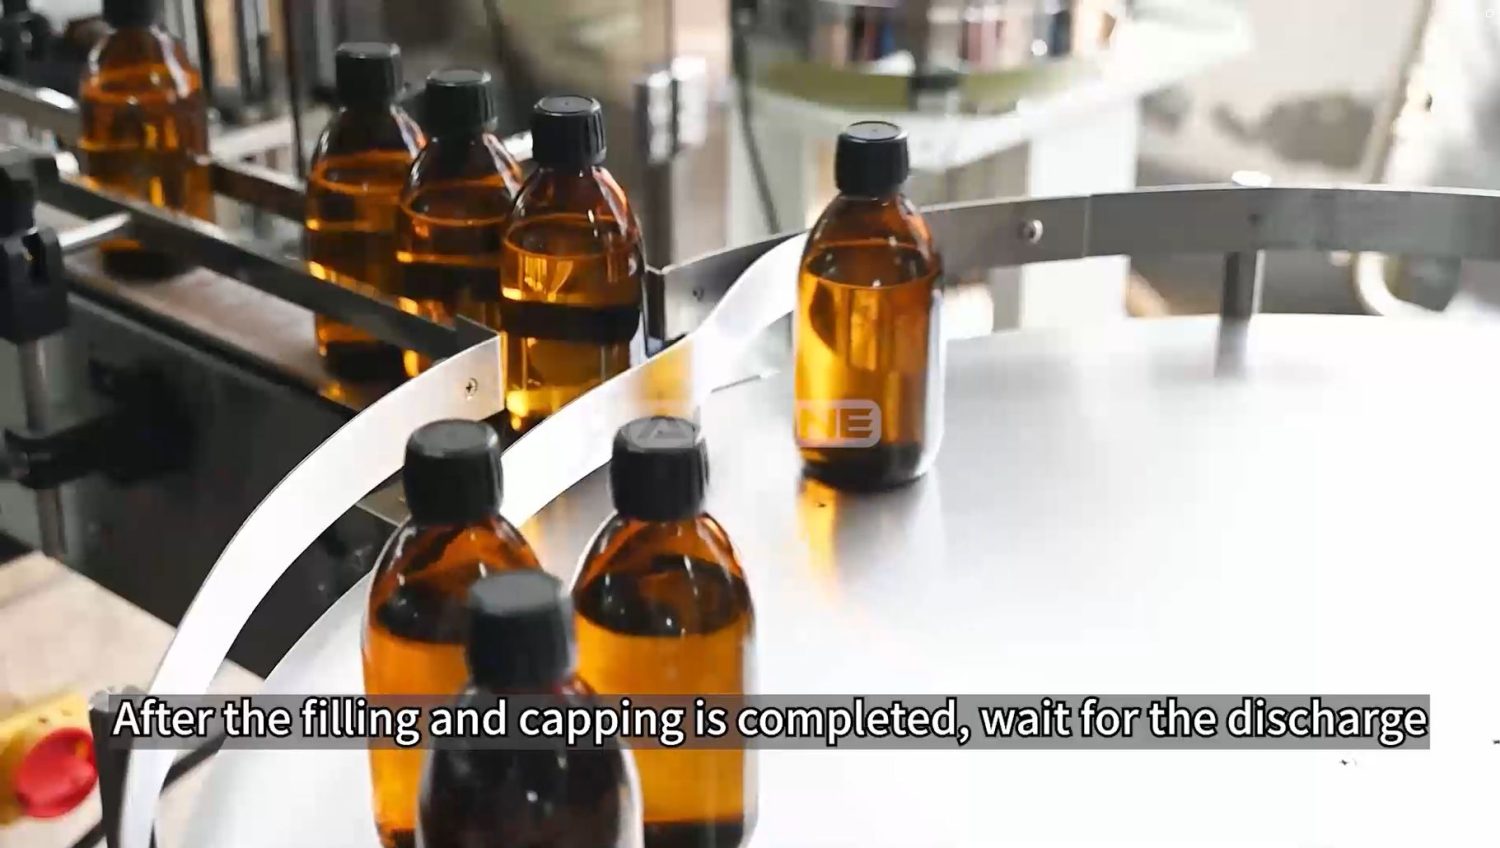
See our screw capping solution in action! Watch the video below to explore how it automatically fills, caps, and screw-seals bottles.
Section 2: Maintenance Procedures
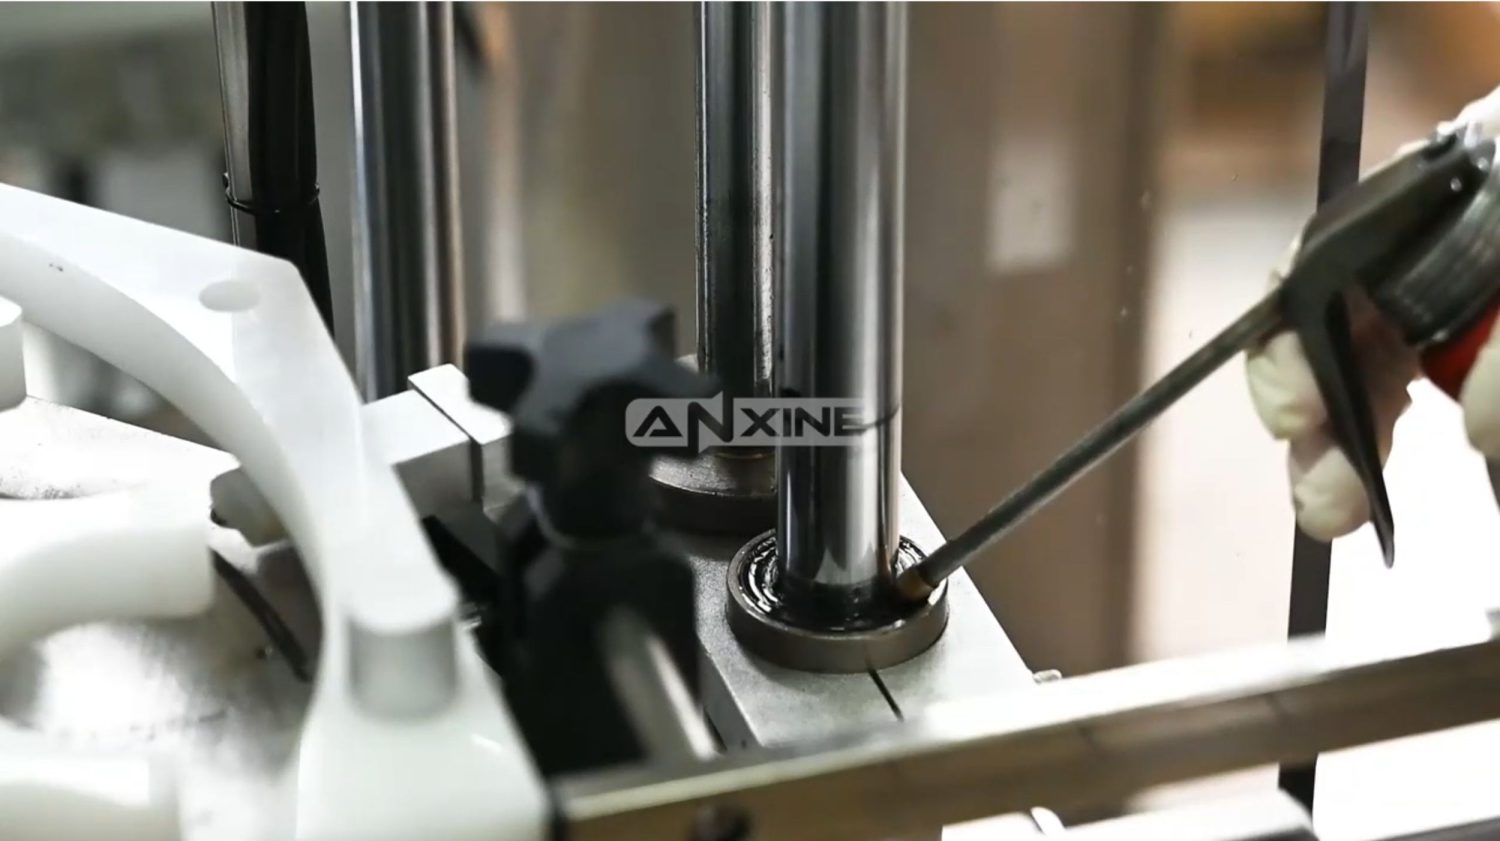
Step 1: Use a grease gun or applicator to lubricate all guide rods and rails, remove any dirt, and check for loose screws in high-frequency action cylinders.
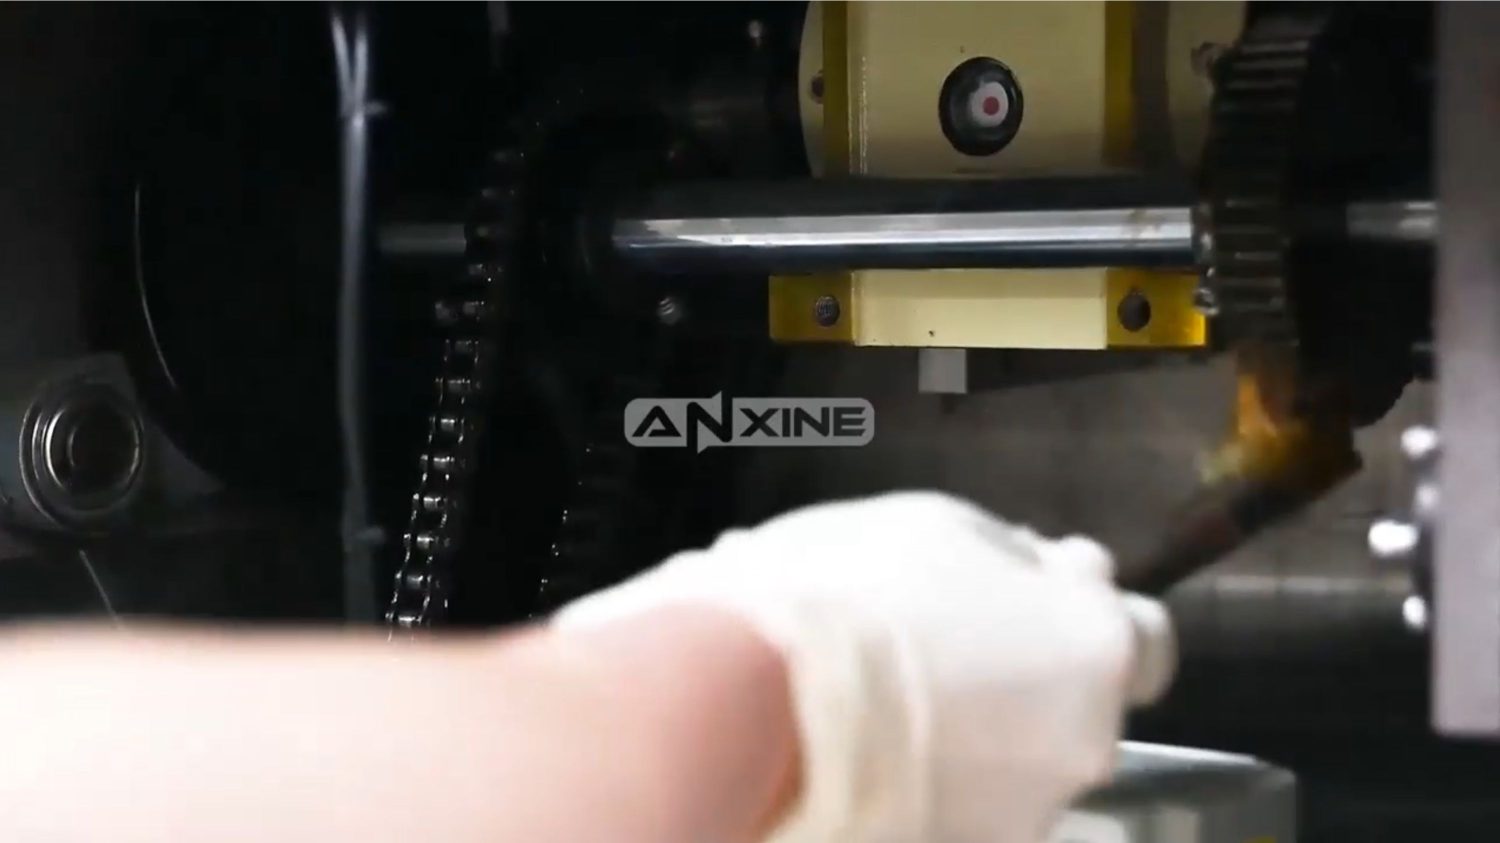
Step 2: Use a brush to lubricate or clean the chain to ensure smooth operation and reduce wear.
Step 3: Use a clean, soft cloth to wipe off any oil residue on the mold surfaces. Do not use cleaning agents that may leave residues on the surfaces.
Step 4: Check for any looseness near the proximity sensors or photoelectric sensor positions.
Step 5: Verify that all switches, motors, solenoid valves, pneumatic valves, and sensors are functioning properly.
Step 6: Ensure all air pipes are securely fastened to their respective fixtures without any gas leakage.
Step 7: Ensure all air pipes are securely fastened to their respective fixtures without any gas leakage
The video below shows how to lubricate the Automatic Dropper Bottle Filling and Capping Machine.
Section 3: Cleaning Procedures
Step 1: Properly connect the cleaning fluid tube to the machine cleaning port. Ensure the connection is secure and leak-free.
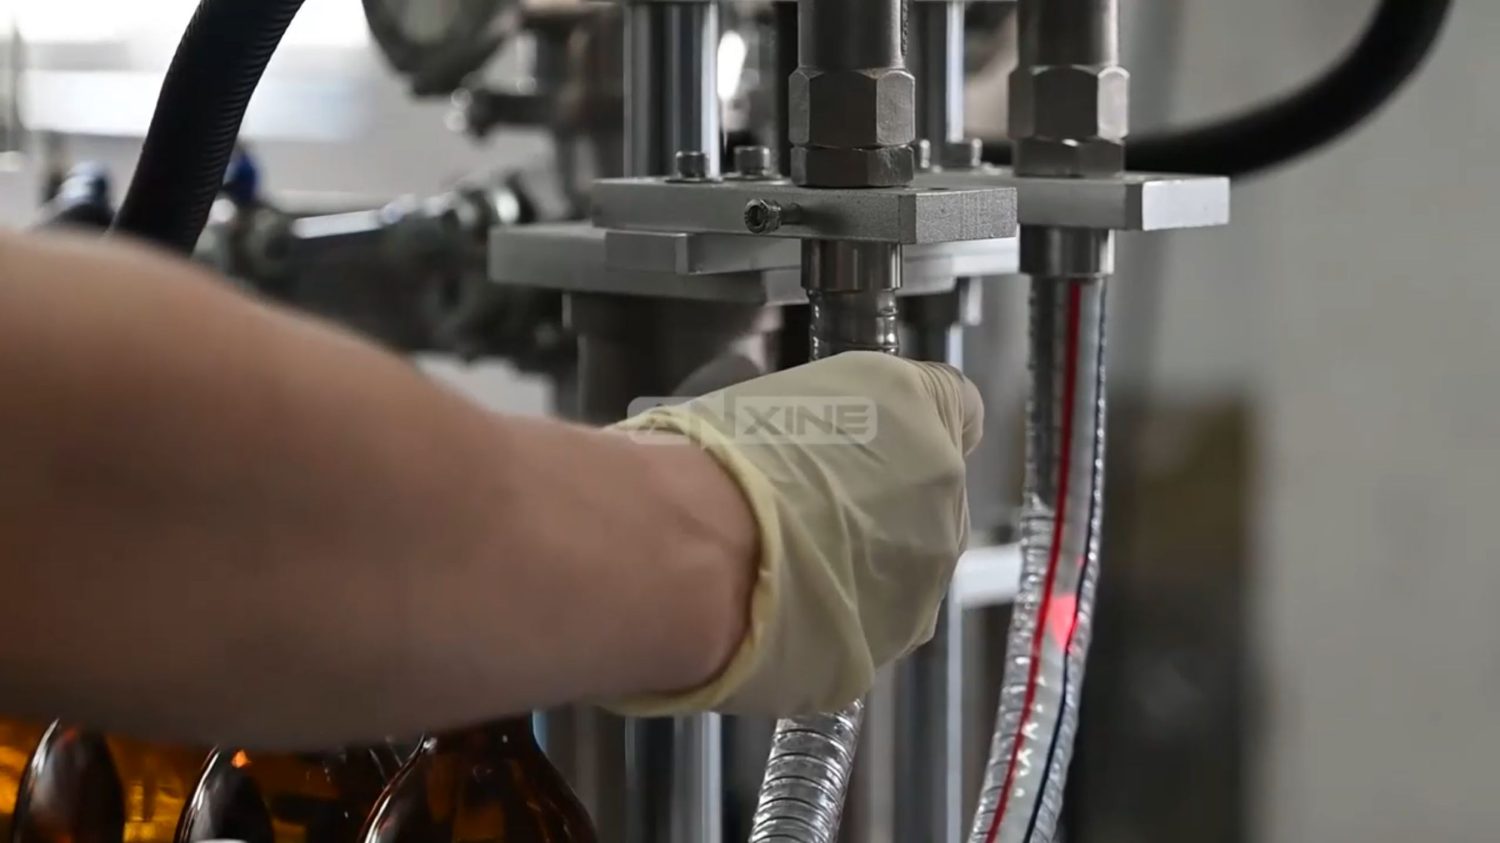
Step 2: Turn on the power. Press the “CLEAN” button on the control panel and the system will start an automatic cleaning cycle.
How to clean the dropper bottle filling and capping machine CHS-50? See the video below for a step-by-step demonstration.
Section 4: Installation Guides
Note 1: The machine should be installed in a well-ventilated and well-lit clean room.
Note 2: Leave a working space 1.5 meters wide around the machine for ease of operation and maintenance.
Note 3: Ensure reliable grounding and provide a 220V 60Hz three-phase AC power supply.
Note 4: The machine must be installed on a relatively flat ground. After the installation, use a leveling instrument to check if the machine is level. If it is not level, it can be adjusted using the four feet of the machine.
Note 5: After the installation is complete, carefully inspect all parts of the machine for any looseness.


