NOTICE
- The following procedures are intended for the Anxine NCC-A only. For other brands, refer to the original manufacturer’s instructions.
- Always disconnect the power supply before performing maintenance, cleaning, or mold changeover.
- Only trained and authorized persons are permitted to work on the equipment.
- Your equipment may vary from images or videos due to ongoing upgrades.
- If any part of this guide is unclear, contact Anxine for technical support before proceeding.
Section 1: Operation Procedures
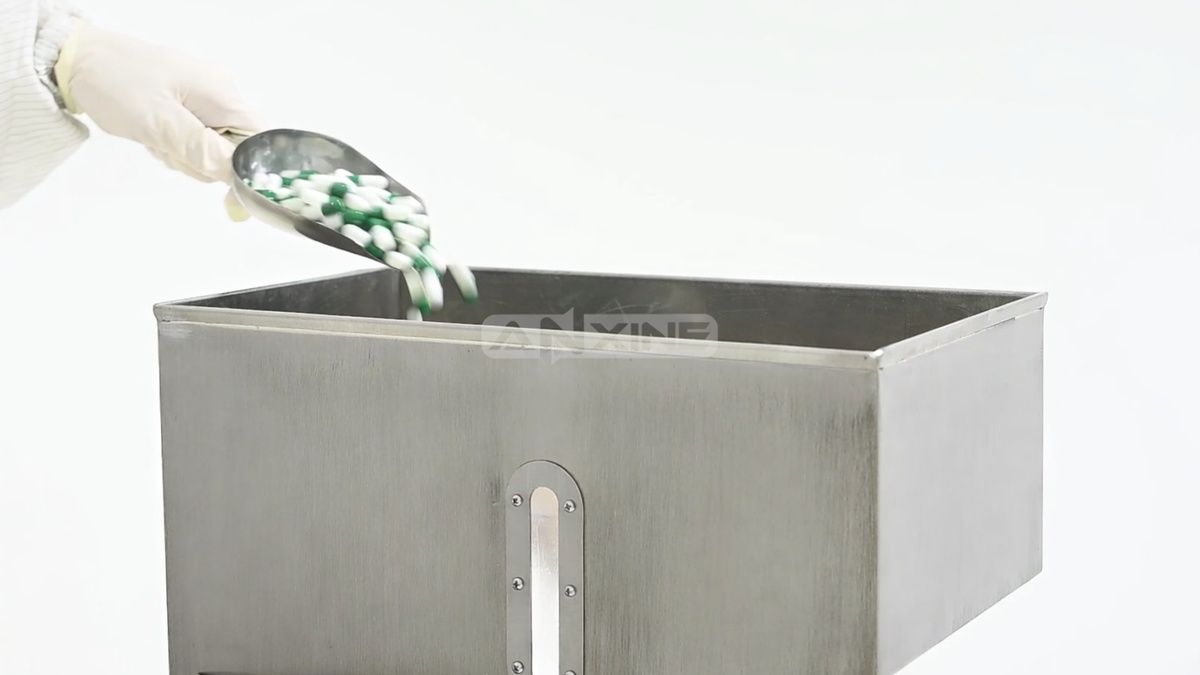
Step 1: Load capsules into the stainless steel hopper. You can do this manually with a scoop or use a vacuum feeder. The hopper includes a front sight glass so you can monitor the product level in real time.
Step 2: Manually adjust the feed gate height at the base of the storage hopper. This fine-tuning will help regulate a steady flow of capsules into the magazine channels.

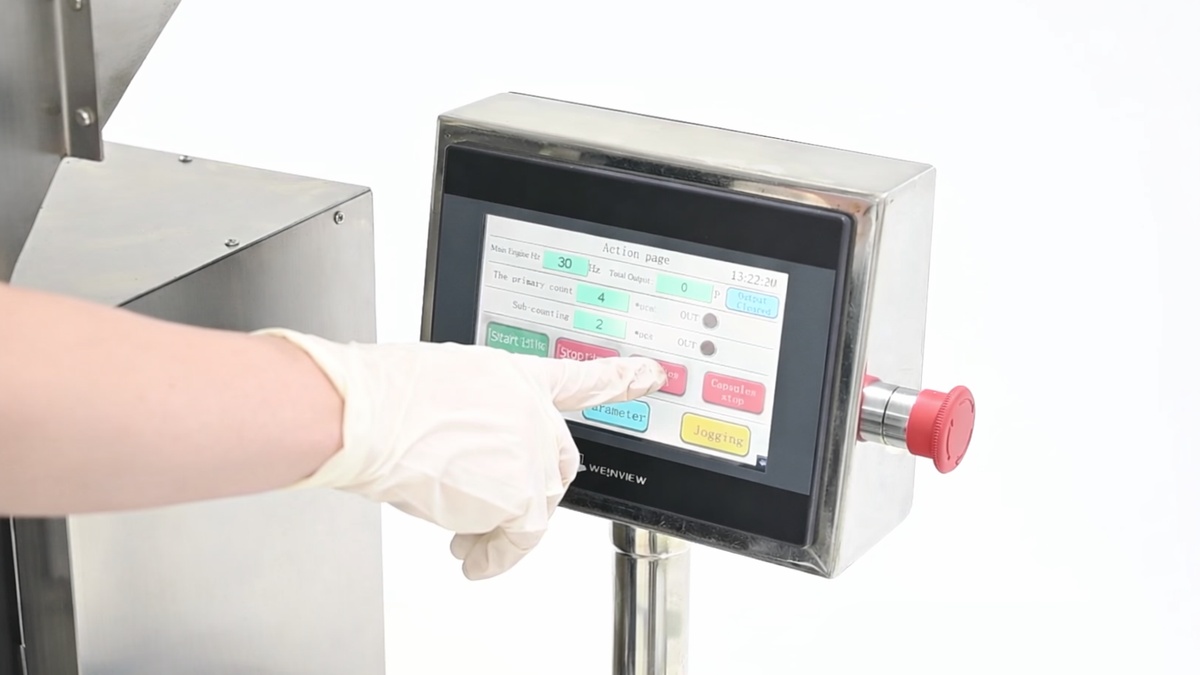
Step 3: Enter the target values for speed and count on the HMI touchscreen. Then press the start controls for the conveyor belt and capsule dispenser to begin the counting and filling cycle.
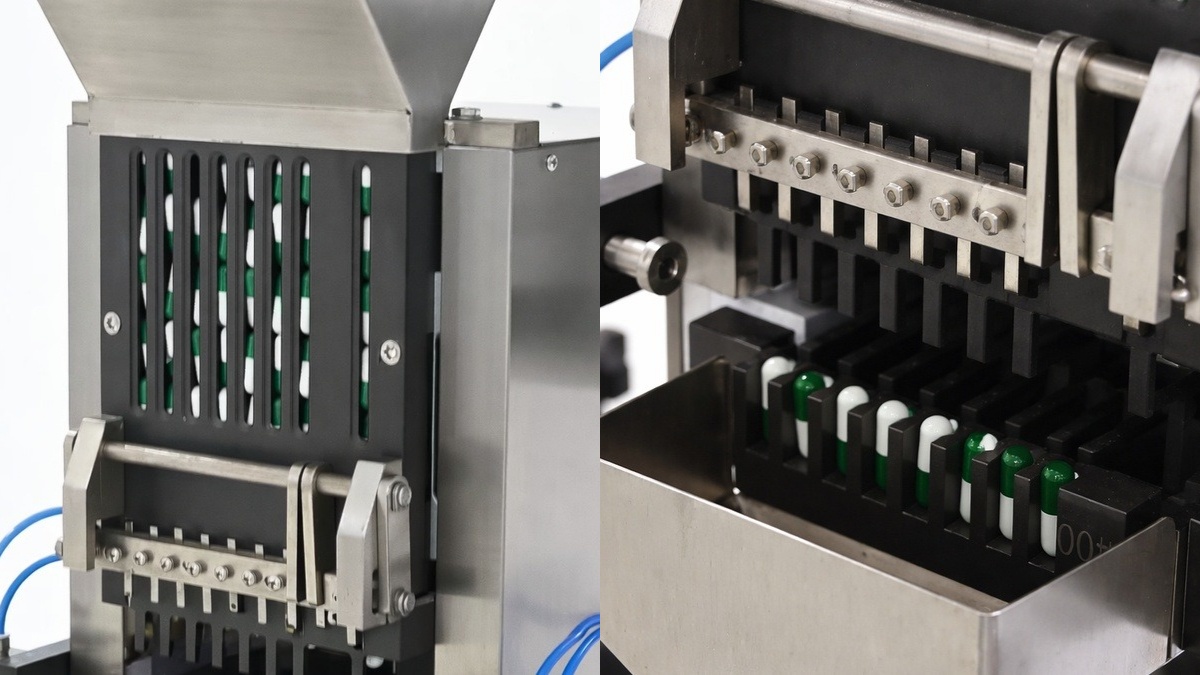
Step 4: The capsules flow from the hopper into the magazine. The magazine then dispenses the aligned capsules downward in a steady rhythm through the vertical chutes into the funnel below.
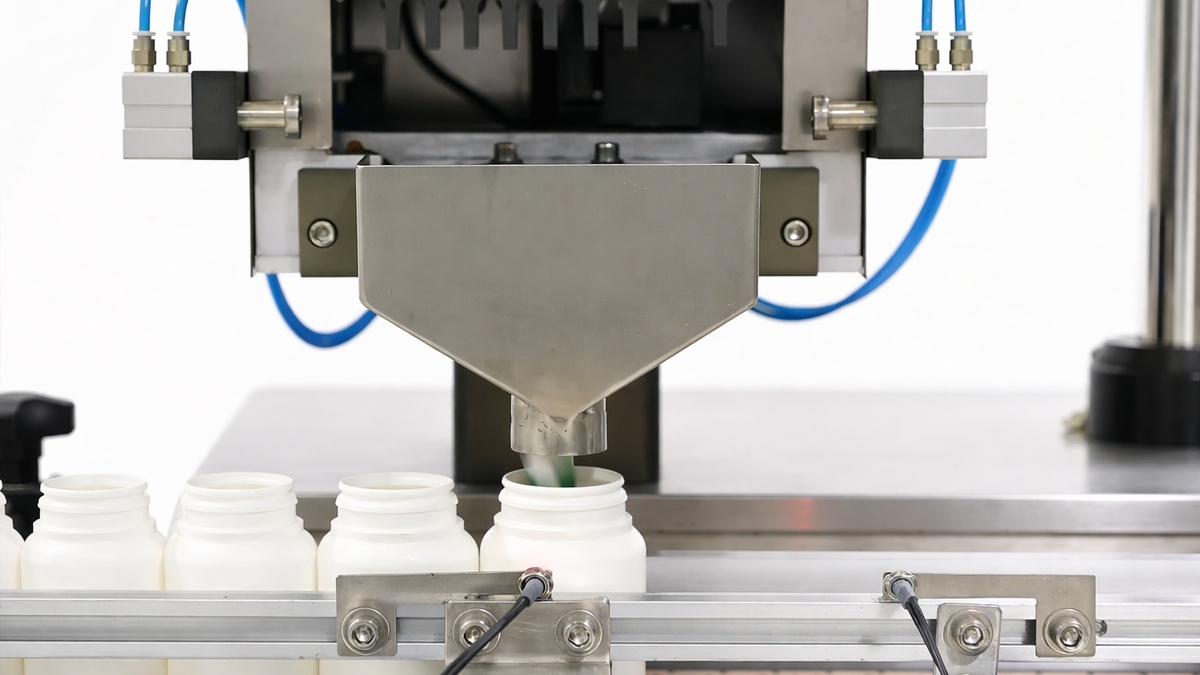
Step 5: The capsules drop through the discharge funnel into empty bottles below. The filled bottles are then conveyed to the next station for downstream processing.
To see that “sowing-like” counting and filling in motion, check out the full video below.
Section 2: Installation of Key Components
- Installation of the capsule comb
There are two positioning holes at the back of the capsule comb. Align the positioning holes with the cylindrical pins and then tighten the M6 screws.
- Installation of the capsule magazine
There are two positioning holes in the back of the capsule magazine. Align the positioning holes with the cylindrical pins and then tighten the M6 screws.
- Installation of the capsule fork
First, tighten the M6 screws slightly. Then, in the inches state, locate the capsule fork at the front dead center position. Finally, tighten the M6 screws.
Section 3: Debugging Procedures
Step 1: Start the conveyor belt. Its rotation direction shall be clockwise.
Step 2: Place several bottles on the left side of the conveyor belt and adjust the cylinder bottle-positioning device so that when a bottle reaches the lower part of the hopper and is aligned with the hopper mouth, the photoelectric switch will activate the cylinder to lock the bottle in place.
Step 3: Manually set the capsule quantity per bottle. The main and auxiliary capsule counting parameters will be set automatically. The feeding speed can be adjusted between 1 Hz and 50 Hz. At the beginning, it is recommended to set the feeding speed between 25 Hz and 35 Hz.
Step 4: Press the inching button to make the feeding device move up and down. It should operate smoothly without abnormal noise throughout the process, even when the feeding speed reaches the maximum value.
Step 5: Pour finished capsules into the capsule hopper and perform counting at low speed. Gradually increase the speed under normal operating conditions.


