
NOTICE
- The following procedures are intended for the Anxine NPC-5A only. For other brands, refer to the original manufacturer’s instructions.
- Always disconnect the power supply before performing maintenance, cleaning, or mold changeover.
- Only trained and authorized persons are permitted to work on the equipment.
- Your equipment may vary from images or videos due to ongoing upgrades.
- If any part of this guide is unclear, contact Anxine for technical support before proceeding.
Section 1: Operation Procedures
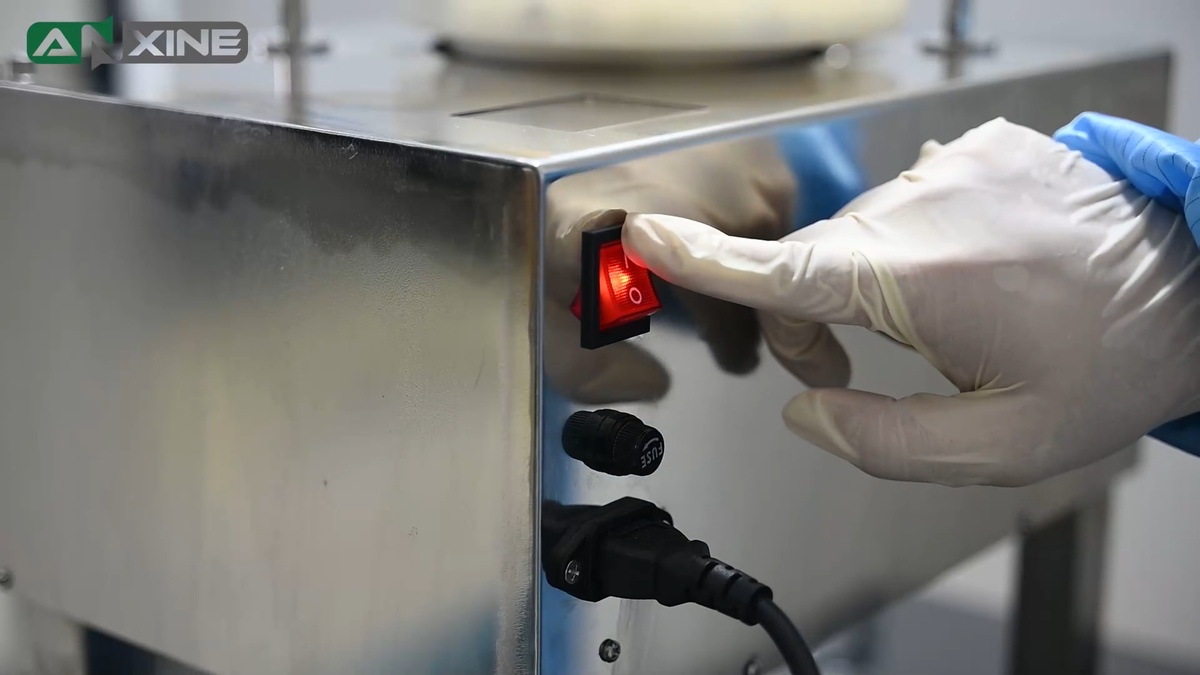
Step 1: Make sure the power cord is firmly plugged into a grounded outlet. Then press the main power switch on the back of the pill counter. The indicator light will illuminate red.
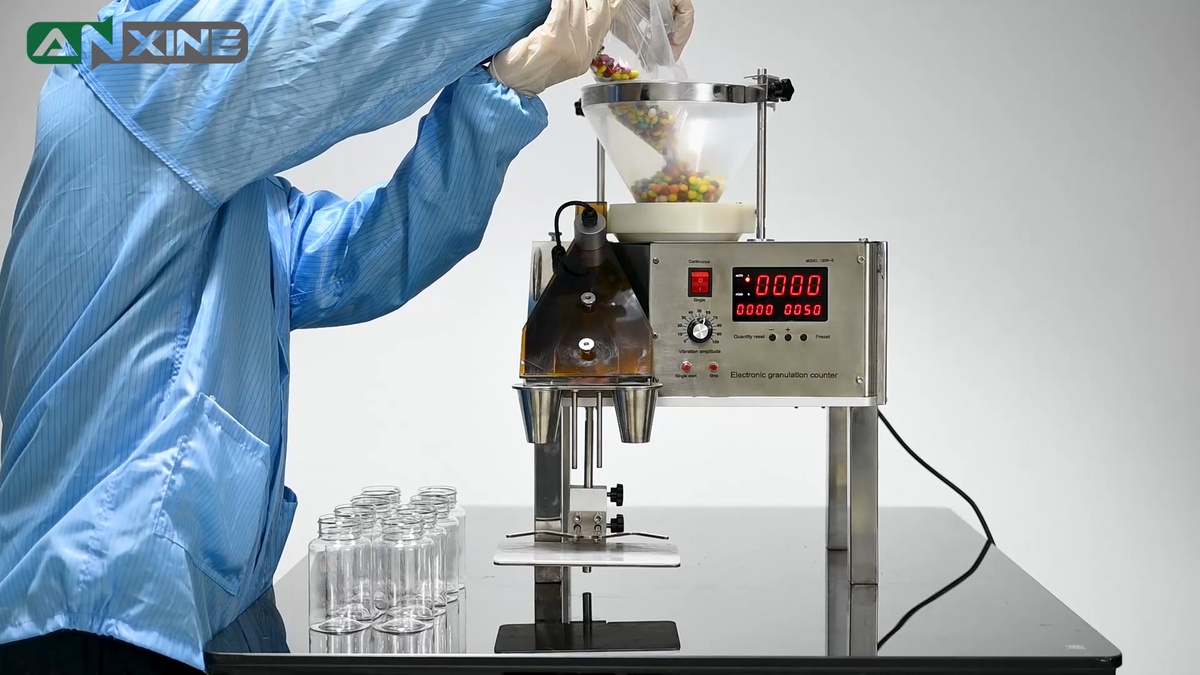
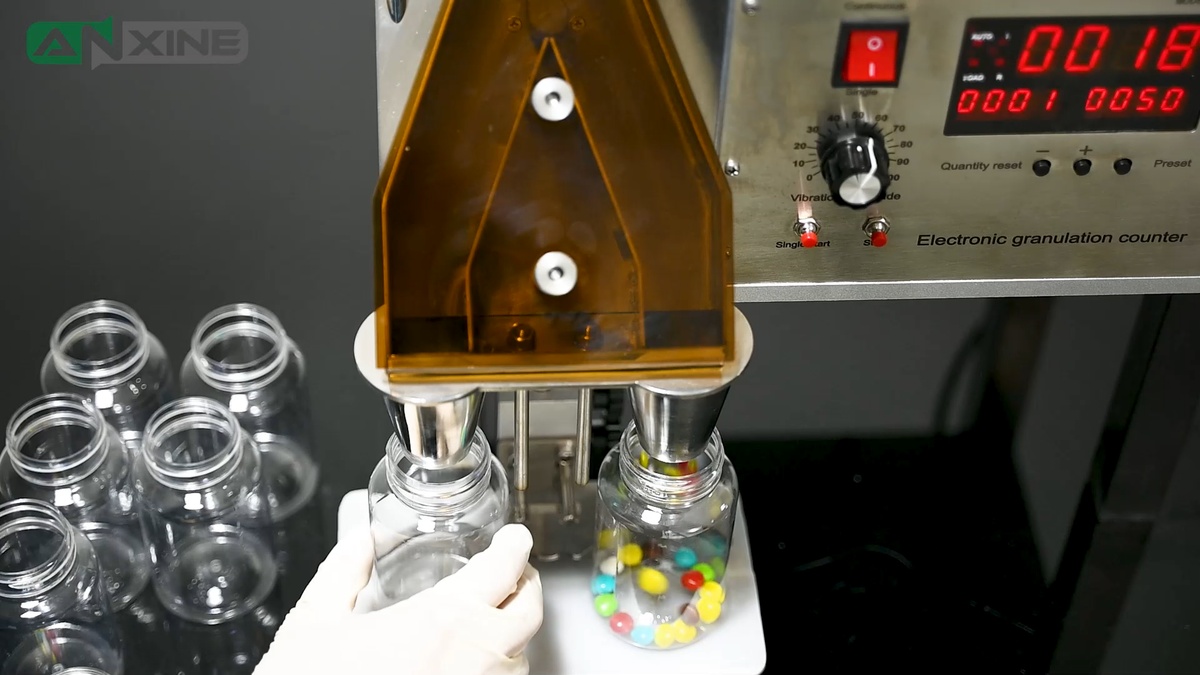
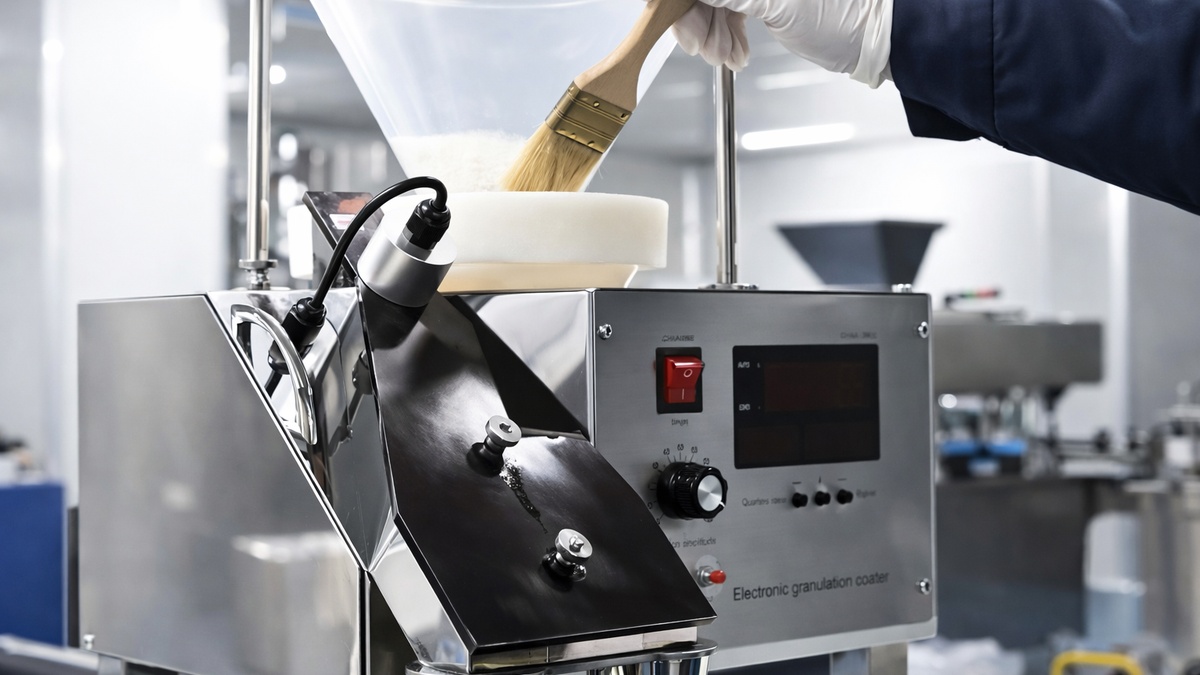
Step 2: Load the products into the conical hopper at the top of the unit. Gravity and controlled vibration will feed the material into the counting channel. Then place empty bottles under the filling funnels.
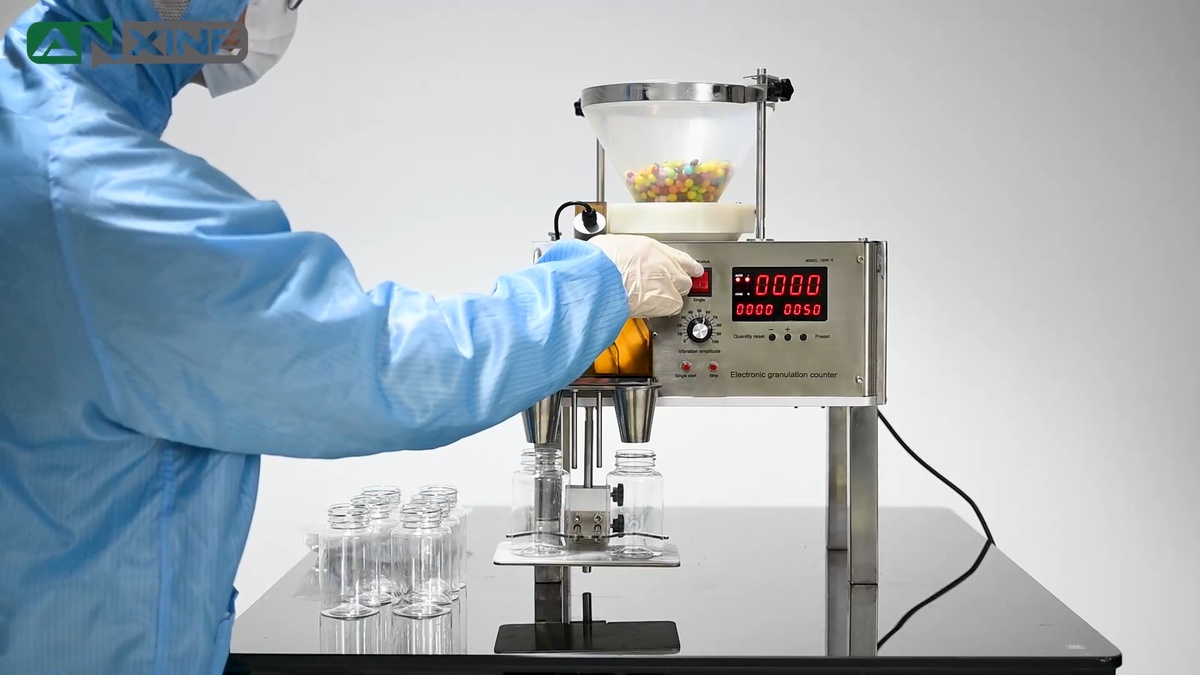
Step 3: Use the small buttons on the control panel to set the target count per bottle. Then turn the dial to adjust the vibration level. Select Continuous or Single mode using the mode selector switch.
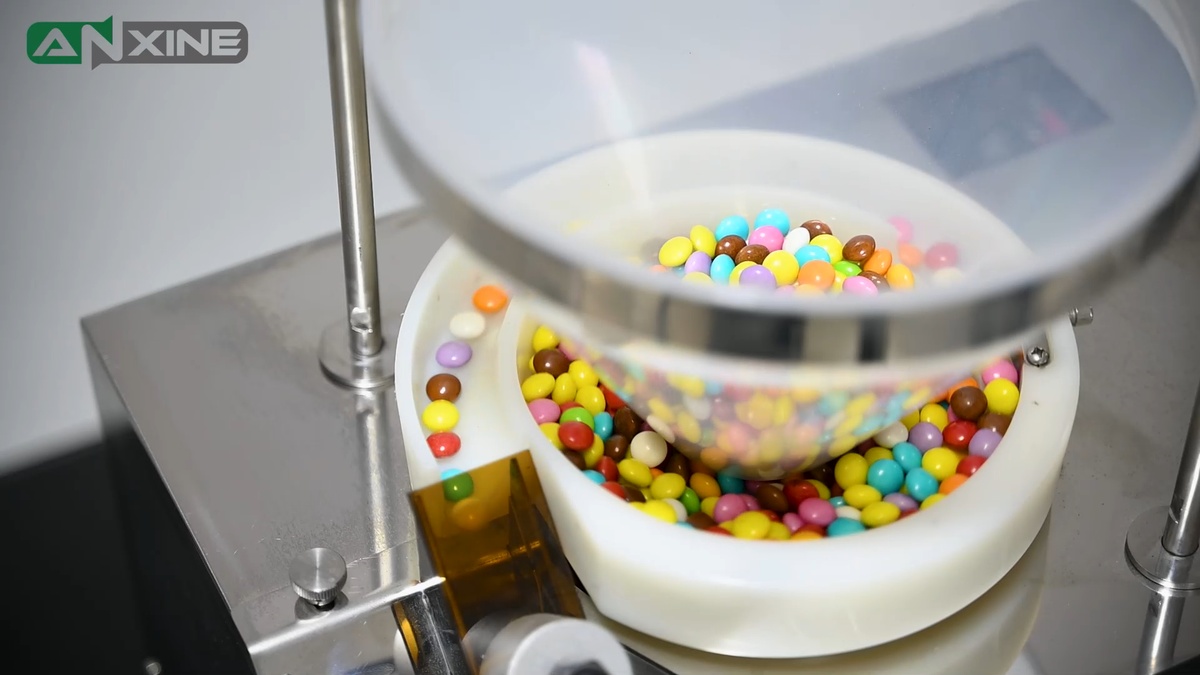
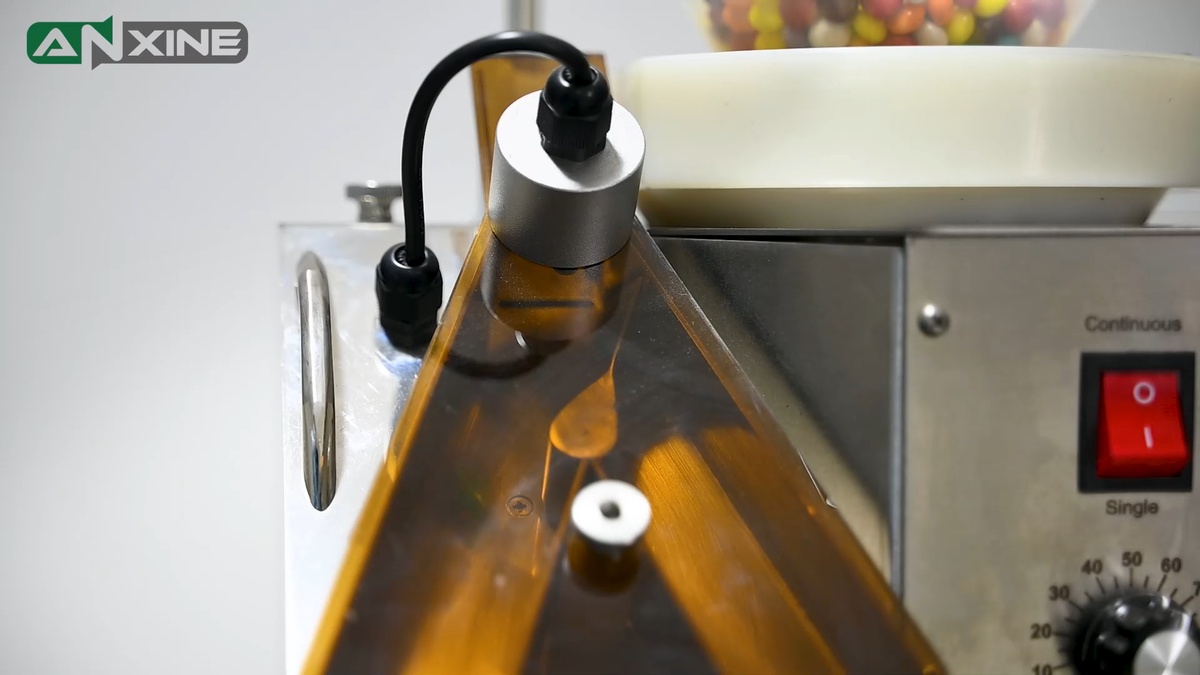
Step 4: The vibratory feeding system moves the products from the hopper onto the distribution disc below. This disc vibrates to orient and line up the pills into a single-file path. This ensures that each unit enters the optical sensor one at a time without overlapping.
Step 5: When the products enter the counting area, a high-precision optical sensor counts each piece. Once one channel reaches the target count, an internal pneumatic diverter flips to redirect the products into the other channel.
Step 6: The counted products are dispensed by the funnel into an empty bottle. Once a bottle is full, replace it immediately with an empty bottle for the next counting and filling cycle.
Watch the full counting and bottling cycle in action below to see exactly how the NPC-5A pill counter handles the product.
Section 2: Cleaning Procedures
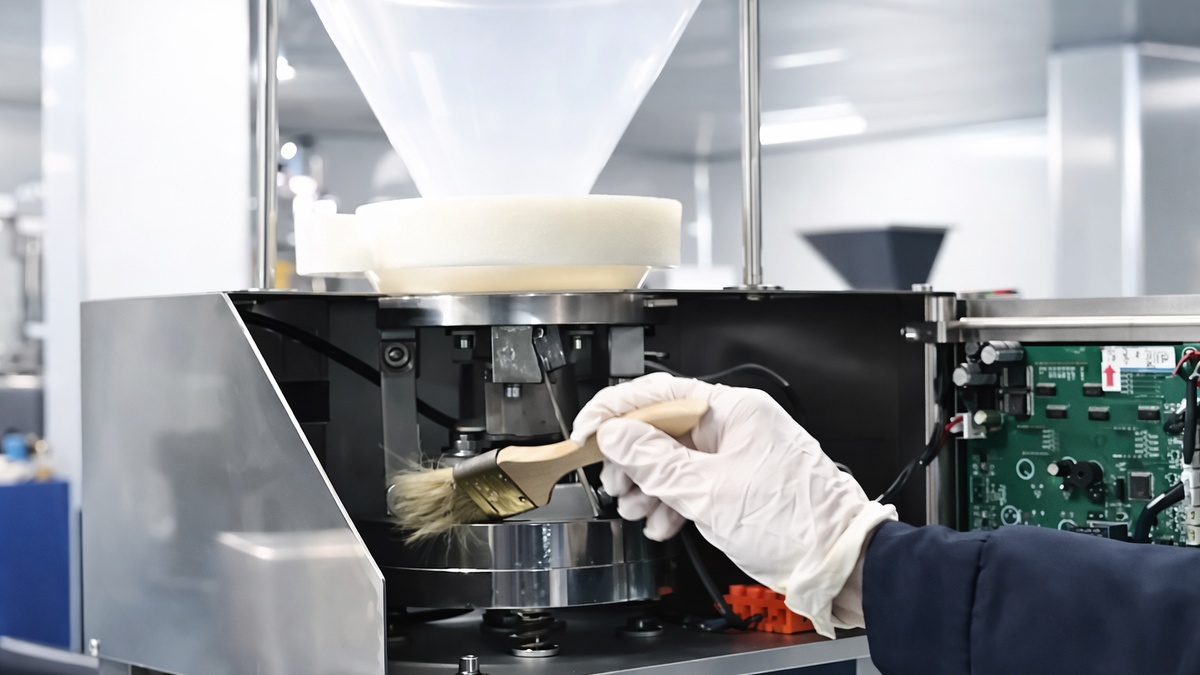
Step 1: Use a soft-bristled brush to clean the vibratory distribution disc and the inside of the hopper. Remove any dust or product residue.
Step 2: Loosen the thumbscrew at the top of the front cover. Carefully open the front access panel to reveal the internal components. Visually check for any debris or buildup inside.
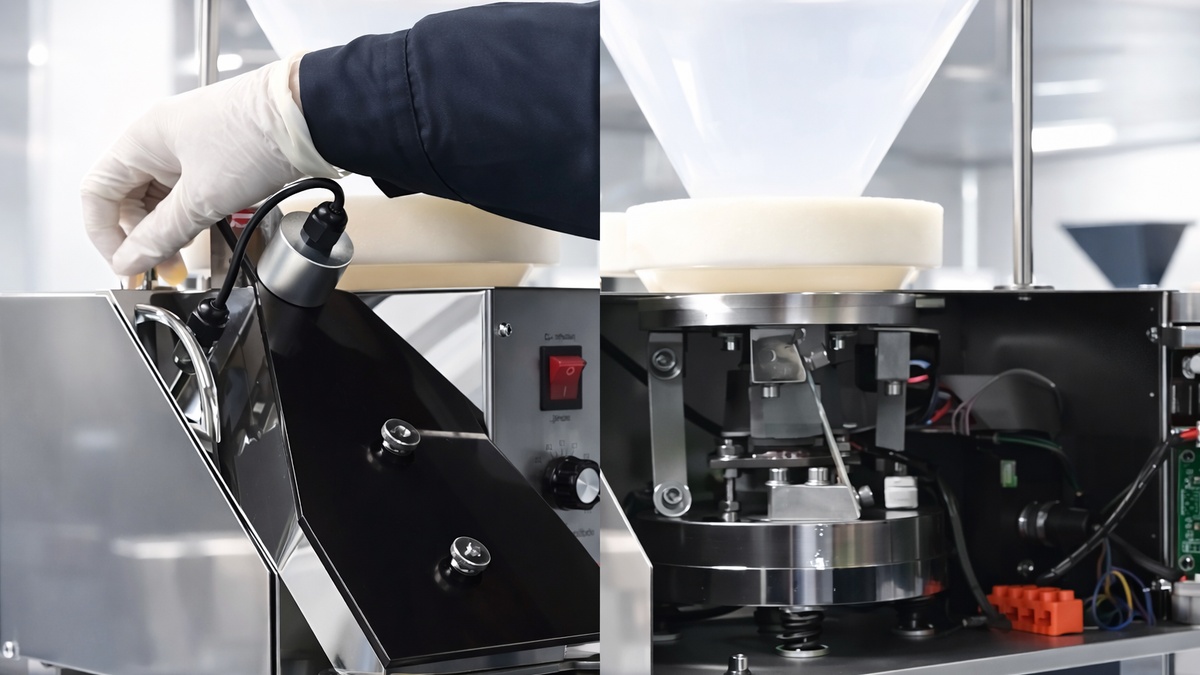
Step 3: Use the soft-bristled brush again. Carefully clear away any dust or product debris from these components. Then gently close the front access panel and hand-tighten the thumbscrew to lock it. And perform a final visual inspection.
Want to better visualize the process? Check out the step-by-step video guide.
Section 3: Maintenance Procedures
Step 1: Check before each use:
- If there is any debris in the hopper or on the vibration plate.
- If the connecting bolts and nuts are well connected.
- If the two spacer blocks under the vibration bracket (for shock resistance) have been removed.
- If the buttons on the control panel are at the starting position.
- If the power supply and the power cord are in good condition.
- If the machine is well grounded.
Step 2: Clean after each use. When each batch is done or the material to be counted is changed, please disinfect the hopper and the vibrating tray, and then dry them with a soft dry cloth.
- Clean the hopper and the vibrating tray with alcohol.
- Unscrew the visible window nut and clean the discharging channel with alcohol.
- Gently wipe the sensor with a soft, dry cloth.
Step 3: Regular maintenance:
- Regularly check if the height adjustment thumb screw on the hopper is loose.
- Regularly maintain and repair the sensor.
Section 4: Precautions
- The machine is applicable to counting capsules ranging from size 000 to size 5, and tablets of which the diameter is between 3 mm and 13 mm, as well as shaped tablets. For counting empty capsules, clear capsules, and tablets, vibration intensity should be reduced accordingly, 60~80% of vibration intensity is recommended.
- Do not put the machine outdoors or near the window, and do not expose the machine to sunlight during operation.


