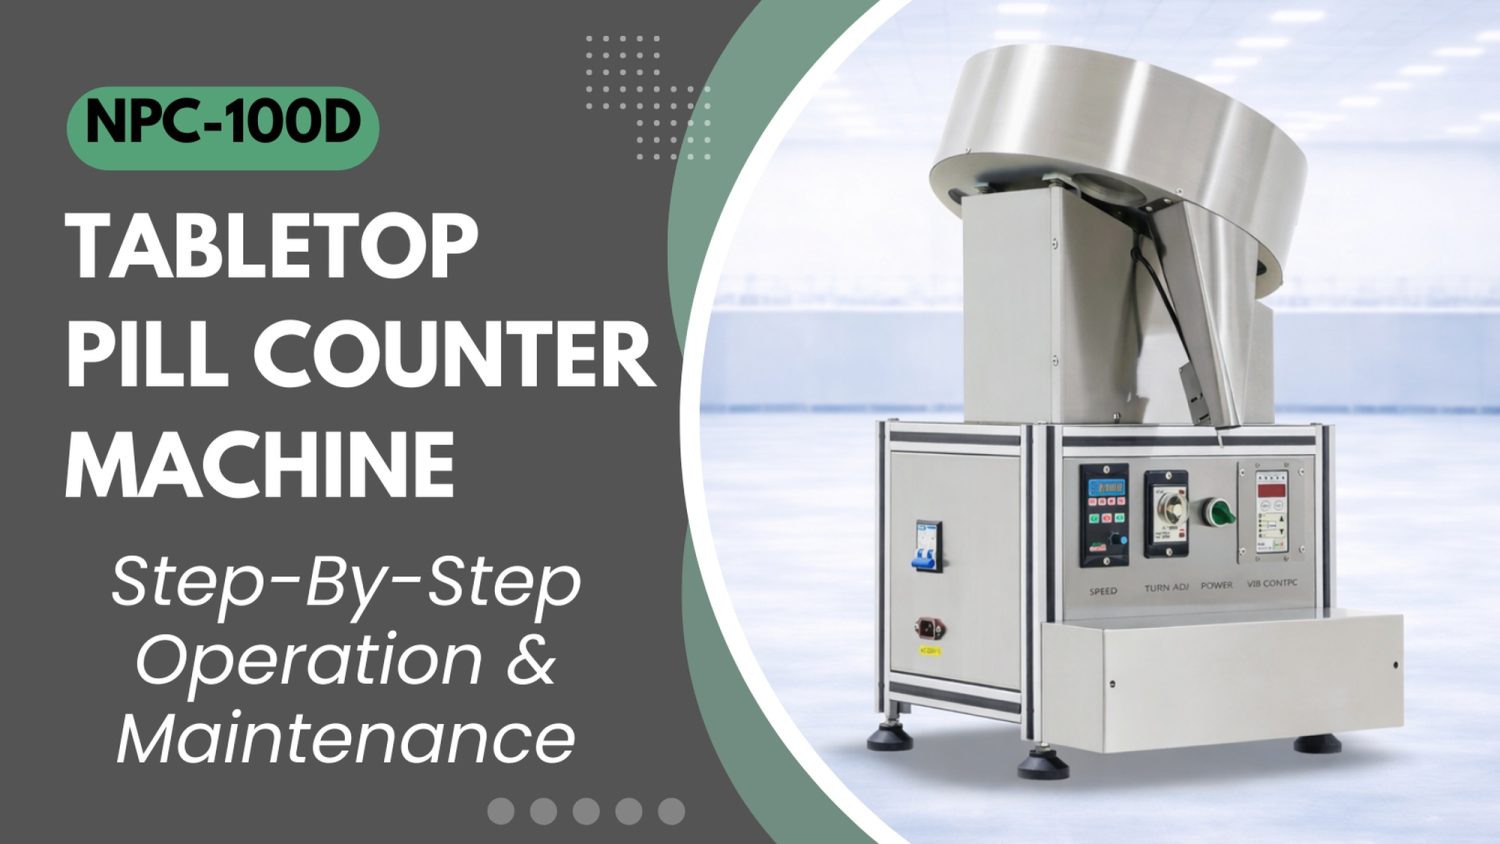
NOTICE
- The following procedures are intended for the Anxine NPC-100D only. For other brands, refer to the original manufacturer’s instructions.
- Always disconnect the power supply before performing maintenance, cleaning, or mold changeover.
- Only trained and authorized persons are permitted to work on the equipment.
- Your equipment may vary from images or videos due to ongoing upgrades.
- If any part of this guide is unclear, contact Anxine for technical support before proceeding.
Section 1: Operation Procedures
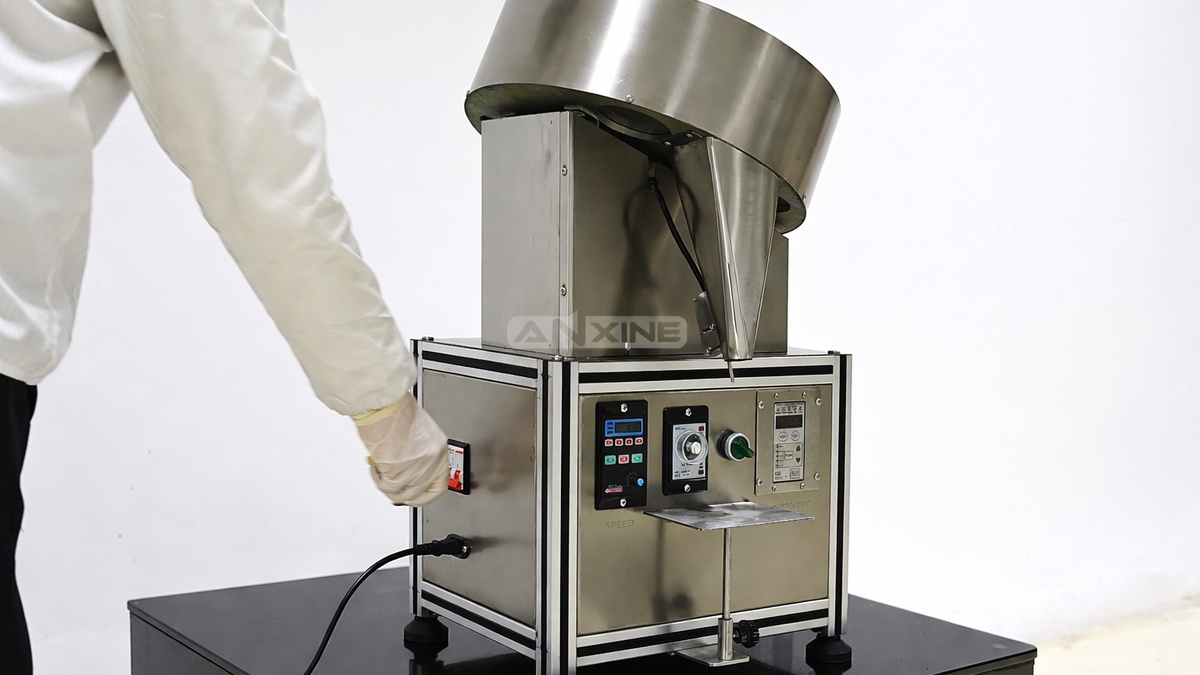
Step 1: Toggle the main power switch to energize the system. This prepares the pill counting machine for operation.
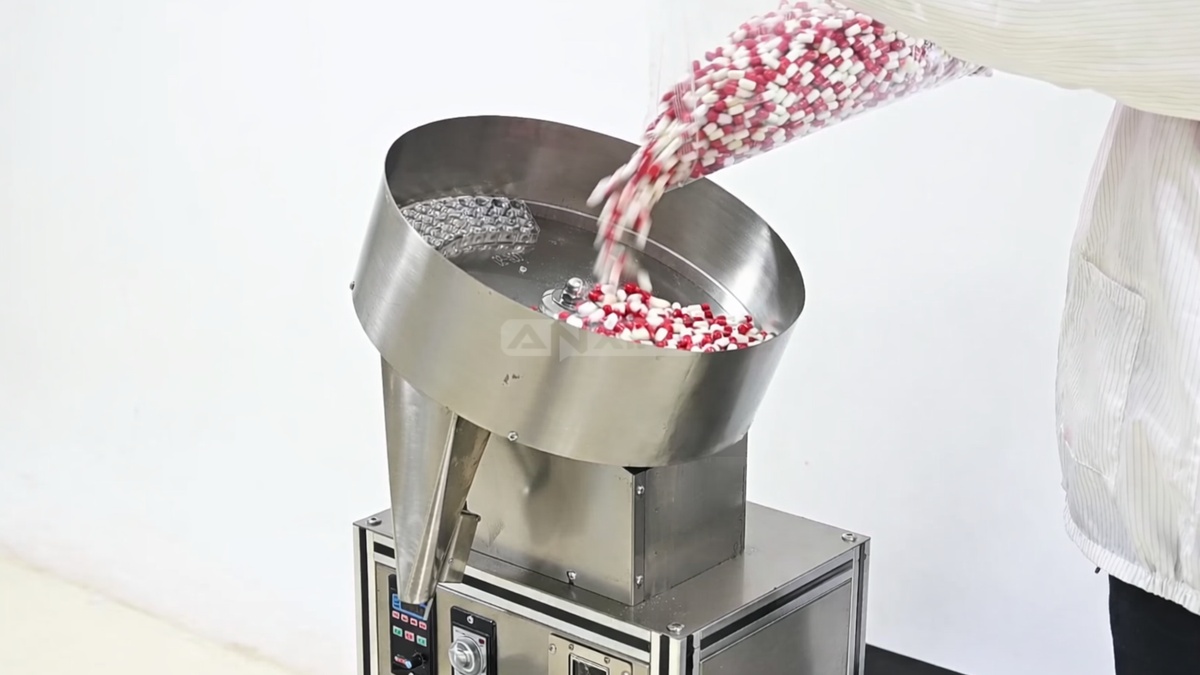
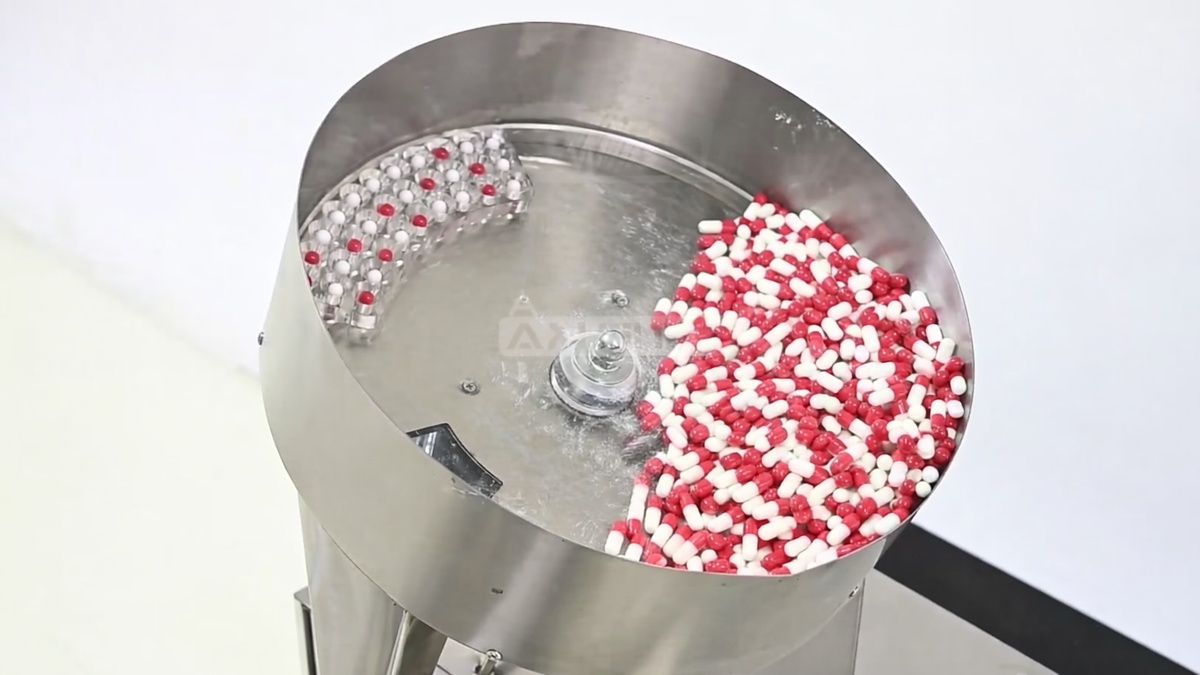
Step 2: Load the pills into the inclined feeding hopper at the top of the machine. This hopper is equipped with a detachable transparent counting disc.
Step 3: Rotate the switch clockwise to activate the control panel. The integrated indicator light illuminates green. The digital displays show the starting values. Then set the desired counting parameters on the panel.
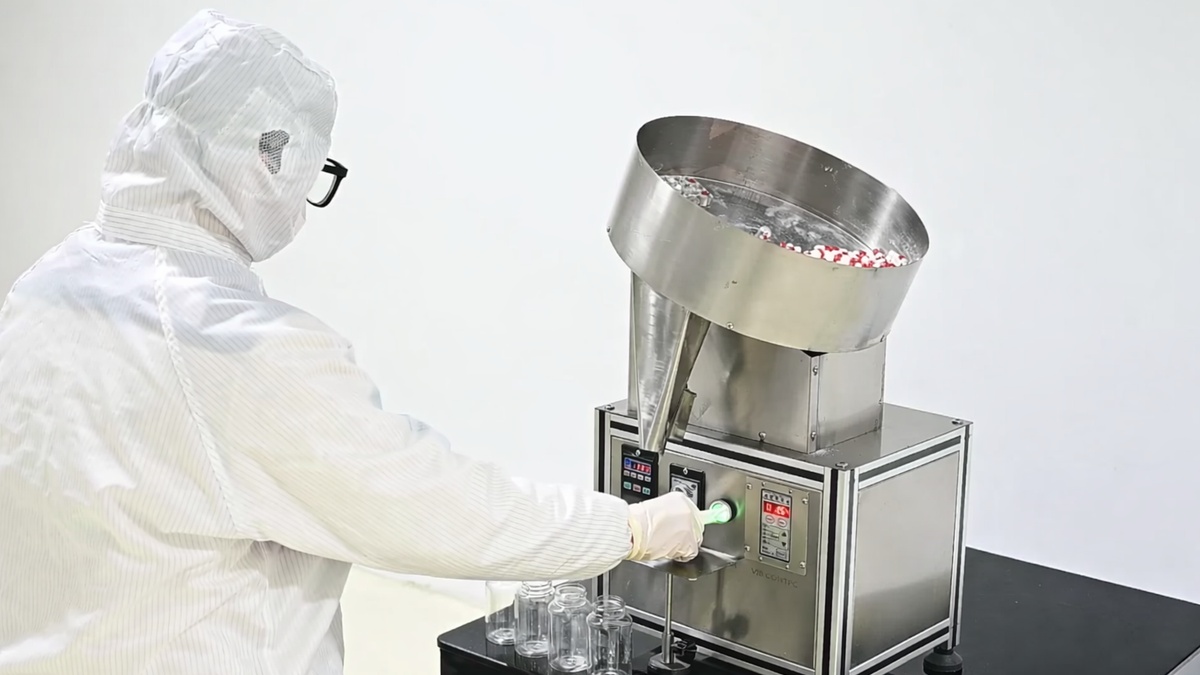
Step 4: The counting disc begins to rotate and vibrate. The vibratory action makes capsules fall into the individual cavities of the disc. The seated capsules are then transported to the discharge chute.
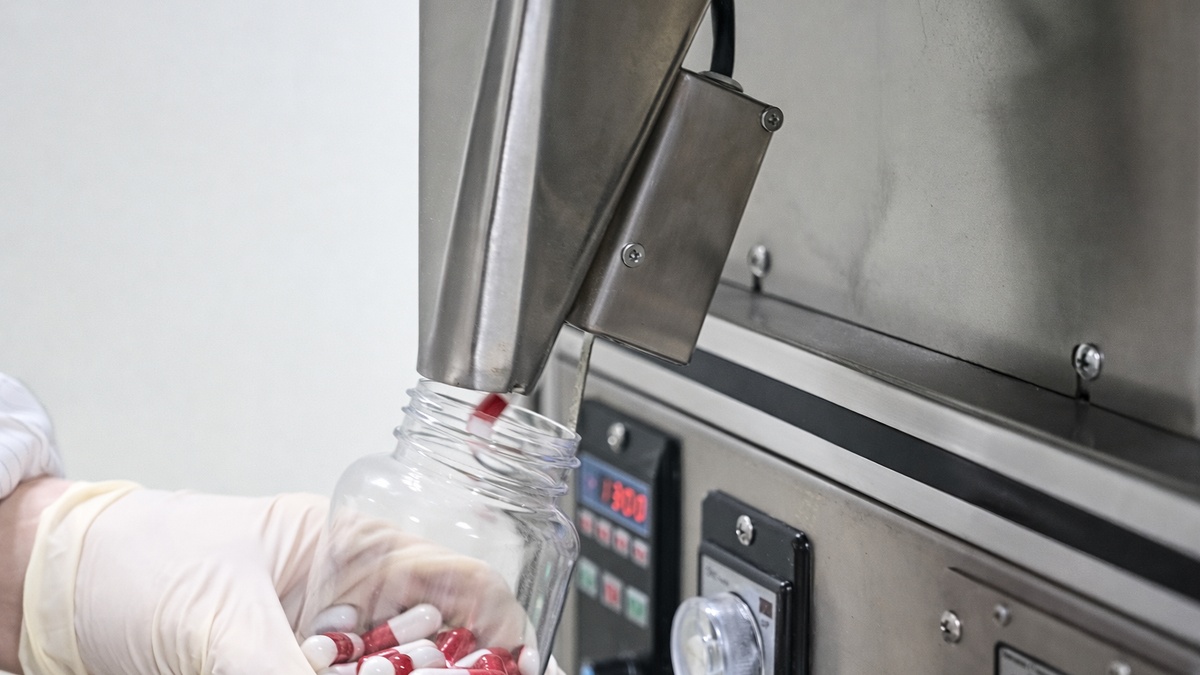
Step 5: Place an empty bottle at the discharge outlet. Then press it against the trigger lever. A brief tap releases the capsules in the discharge chute into the bottle.
Step 6: Repeat the “tap-and-release” action until the bottle reaches the target count. Put aside the filled bottle and replace it with an empty one.
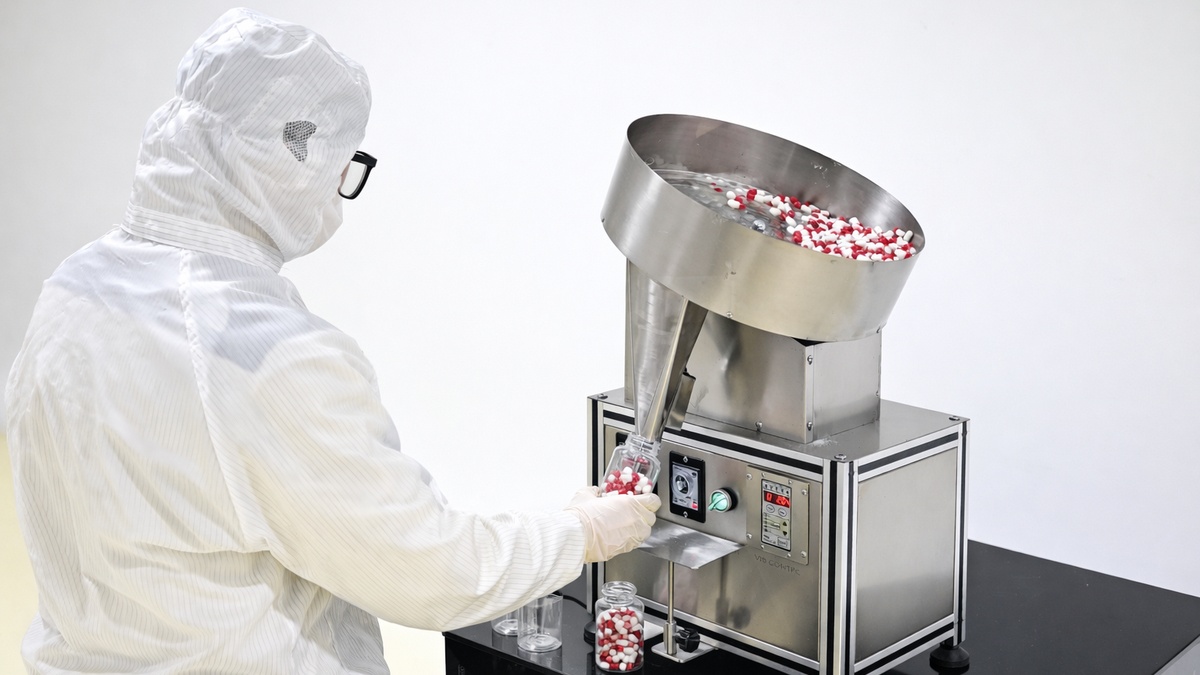
Watch the full video below to learn how to operate the NPC-100D pill counter machine.
Section 2: Installation Procedures for the Counting Mold
Step 1: Refer to the current NPC-100 user manual for the required wrench size, and use the specified socket wrench to remove the M12 acorn nut from the top of the spindle.
Step 2: When installing the counting mold, please adjust the distance between the upper closing ring of the cover and the counting mold according to the user manual, typically 1 mm. Ensure there is no collision, and then install the gland.
Section 3: Maintenance Procedures
Step 1: Before operating, please check.
- Whether the counting mold is loose; please tighten it immediately if there is any looseness.
- Whether the power cord is damaged, the machine needs to be reliably grounded.
- Whether there is any abnormality during the pilot run and whether any problem shall be solved in time.
Step 2: After operating, please clean the machine.
- The work surface needs to be cleaned after each shift. The counting mold needs to be removed for cleaning.
- Clean the counting mold according to your approved cleaning SOP. If fresh water is used to clean the counting mold, the water temperature shall not exceed 40°C. Please note that baking and exposure to direct sunlight are not allowed.
Section 4: FAQs
Q1: How to adjust the scale division of the counting mold?
A: Rotate the counting mold controller for adjustment, and the scale division is not suggested to exceed 1. The machine is set to rotate half a circle before delivery.
Q2: How to deal with counting inaccuracies?
A: Check whether the counting mold is full of materials when the counting mold reaches the highest point. Stop the machine and check whether the counting mold is fully filled with materials when it reaches the highest point. If not, manually fill the mold with materials using cleaned or sanitized tools.


