NOTICE
- The following procedures are intended for the Anxine NPC-3A only. For other brands, refer to the original manufacturer’s instructions.
- Always disconnect the power supply before performing maintenance, cleaning, or mold changeover.
- Only trained and authorized persons are permitted to work on the equipment.
- Your equipment may vary from images or videos due to ongoing upgrades.
- If any part of this guide is unclear, contact Anxine for technical support before proceeding.
Section 1: Operation Procedures
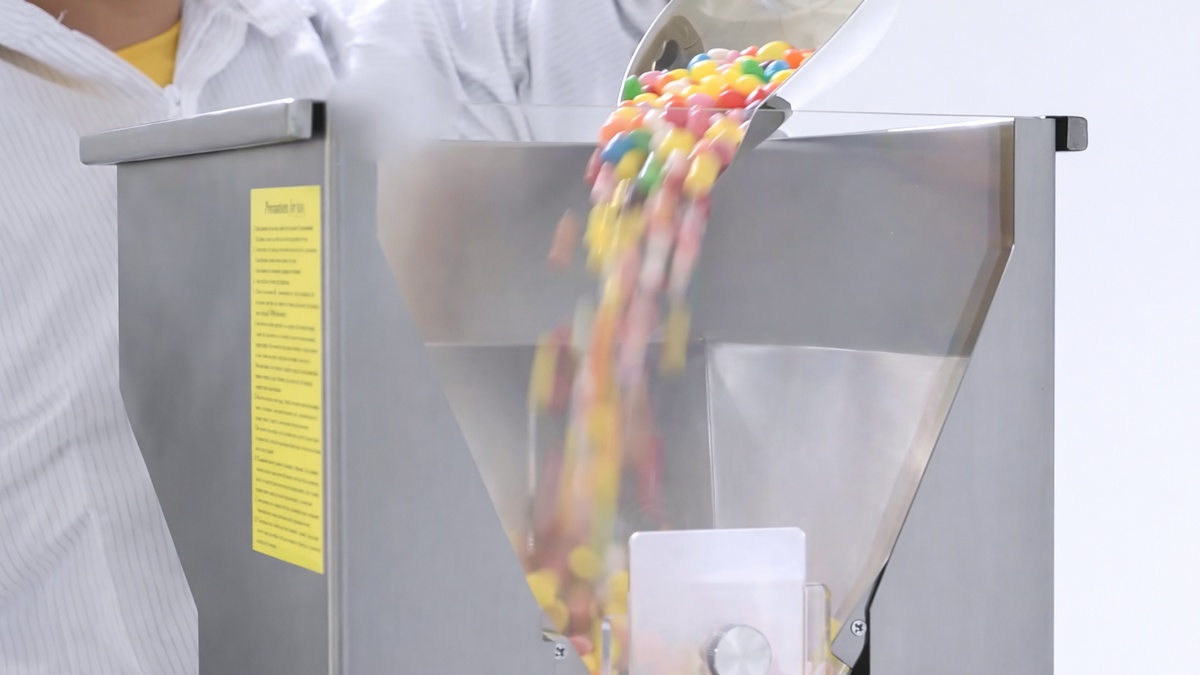
Step 1: Remove the hopper’s transparent lid. Use a stainless steel scoop to pour the pills into the hopper. The pills can be tablets, capsules, softgels, and even gummies and candies.
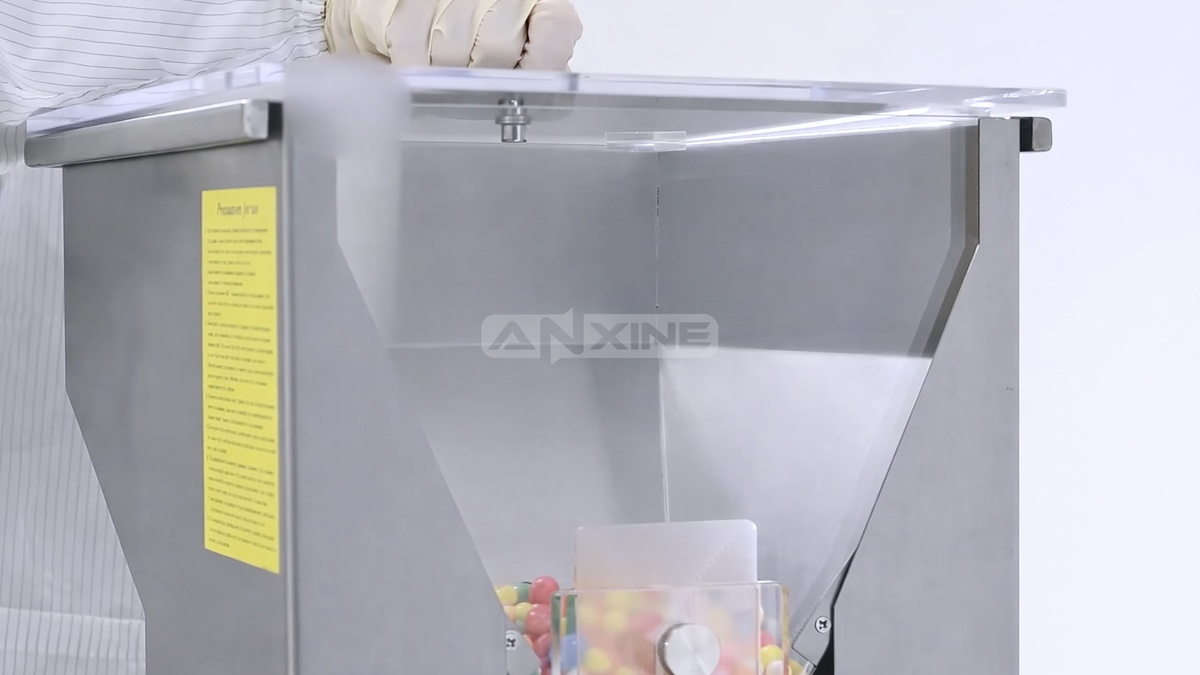
Step 2: Make sure the lid is replaced in position. This prevents airborne contaminants from entering the hopper.
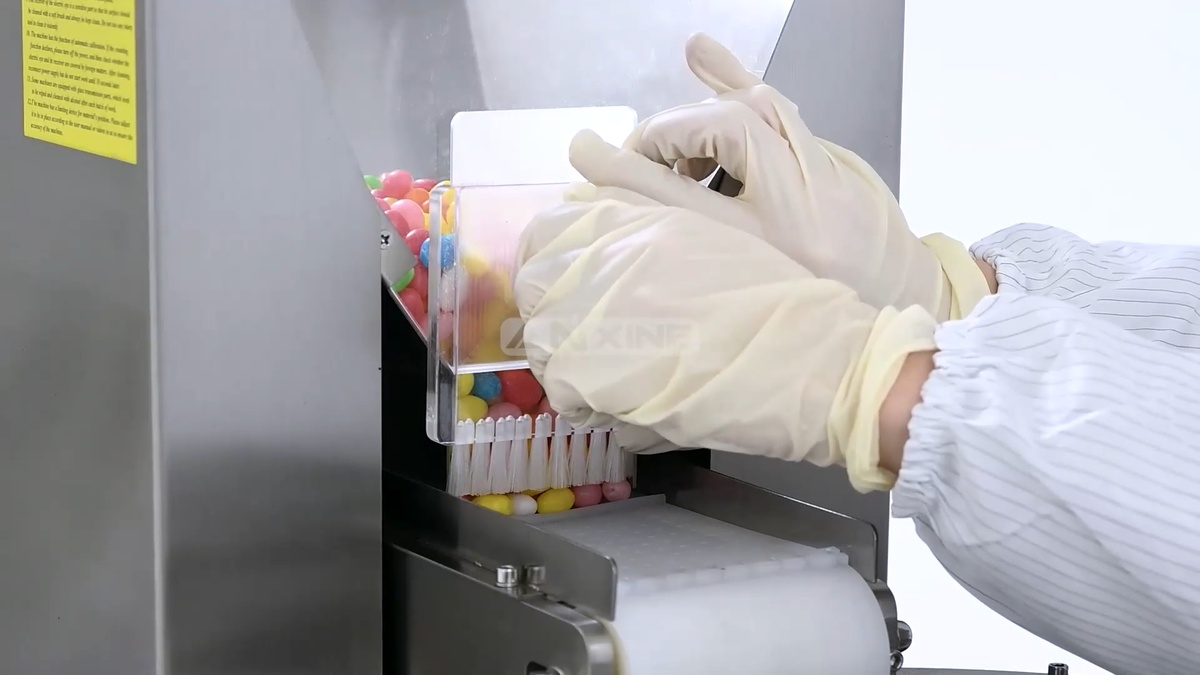
Step 3: Slide the feed gate at the bottom of the hopper. Move it upward or downward to control the product flow. The nylon brush attached to the gate also helps regulate flow and prevent jams.
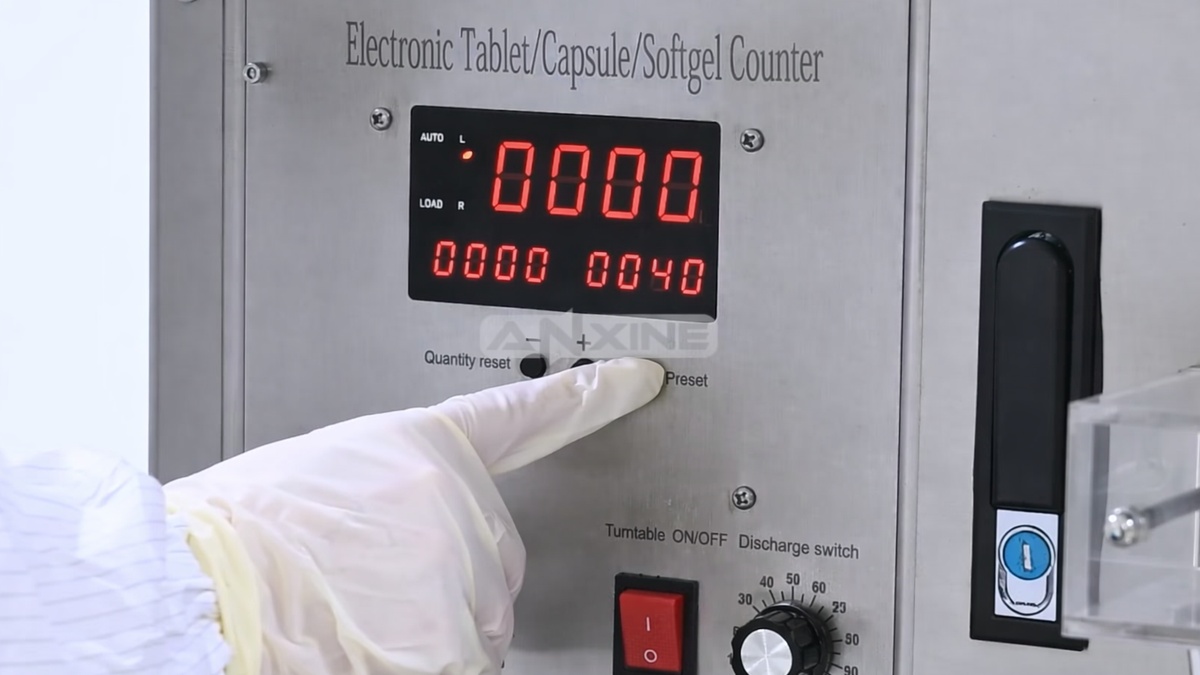
Step 4: Pre-set the counts on the control panel. The target will be shown on the digital display.
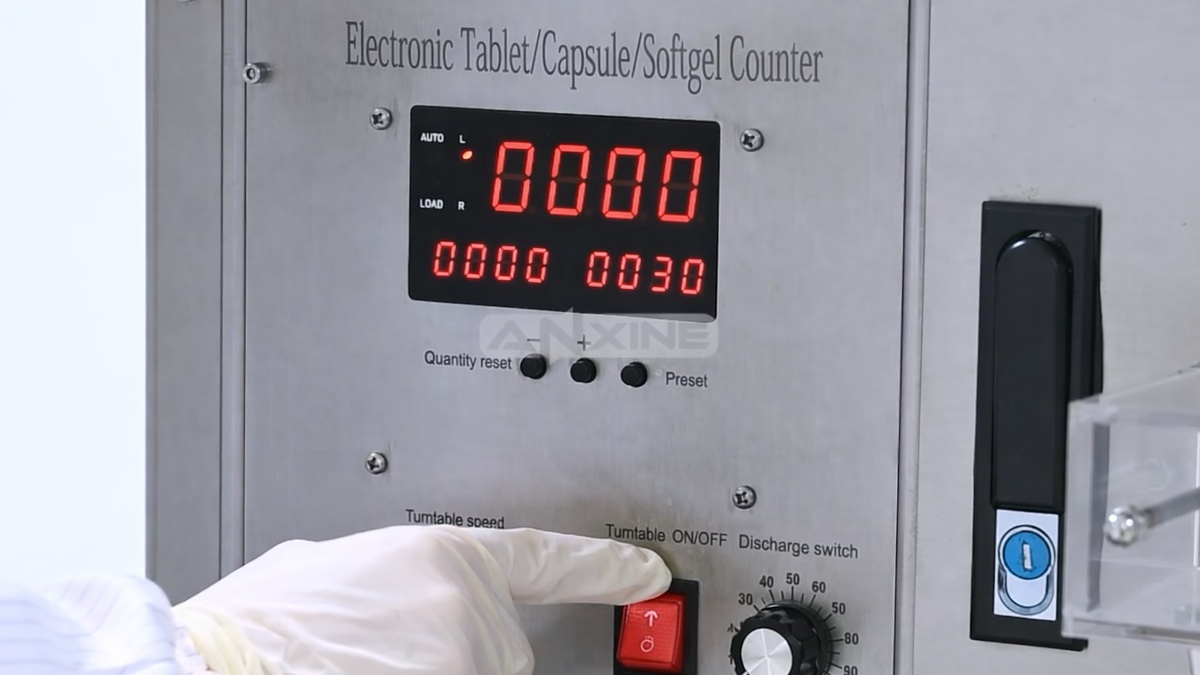
Step 5: Turn the dial knob to set the turntable’s rotation speed. Then flip the rocker switch to initiate the turntable.
Step 6: The pills are fed onto the conveyor belt from the hopper. They travel along the belt and then drop onto a rotating stainless steel centrifugal turntable.
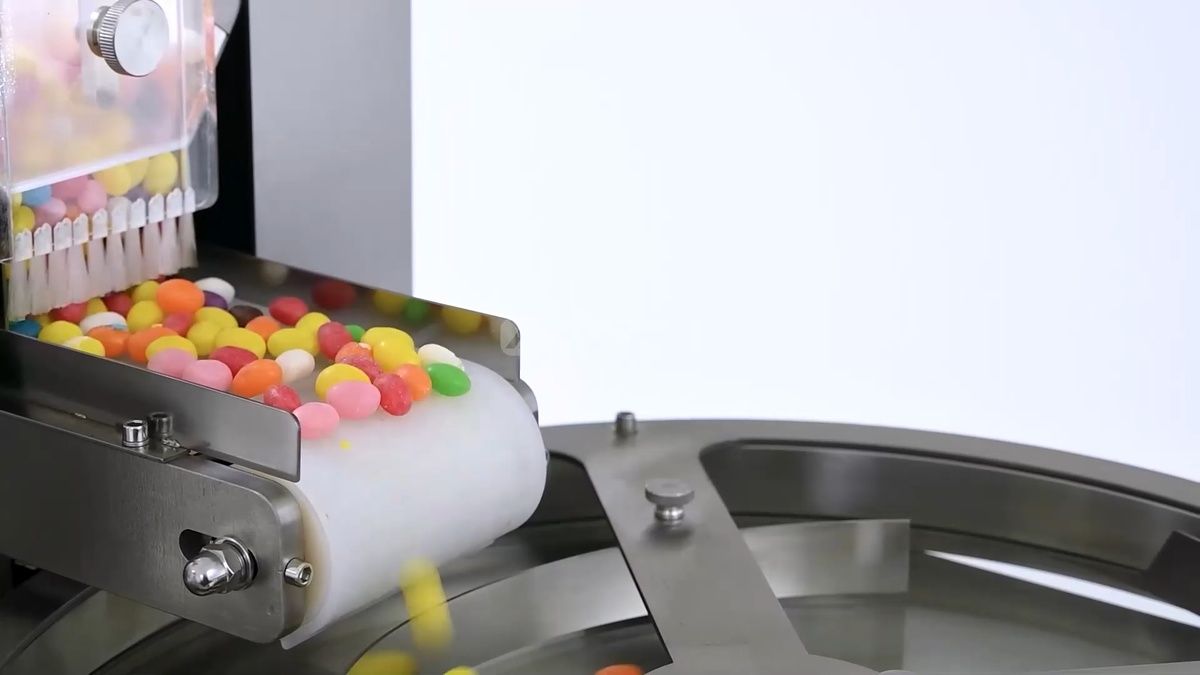
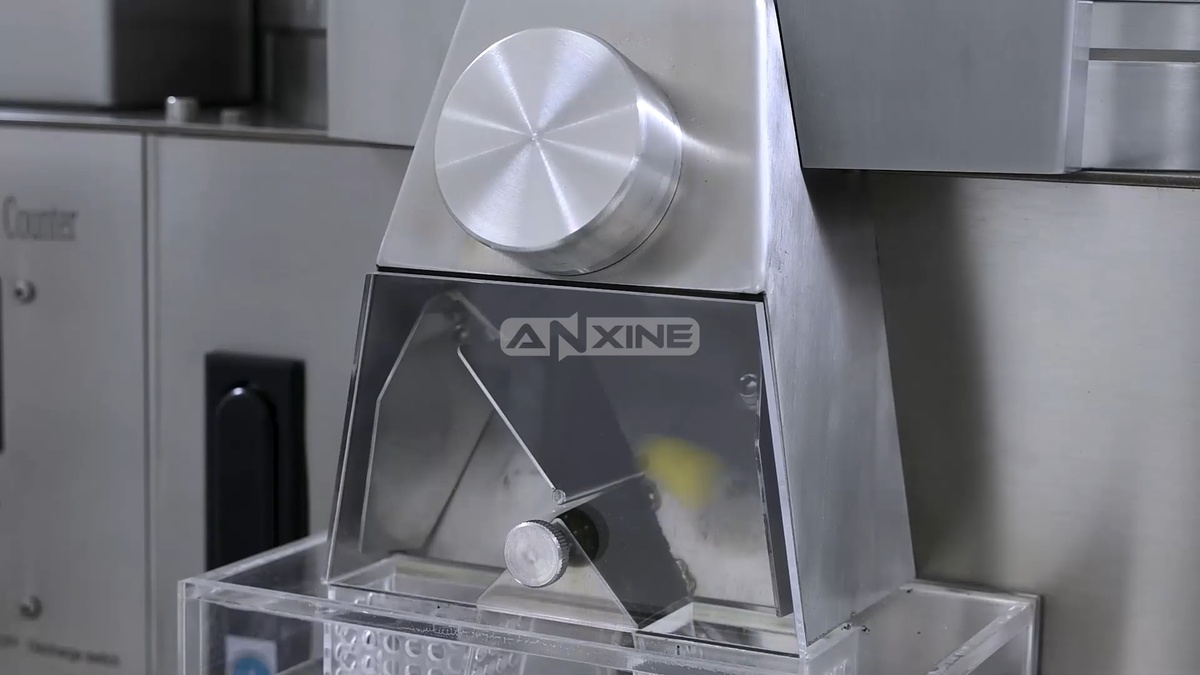
Step 7: As the turntable spins, a guide rail directs the pills toward the outer edge. Centrifugal force and the guide rail work together to arrange them into a single line.
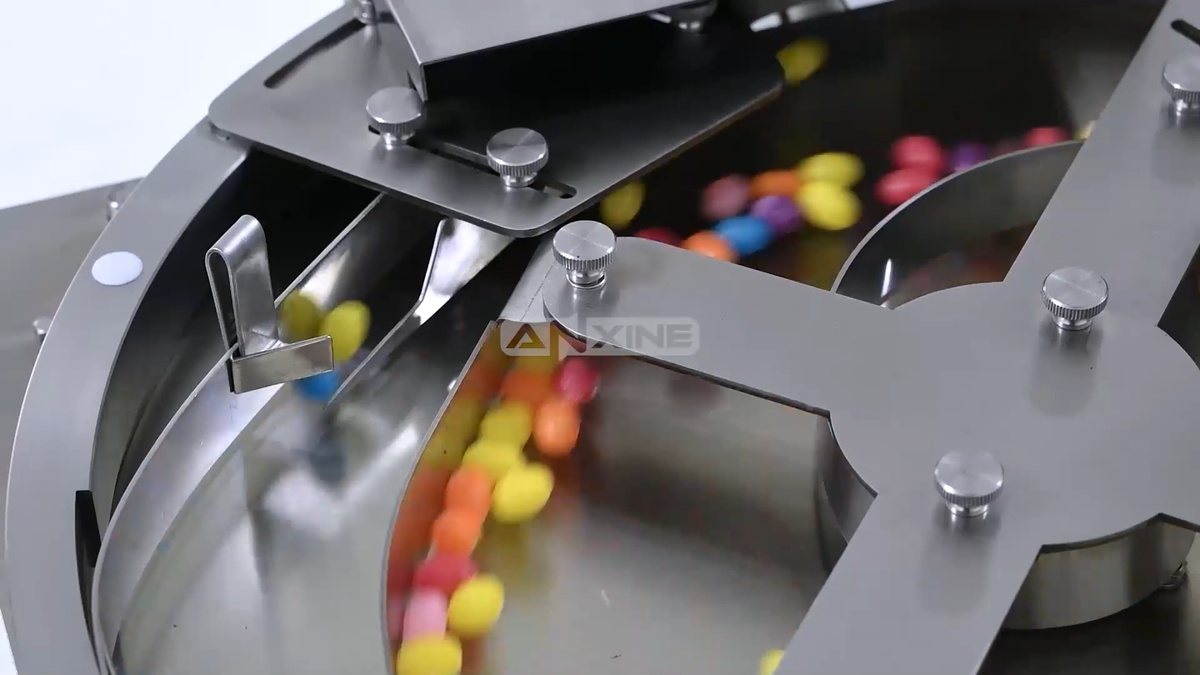
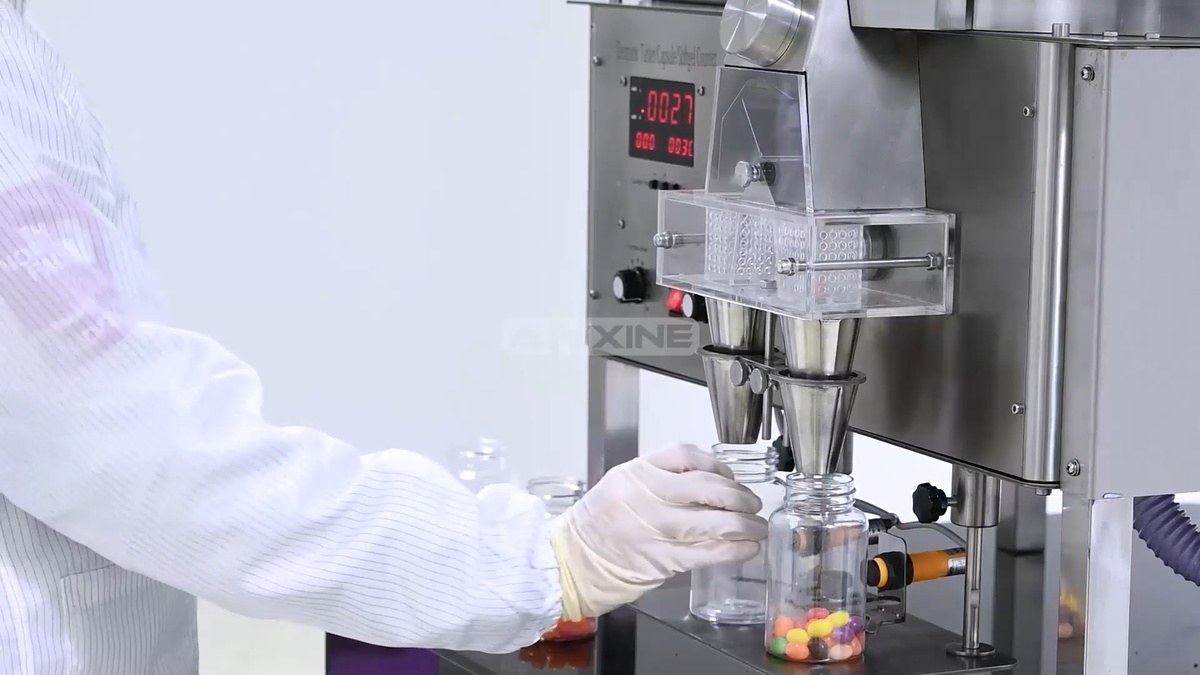
Step 8: The single-file pill flow passes through a transparent housing with an infrared sensor. Every time a pill breaks the light beam, the digital counter adds on. A motorized internal flap then guides the flow into the left or right funnel.
Step 9: Place empty bottles under the funnels. Once a bottle is filled, replace it with an empty one to continue collecting the counted pills.
The full video below provides a start-to-finish demonstration of how to use the NPC-3 tabletop pill counter.
Section 2: Cleaning Procedures
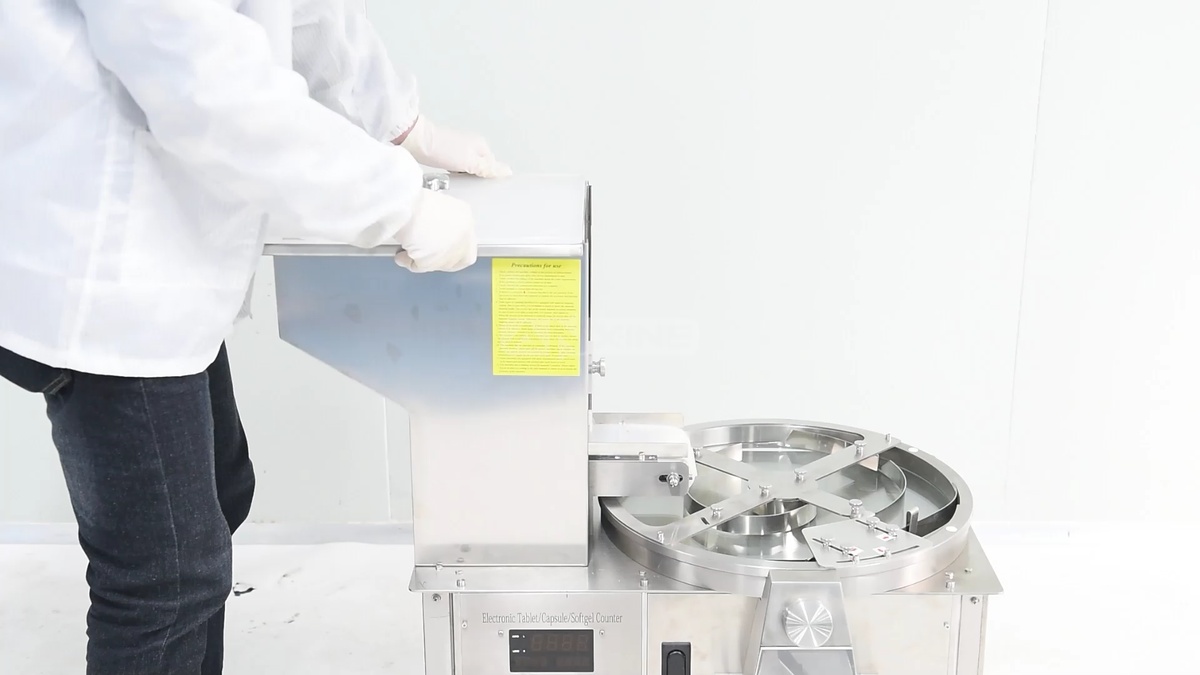
Step 1: Detach and remove the feeding hopper assembly from the machine frame to expose the conveyor belt.
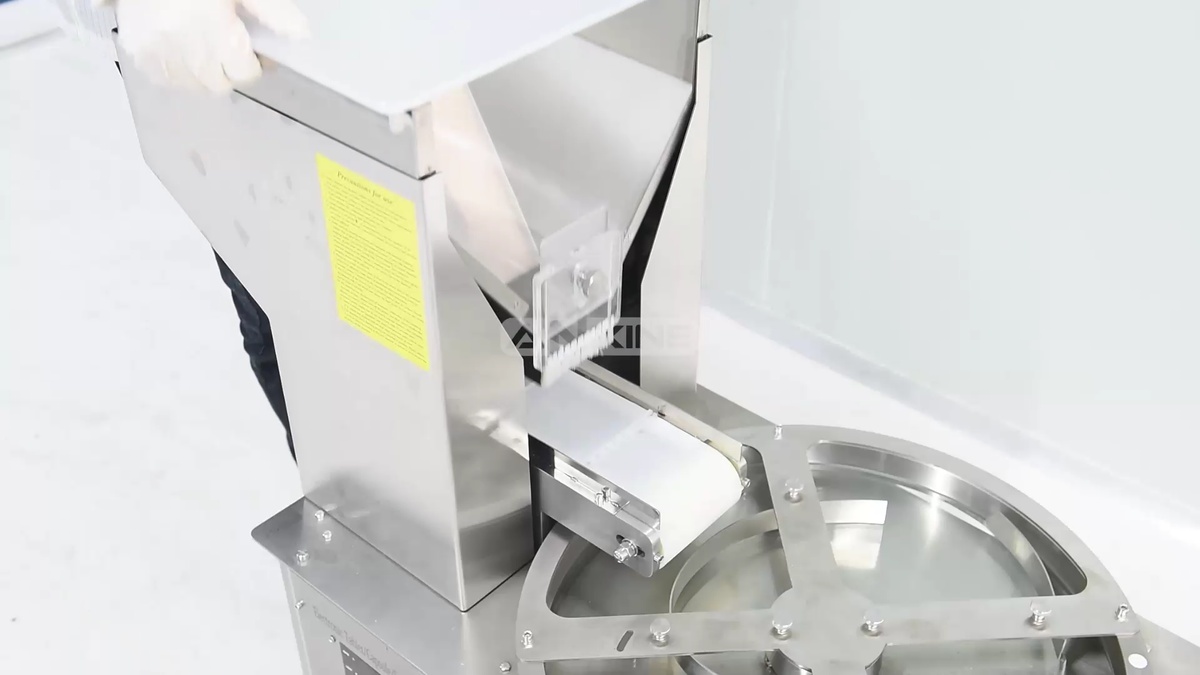
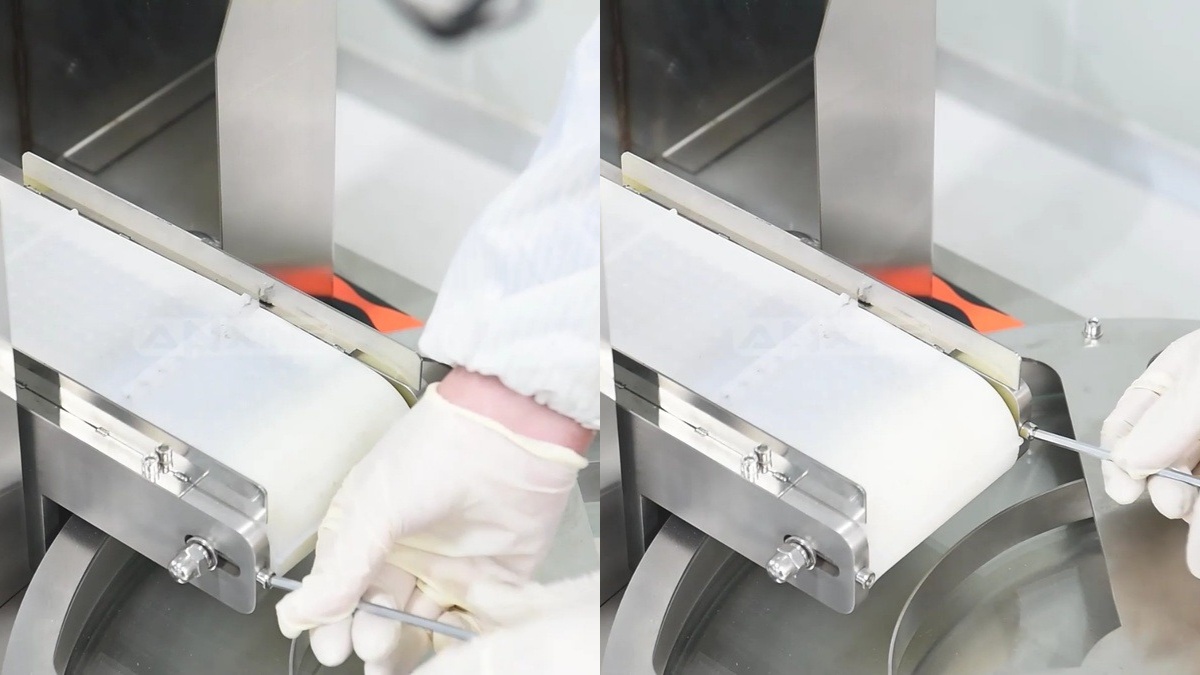
Step 2: Use a wrench to loosen the hexagonal nuts on both sides of the conveyor belt assembly. These are tensioning nuts that secure the roller within the adjustment slots. So the roller can slide backward to release the tension on the belt.
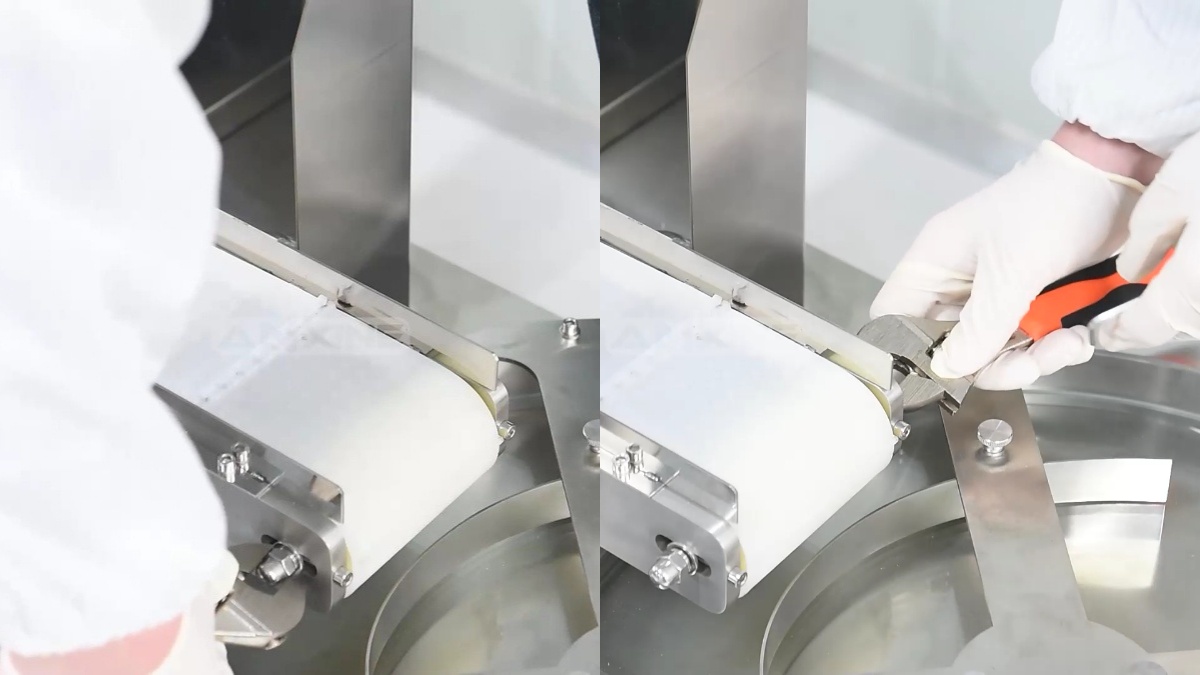
Step 3: Use an Allen key to loosen the two tension adjustment screws located at the front of the conveyor frame. When these screws are unscrewed, the roller will retract along the adjustment slots to fully slacken the conveyor belt.
Step 4: Locate the belt fastener. Manually disengage the fastener to open the belt loop. Carefully pull the conveyor belt through the rollers and remove it entirely from the machine frame for deep cleaning.
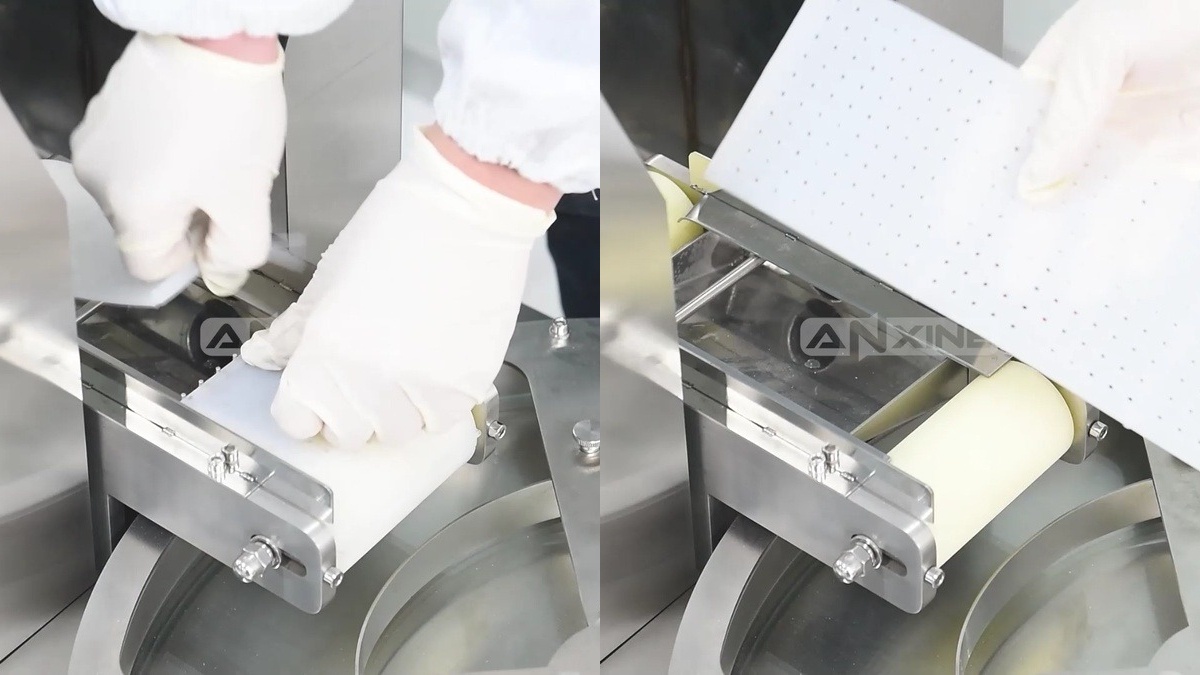
Step 5: After cleaning, loop the belt around the rollers and engage the belt fastener. Tighten the tension adjustment screws evenly on both sides and secure the locking nuts. Then remount the feeding hopper assembly.
Want to see these steps in detail? Watch the full cleaning video below.
Section 3: Operation Setting Instructions
Step 1: Turn on the power switch on the rear panel of the electrical box. The LED display will light up. The default value of the particle setting is 0000.
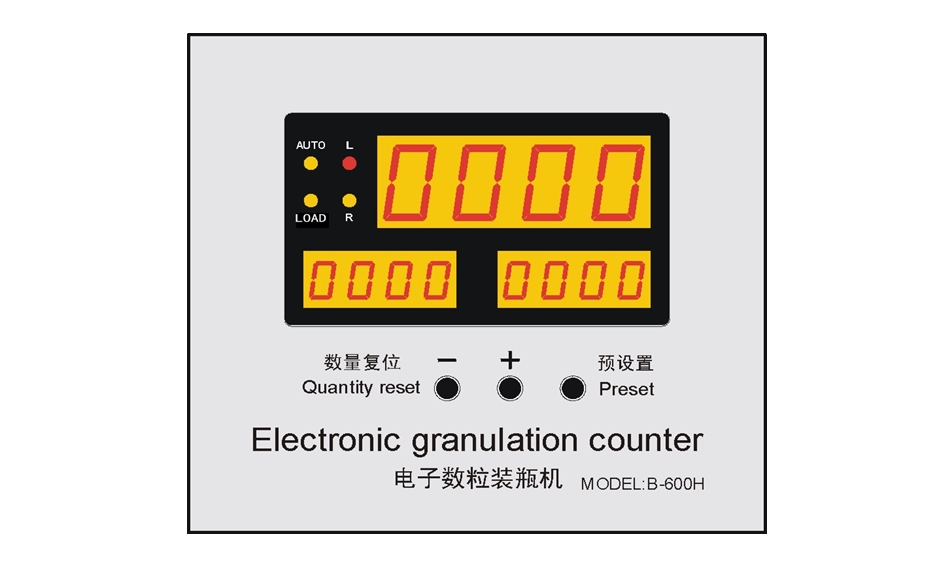
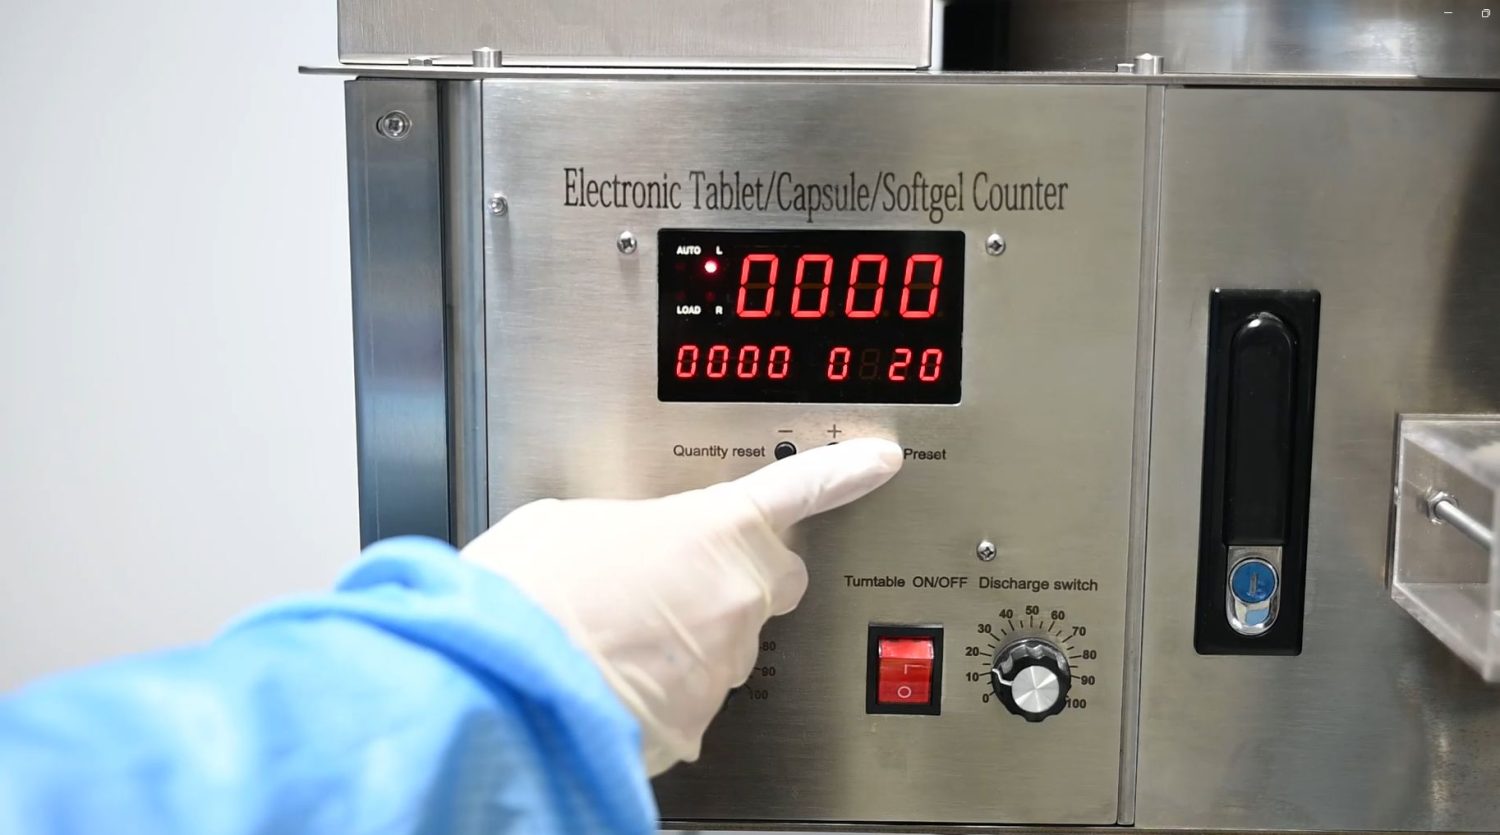
Step 2: When turning on for the first time, the 4-digit LED screen flashes when the number of particles is 0000. Press the preset value key; the one digit flashes. Press the plus key to increase the value and decrease the number of keys.
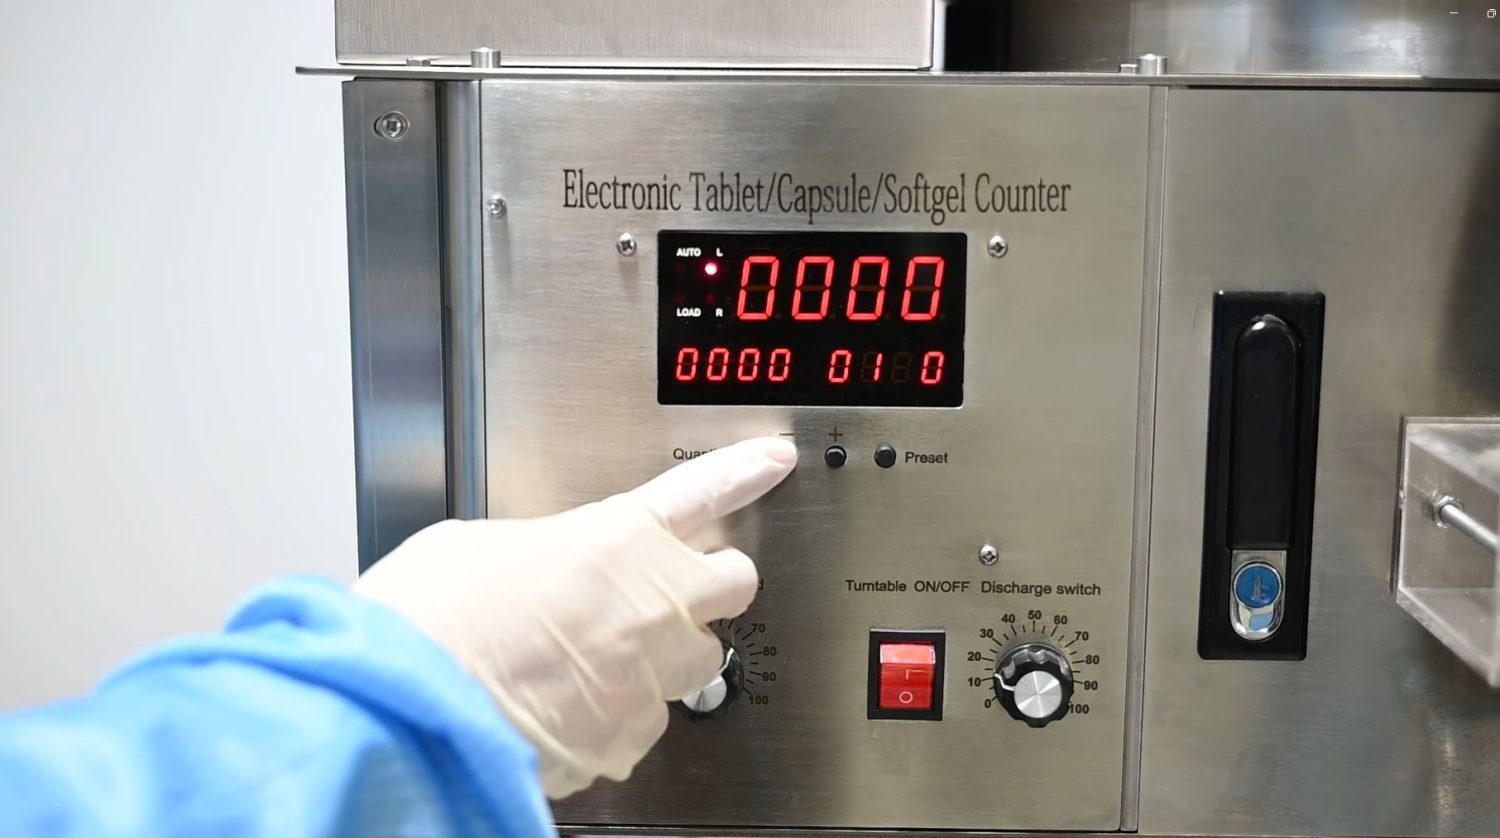
Step 3: When the value decreases, press the preset value key again, the 4-digit LED screen carries the digit, and the tens digit flashes. Pressing the preset value key, the digits will turn from one’s digit to the thousands digit.
Step 4: When the number of particles set on the LED screen is 100, the number of bottled particles is 100. After the setting is completed, the set value will be saved in 5 seconds, and the set value will remain the same the next time it is turned on.
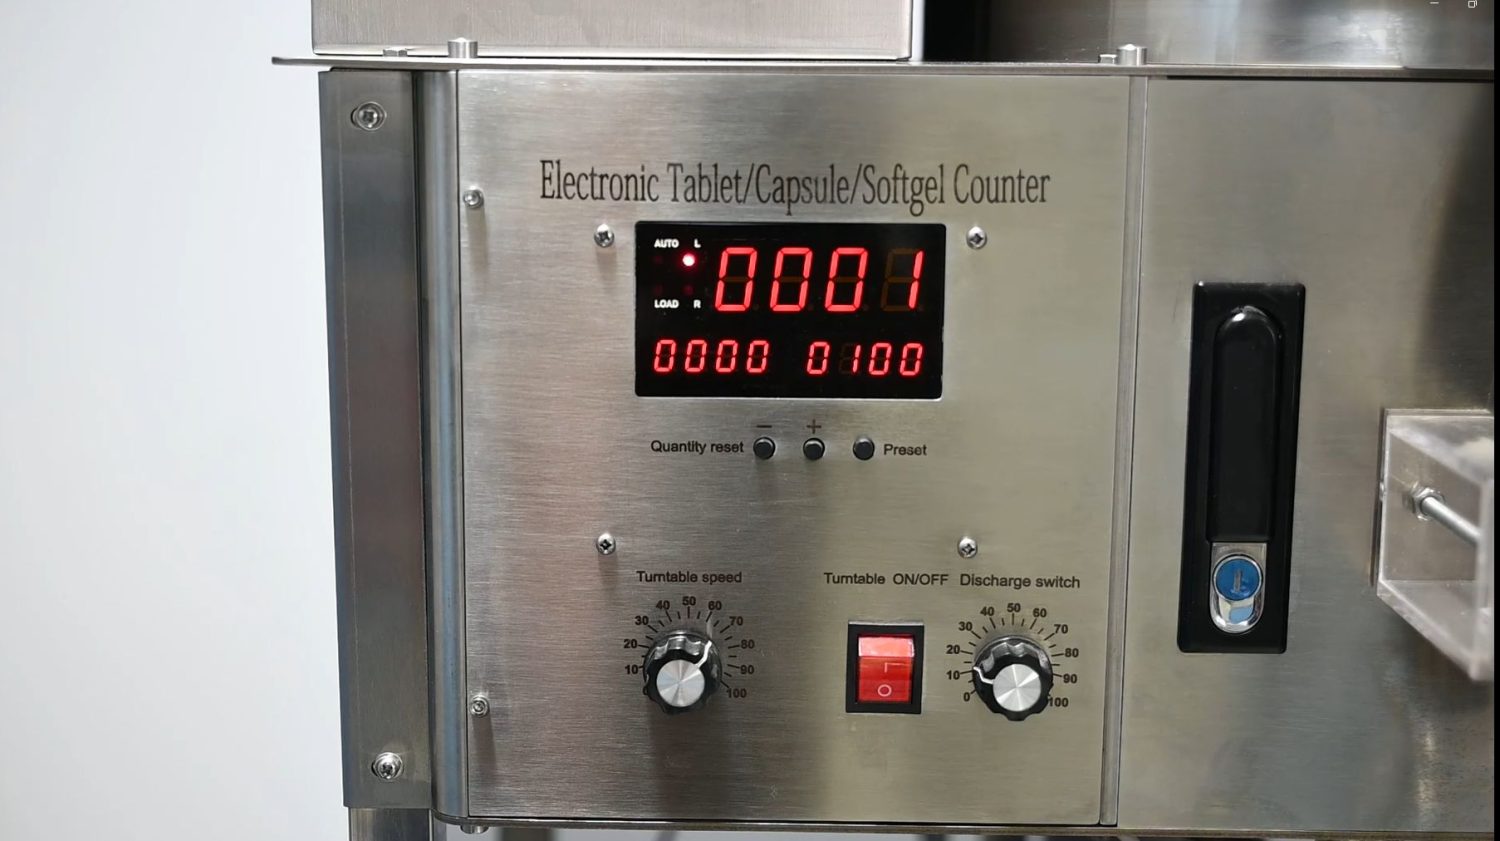
Note: Set the minimum load quantity to 20 and the maximum to 9999.
The video below shows how to reset the number straightforwardly.


