NOTICE
- The following procedures are intended for the Anxine equipment only. For other brands, refer to the original manufacturer’s instructions.
- Always disconnect the power supply before performing maintenance, cleaning, or mold changeover.
- Only trained and authorized persons are permitted to work on the equipment.
- Your equipment may vary from images or videos due to ongoing upgrades.
- If any part of this guide is unclear, contact Anxine for technical support before proceeding.
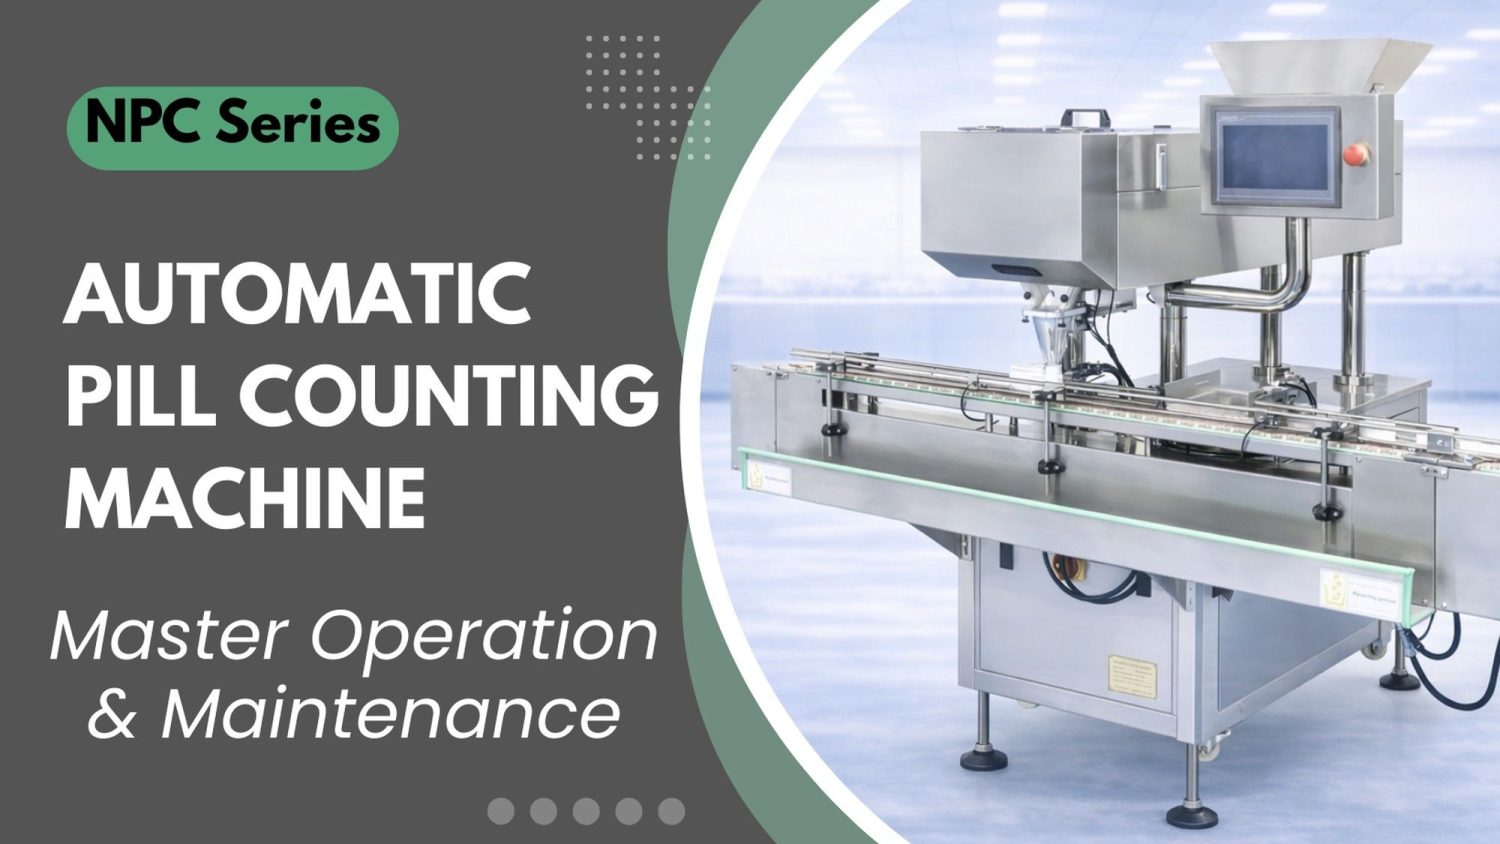
Section 1: Operation Procedures
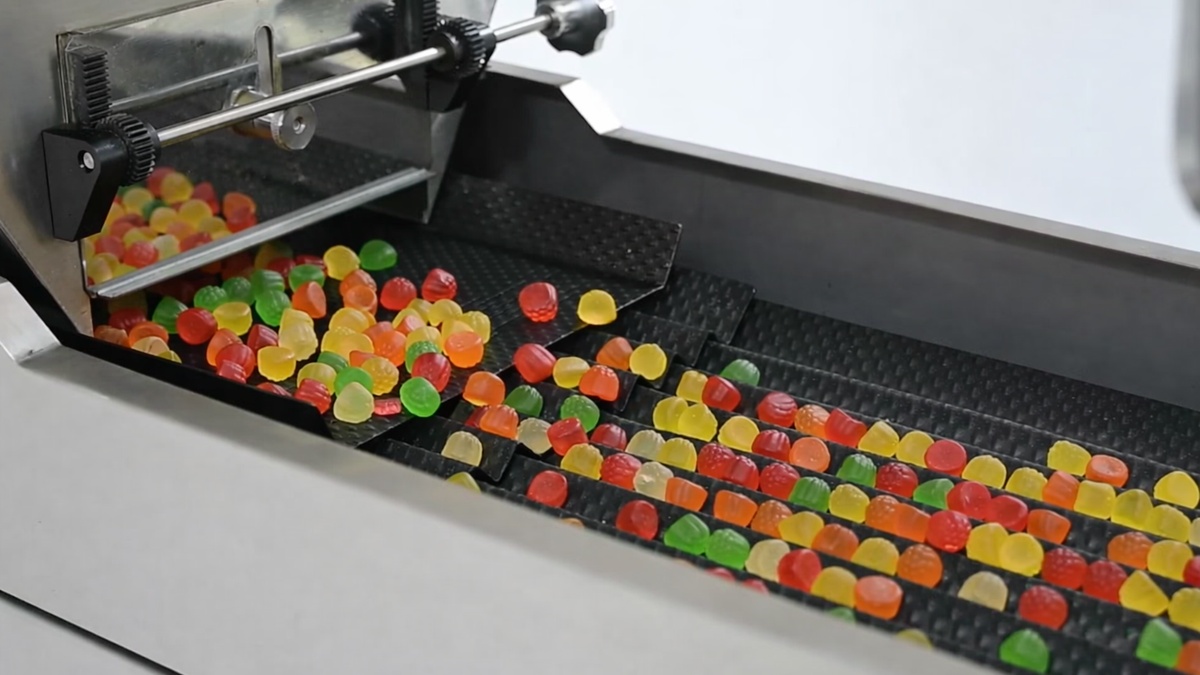
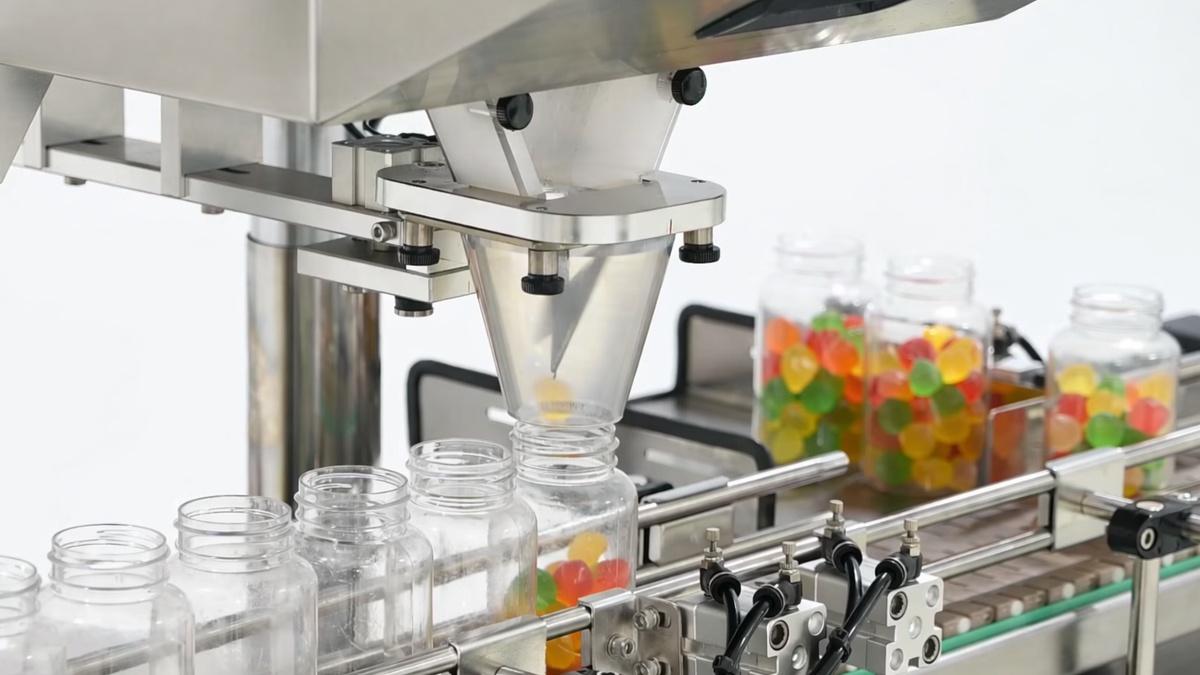
Step 1: Load pills into the feed hopper at the top of the counting machine. You can use a scoop or connect the hopper with a vacuum feeder.
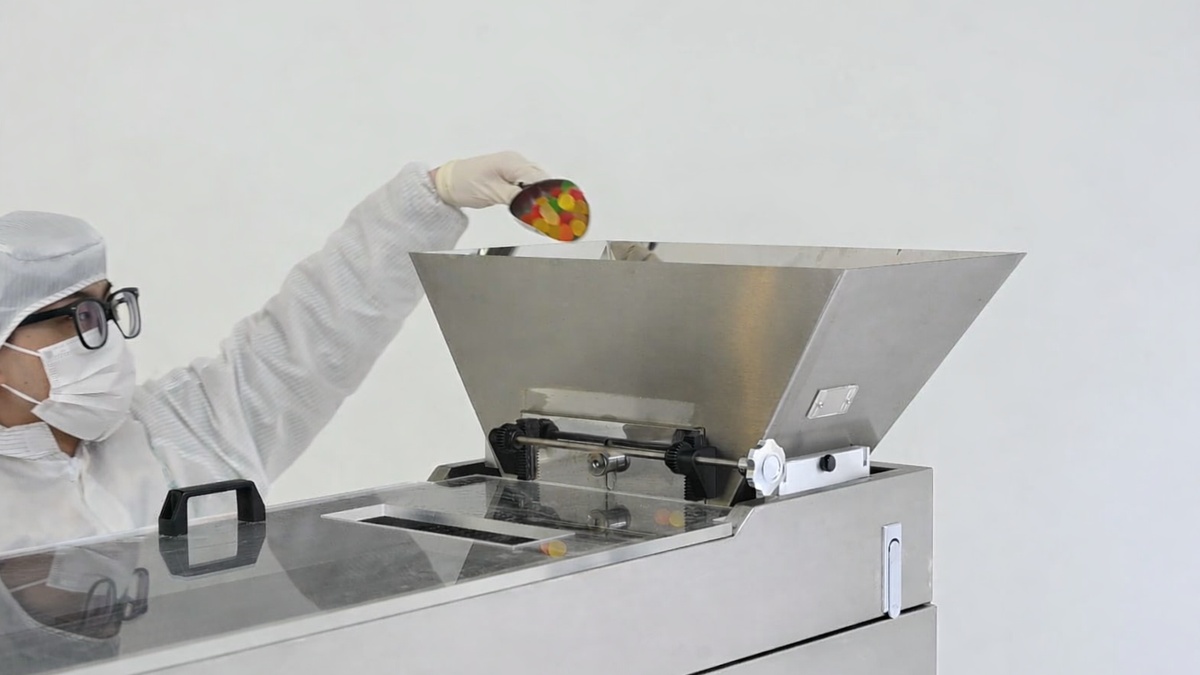
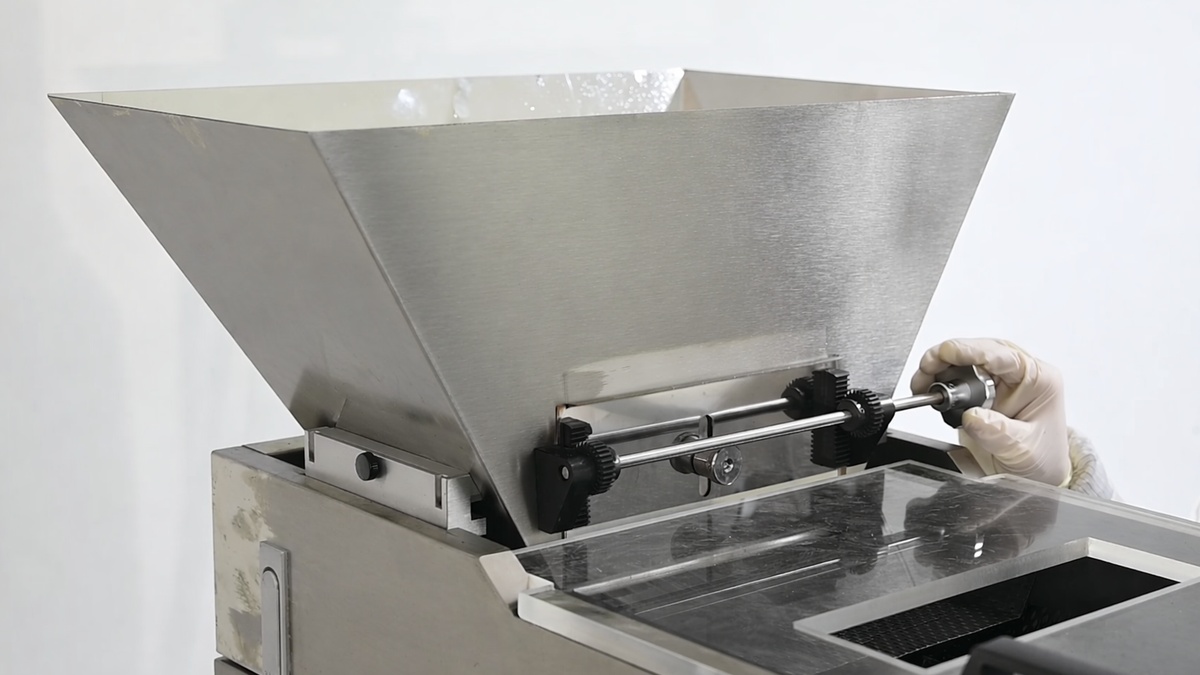
Step 2: Adjust the feed gate height based on the product. This can control the flow of products into the counting area.
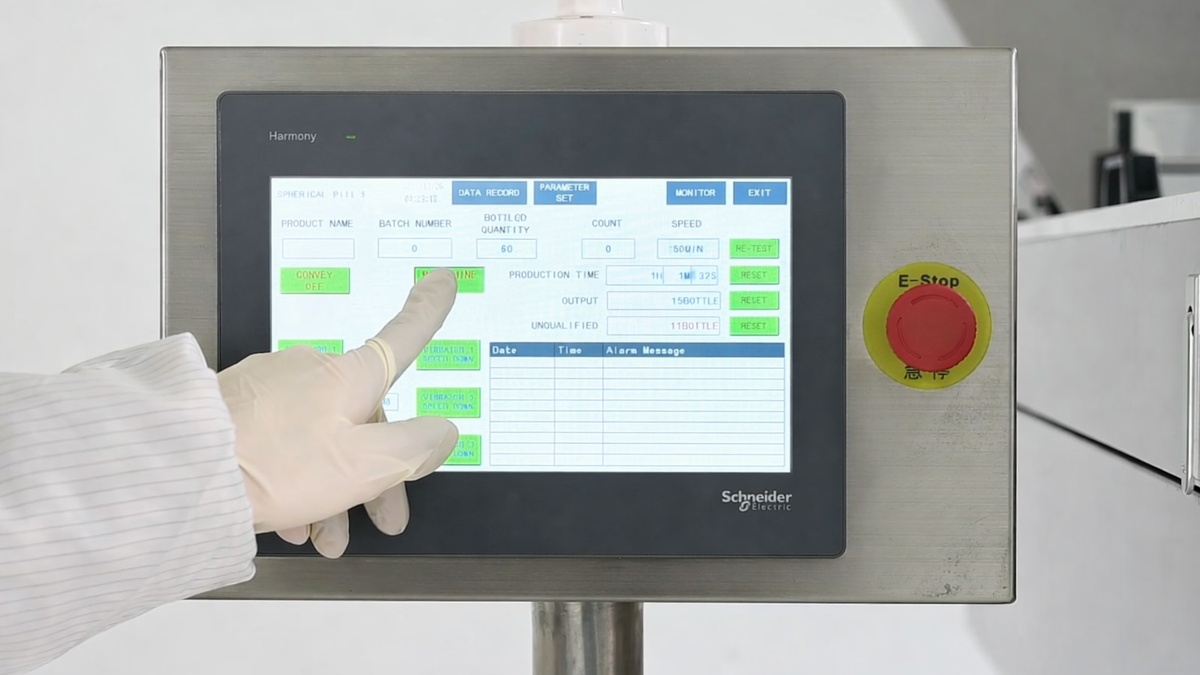
Step 3: Set the counting parameters on the HMI touchscreen. Then press the button to start the counting cycle.
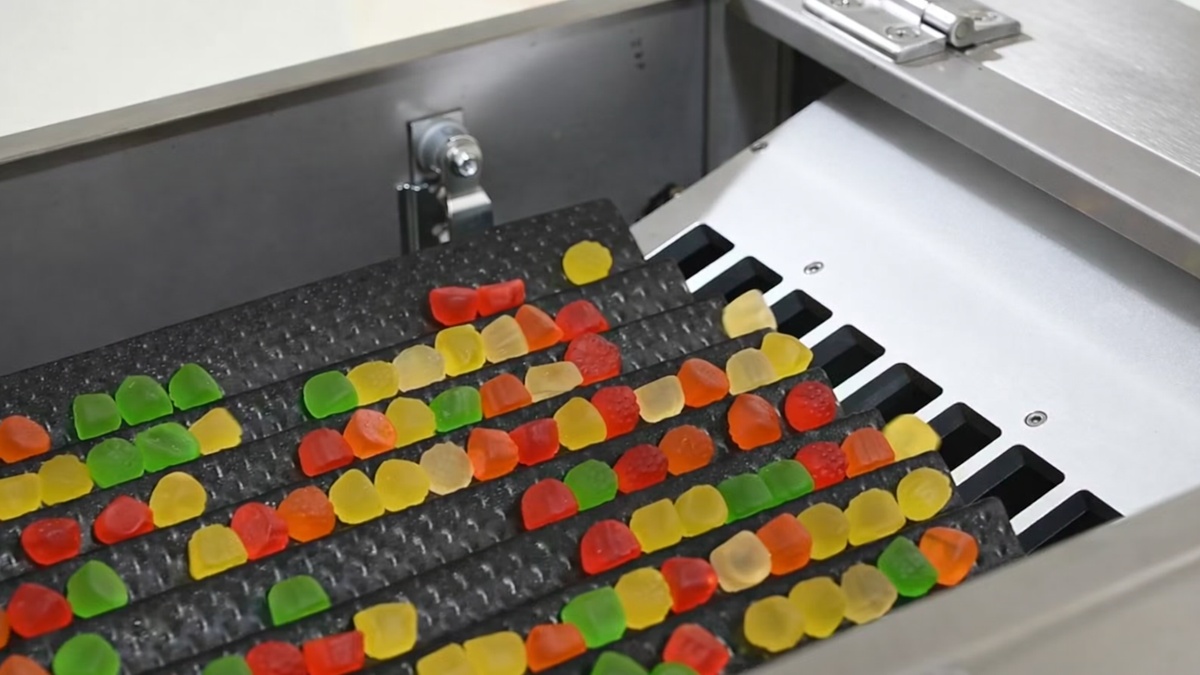
Step 4: The machine’s multi-stage vibratory system separates and aligns the pills. At the same time, these vibratory plates move the pills forward.
Step 5: The pills reach the counting heads. As the pills pass through the detection zone, optical sensors scan each unit to count them.
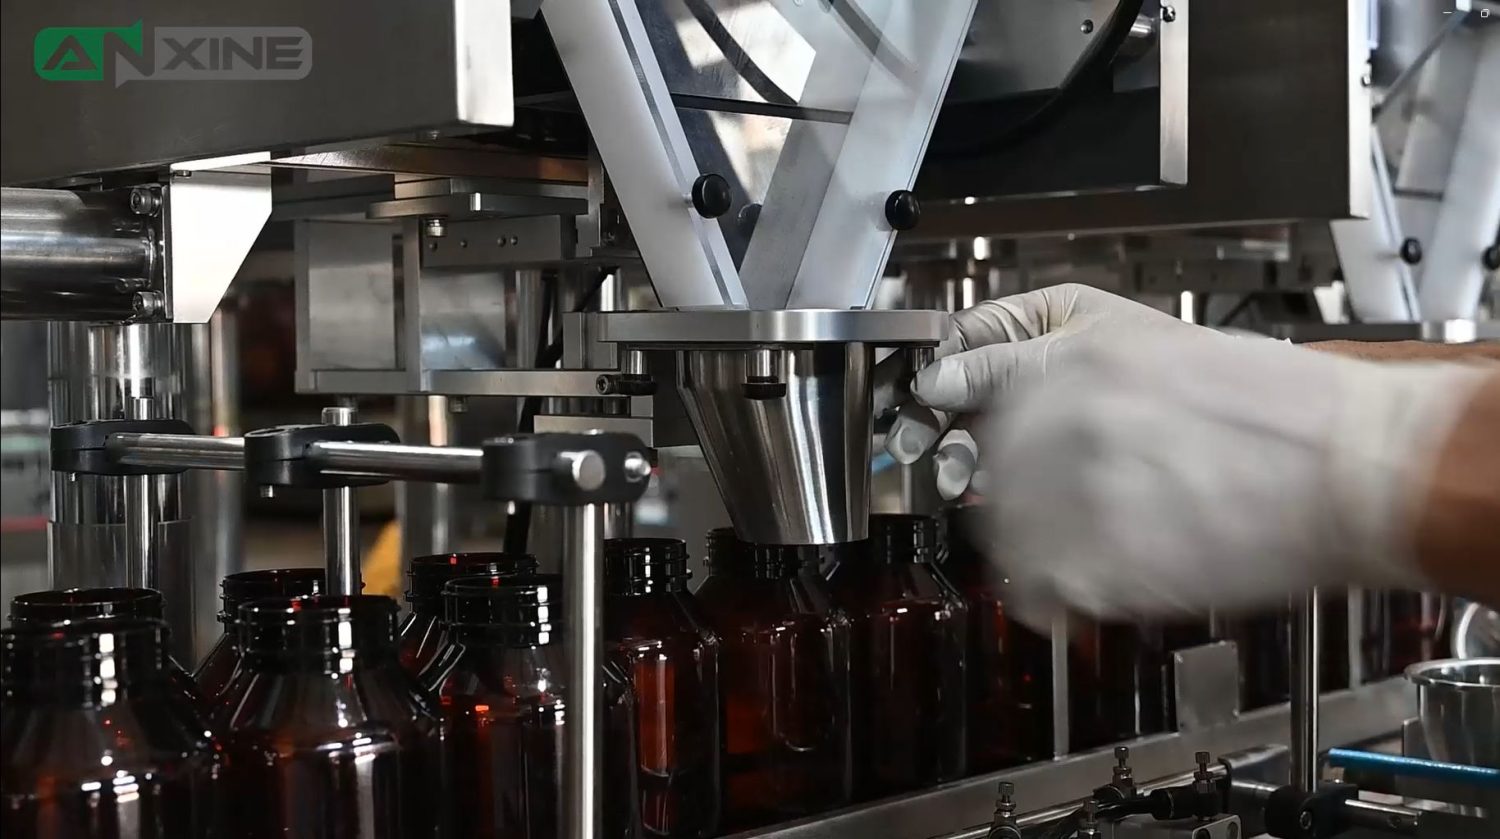
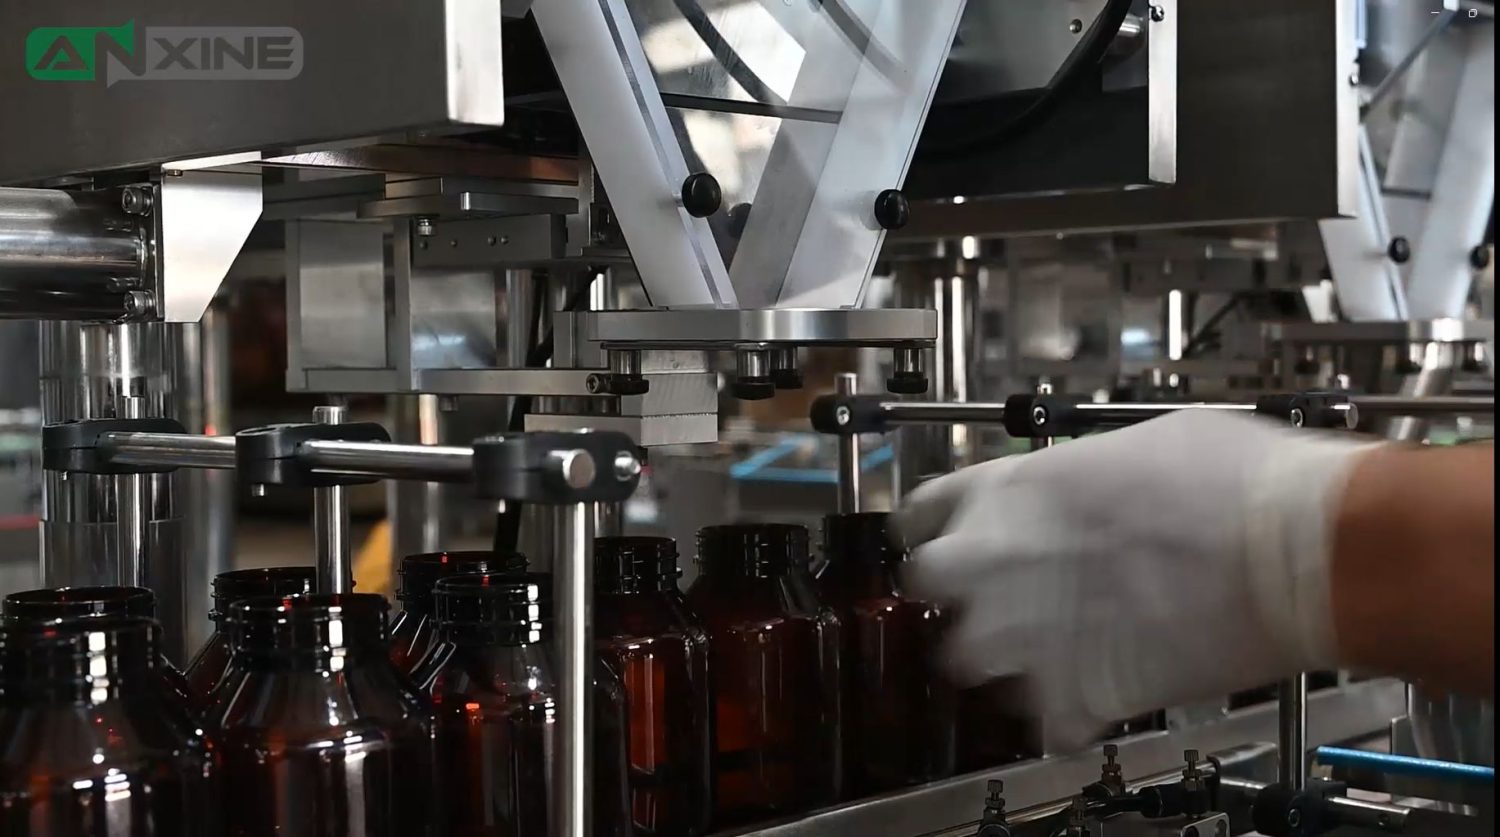
Step 6: A counted batch falls into the funnel and is then filled into an empty bottle below.
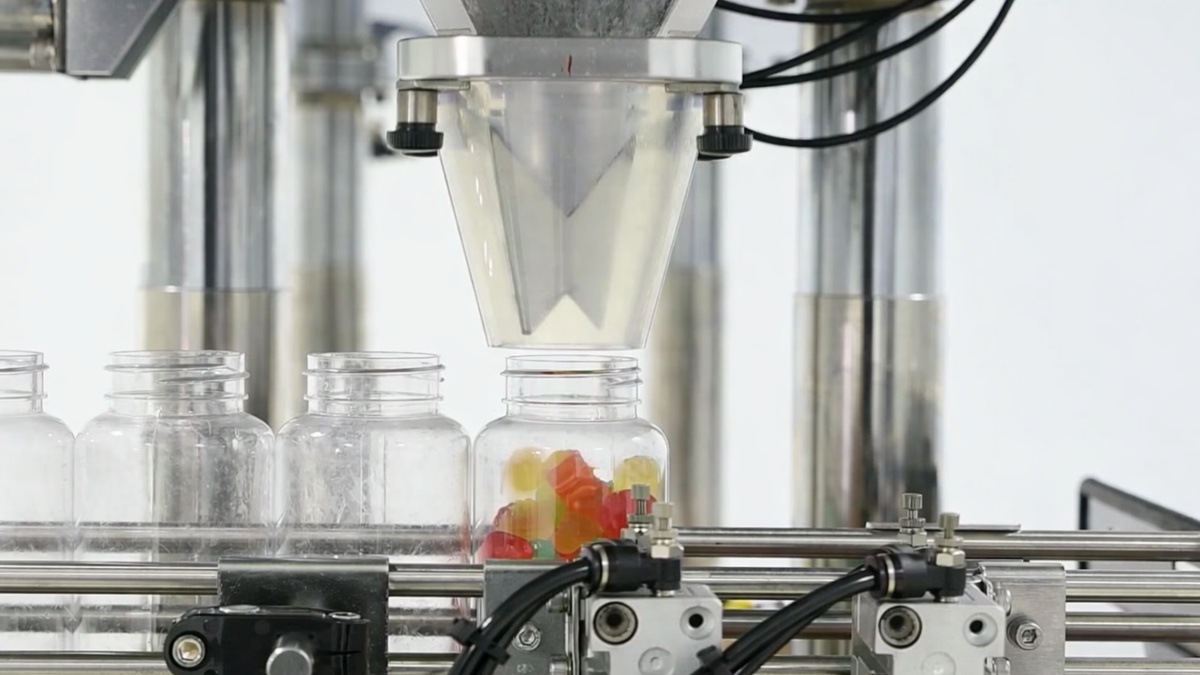
Step 7: If a bottle has an incorrect count, an integrated rejection system on the conveyor belt uses a pneumatic pusher to remove it.
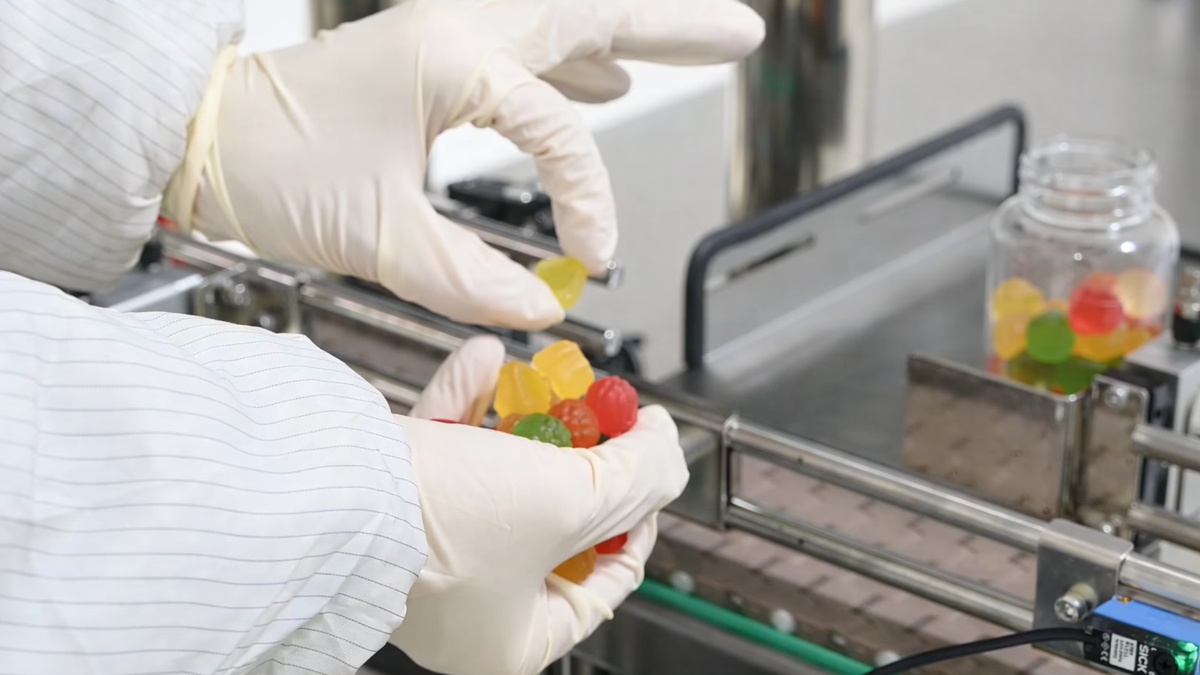
Step 8: The compliant bottles proceed along the conveyor belt toward the downstream.
Want to see an automatic pill counter machine in action? Check out the video below.
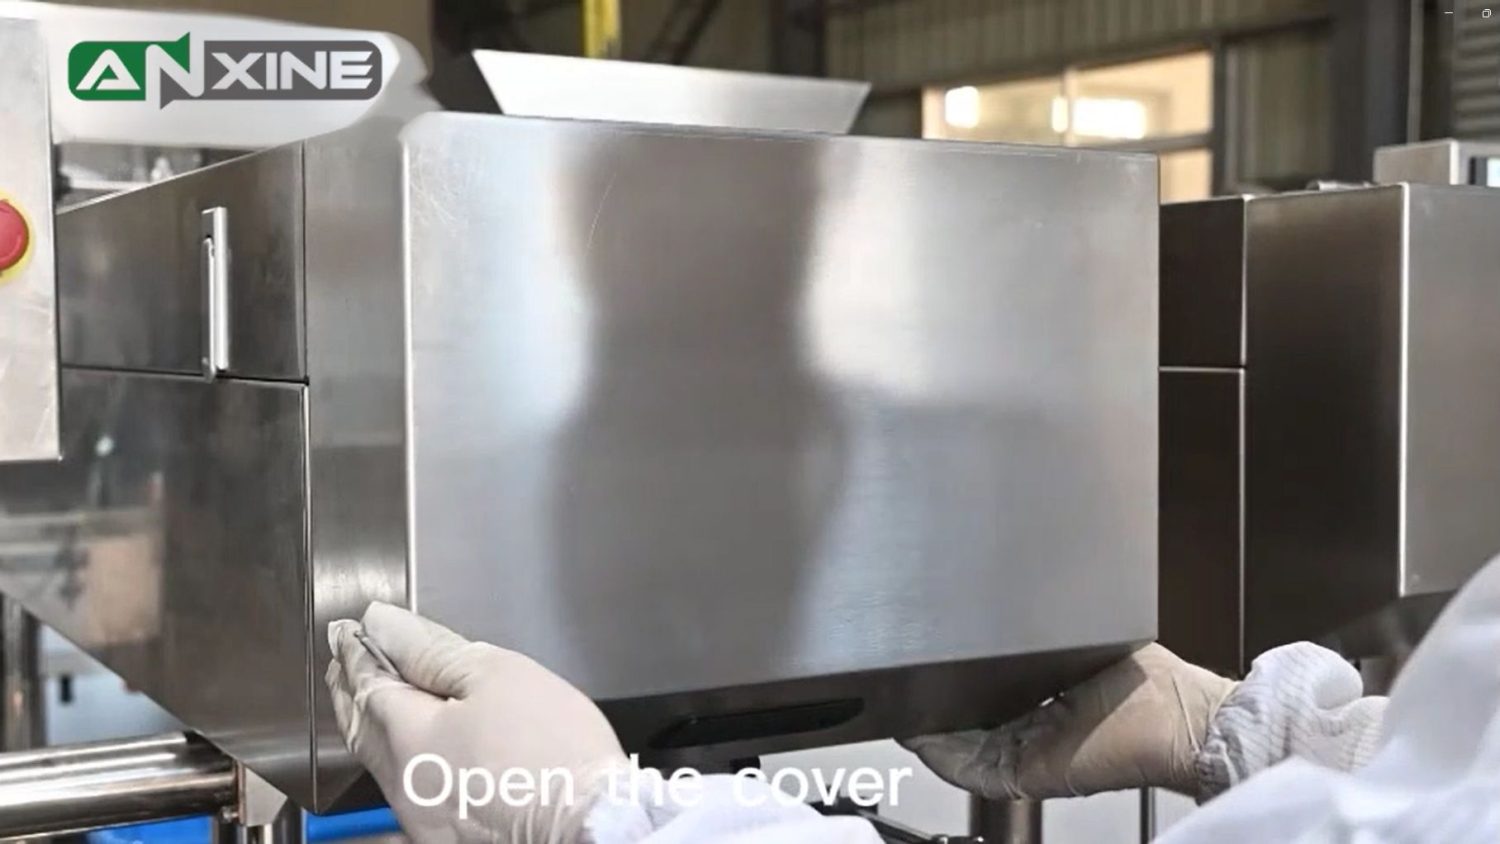
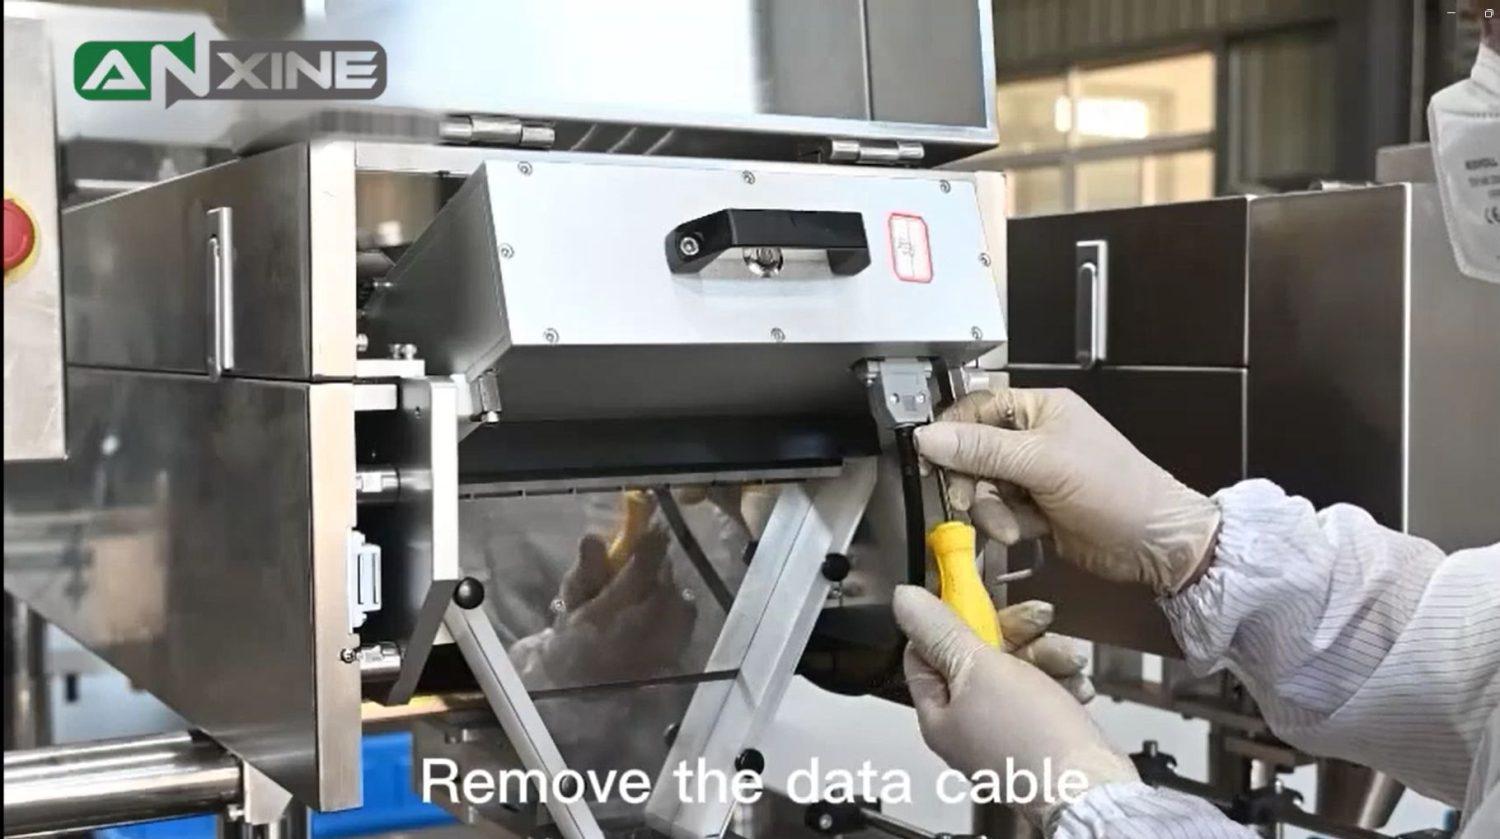
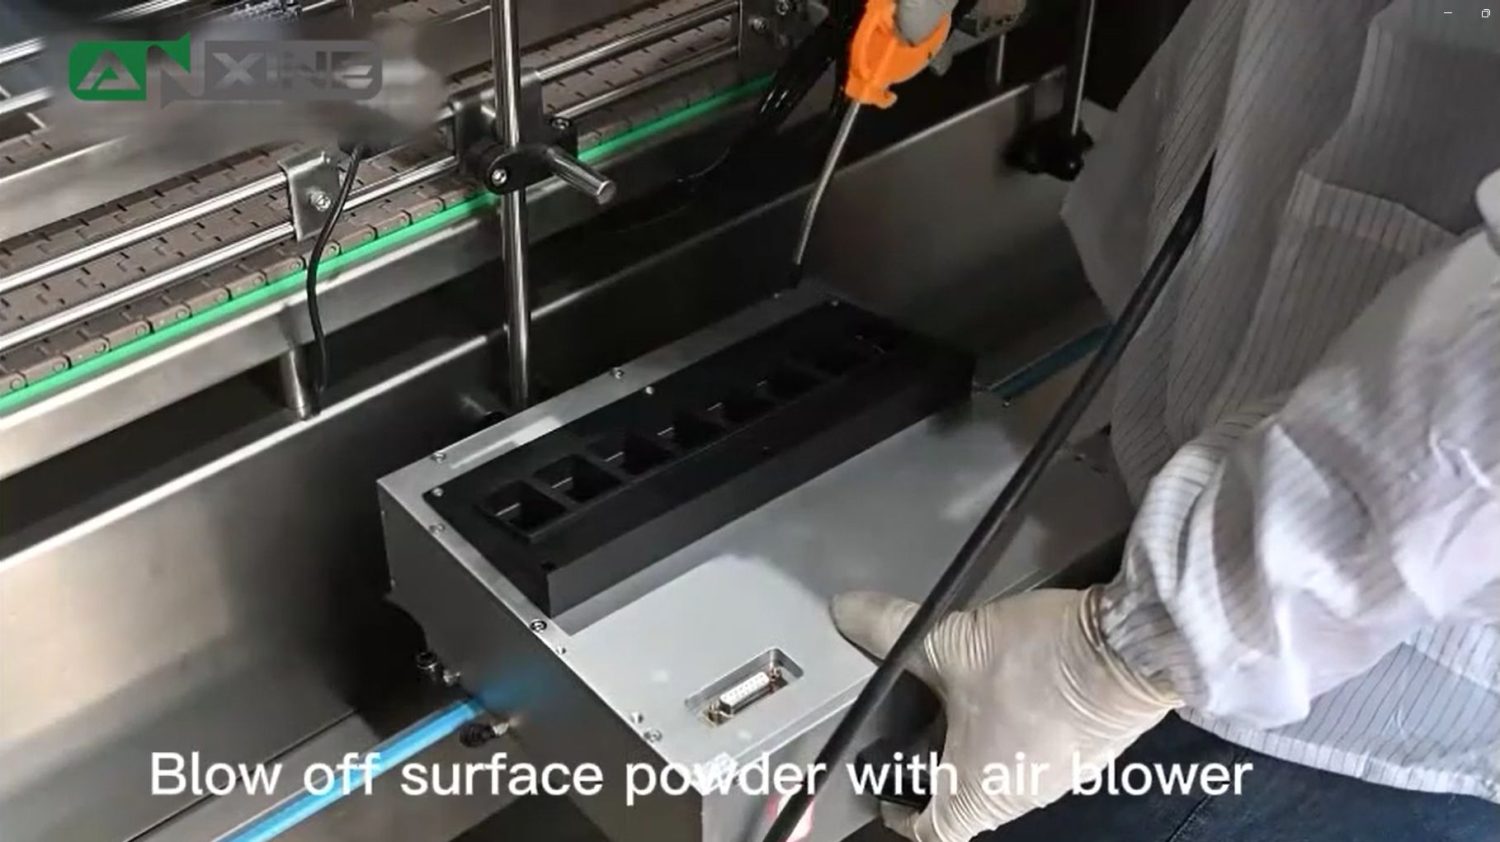
Section 2: Cleaning Procedures of the Counting Head
Step 1: Open the cover.
Step 2: Remove the data cable.
Step 3: Remove the fixing screws and unplug the air tube. Take out the counting head.

Step 4: Blow off surface powder with air blower.
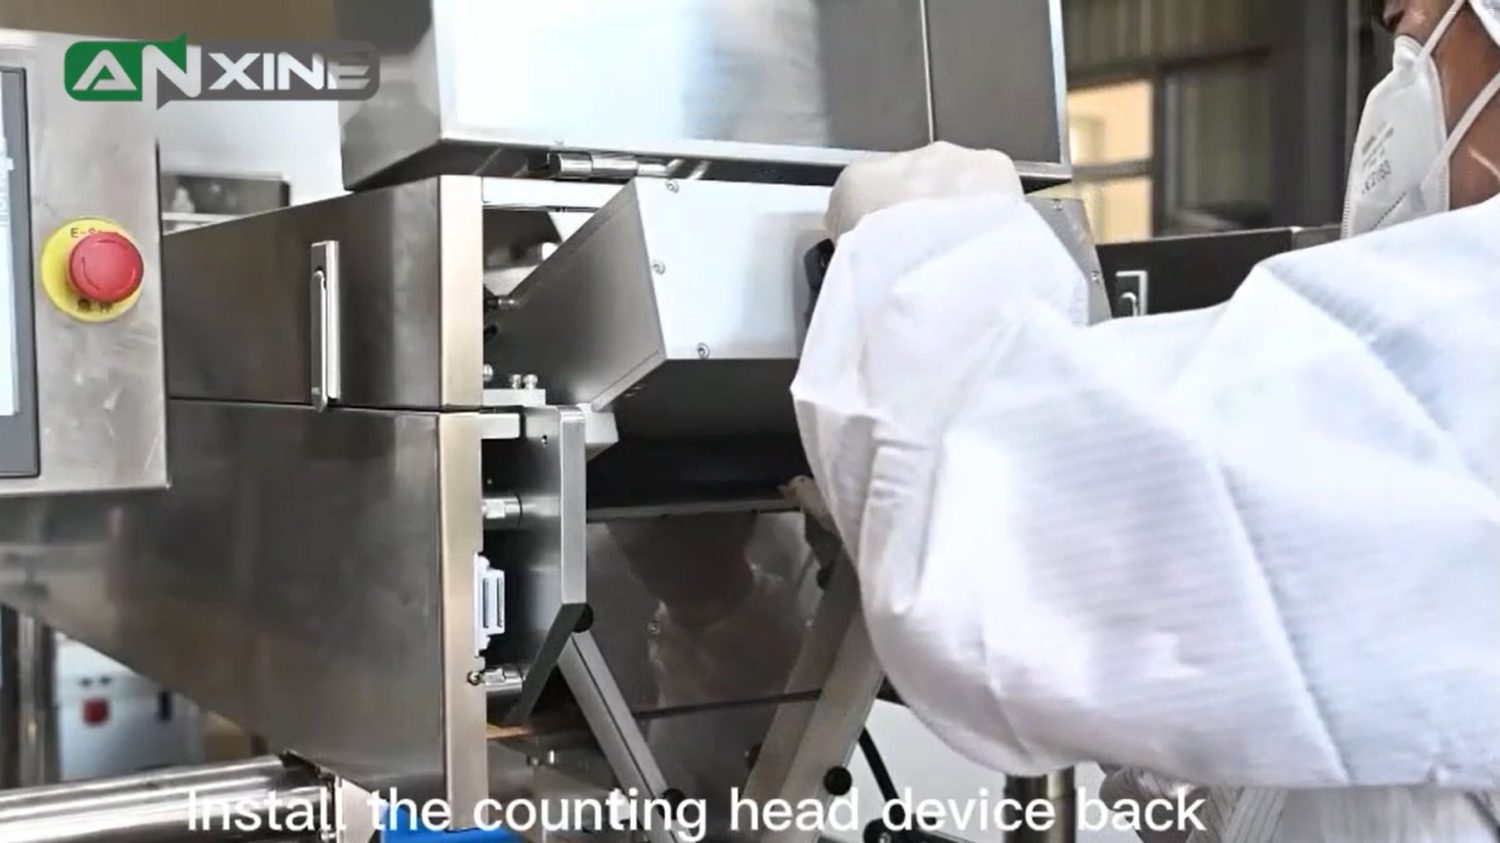
Step 5: Install the counting head device back.
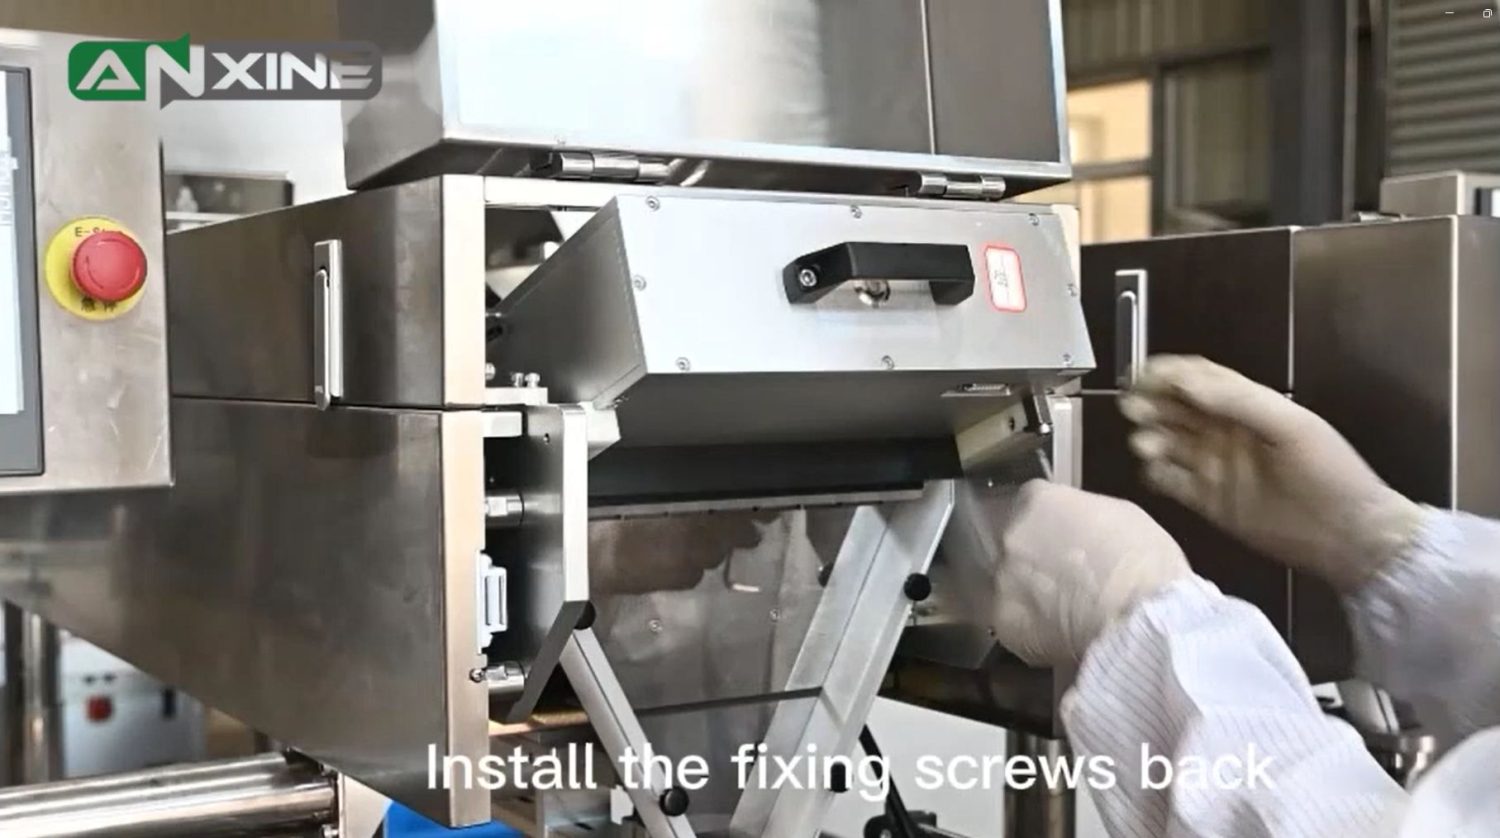
Step 6: Install the fixing screws back.
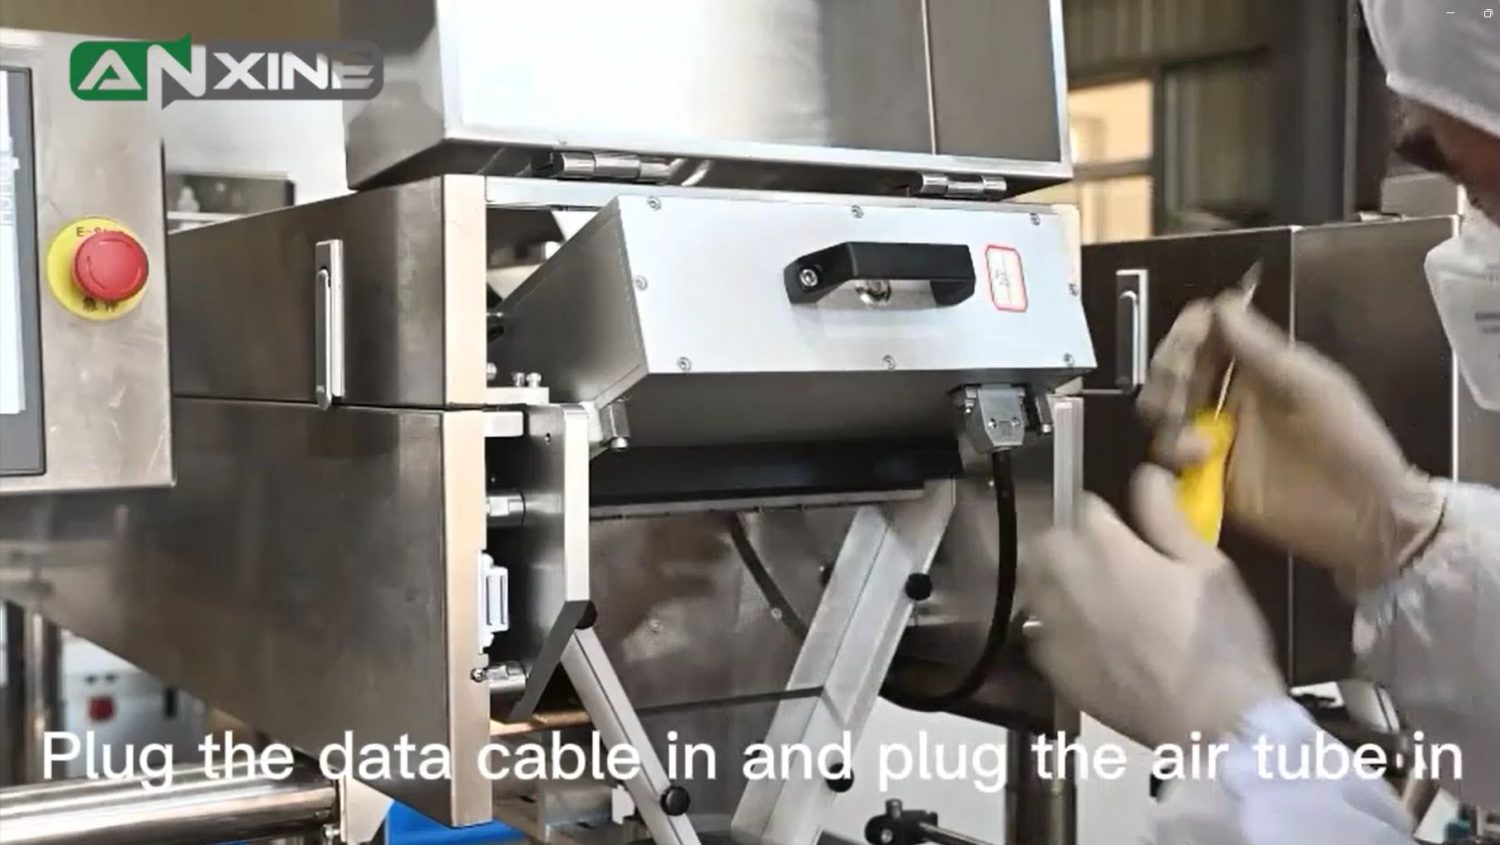
Step 7: Plug the data cable in and plug the air tube in.
The video below shows the steps for cleaning the counting head.
Section 3: Installation Procedures
Step 1: Remove the cover, dismantle the locking bolts connecting the vibrator to the base plate, and take out the spacer block (wooden strip) beneath the vibrator.
Step 2: Adjust the position of the rubber vibration-damping feet to ensure that the vibrator can operate freely without colliding with other components.
Step 3: Align each channel outlet of the vibrator with the discharge openings of the guide tubes. The outlet of each channel should be slightly lower than the bottom of the groove of the vibrating plate.
Step 4: Connect the cables for the solenoids and photoelectric sensors mounted on the bottle blocking bars. Also, connect the control panel wiring plug and the bottle conveying motor cable plug. The corresponding connection sockets are located on the right side of the machine frame.
Step 5: Adjust the leveling screws of the base feet to an appropriate height to ensure the machine is level and properly matched to the bottle height.
Step 6: Secure the main hopper. The lower rear side of the hopper should be approximately 2–3 mm higher than the corrugated plate. Install the machine cover and place the acrylic protective cover.
Section 4: How to Install or Replace the Hopper
Note: According to the material specifications and bottle mouth size, corresponding hoppers are provided. Users should select the appropriate hopper before operation.
Step 1: Loosen the screws on both sides that secure the hopper.
Step 2: Remove the original hopper, install the appropriate one, and tighten the fixing screws.
Step 3: Close the front outer cover.
If you want to learn more details on installing the air supply and discharge hopper, click to watch the video below.
Section 5: Cleaning Instructions and Precautions
Note: When changing material types, the equipment must be cleaned. Precautions for cleaning are as follows:
- Turn off the main power supply.
- Hopper cleaning: Remove the hopper and clean it separately.
- Cleaning of the corrugated vibrating plates: Wipe repeatedly with alcohol-soaked cotton.
- Cleaning of counting components: Disconnect the guide tube, photoelectric sensor, and all connecting cables from the system. Use oil-free cotton or medical gauze to gently wipe the lens of the photoelectric sensor head to remove dust.


