NOTICE
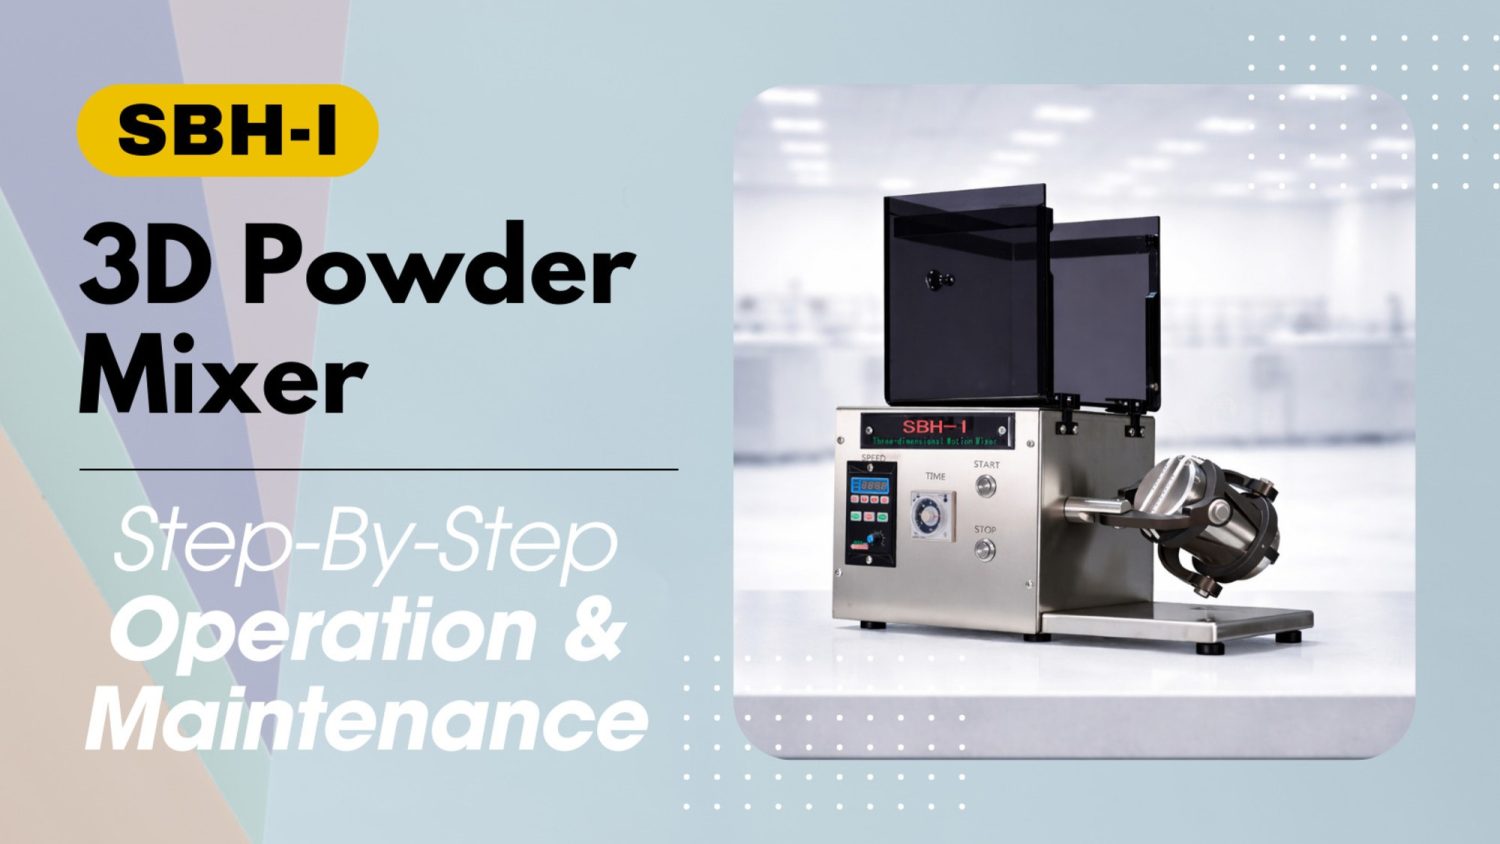
- The following procedures are intended for the Anxine SBH-I 3D Powder Mixer only. For other brands, refer to the original manufacturer’s instructions.
- Always disconnect the power supply before performing maintenance, cleaning, or mold changeover.
- Only trained and authorized persons are permitted to work on the equipment.
- Your equipment may vary from images or videos due to ongoing upgrades.
- If any part of this guide is unclear, contact Anxine for technical support before proceeding.
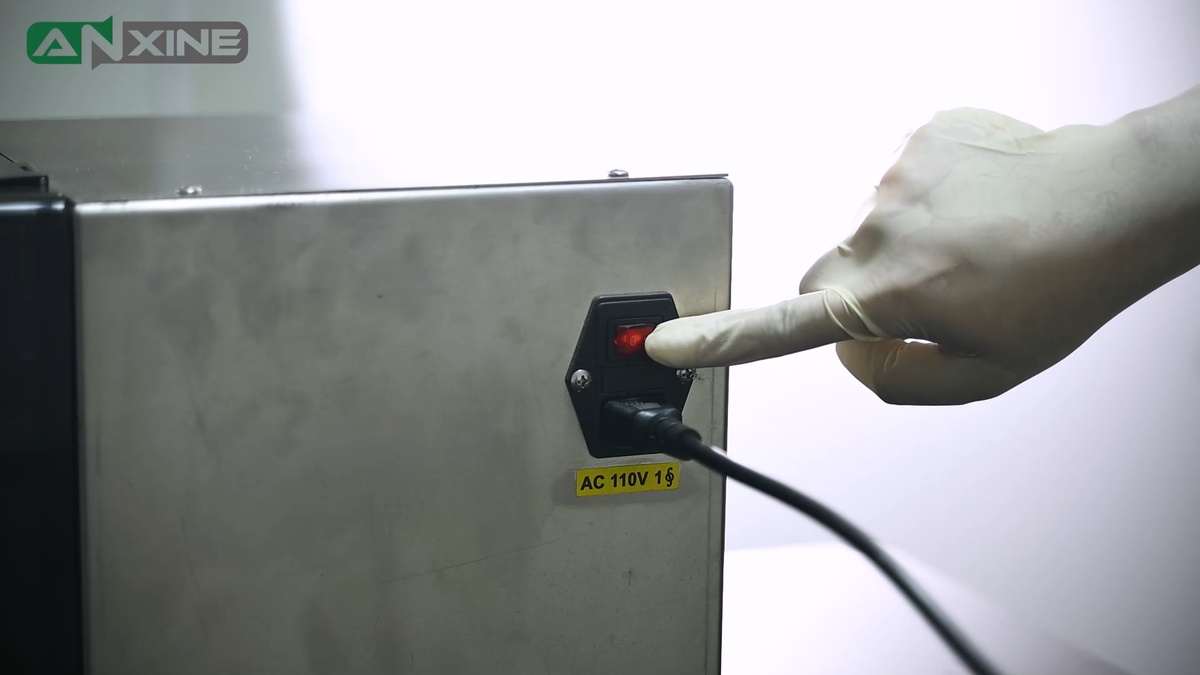
Step 1: Flip the red rocker switch on the back of the 3D mixer to power it on. The switch light will illuminate.
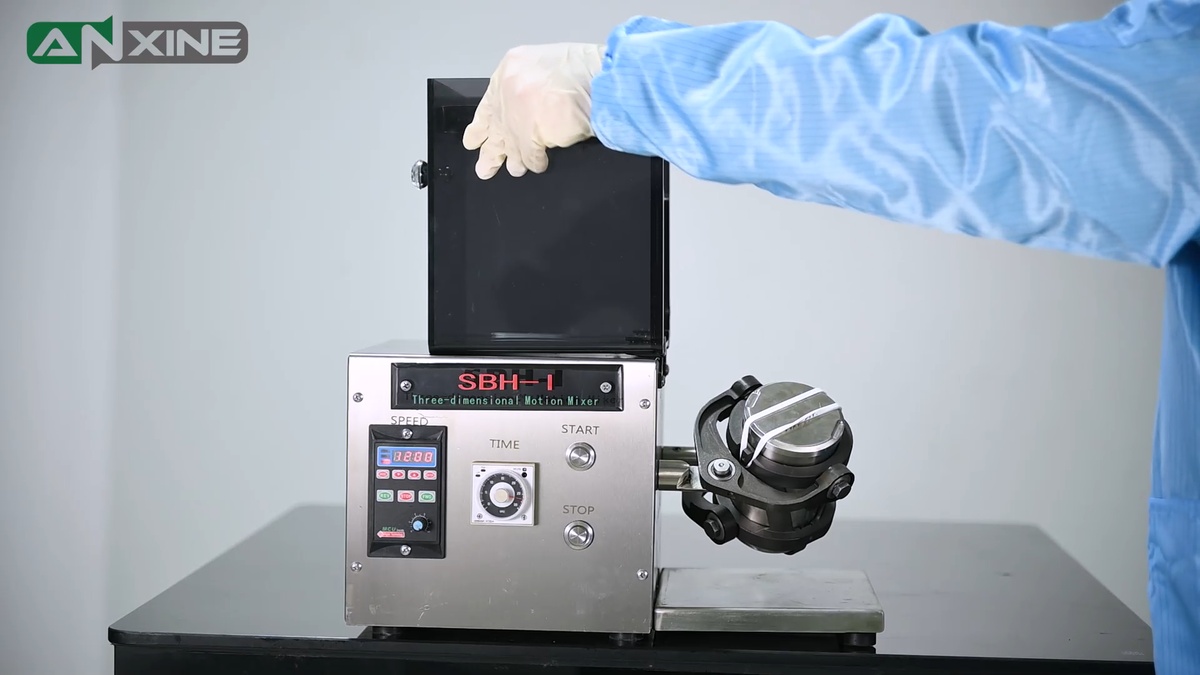
Step 2: Lift the black transparent safety cover to reveal the mixing canister.
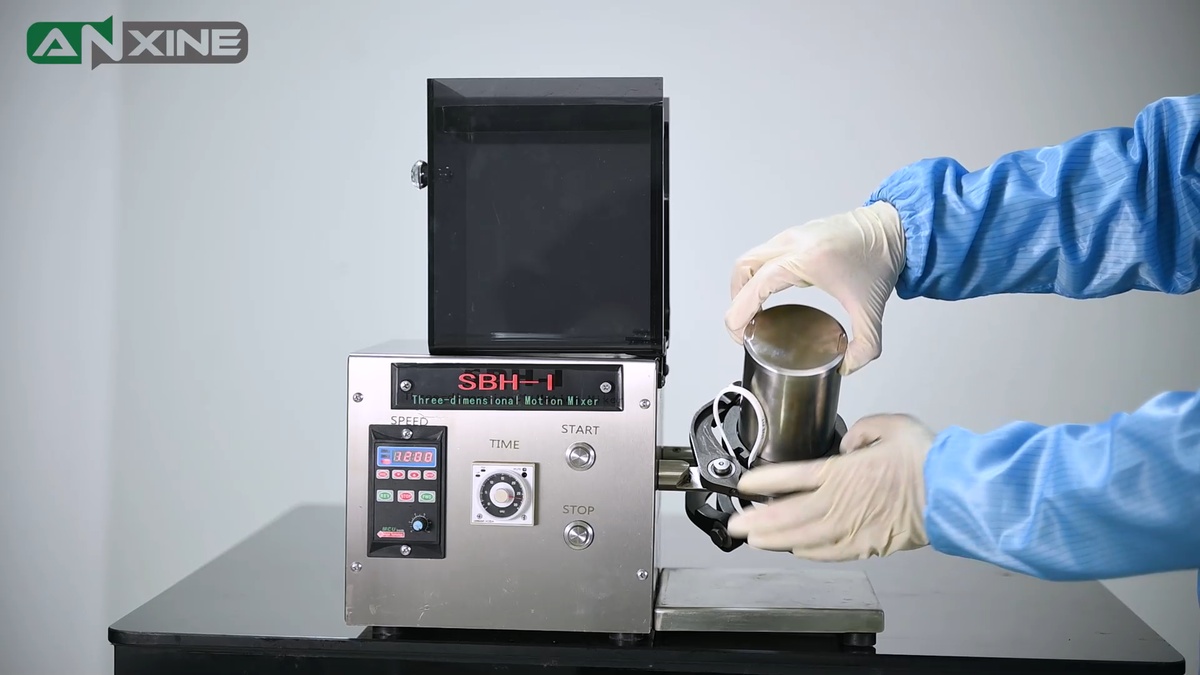
Step 3: Release the silicone safety band to take out the stainless steel mixing canister from the holder.
Step 4: Remove the lid of the canister and load the powders into it with a clean scoop.
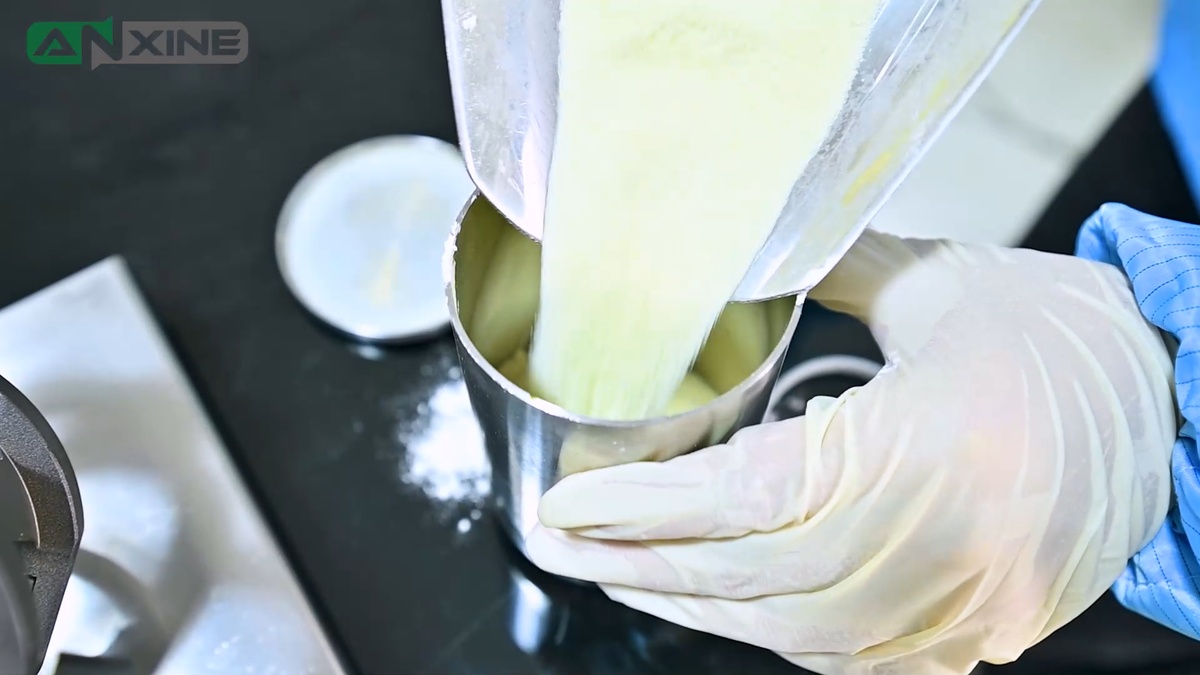
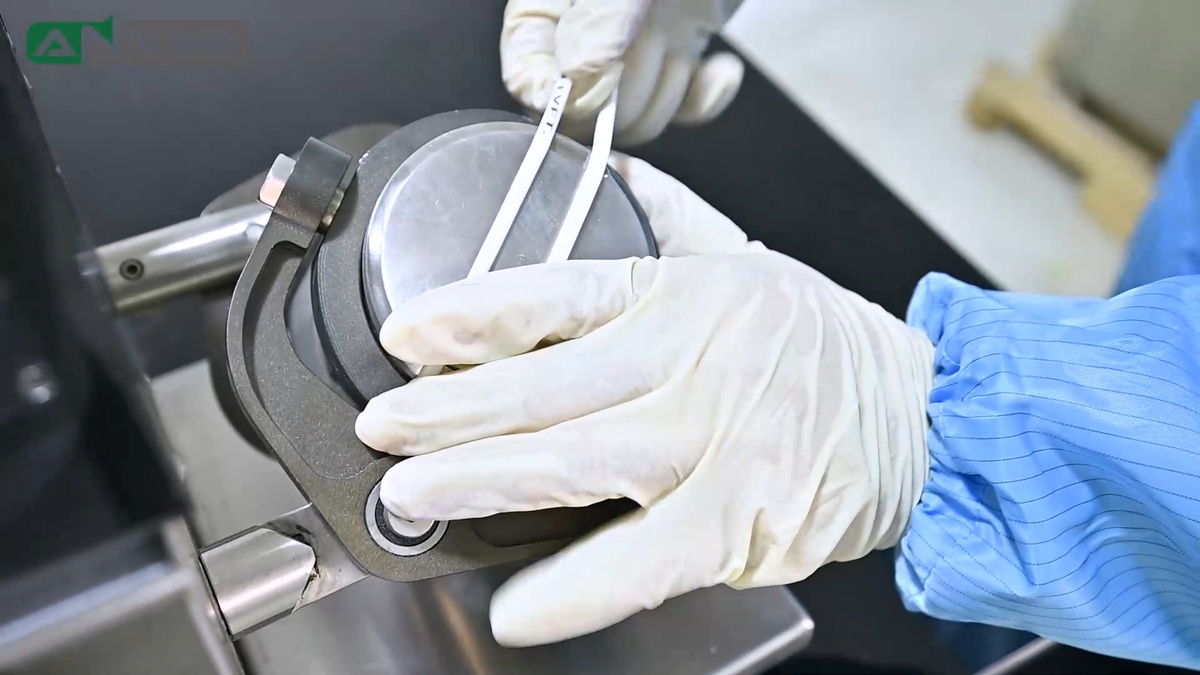
Step 5: Close the filled canister and insert it back into the holder. Then stretch the silicone band and hook it to the notches to secure the canister.
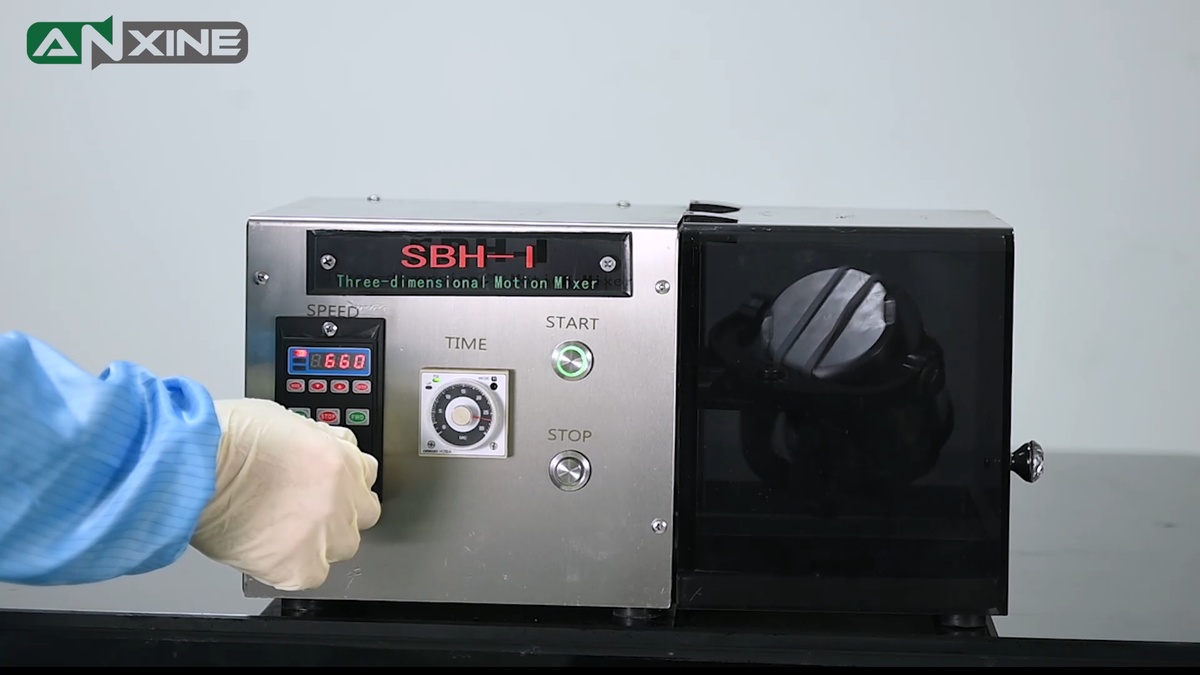
Step 6: Lower the black transparent cover back into place. Set the mixing time and speed on the control panel. Then press START to start mixing.
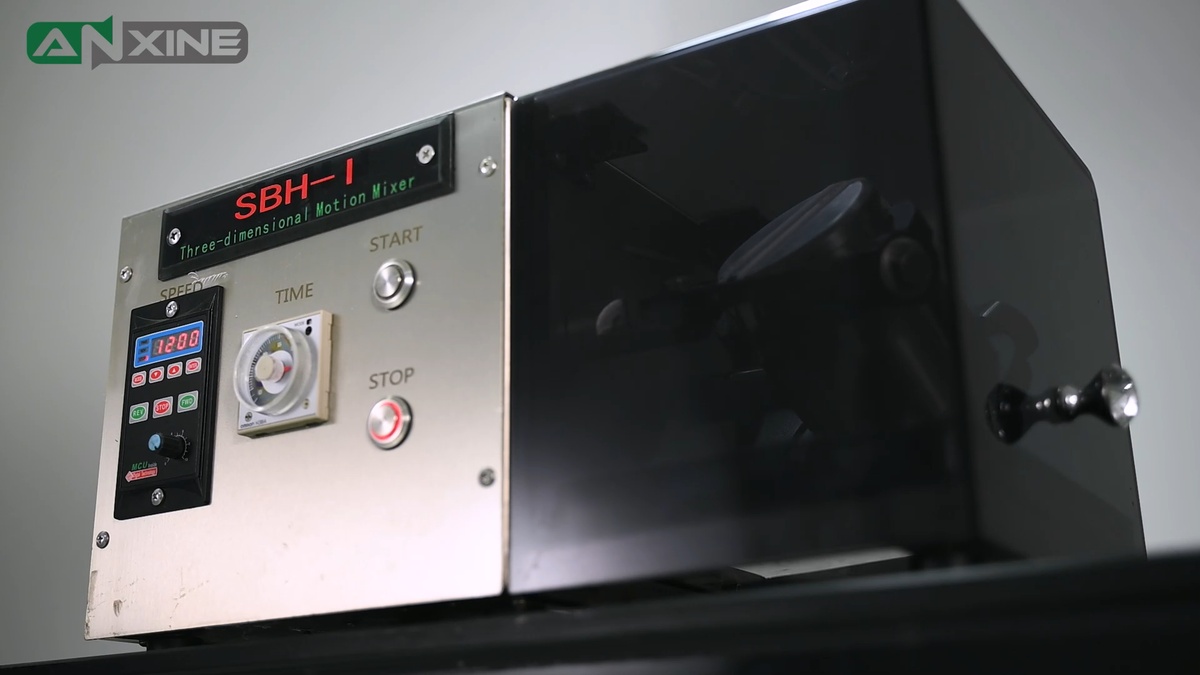
Step 7: The canister does its 3D tumbling motion to thoroughly blend the powders inside. When the process is complete, the mixer stops automatically. The STOP button will illuminate red.
Step 8: Open the safety cover again. Then unhook the silicone band and take off the canister.
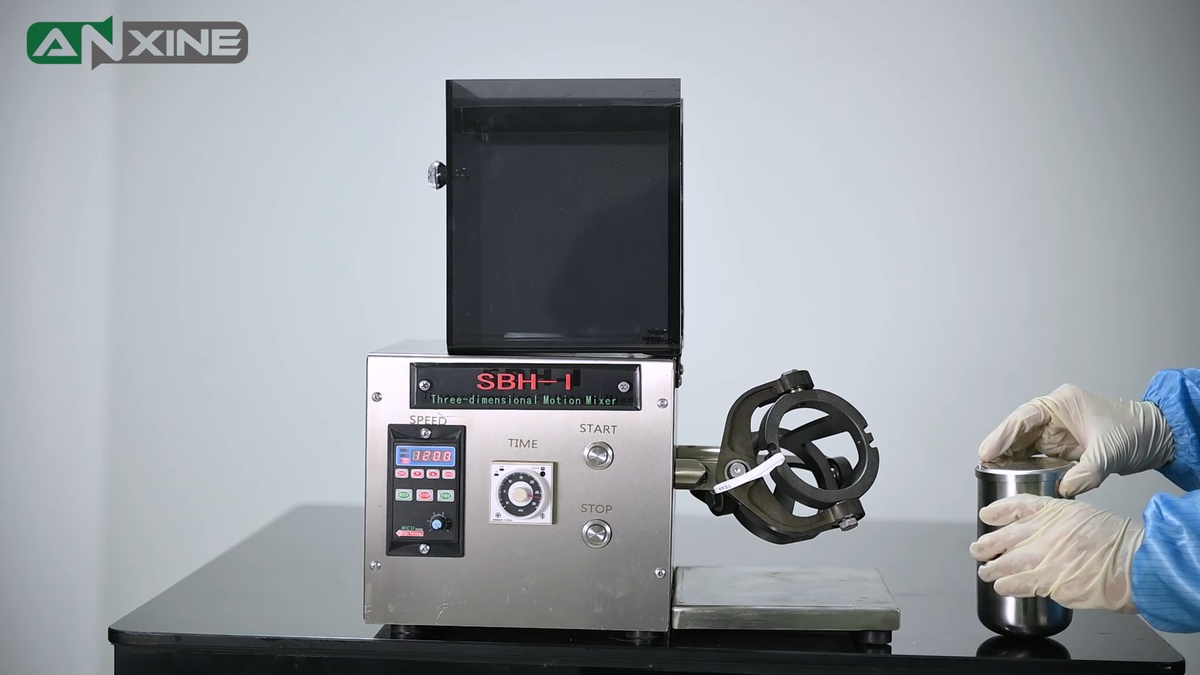
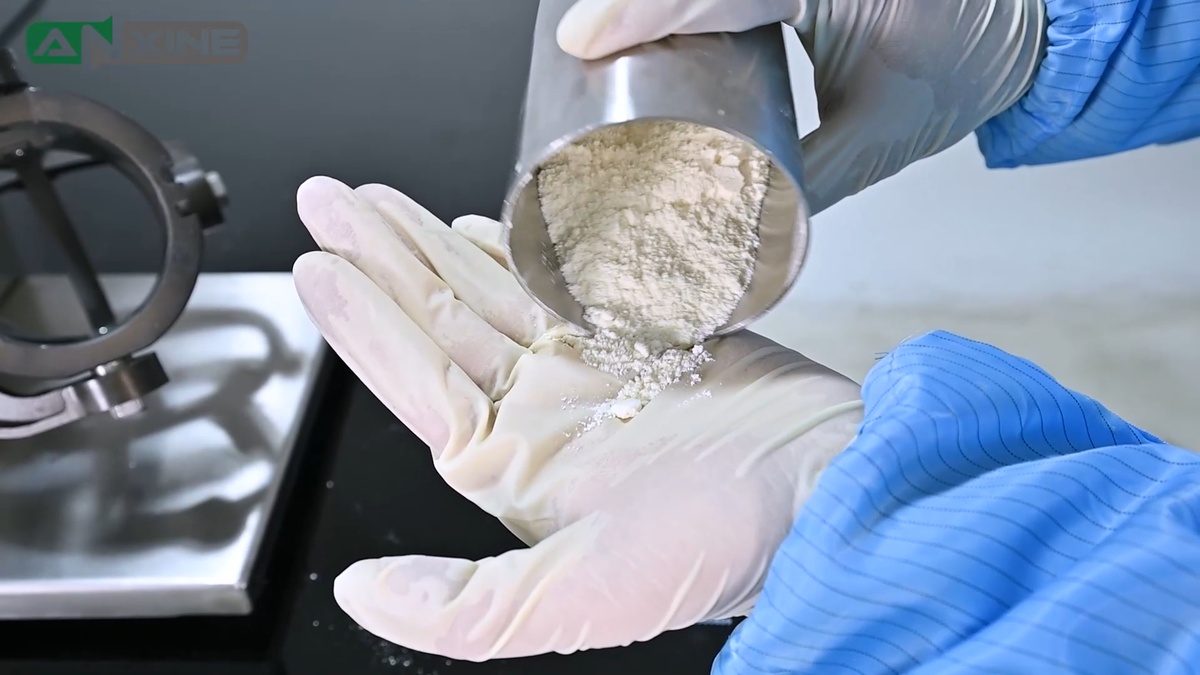
Step 9: Remove the lid and pour out the mixed powder.
How to Clean the Machine After Each Use
Step 1: Before cleaning, turn off the power and make sure the machine has stopped completely.
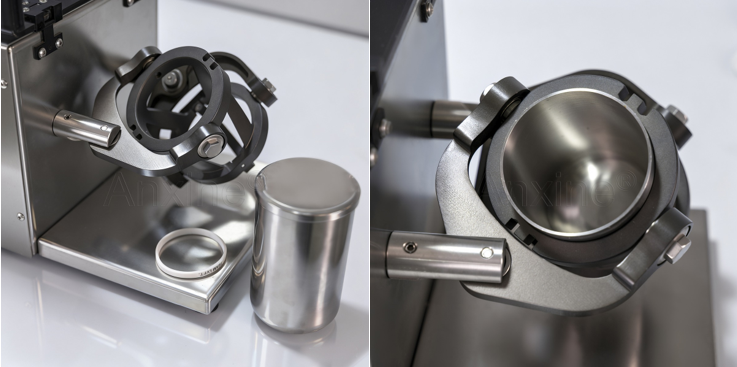
Step 2: Unload the stainless-steel drum.
Step 3: If there is any powder left, remove it with a vacuum cleaner or dry dust-free cloth first.
Step 4: Then clean the drum with purified water and a validated cleaning agent.
Step 5: After the machine is completely dry, check if there is any residue, especially in these areas:
- Cover
- Seals or gaskets
- Clamp area
Step 6: Maintain cleaning records, such as the time, operator, cleaning method, and inspection result.
Note:
- Do not let water or any liquid enter the mechanical or electrical system.
- Do not use cleaning tools with rough or hard surfaces. Scratches on stainless steel can trap powder and make cleaning harder.
- Replace the seals or gaskets if they are cracked, deformed, or damaged.
How to Maintain the Machine Regularly
Daily Maintenance
- Turn off the power promptly after use.
- Clean the mixing drum and the machine exterior in a timely manner.
- During operation, monitor the machine for any abnormal conditions, such as unusual noise, vibration, or overheating.
Periodic Maintenance
- Inspect the machine parts regularly for wear, damage, or other abnormalities, such as the transmission components and safety guard.
- Lubricate the required points according to the user manual. Apply the lubricant in the correct amount and at the designated locations. Avoid any contamination of product-contact surfaces.
- Perform regular deep cleaning, especially in areas not covered by daily cleaning.
Note: All daily and periodic maintenance activities shall be recorded properly.
Common Troubleshooting
| Problem | Potential Causes | Recommended Action |
|---|---|---|
| Poor mixing uniformity | Overfilled or underfilled, insufficient mixing time, overmixing causing segregation, incorrect speed setting, improper addition sequence, segregation due to differences in particle size or density | Adjust fill level, mixing time, and speed one at a time. Verify blend uniformity by sampling, not appearance. |
| Powder sticks inside the drum | Moisture, static, scratched surface | Check material condition; verify proper grounding; inspect the blender drum for scratches. |
| Excessive vibration | Uneven work surface, overloading, or loose clamps. | Check machine placement and equipment condition before restarting. |
| Abnormal noise | Loose fastener, transmission issue, clamp contact, bearing wear | Turn off the power immediately. Inspect the machine and make necessary repairs. |
| Powder leakage | Seal damage, poor lid fit, excessive fill | Conduct a closure integrity test to find out the source of leakage. After determining the cause of the leakage, repair or replace the damaged parts. |
| Speed appears unstable | Controller setting issue, power supply issue, electrical fault | Stop the machine. Inspect the electrical and control systems by a qualified technician |
Note: Non-professional or untrained personnel should not attempt repairs on their own. If there are any problems, please contact us promptly for technical support.


