NOTICE
- The following procedures are intended for the Anxine 3D Powder Mixer only. For other brands, refer to the original manufacturer’s instructions.
- Always disconnect the power supply before performing maintenance, cleaning, or mold changeover.
- Only trained and authorized persons are permitted to work on the equipment.
- Your equipment may vary from images or videos due to ongoing upgrades.
- If any part of this guide is unclear, contact Anxine for technical support before proceeding.
Section 1: Operation Procedures
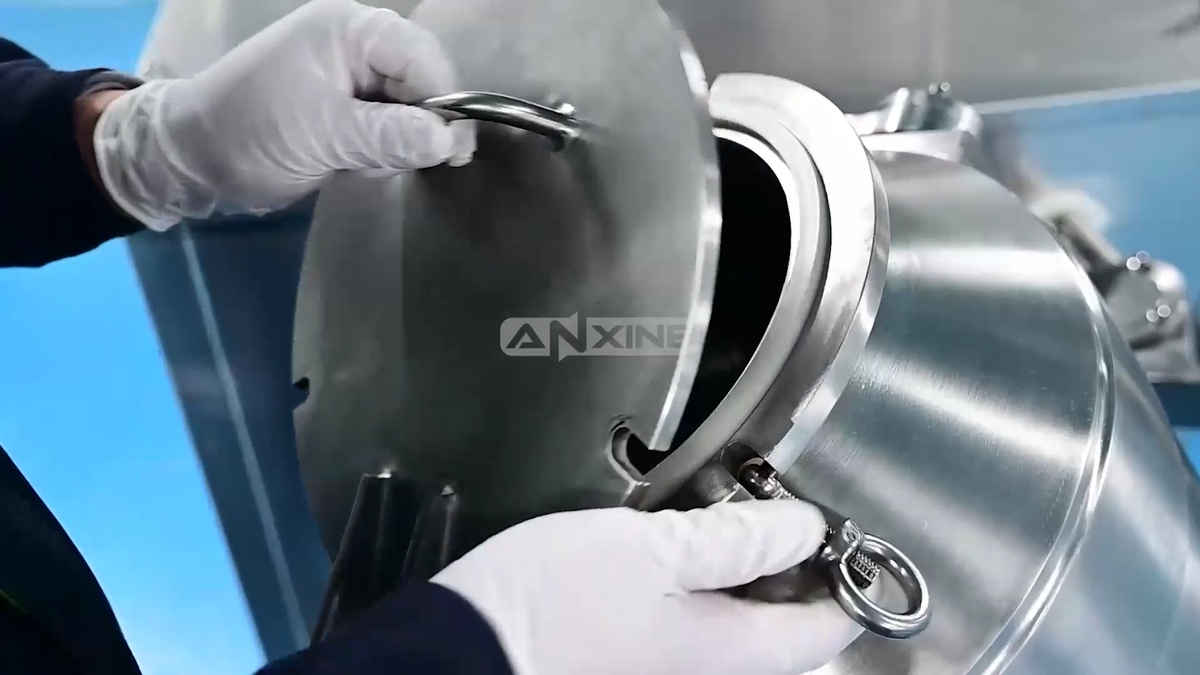
Step 1: Loosen the locking screws or clamps at the feeding port. Then remove the cover.
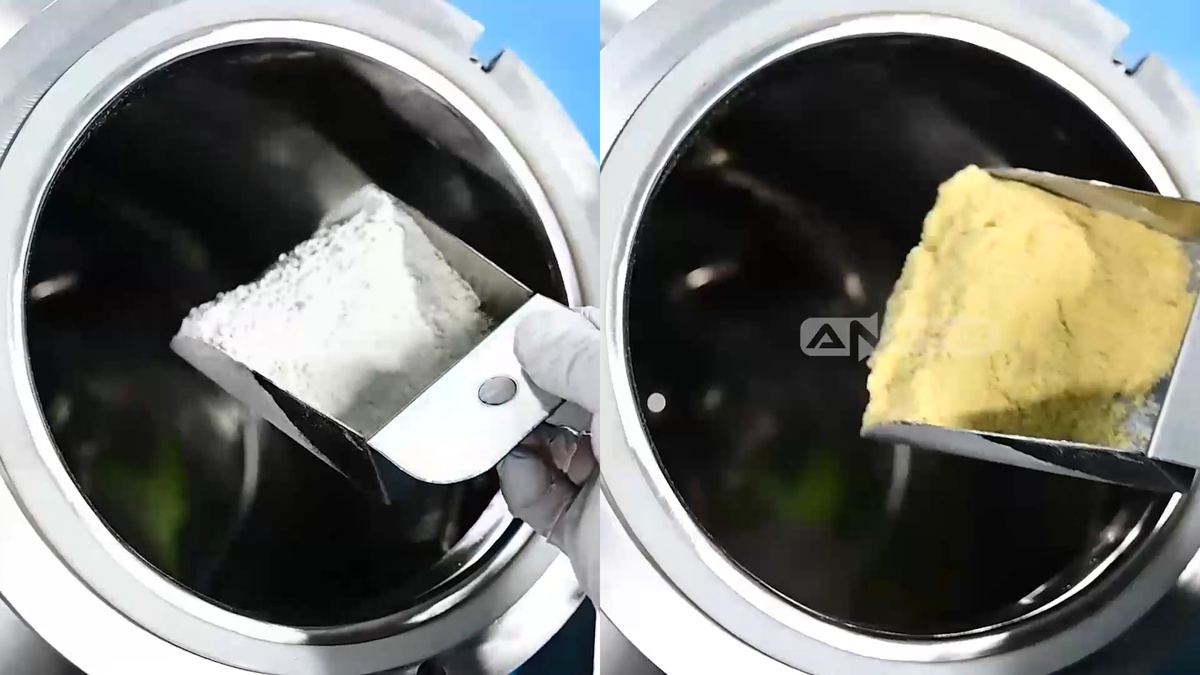
Step 2: Use a scoop to load powder ingredients into the mixing barrel.
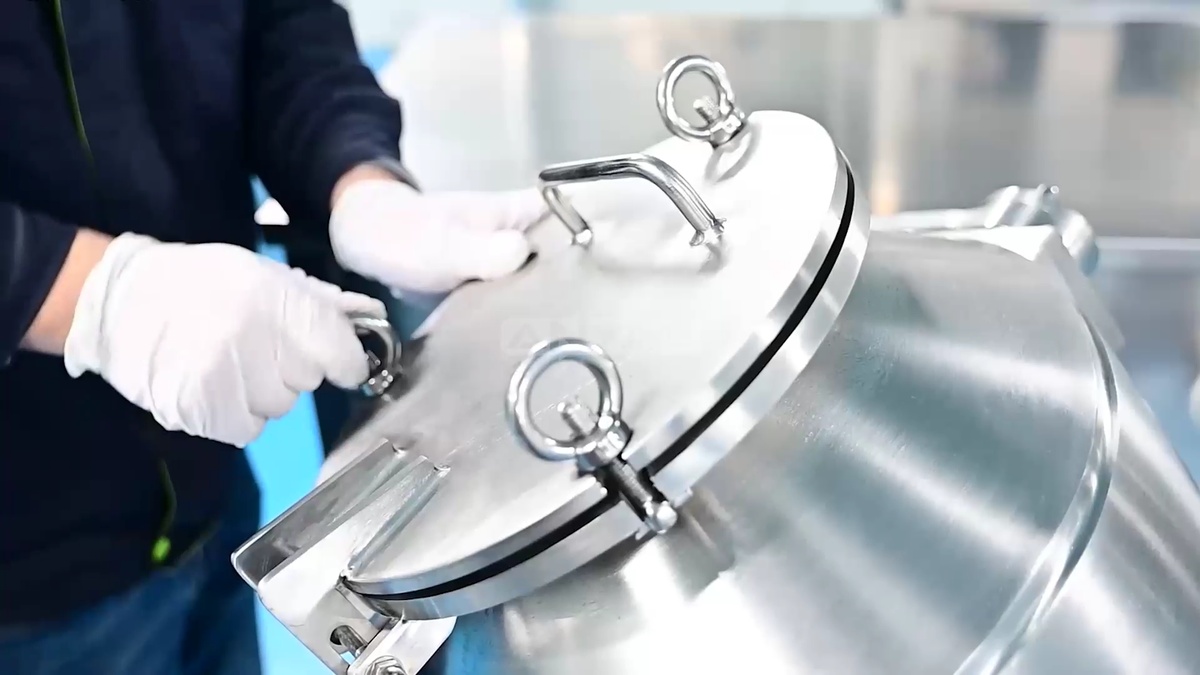
Step 3: Place the cover back onto the feeding port. Firmly tighten the locking screws by hand. This prevents any powder from leaking out during mixing.
Step 4: Press the small buttons on the digital timer relay to set the mixing duration. Then press Mix Start to begin the cycle.
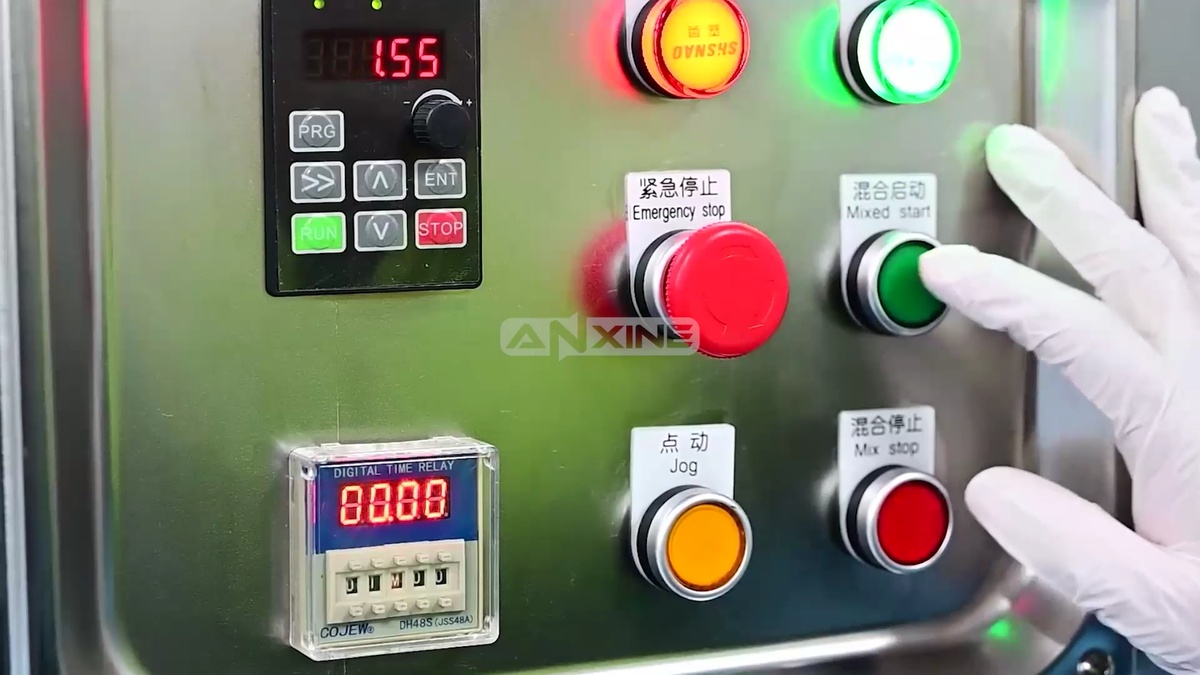
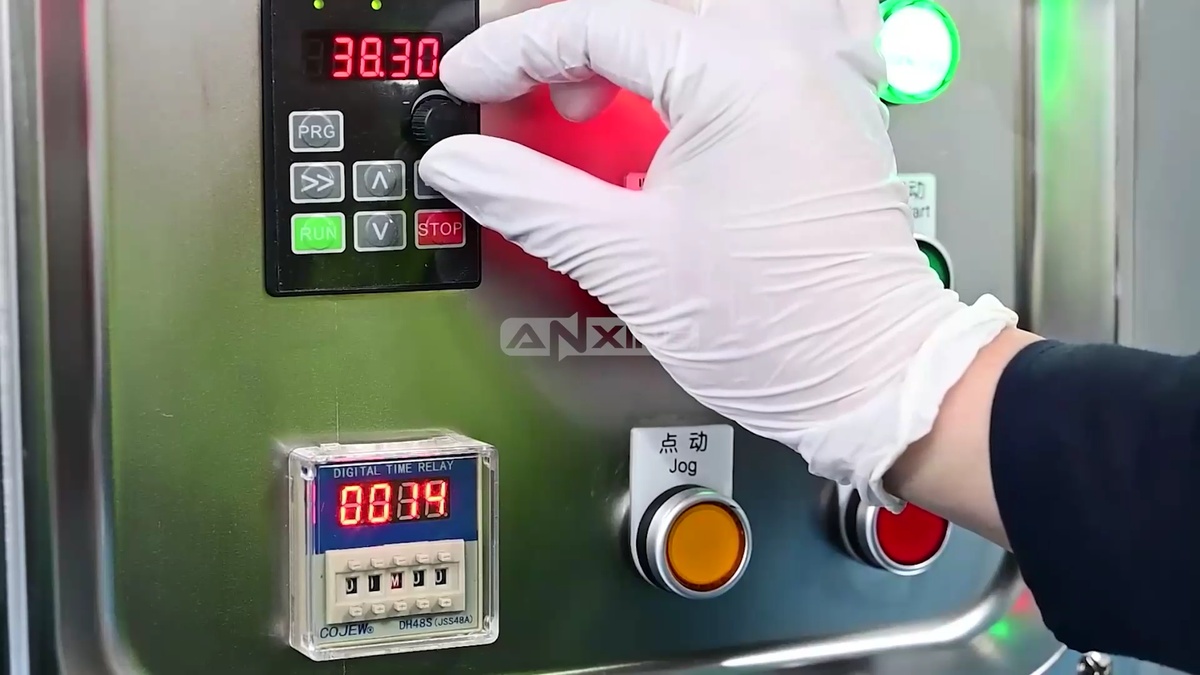
Step 5: Slowly turn the speed control knob to adjust the rotation speed of the mixing barrel.
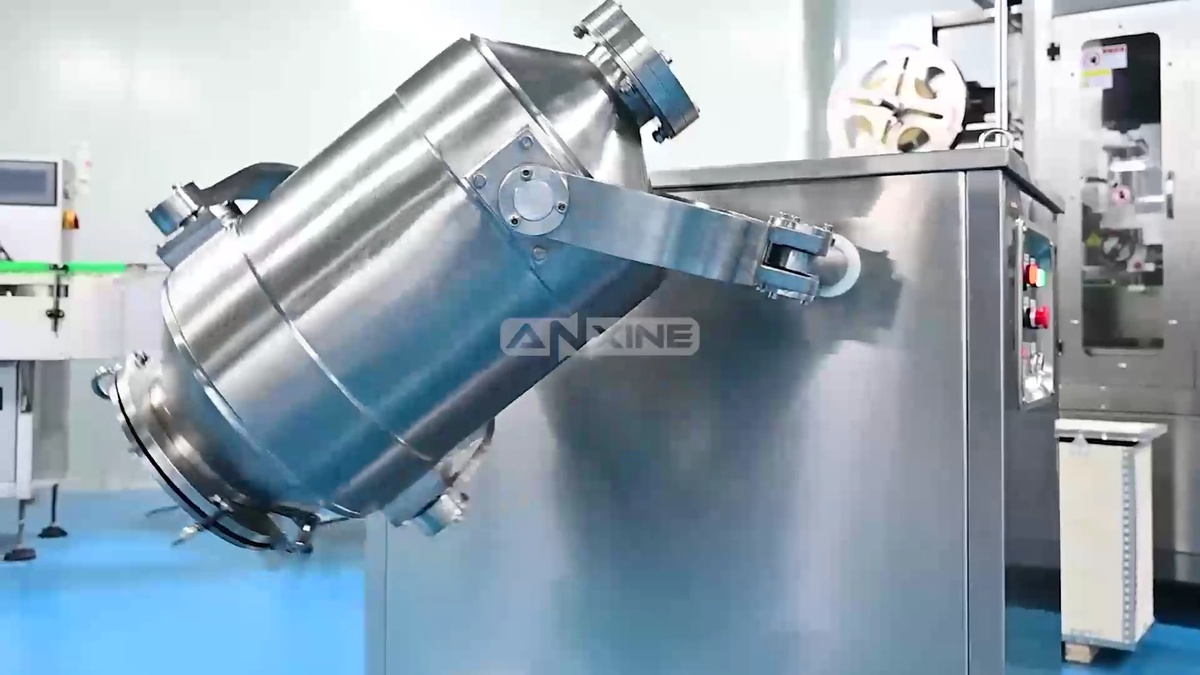
Step 6: Observe the mixing barrel move in a multi-directional 3D motion. Powders are tumbling inside the barrel to achieve a uniform mix.
Step 7: The barrel stops rotating when the mixing is complete. If the discharge port is not facing down, press and hold the Jog button in short bursts to rotate the mixing barrel until the outlet valve is at the lowest point.
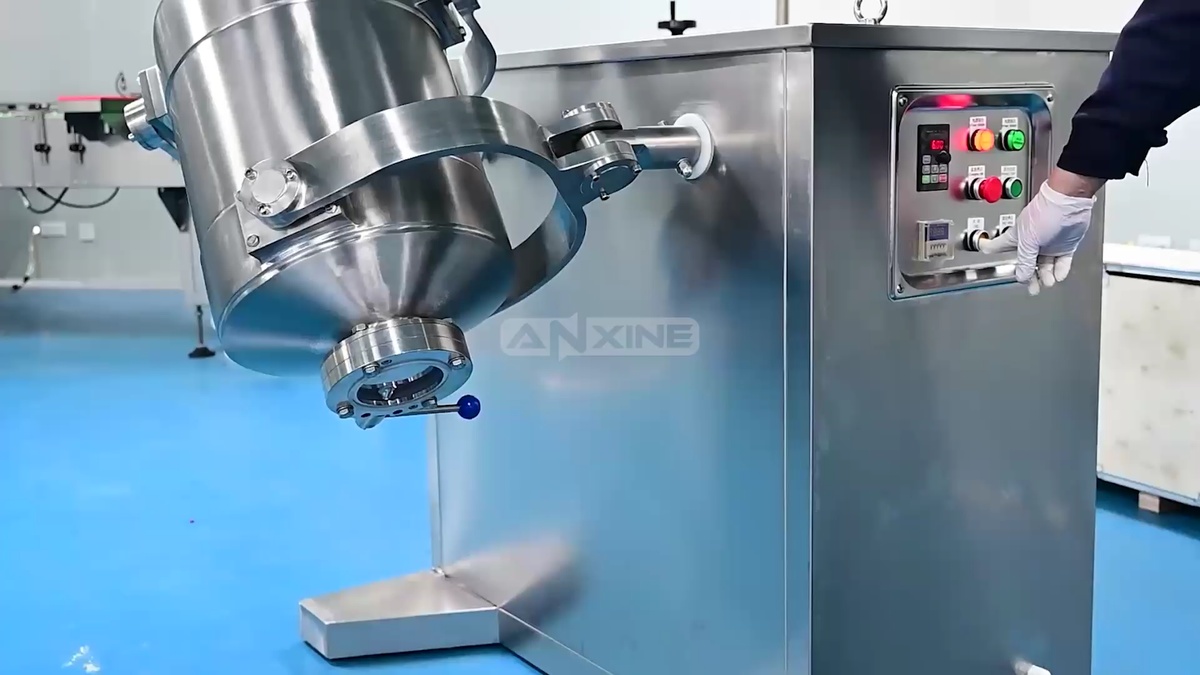
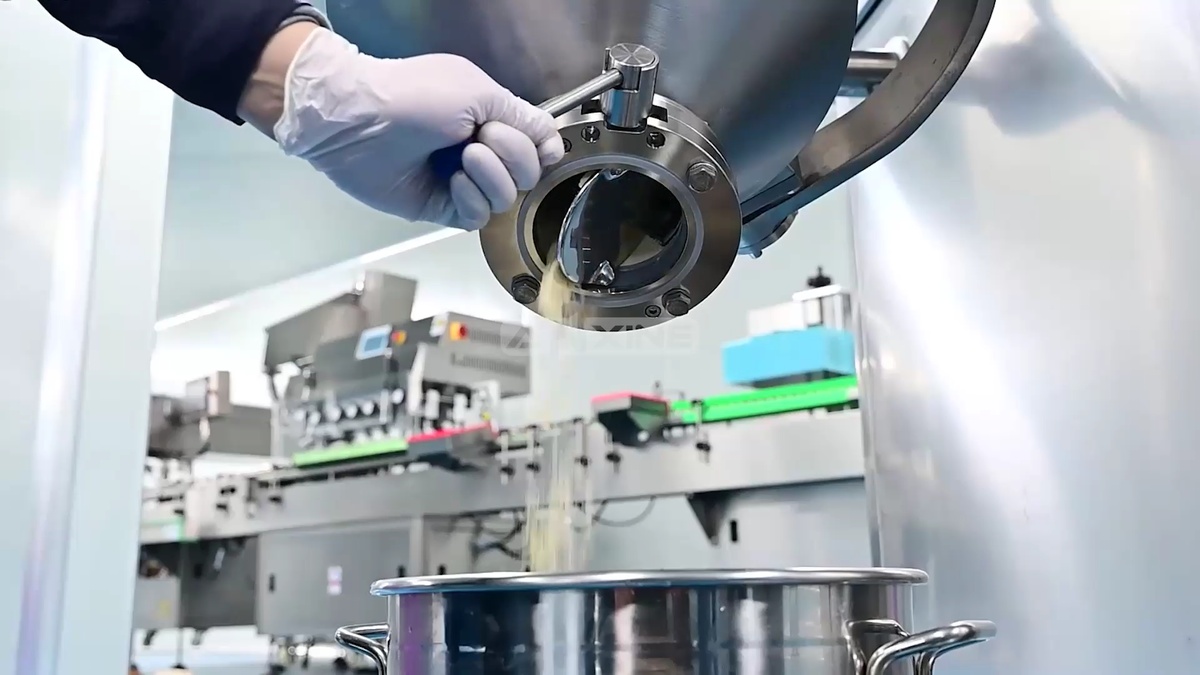
Step 8: Place a clean container below the outlet. Pull the manual handle on the butterfly valve to open it. The mixed powder will flow out of the mixing barrel and into the container.
You can watch this video to learn more details.
Section 2: Maintenance Procedures
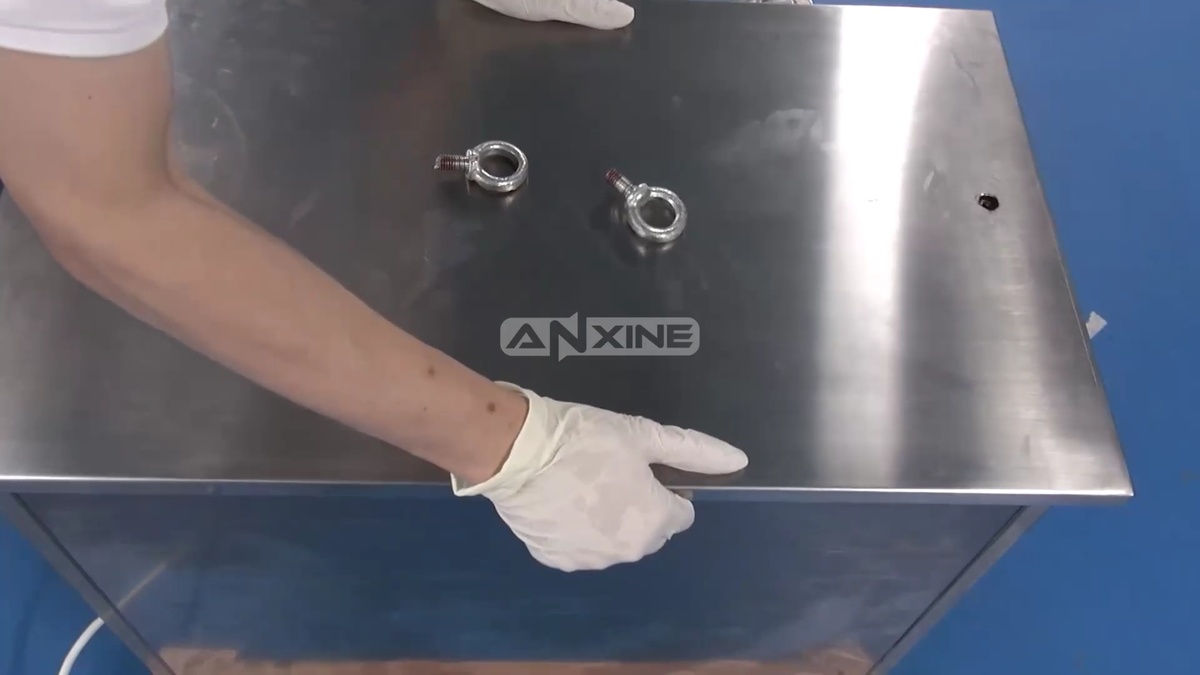
Step 1: Unscrew and remove the two metal rings locking the top cover of the machine’s housing.
Step 2: Lift off the stainless steel top cover to reveal the motor, gearbox, and chain drive.

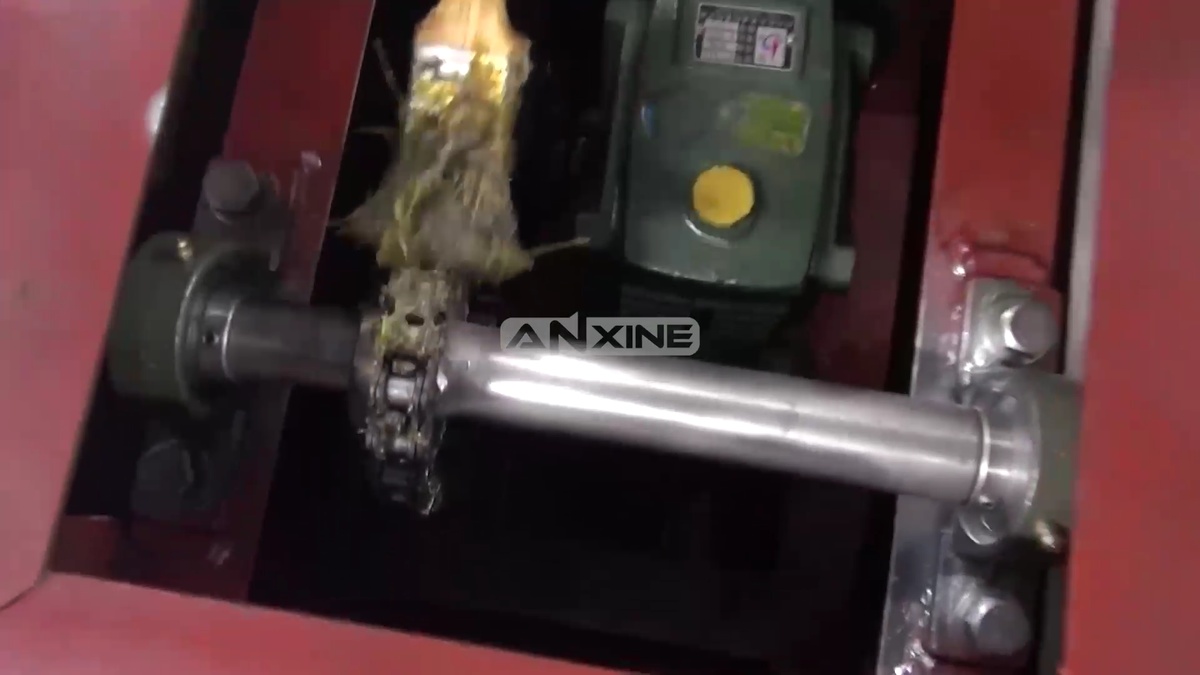
Step 3: Take a brush with grease and apply a generous coating of lubricant to the drive chain and sprockets. This ensures smooth operation and prevents wear.
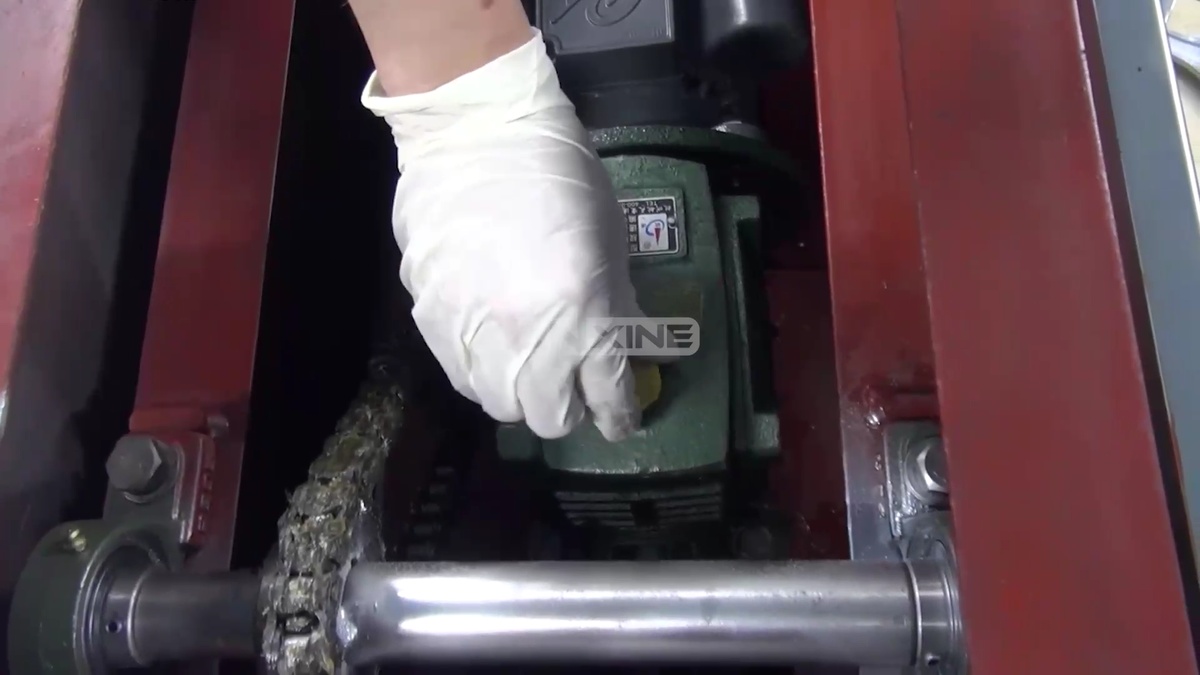
Step 4: Locate the reduction gearbox next to the motor. Unscrew the oil filler plug on top.

Step 5: Insert the oil gun nozzle into the filler hole and inject lubricating oil into the gearbox.
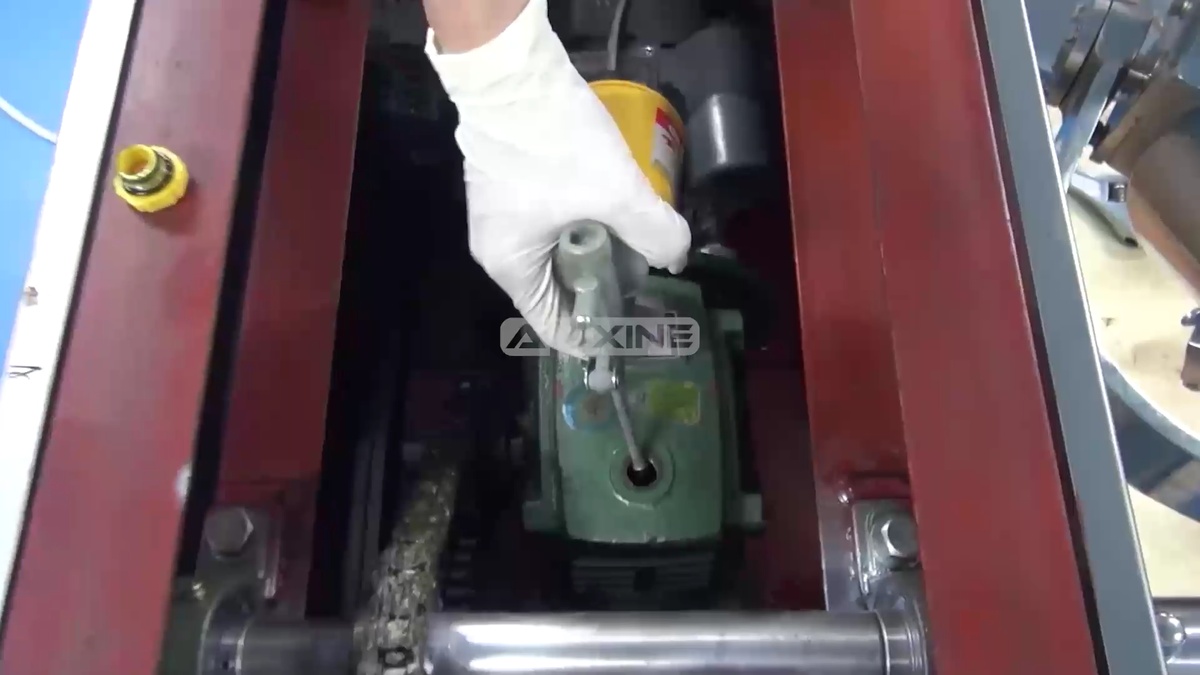
Step 6: Once filled, screw the oil filler plug back into place on the gearbox.
Get more comprehensive details through video.
Section 3: Equipment Installation
Note: The machine leaves factory after no-load test before normal operation in order to meet the user’s safe use.
- Step 1: The machine should be unloaded safely upon arrival at the user’s site. Do not strike or drop the equipment or its accessories, as the machine requires high installation accuracy.
- Step 2: All solid screws should be tightened before installation.
- Step 3: The installation ground should be flat, and the clearance between the bottom corners and the ground should be eliminated after the equipment is in place to avoid shaking during operation.
- Step 4: When the equipment is installed, open the back cover, turn the pulley by hand, and then switch on the power supply after running smoothly.
- The spindle rotation direction should be consistent with the direction indicated by the arrow. If it is inconsistent, adjust it by changing the phase sequence of the power supply.
- Speed adjustment should be from slow to fast, smooth adjustment, and cannot exceed the specified speed.
- Step 5: If the frame is found to be unstable during the no-load test, stop the machine and add a 10-16 mm rubber cushion at the bottom for adjustment.
- Step 6: The no-load running time shall be not less than 10 minutes.
- Step 7: The feeding test can be taken after normal no-load operation. The feeding should be from less to more test and cannot exceed the specified loading capacity.
- Step 8: After the machine has been tested, it should be handed over to the person responsible for operation and provided with guidance on normal operating procedures.


