NOTICE
- The following procedures are intended for Anxine equipment only. For other brands, refer to the original manufacturer’s instructions.
- Always disconnect the power supply before performing maintenance, cleaning, or mold changeover.
- Only trained and authorized persons are permitted to work on the equipment.
- Your equipment may vary from images or videos due to ongoing upgrades.
- If any part of this guide is unclear, contact Anxine for technical support before proceeding.
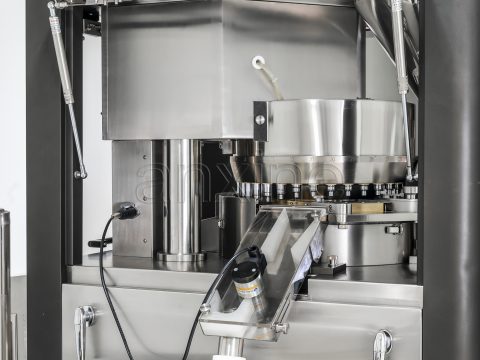
How to Use the ZP-9 Tablet Press?
Click to view the ZP-9 tablet press.
Section 1: Operation Procedures
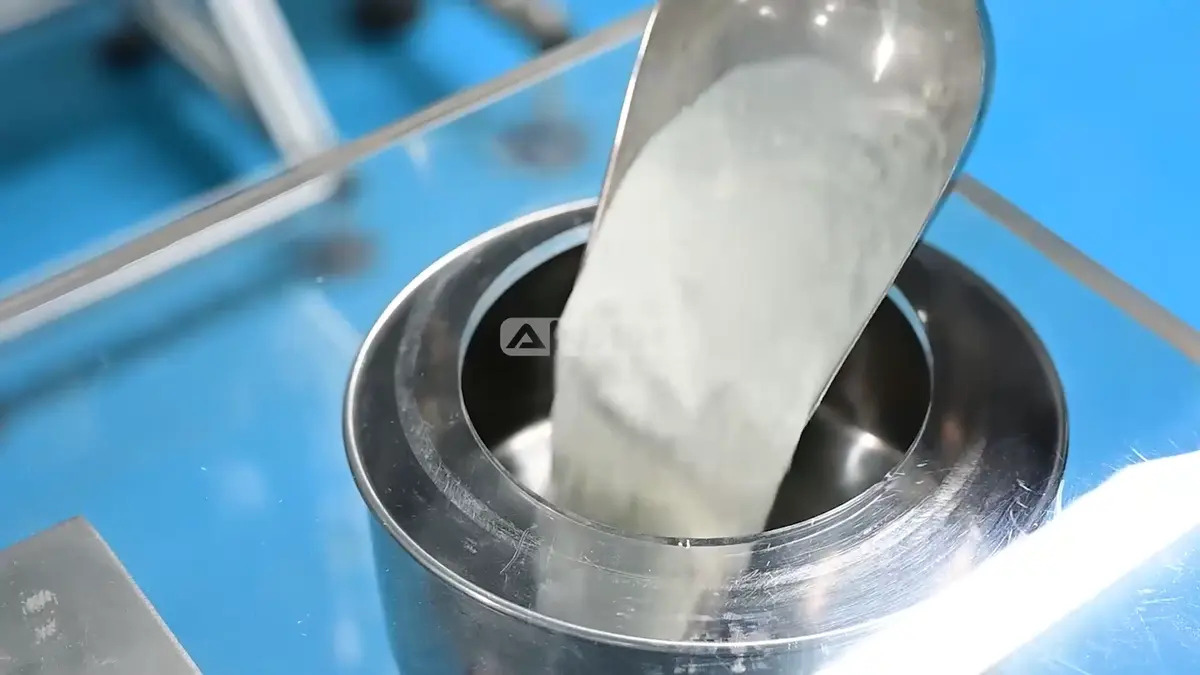
Step 1: Open the hopper lid and load the powder. Ensure the powder level is within the operational range.
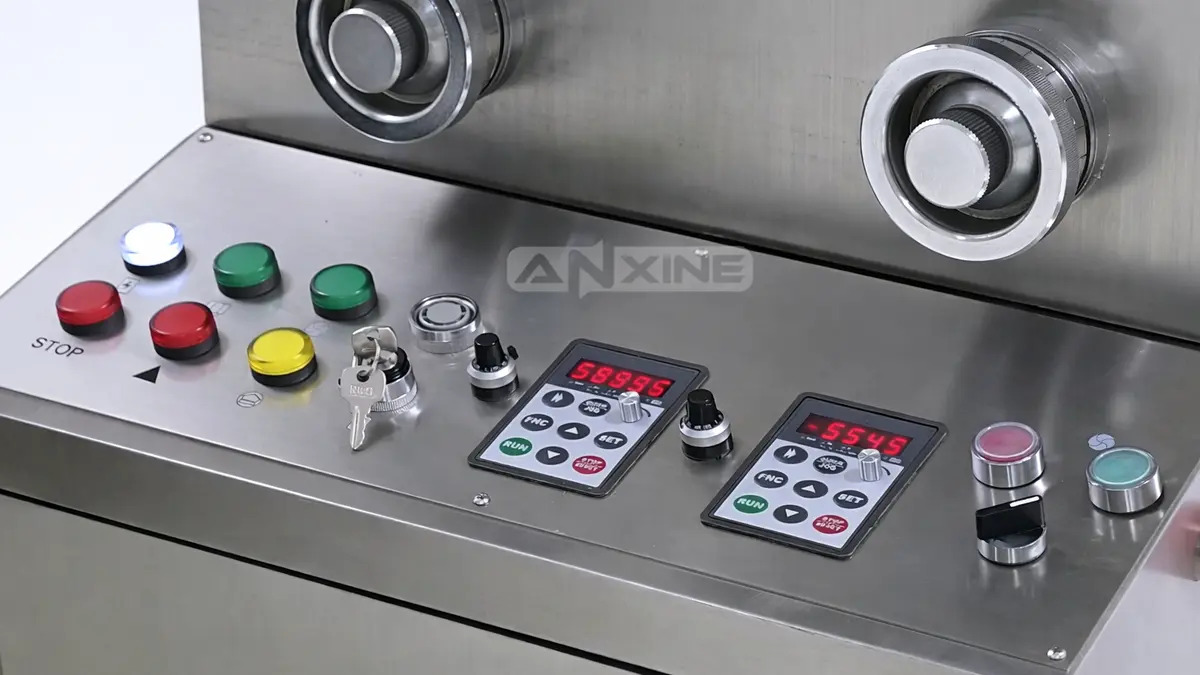
Step 2: Power on the system. The control panel lights up. Adjust the Left and Right handwheels to set the tablet thickness and filling depth.
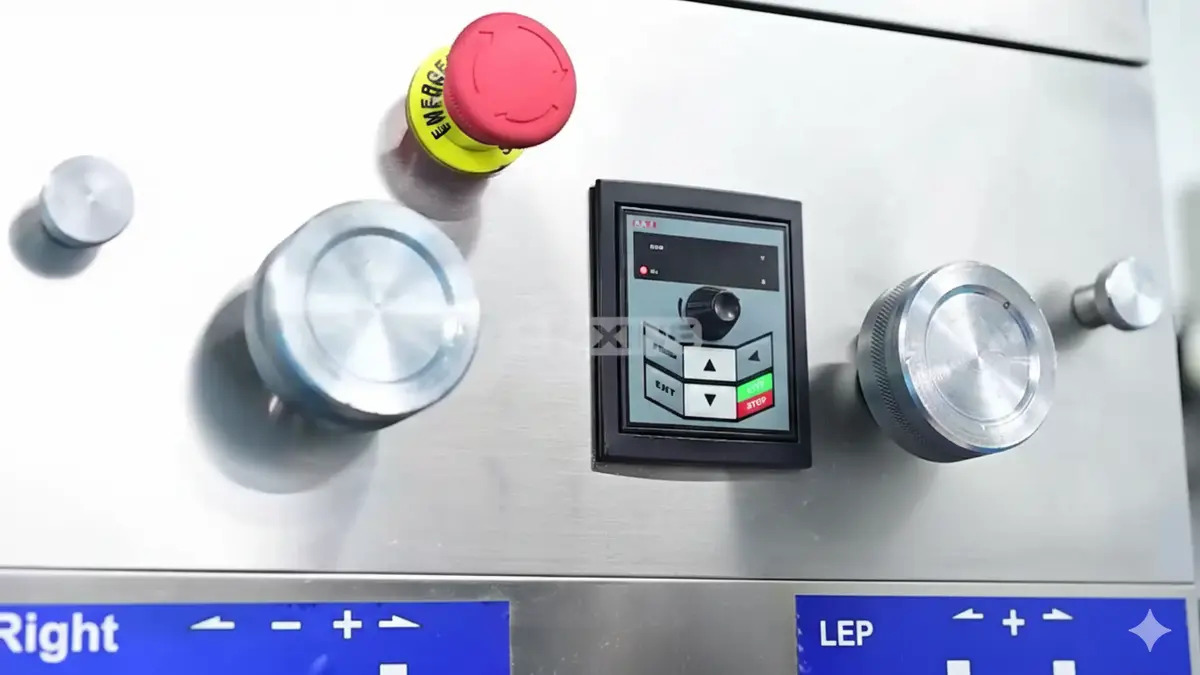
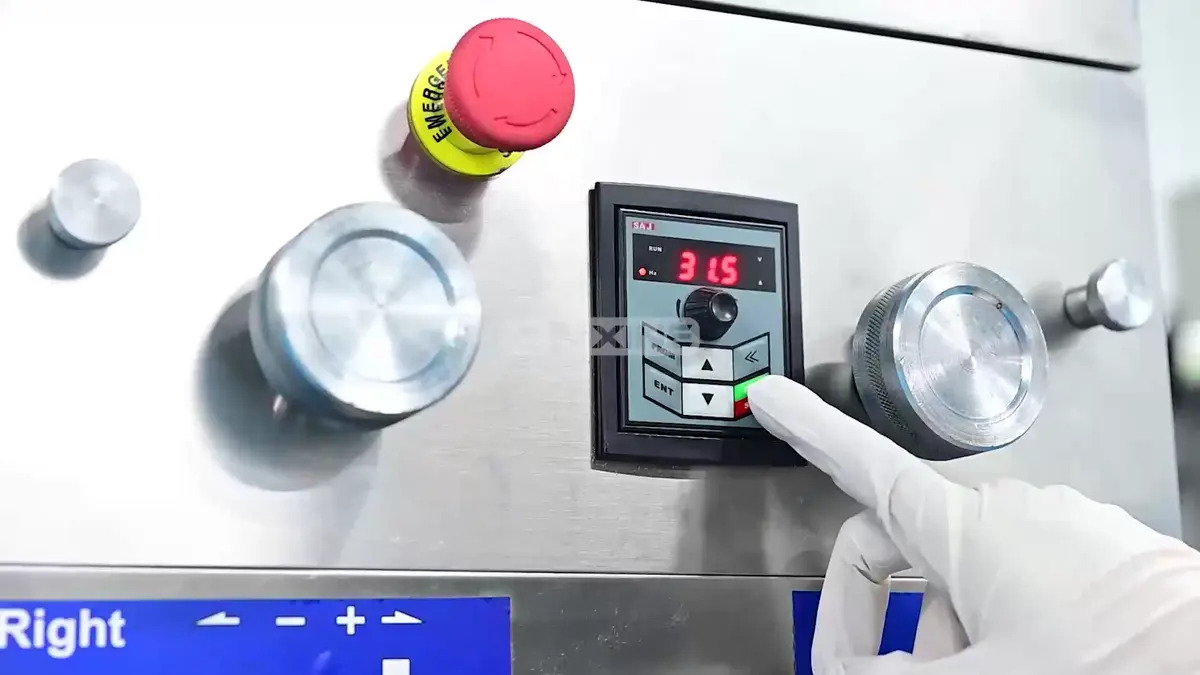
Step 3: Press RUN to start. Turn the black knob to set the turret speed.
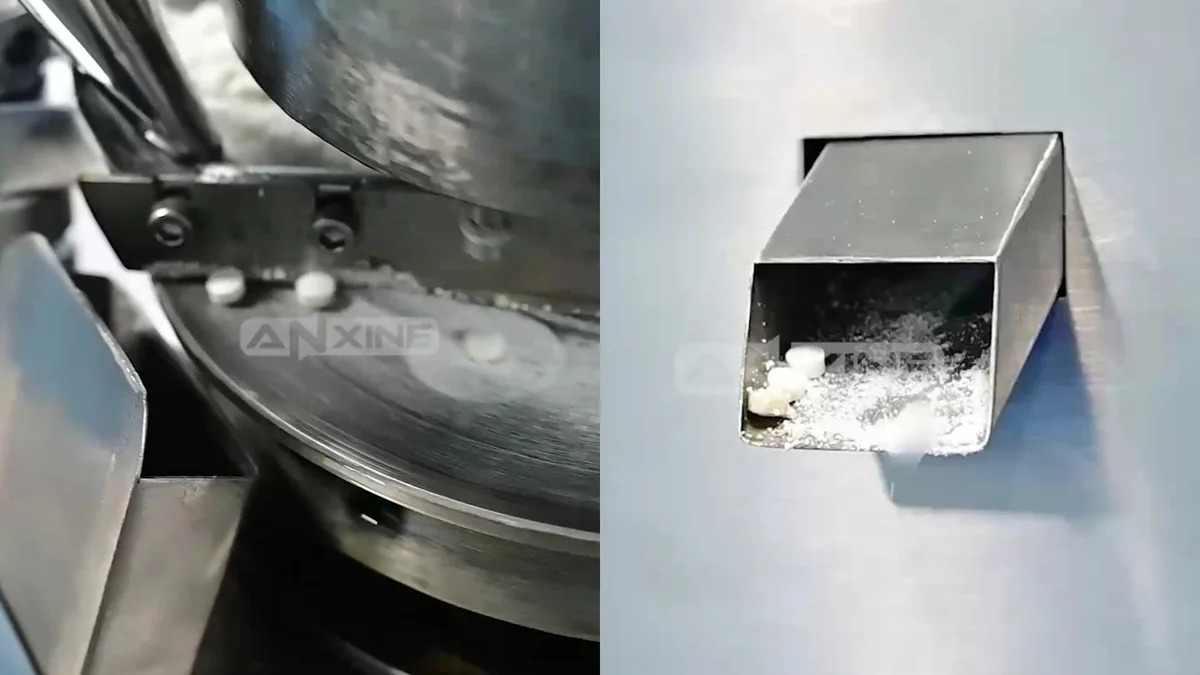
Step 4: Formed tablets are ejected and guided by the take-off blade to the discharge chute. Press STOP to halt the machine.
For a clearer understanding of the operation, please refer to the video below.
Section 2: Installation and Adjustment
1. Installation and Adjustment of the Feeder
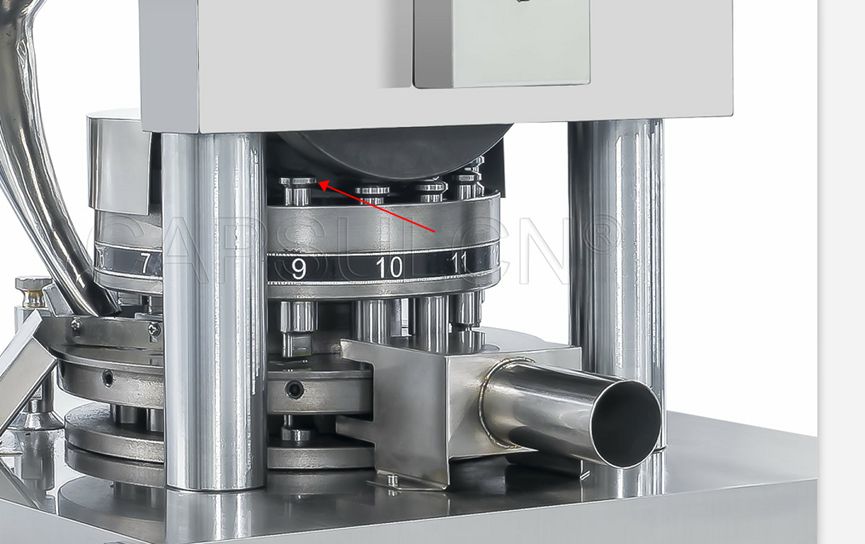
Step 1: Install the feeder on the feeder support frame, screw on the knurled screw, and then adjust the clearance between the bottom of the feeder and the working surface of the turntable to 0.05–0.1 mm.
Step 2: Tighten the knurled screw, and then adjust the height of the powder scraping plate to align the base plate with the working surface of the turntable. Finally, tighten the screw.
2. Adjustment of Filling Amount
Step 1: The filling adjustment is controlled by the adjusting hand wheel on the right side of the operation panel.
Step 2: When the handwheel rotates clockwise, the filling amount decreases; it increases.
Step 3: During adjustment, there must be enough granules in the feeder. Meanwhile, the pressure must be adjusted to ensure sufficient tablet hardness.
3. Tablet Thickness (Pressure) Adjustment
Step 1: The tablet thickness (pressure) adjustment is controlled by the adjusting hand wheel on the left side of the operation panel.
Step 2: When the handwheel rotates anticlockwise, the pressure increases so that the tablet thickness decreases. Otherwise, the pressure decreases and the tablet thickness will increase.
Step 3: After setting the filling amount, check the thickness and hardness of the tablets. Make appropriate fine adjustments until the tablets meet the required specifications.
4. Adjustment of Speed
Step 1: Rotate the adjustment knob, clockwise for speed increase and anticlockwise for speed decrease.
Step 2: The speed has a direct impact on the machine’s service life, tablet weight, and tablet quality.
Step 3: Due to differences in granule properties, viscosity, water content, particle size distribution, tablet size, and pressure, there is no standard value. It can only be determined according to the actual situation and the experience of technicians.
Step 4: In general, if pressing granules with high mineral and plant fiber content, large diameter, and poor viscosity, choose low speed, and the maximum speed shall not exceed 25 rpm; if pressing granules with good viscosity and fluidity, small diameter, and easy formation, higher speed is better.
Step 5: It is recommended that the speed of continuous tablet pressing should not exceed 80% of the maximum rated speed.
5. Adjustment of Powder Feeding Amount
Step 1: When the filling amount is set properly, adjust the flow rate of granules.
Step 2: Loosen the screws on both sides of the hopper, and then rotate the adjusting screws on the hopper to adjust the distance between the hopper mouth and the working face of the turntable.
Step 3: Generally, such a distance shall ensure granules in the feeding mouth don’t overflow.
Step 4: After adjustment, tighten the screws.
Section 3: Maintenance Procedures
1. Lubrication Guide
- To lubricate the general parts of this machine, there are grease nozzles on the surface of the units. Grease or machine oil should be added according to the type of oil cup. Before using the machine, add grease or oil once. During production, add them according to the bearing temperature and running situation.
- After about six months of use, it is time to replace it with new oil.
- Use a brush to apply machine oil to the upper track plate.
- Lubricate the punch and the tracks with N32 machine oil. Apply an appropriate amount only. Otherwise, the oil may seep into the granules and cause pollution.
2. Maintenance Guide
- Check the machine parts once or twice a month. Check whether the moving parts rotate smoothly and inspect their wear, including the worm gear, worm, bearings, pressing wheels, crankshaft, and upper and lower tracks. If any problem is found, repair it promptly.
- After production is finished, remove any leftover powder and brush off the residual powder from all parts. If the machine will not be used for a long time, remove all the punch dies. Then clean the entire machine, coat the smooth surfaces of the parts with antirust oil, and cover the machine with a cloth.
- Punch dies should be stored in a special box, with all punches immersed in oil. Keep them clean and protect them from rust and scratches. It is better to customize special boxes so that each box contains only one specification, which helps avoid improper storage and makes it easier to detect any shortage or loss in time.
- The working site should be cleaned frequently without dust.
- Check the electronic components regularly and ensure that they are in good condition. Remove dust from the cooling fan with compressed air at regular intervals.
- Pay attention to the working environment conditions, like temperature and humidity. Good environment will extend the service life of electronic components.
- The electrical components can be repaired only by professional technicians. Be careful with the frequency converter. Generally, it should be sent to specialized manufacturers for repair.
How to Use the ZP-D Tablet Press?
Click to view the ZP-D tablet press.
Section 1: Operation Procedures
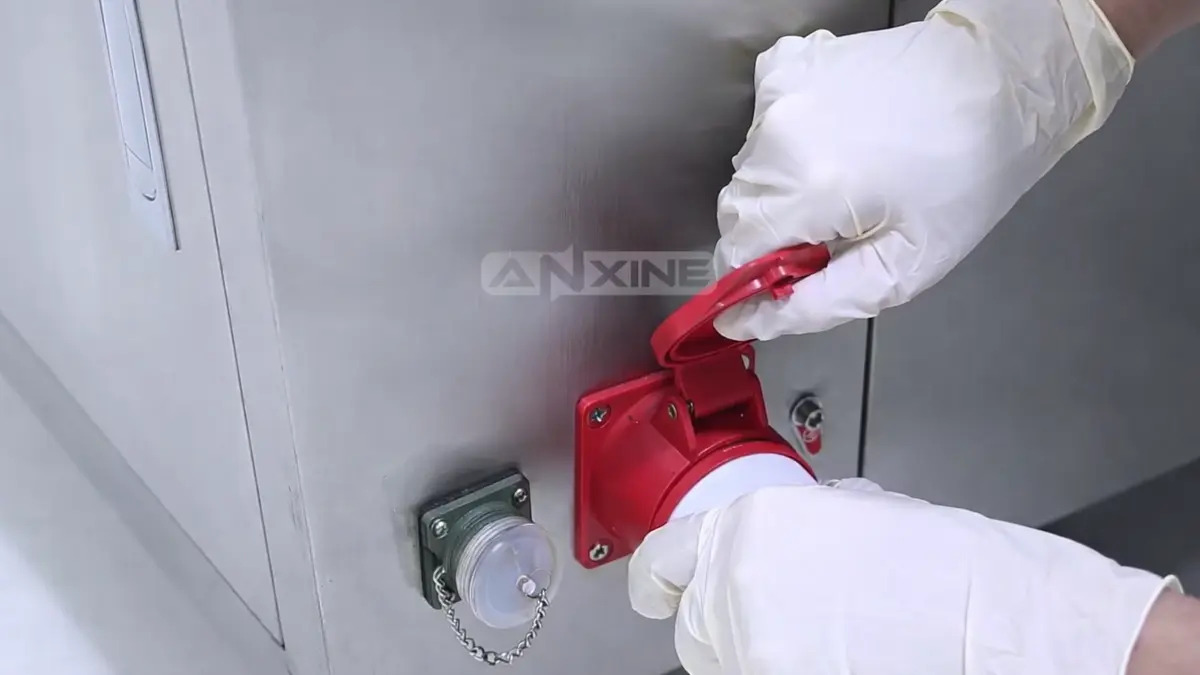
Step 1: Plug the industrial power cable into the large red socket located on the side of the machine.
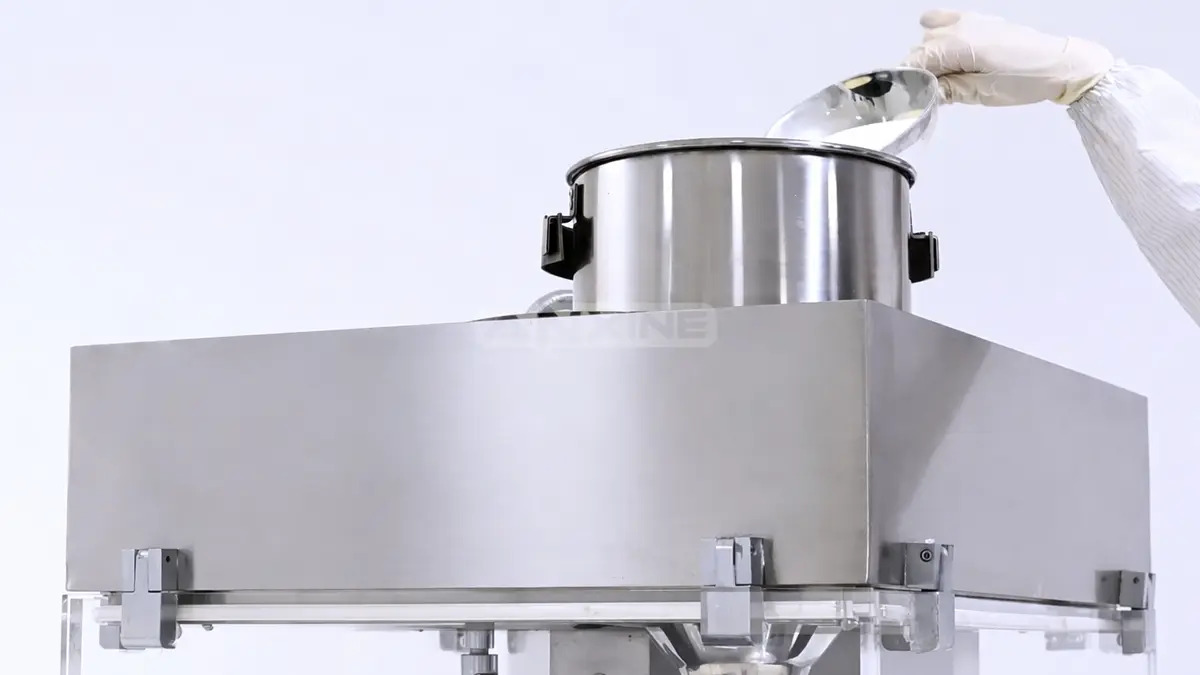
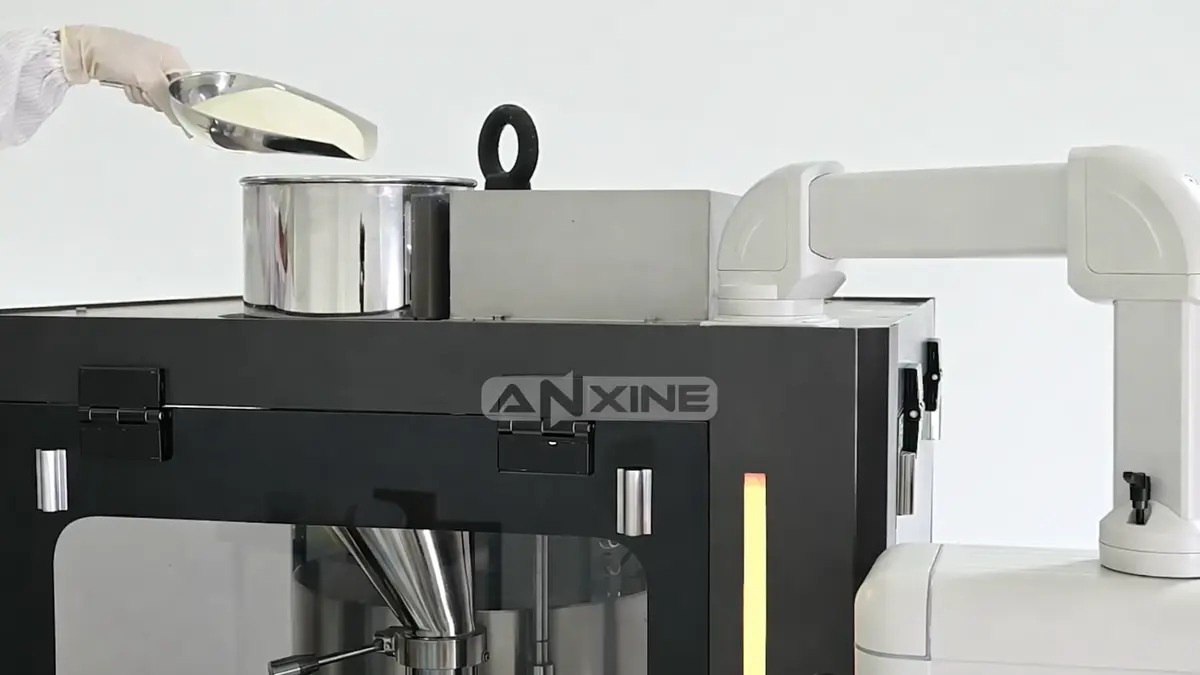
Step 2: Open the top hopper and pour in powder or granules using a clean scoop.
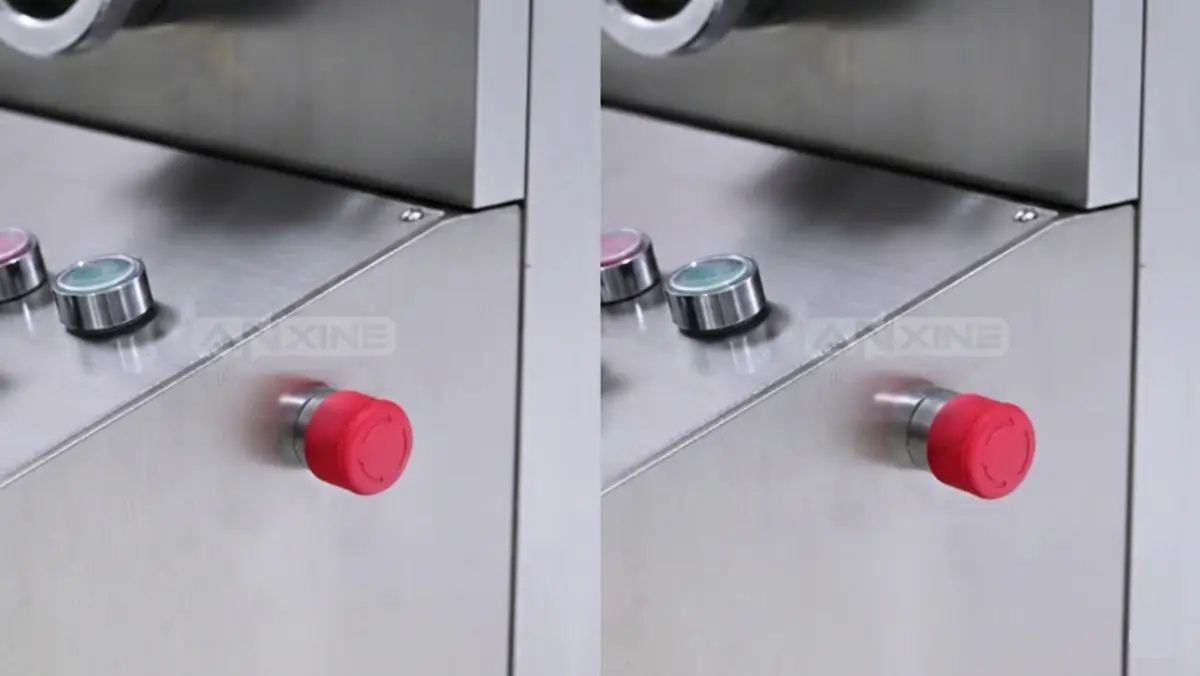
Step 3: Release the emergency stop button.
Step 4: Turn on the main power switch to activate the control panel.
Step 5: Adjust the rotation and feeding speed. Press RUN. Press the forced feeder switch button.

Step 6: Once the settings are confirmed, the machine begins working. The upper and lower punches move vertically to compress the powder within the die.
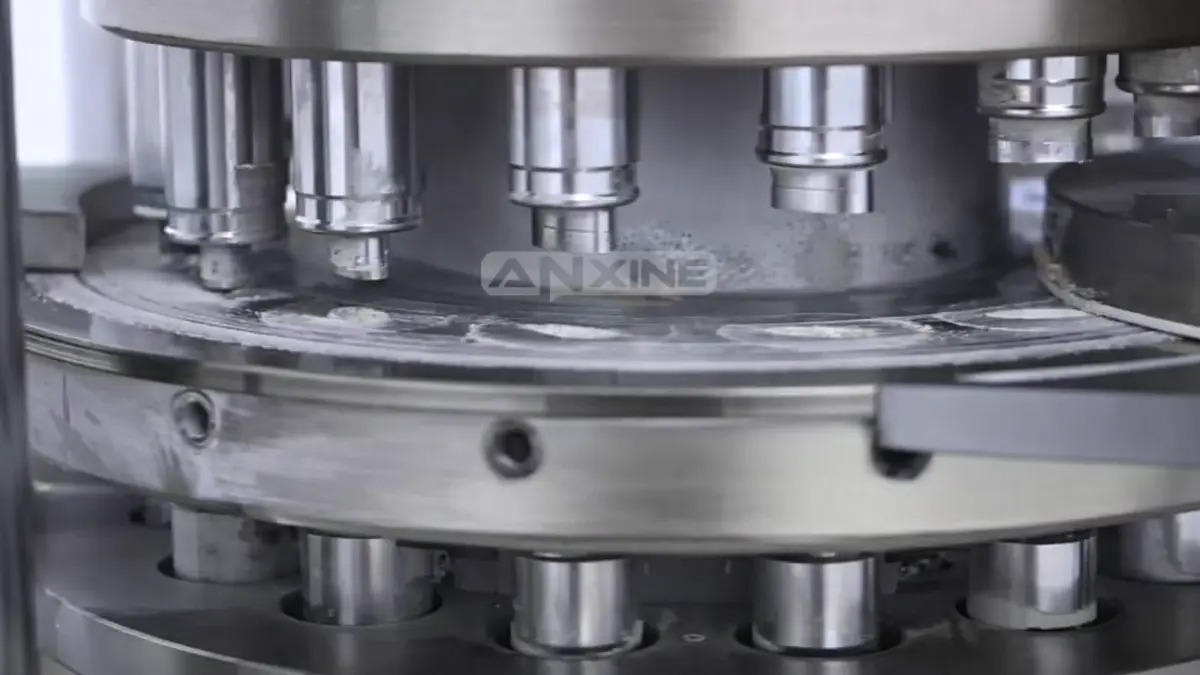
Step 7: The completed tablets are ejected from the die cavities and slide down the discharge chute into a collection container.

For a clearer understanding of the operation, please refer to the video below.
Section 2: Punch Die Installation
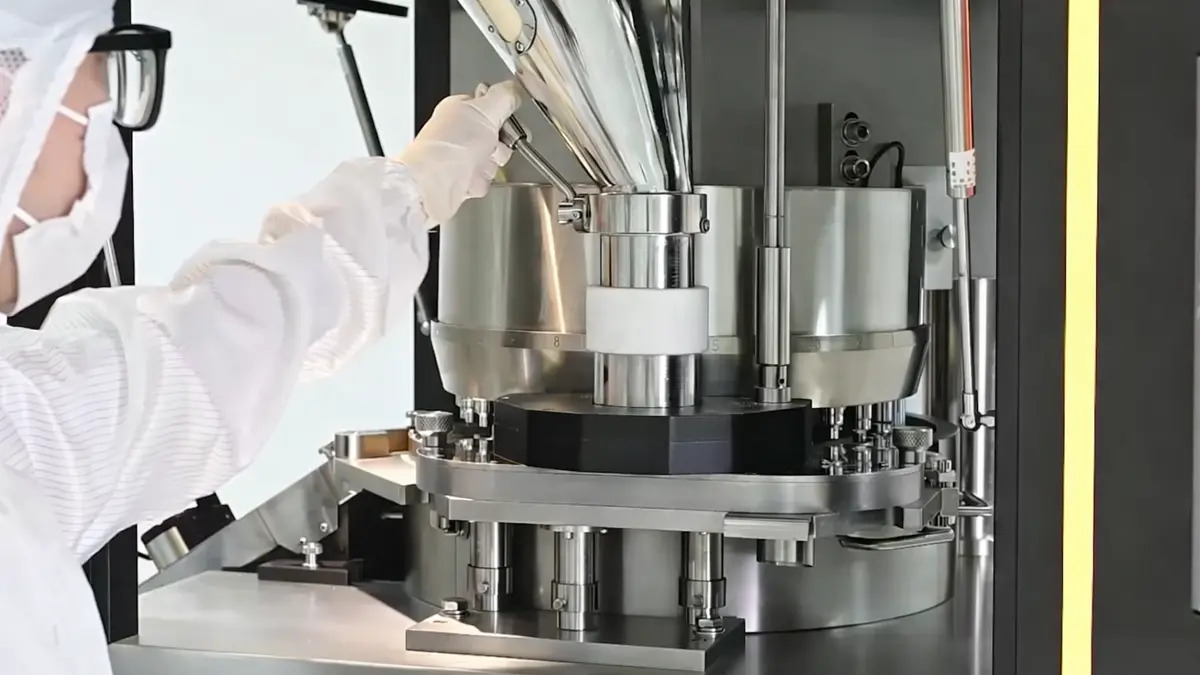
Note: Before installing the punching die, open the left side door of the control panel first. Then install the test handwheel and wipe clean the surface of the turntable, the holes for the upper and lower punch rods, the punching die holes, and the punching die to be installed.
Step 1: Punching Die Installation
- Loosen the screws that secure the punching die one by one.
- Rotate them outward to the outer circle of the turntable and make them level to avoid interference with the screw heads when loading the punching die.
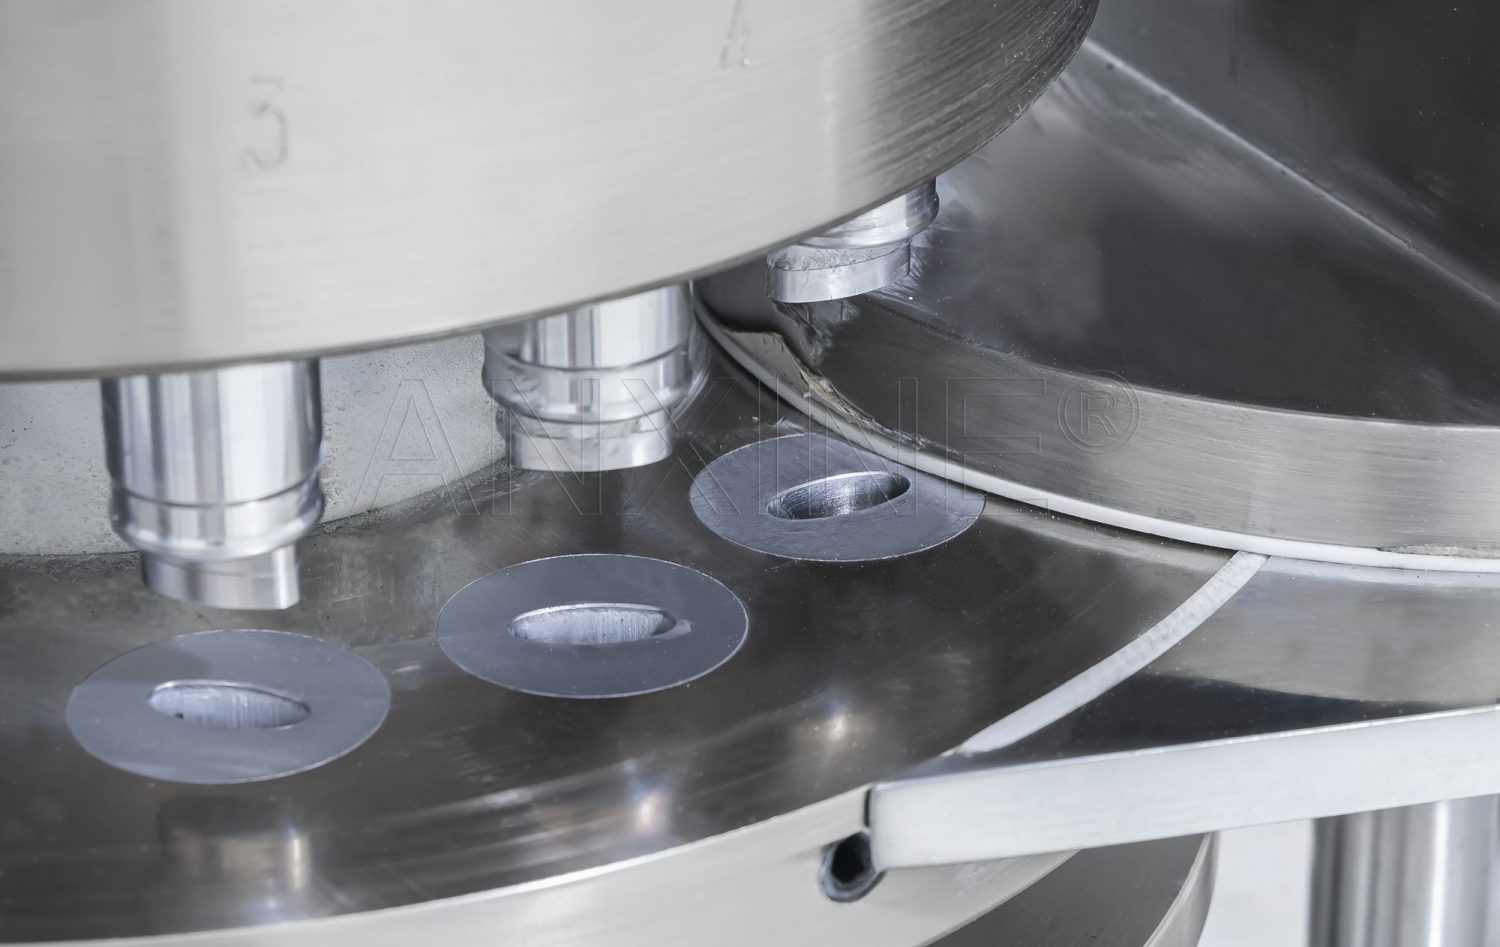
- Since the punching die fits tightly in the hole, place it flat and insert it carefully.
- Insert it from the top hole using a punch.
- Gently tap it with a mallet.
- Ensure the punching die hole aligns with the turntable working surface without protruding.
- Tighten the screws.
- To replace the punching die, a special punching die disassembly tool for this machine can be used.
Step 2: Upper Punch Rod Installation:
- Flip up the tongue on the upper track.
- Apply some vegetable oil to the tail of the punch rod.
- Insert each piece into the turntable one by one.
- Ensure that the head of the punch rod enters the punching die hole, and both the upward and downward movements, as well as rotation, are smooth. Otherwise, check whether the punching die meets the quality requirements.
- After installing the upper punch rod, flip the embedded tongue down.
Step 3: Lower Punch Rod Installation:
- Open the front door in front of the control panel.
- Remove the pad on the main body surface used for installing and removing the lower punch rod.
- Install the lower punch rod.
- After installation, restore the pad.
Step 4: Final Check
- After the complete installation of the punching die set, turn the test handwheel in the normal operating direction.
- Rotate the turntable clockwise for 1–2 turns.
- Observe the operation of the upper and lower punches. To be qualified, there must be no collision or friction.
Section 3: Maintenance Guidelines
1. Grease the upper and lower roller shafts with a grease gun before starting the machine. During the operation, add grease according to the temperature and running conditions.
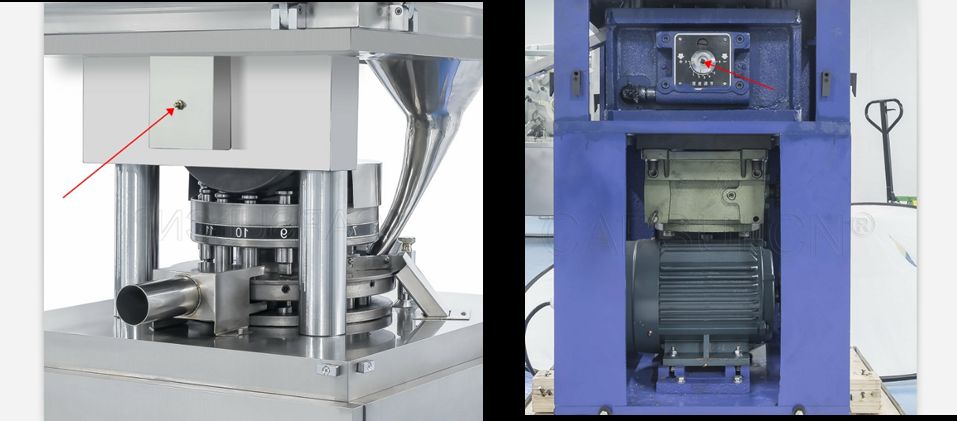
2. After six months of use, check the gearbox oil window. If the oil level is low, remove the bottom drain plug to drain the old oil. Then use the oil cup on the worm side to add lubricant for the reducer (regular automotive oil is sufficient).
3. Lubricate the plunger and track with grease. Please do not apply too much to prevent powder contamination.
4. Check machine parts regularly and repair defects when found.
5. After each use, remove the leftover powder and clean the machine parts with a brush. For a long-term shutdown, remove all punches and dies. Then apply anti-rust oil to the surfaces and cover the machine with a dust-proof hood.
6. When not in use, keep punches in an oil container to prevent rust and damage.
How to Use the ZP-H High-Speed Tablet Press?
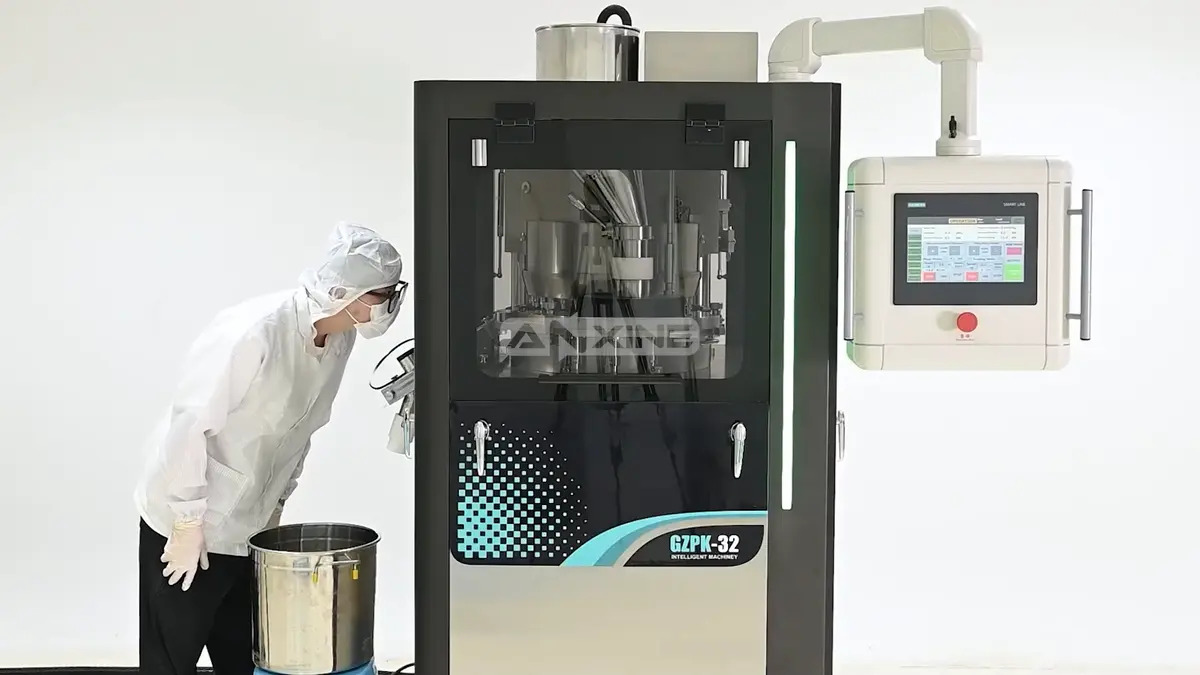
Click to view the ZP-H tablet press.
Section 1: Operation Procedures
Step 1: Load material into the hopper located at the top of the machine.
Step 2: Pull the manual lever on the side of the hopper. Material flows from the hopper into the force feeder.
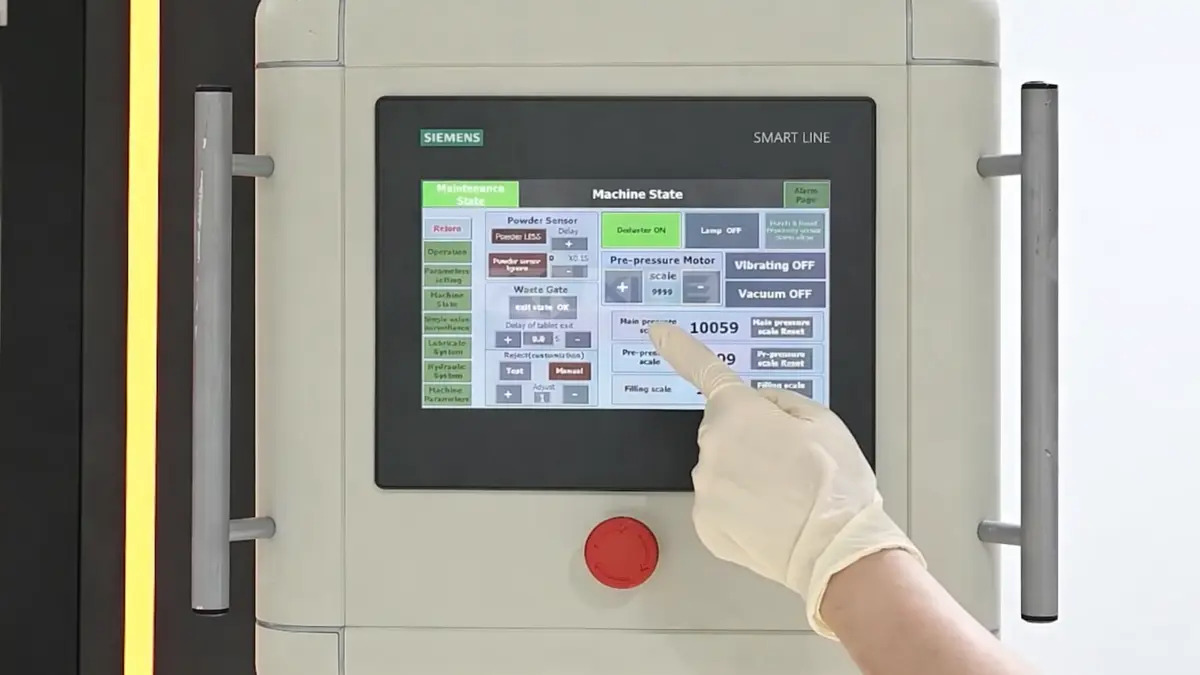
Step 3: Use the touchscreen to set up the press.
- MACHINE STATUS screen: Set the compression force. Turn on the dust extractor.
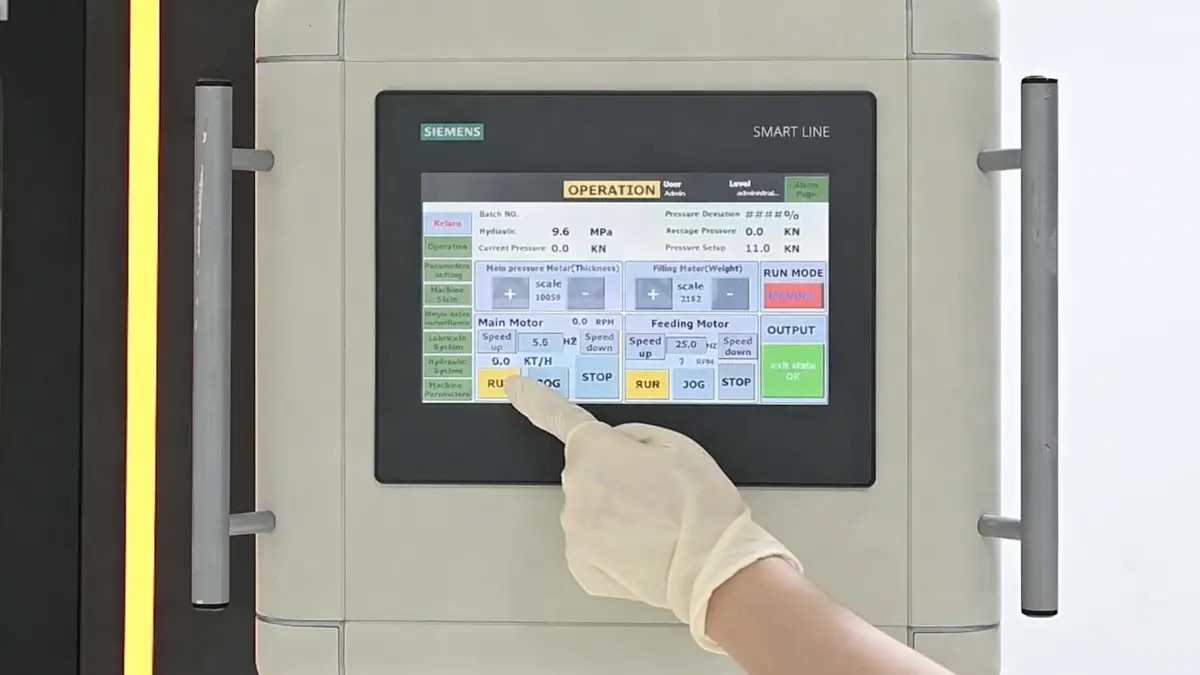
- OPERATION screen: Adjust motor settings. Press RUN to start the compression cycle.
Step 4: Observe the press as it runs.
Step 5: Inspect the finished tablets that exit through the discharge chute. Defective ones are rejected at the same time.
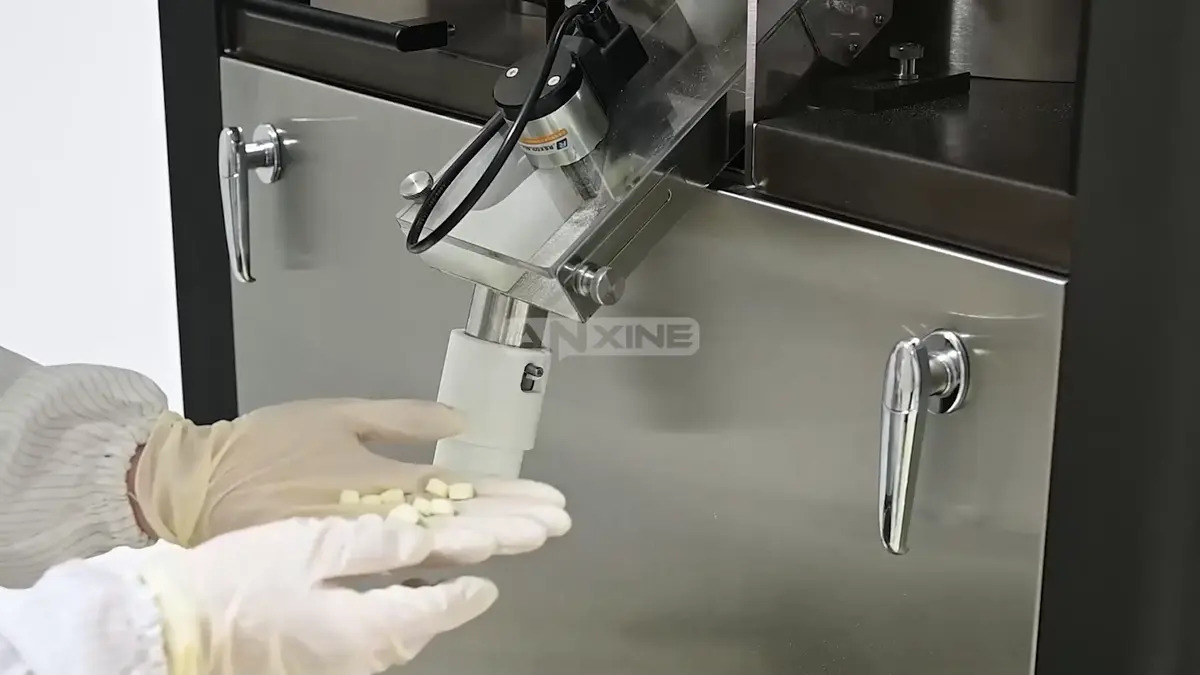
For a clearer understanding of the operation, please refer to the video below.
Section 2: Installation and Connection Guides
Step 1: After unpacking the machine, clean it thoroughly to remove all protective coatings and anti-corrosion materials. Then, lubricate the surfaces of the parts with a brush.
Step 2: Install the machine on four shock-absorbing pads that can safely support it. Do not fix it on the foundation directly. After installation, level the machine with a spirit level.
Step 3: Connect the power supply to the terminal board in the distribution box (located in front of the machine, with 5 terminals marked: L1, L2, L3, N, PE). The PE grounding wire must be properly grounded according to the requirements of this machine. Before turning on the machine, check whether the working voltage of the power supply meets the specified value.
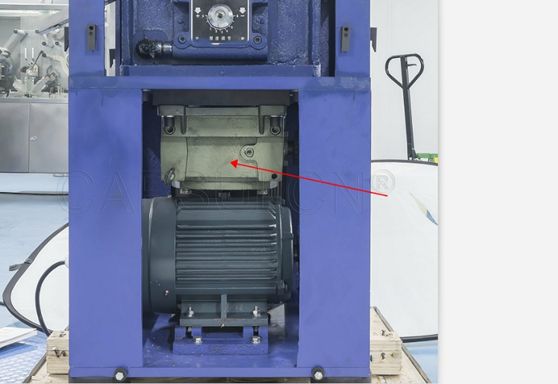
Step 4: Open the lower left door, start the motor, and then rotate the turret drive handwheel clockwise.
Step 5: The ZP-H tablet press should be stored in an environment with a temperature of 10 to 35°C and a relative humidity below 85%.
Section 3: Maintenance and Lubrication Guides
- Open the left door and check the oil level on the oil gauge of the worm gear reducer. The oil level should be in the middle of the gauge. The oil should be changed after 400-500 hours of operation. The recommended oil type is 460 (for winter) or 680 (for summer) worm gear oil.
- The dry oil lubrication system is manually operated. Pump the manual pump 1-2 times before each shift. The recommended lubricant type is 00 boron nitride grease (or Great Wall brand 00 lithium-based grease).
- Hydraulic system: Regularly check the oil level, and add oil when the oil level is below 5mm. The recommended oil type is 22 turbine oil (or Great Wall brand wear-resistant hydraulic oil).
- Main spindle bearing lubrication: Open the left door and there is a pressure-fed oil ring on the seat body. Oil should be added every 200 hours of operation. The recommended oil type is lithium-based grease.
- Thin oil automatic lubrication system: The lubrication system is automatically controlled by PLC, and the settings can be adjusted on the operating interface. Usually, the flushing plate rotates 200–300 revolutions per cycle (adjustable), and it rotates 2–3 revolutions during operation (adjustable). The recommended oil type is No. 30 mechanical oil.
- To ensure the normal operation of the tablet press, the manufacturer must strictly follow the lubrication system.