Underfilling, dripping after a fill, inconsistent fill weight, or foaming can suddenly occur during operation even if a liquid filling machine ran fine before. The trick here is that the symptom doesn’t always point to the faulty part. Dripping may be due to a defective nozzle, but could also be caused by too much product pressure further upstream.
Before recalibrating or replacing parts, observe the symptom: Is just one filling head affected? Does the issue develop over time, or does it only happen at higher speeds? These clues will help you to determine if the issue lies in the product feed, metering, tubing, or filling process.
In this article, we list several common liquid filling issues and their symptoms, and show what to check first, how to narrow down the possible cause, and what action to take.
Troubleshooting Chart: Common Liquid Filling Problems
| Problem | Possible cause | Initial check | Suggested remedy |
|---|---|---|---|
| All containers over- or underfilled | Machine is consistent, but dose is incorrect | Dose setting, stroke/pump setting, calibration, product density (if measuring by weight) | Ensure the dose setting is correct and the measurement method matches the calibration method |
| Random fill variations | Dosing is not repeating properly | Air in the product path, inconsistent supply, valve/seal condition | Address air or supply issues first. |
| Fill volume drifts during production | Some aspect of the process is changing | Tank level, product temperature, viscosity, supply pressure, tubing condition | Find out what’s changing as the fill results change |
| Only one filling head is incorrect | The issue is most likely local to that head | Pump, valve, tubing, nozzle, head connections | Test against a working head; swap out parts to see if the issue moves with the part |
| Accuracy decreases at higher speed | The dosing pump isn’t refilling completely | Suction restriction, inlet valve, product viscosity, refill time | Eliminate the suction restriction; allow more refill time |
| Nozzle leaks after filling | Product continues to flow after shutoff, or the valve isn’t closing properly | Shutoff valve, residual pressure, suck-back, product head pressure | Fix the source of the continued flow; don’t just replace the nozzle or wipe it down |
| Stringing/tailing of viscous product | The product doesn’t cleanly separate at the cutoff point | Nozzle design, product withdrawal timing, suck-back, product viscosity | Adjust the nozzle design and cutoff movement based on the specific product being filled |
| Foaming as the bottle fills | Air is generated mostly when filling | Fill speed, nozzle height, product free-fall distance, bottom-up filling | Avoid product impact; keep the nozzle tip close to the product level |
| Bubbles are visible in the supply line | Air is being drawn in before the nozzle | Suction connections, tubing, pump inlet, air trapped in lines after cleaning | Locate and fix the air entry point before attempting to reduce fill speed |
| Peristaltic filler repeatedly loses prime | Air is entering the tube or the pump isn’t maintaining suction | Tube loading, tube wear, tube-to-pump connections, suction height, inlet restriction | Fix the tube or suction conditions; don’t continue to prime |
| Fill levels appear inconsistent, but the measured volume is correct | The filler is dosing correctly; the container volume isn’t consistent | Bottle internal volume, bottle shape, bottle distortion, measurement method | Verify the volume of the dose before adjusting the filler |
Why Is the Fill Volume or Weight Inconsistent?
Not every irregular fill calls for a recalibration. The first thing to do is examine how the machine error appears. A filler that’s 5 g consistently under-filled is a different problem than one that varies randomly or drifts over the course of a run or only becomes inaccurate when running faster.
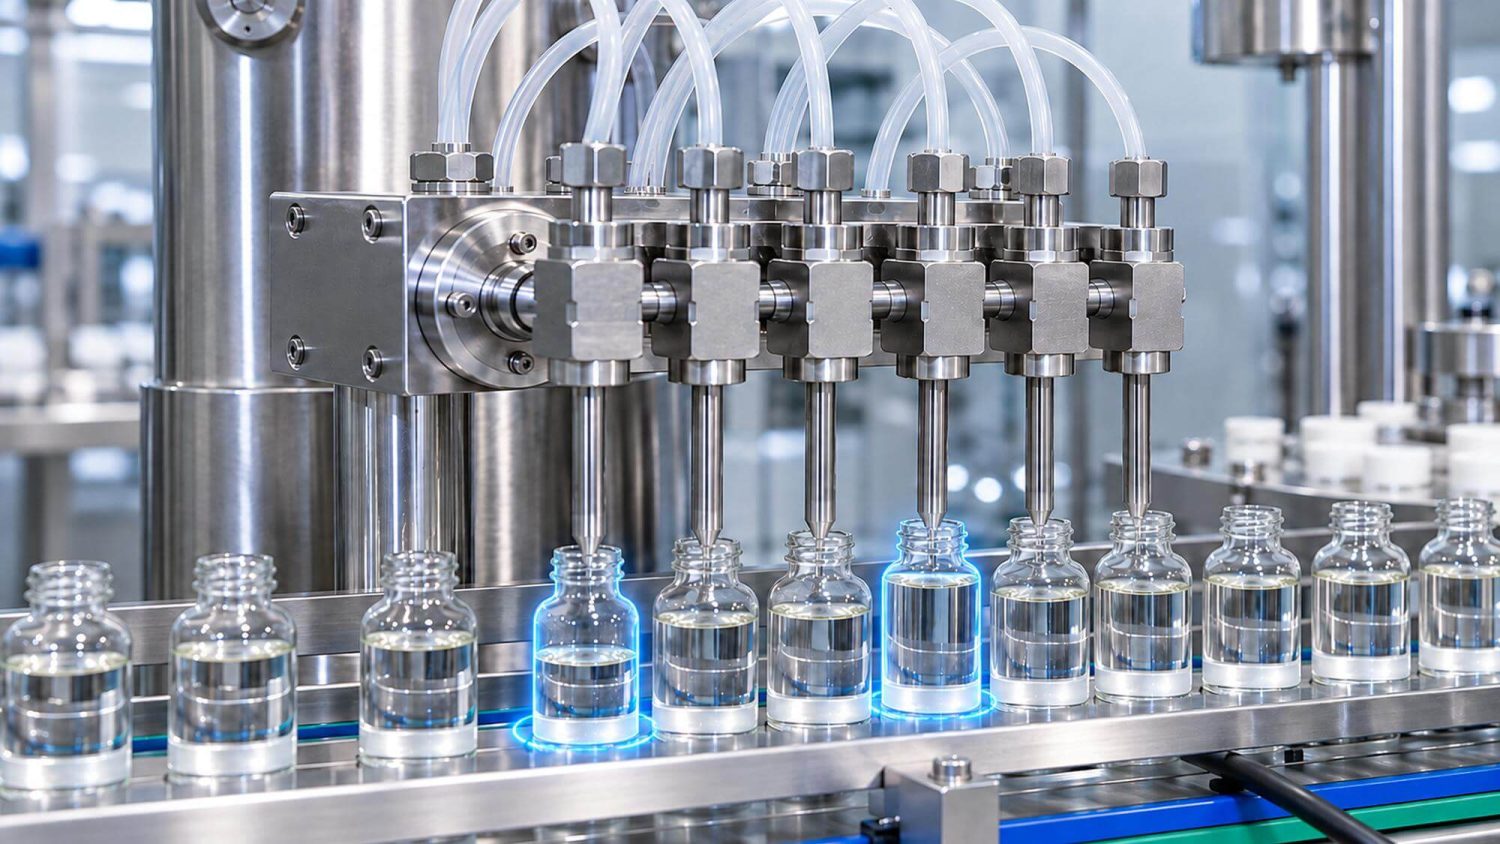
Every Container Is Consistently Overfilled or Underfilled
If the fills are close together but all over- or under-filled, the machine is repeatable but not accurate.
Confirm the target dose and the device setting that affects dose, such as piston stroke, pump rotations, fill time or set volume. If you’re using a volumetric filler and weighing the output, verify that you have taken density into account. A 250 mL fill doesn’t necessarily weigh 250 g.
Once you’ve verified the dose and the measurement method, a consistent offset is the kind of problem that may warrant recalibration.
Fill Quantity Gradually Drifts During the Run
If the fill volume is in spec at the beginning of the run, and then drifts slowly higher or lower, consider something that changes during the process rather than adjusting the fill setpoint.
Compare fill results with:
- tank level
- product temperature
- viscosity
- supply condition
For example, if the fill begins to decrease as the tank drains, this might be due to a change in the product supply at the pump inlet rather than the initial calibration.
Just tracking Container Number → Actual Fill → Tank Level or Product Temperature is often enough to see the pattern.
Only One Filling Head is Inaccurate
When only one filling head is out of tolerance, while all the other heads are stable, start by comparing the problem head with one of its neighbors.
Look for anything that is different about this head. Then, try swapping parts one at a time (if possible). If the problem moves with a pump, valve, tubing or some other piece of equipment, you’ve narrowed the problem. If it stays in the same place on the machine, look at the connections, product supply, or controls for that position.
This is generally more helpful than setting the entire machine off in order to compensate for a single faulty filling head.
Fill Accuracy Degrades as Speed Increases
This pattern is particularly useful when handling high-viscosity products.
If the fill is good at a low cycle rate but drops off as speed goes up, the pump or dispensing chamber may not have enough time to refill prior to the next cycle. Decrease the cycle rate, leaving the setpoint at the original level.
If accuracy is restored, look at the suction side for restrictions, long or narrow product lines, incomplete inlet-valve opening, or insufficient refill time.
The slower fill rate might not be the final answer, but it does indicate that the issue is likely related to the product flow into the filling system rather than the calibration settings.
Why Does the Filling Nozzle Drip or String After Filling?
The fact that the nozzle drips after filling does not mean that it has a bad seal. Look instead at when the drip occurs. Does it occur right after cutoff, after the machine has stopped, or does it stretch into a string when the bottle moves away?
Nozzle Drips Immediately After Shutoff
If you find a few drops after the fill, it may be that the product left in the nozzle continues to get pushed out after the valve closes. Look at the cutoff timing, and check if you have set up a suck back that pulls the product away from the nozzle tip. You should also consider the size of the nozzle. Nozzle diameter and liquid surface tension will dictate whether it will be able to stay in the nozzle once flow has stopped.
Don’t keep pulling back on the amount of suck back in case there is some dripping left. Too much pullback can suck in air, creating another problem with filling.
The Nozzle Continues to Drip While the Machine Is Stopped
Continuous dripping is more indicative of ongoing flow, albeit perhaps at a slower rate. Inspect the shutoff valve and the sealing faces, but also check for pressure acting upon the nozzle.
For example, a high product level or high supply tank can give you a positive inlet head. If your shutoff valve isn’t closing perfectly, this pressure could still be forcing liquid toward the nozzle even though the filling stroke has ceased.
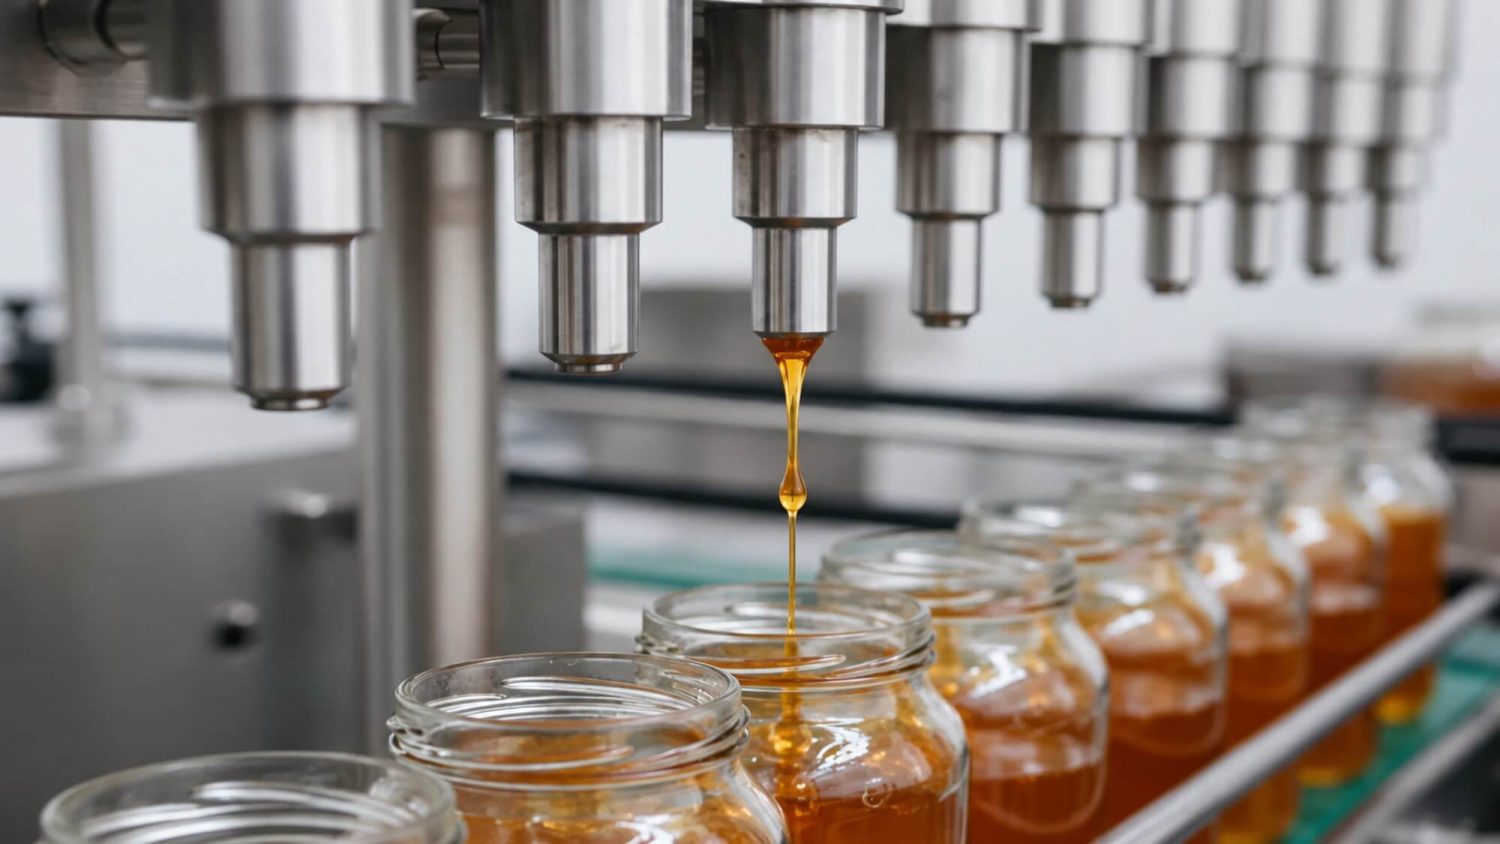
Thick Product Forms a Tail or String
Honey, shampoo, creams, and other viscous products might not cleanly separate when the nozzle shuts off. The product may stretch between the nozzle and container and only break after the bottle has started to move.
In this scenario, you are dealing with a cutoff issue rather than a regular drip. Suck-back can draw the product back into the nozzle, and nozzle travel and cutoff timing may need to be adjusted to ensure the string breaks before the container leaves the fill position.
The important thing to remember is that, although a drip, a continuous leak, and a string of product might appear as if they are the same problem, they shouldn’t be addressed with the same corrective action.
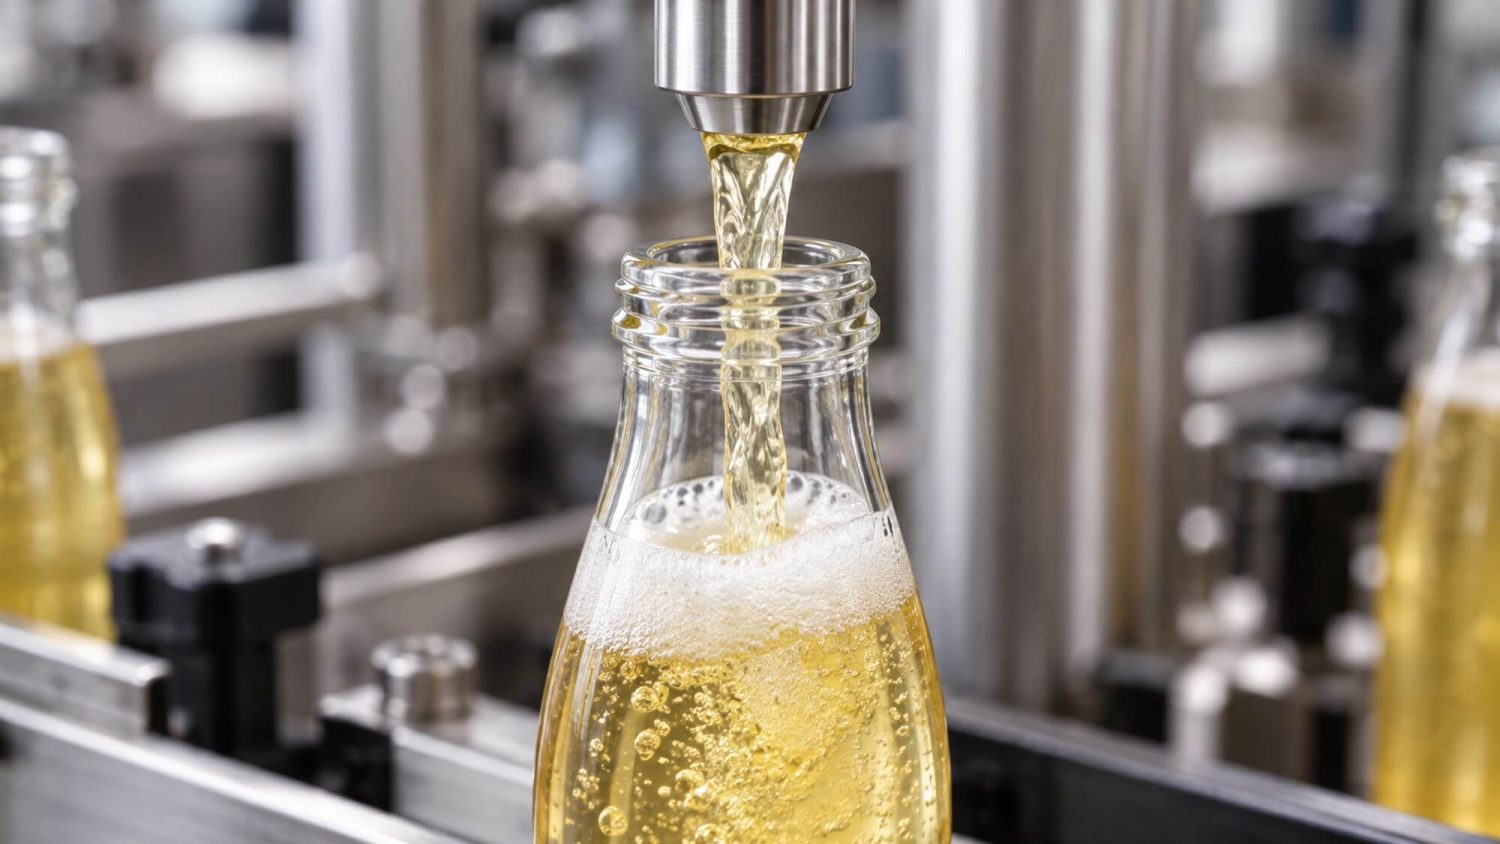
Why Does the Product Foam During Filling?
If the liquid looks normal in the supply line but begins to foam upon entering the container, you should focus on the filling action.
What to look for during the fill
- Long free fall: Nozzle is far above the product, so the product impacts the bottom of the bottle or the product surface with more force.
- High discharge rate: Rapid flow creates turbulence that traps air.
- Foam increases as the product level rises: It may be necessary to lower the nozzle as the product fills the bottle instead of allowing the nozzle to fill the bottle from a fixed high location.
What to do
Where possible, reduce the free-fall distance and use bottom fill for products prone to foaming. You may also be able to slow down the fill rate only in the portion of the cycle that experiences the most splashing, rather than slowing the overall fill rate.
Is it foam, or is it air introduced upstream?
This makes a difference. If there is no evidence of bubbles prior to the nozzle, but the product foams in the bottle, then the nozzle position and fill rate are likely culprits. If you see bubbles in the tubing, then the filling location has nothing to do with where the air is coming from.
Why Are Air Bubbles Appearing in the Product or Fill Line?
If the bubbles are already visible in the tubing leading up to the nozzle before the product reaches it, adjusting nozzle height or bottle-filling rate won’t resolve it because air is either being drawn in or staying in the system upstream.
Follow the bubbles back through the product path:
Nozzle → Tubing → Pump Inlet → Suction Line → Supply Tank
First, check for loose fittings or damaged tubing on the suction side. A tiny air leak here might not be noticeable as a liquid leak, but it could still draw air into the product. Many pump troubleshooting guides also identify loose connections as a cause of air bubbles.
If fittings are secure, determine if the pump is having trouble pulling the product toward it. Too much suction lift, a restricted inlet, or highly viscous product can cause cavitation. Try removing some of the restriction, or slowing the pump down, to verify that an inlet problem is present.
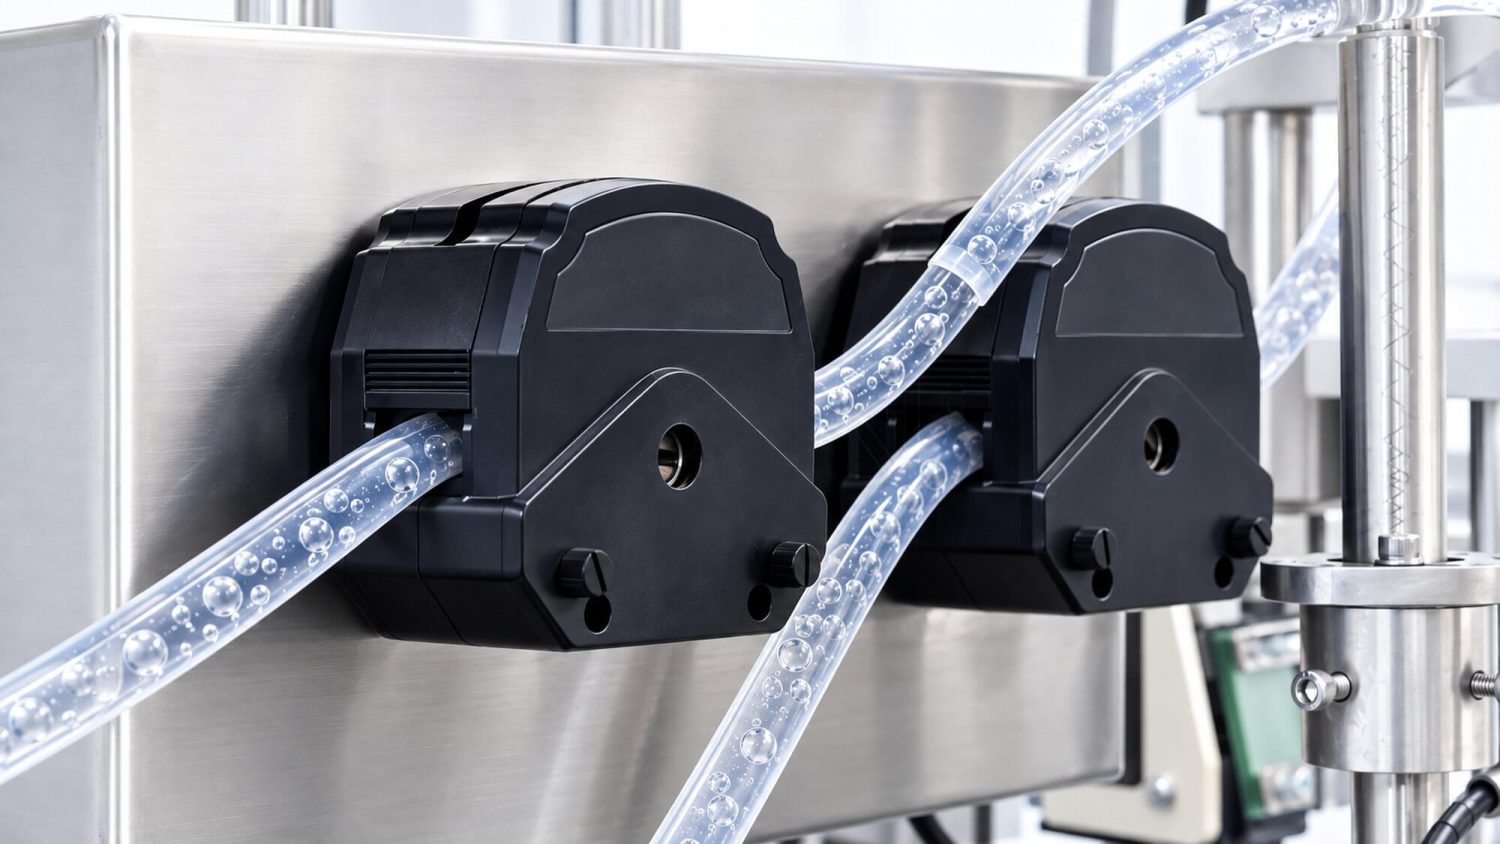
Air bubbles in the line can sometimes be leftover air from cleaning, product changeover, or tubing replacement. Those bubbles must be removed during the priming process. They might also lead to inconsistent dosing; therefore, ensure there are no bubbles in the line prior to checking your bottle fill.
If bubbles keep returning after you’ve primed correctly, continue searching for a point where air might be getting into the product line instead of repriming over and over.
Why Would a Viscous Product Fill Slowly or Underfill?
When a thick product is filling accurately at a slow speed but underfills as the speed is increased, you should consider whether the pump or dosing chamber is not being fully refilled between cycles.
Test it:
Try reducing the cycle speed while keeping the dose the same. If fill accuracy improves, the problem is most likely with the product supply.
Check the suction side for:
- long or narrow product lines
- sharp bends or other restrictions
- excessive suction lift
- inlet valve that does not open fully
- product viscosity higher than expected
How to correct it:
Shorten or enlarge the supply line if possible, remove restrictions and minimize the suction lift. Where the viscosity rises significantly at lower temperatures, ensure that the product remains in its intended filling temperature range.
Why Does a Peristaltic Liquid Filler Lose Prime or Become Inaccurate?
If you have a peristaltic filler that repeatedly loses prime, putting more liquid in the tubing only restores the flow temporarily. You’ll need to troubleshoot for air intake or reduced pump pickup.
Check for:
- worn, flattened, or incorrectly installed tubing
- loose fittings that could allow air intake
- high suction head or inlet restrictions
- residual air pockets after flushing or changeover
After you replace your peristaltic pump tubing, check the fill accuracy. The new tubing may compress differently than the worn tubing, resulting in a different fill volume.
What Should You Check Before Recalibrating the Filling Machine?
Recalibration should be made if the filler is repeatable but not accurate. If there are other patterns, look there first.
- Random fill variation: check for air intrusion, product supply, or mechanical changes.
- Slow fill drift: inspect tank level, product temperature, viscosity, or product supply conditions.
- Single bad filling head: don’t recalibrate the whole machine; isolate the filling head.
- Speed-related underfills: check the suction and refill rate.
Simply changing calibration may not fix liquid filling problems. A better troubleshooting approach is to identify the pattern first. Product supply? Dosing mechanism? Fluid path? Filling action? Then you can determine which adjustment will solve the problem.


