NOTICE
- The following procedures are intended for Anxine equipment only. For other brands, refer to the original manufacturer’s instructions.
- Always disconnect the power supply before performing maintenance, cleaning, or mold changeover.
- Only trained and authorized persons are permitted to work on the equipment.
- Your equipment may vary from images or videos due to ongoing upgrades.
- If any part of this guide is unclear, contact Anxine for technical support before proceeding.
You may have some questions about the operation or maintenance after buying a semi-automatic capsule filling machine. This guide helps you understand more of the equipment and get a better performance. Take the JTJ model as an example.
How to operate the JTJ series?
This series includes many models for semi-automatic capsule filling machines. As a standard filling machine, the JTJ model follows the common filling process, regardless of whether it is a single-head or double-head filling system. So their operation is similar. The detailed steps are as follows.
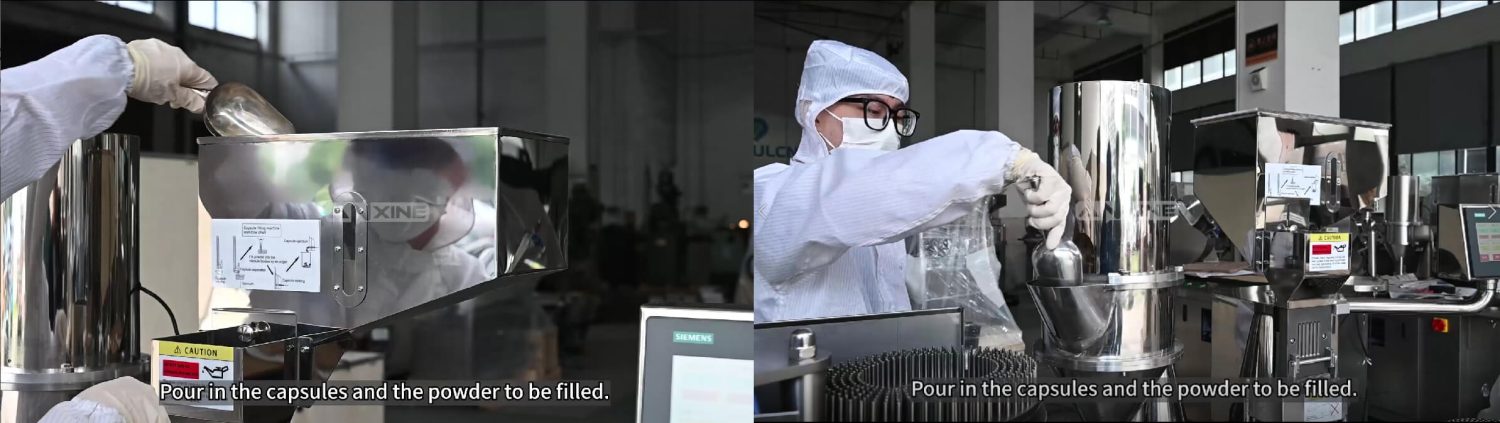
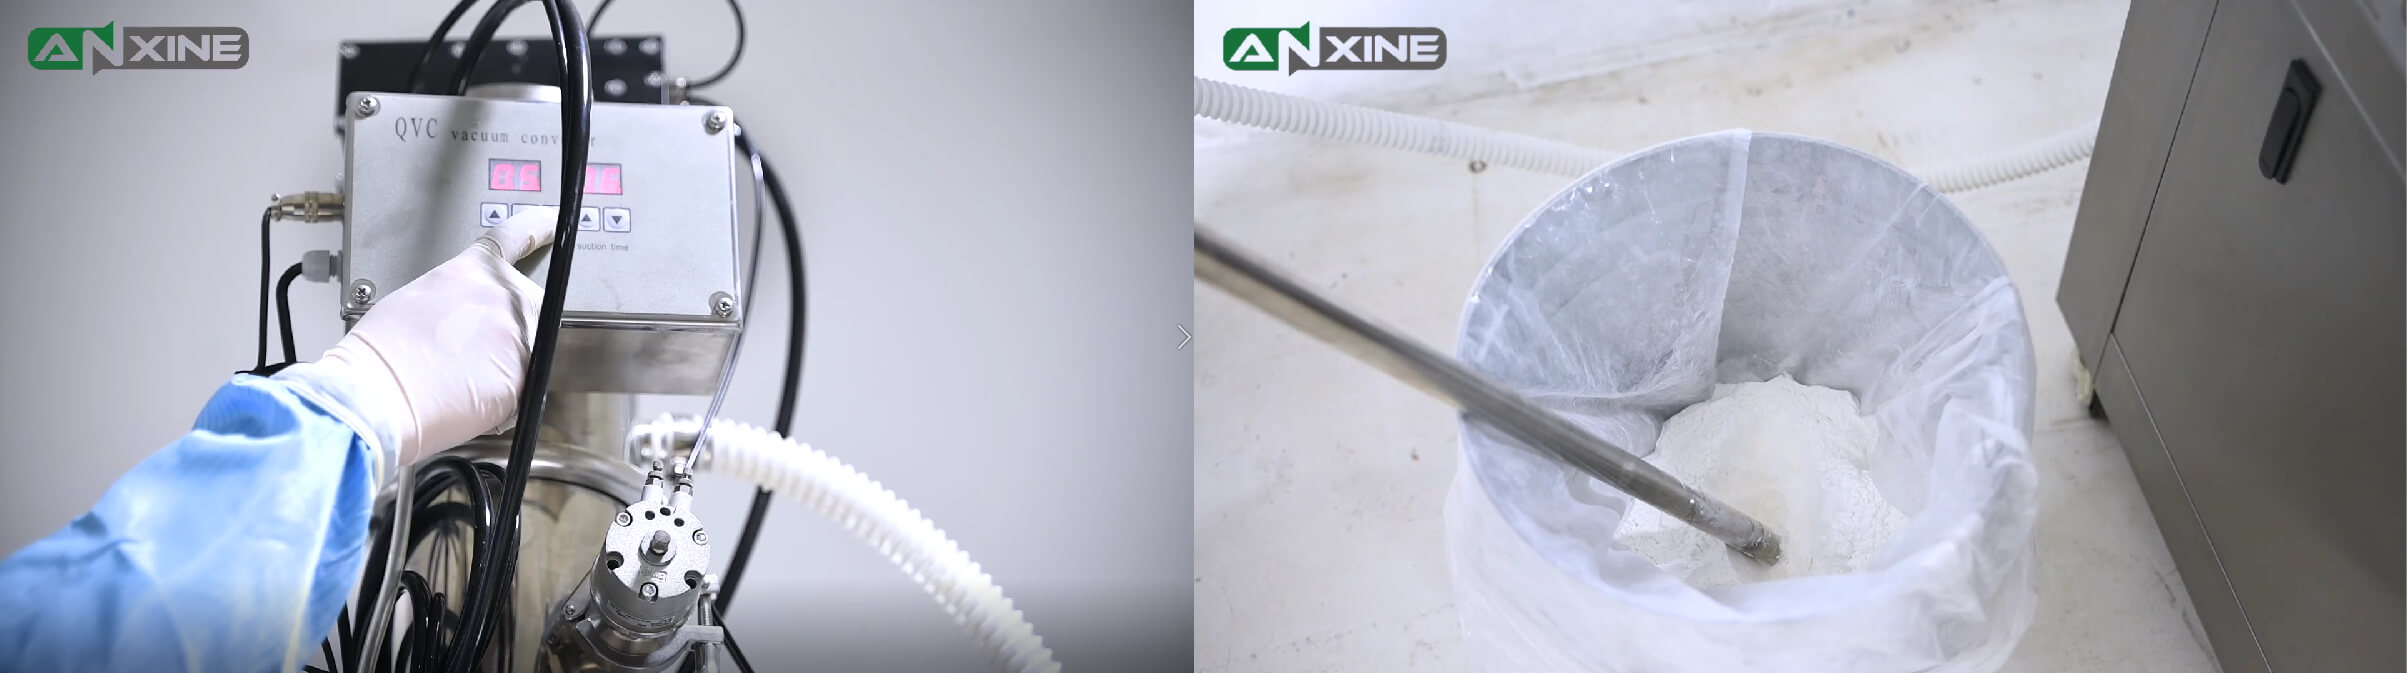
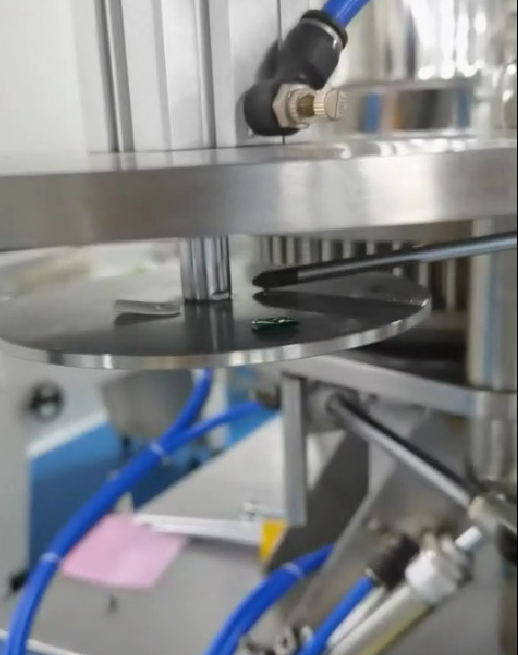
Step 1: Fill the materials and empty capsules into the hopper. In some models, the operator needs to turn on the vacuum system to suck the materials. They are then transferred to the hopper for filling.
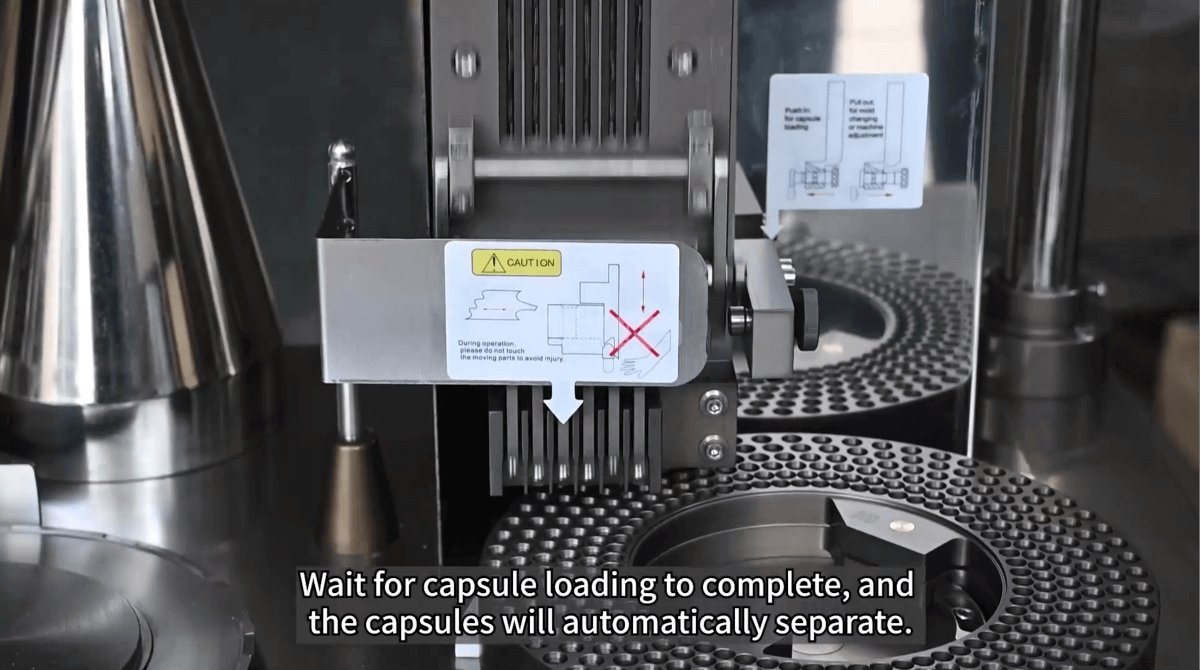
Step 2: Turn on the capsule loading switch. It is on the left side of the dispensing mechanism.

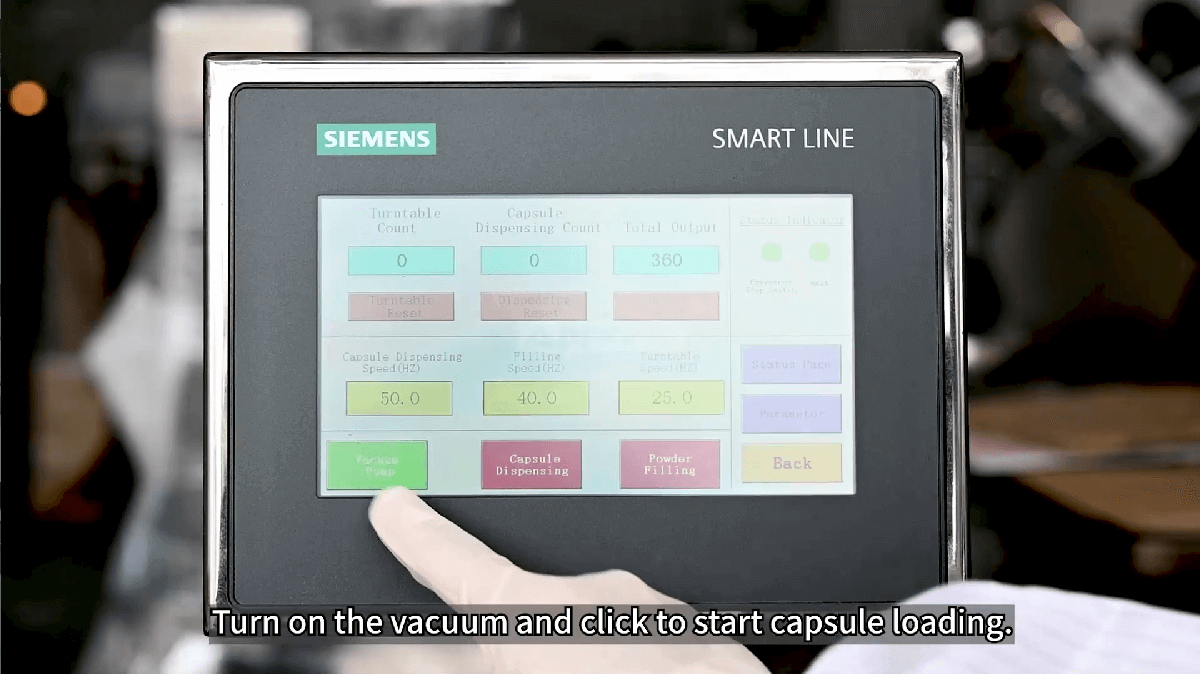
Step 3: Turn on the vacuum pump and click to start capsule dispensing on the control panel.
Step 4: Wait for capsule loading to be finished and capsules would be automatically separated.
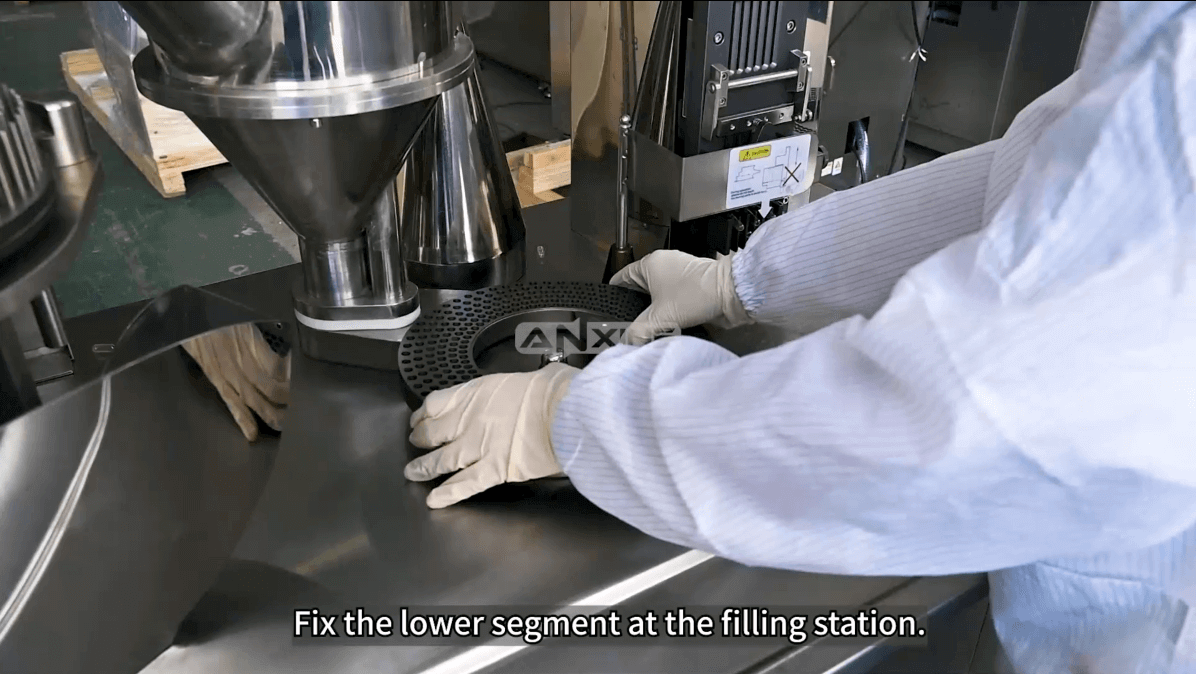
Step 5: Then remove the upper segment and fix the lower segment at the filling station.
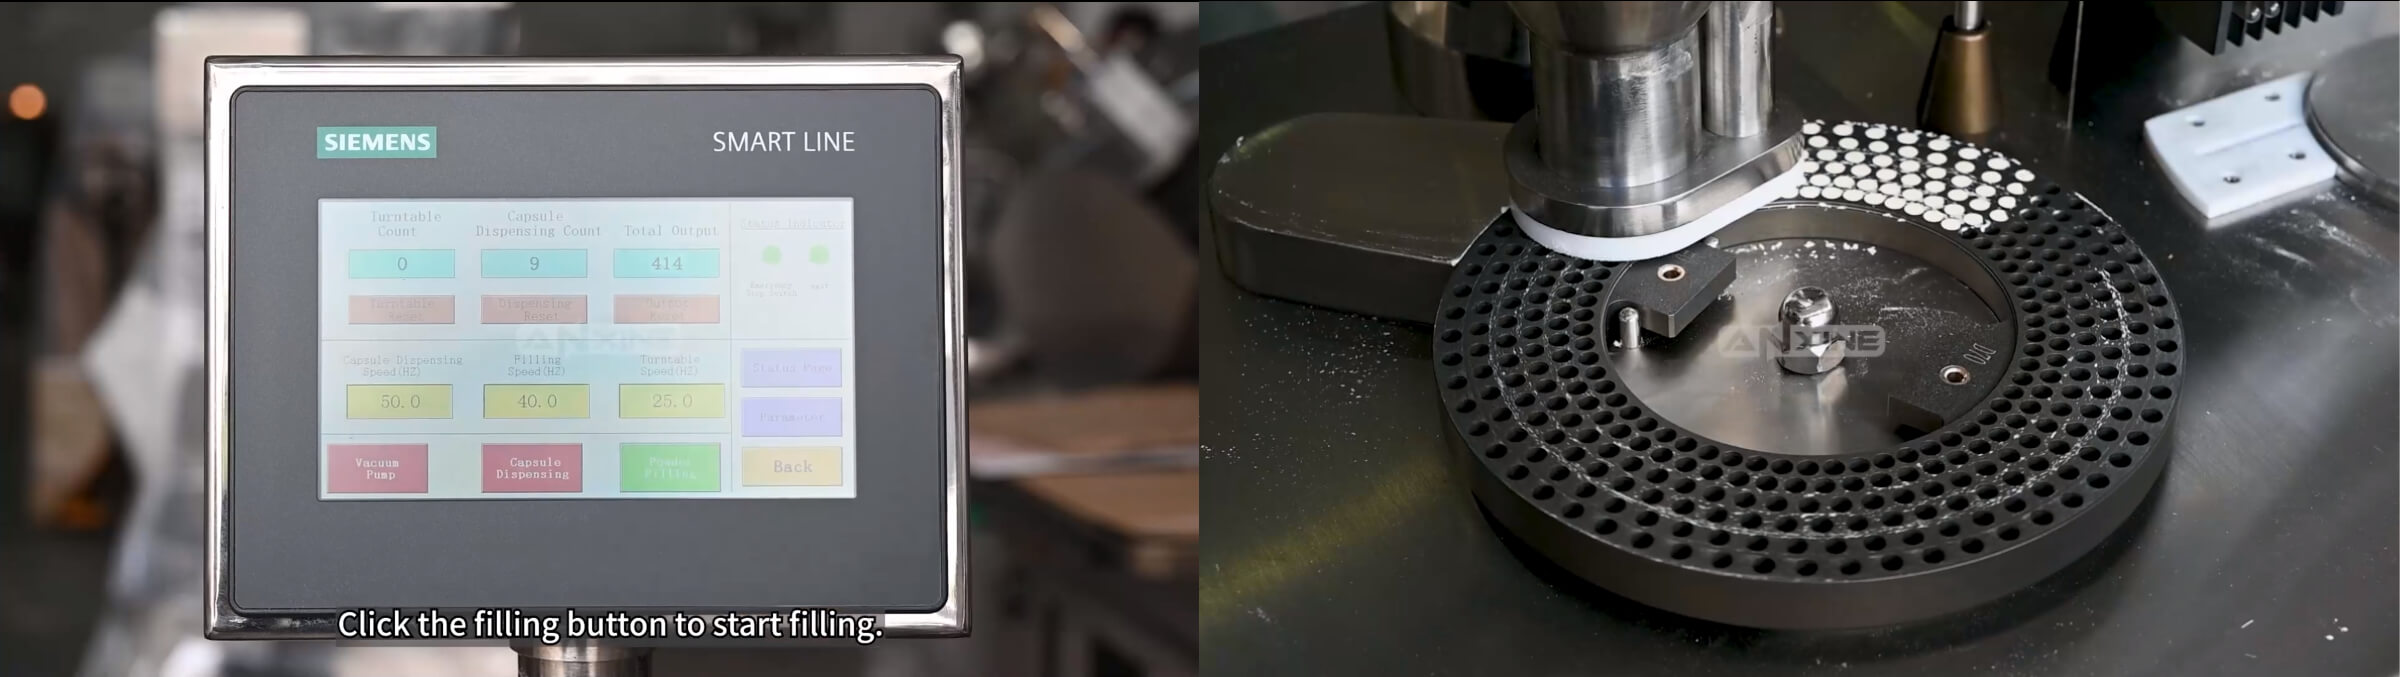
Step 6: Click the filling button to start filling.
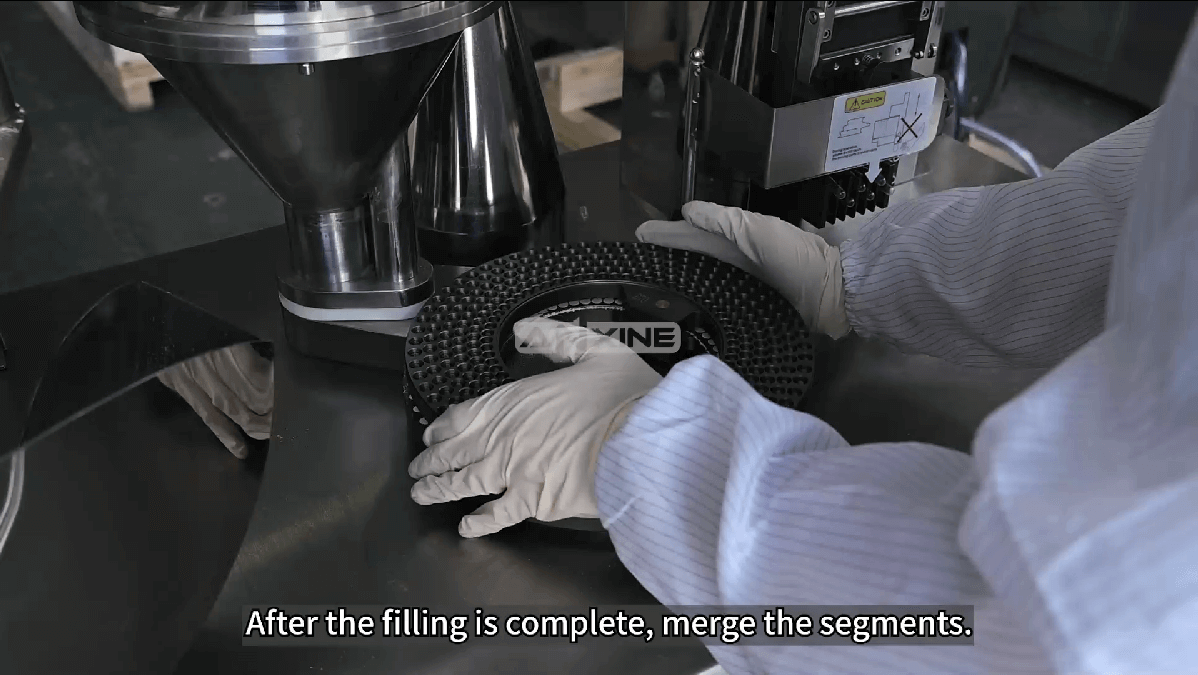
Step 7: After the filling is finished, put the upper and lower segments together for locking.
Step 8: Place the segment at the locking station.
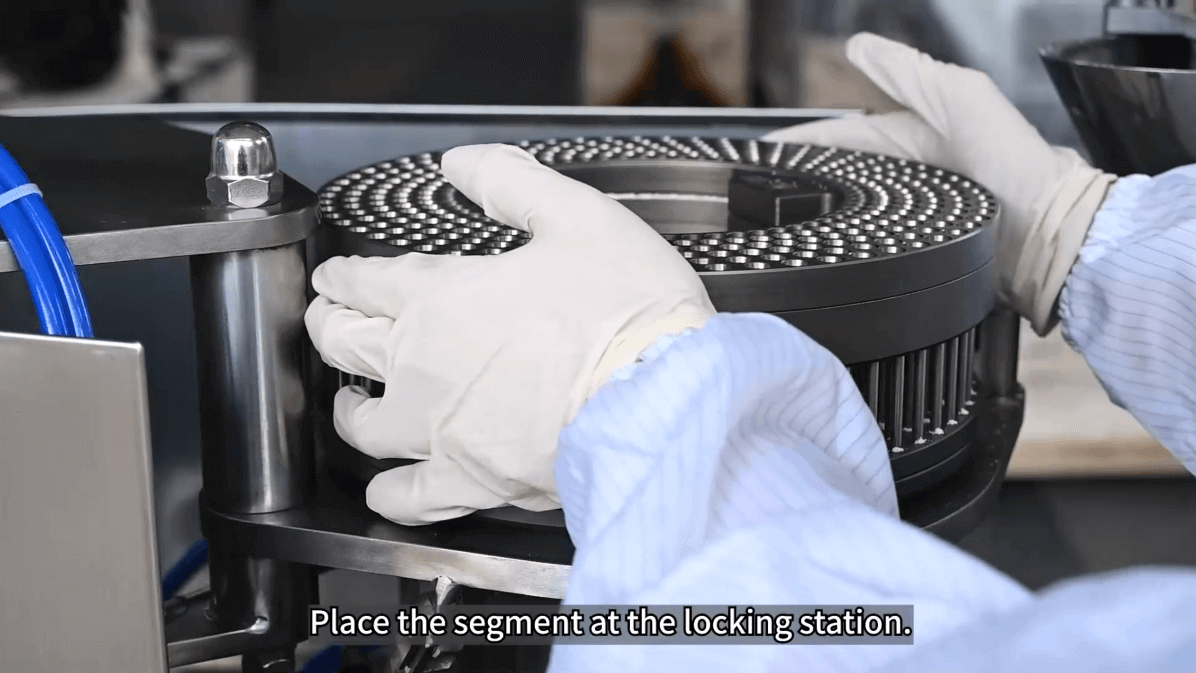
Step 9: Press the locking buttons simultaneously with both hands. The machine then locks capsules tightly and discharges them.

You can check the video to see how it works.
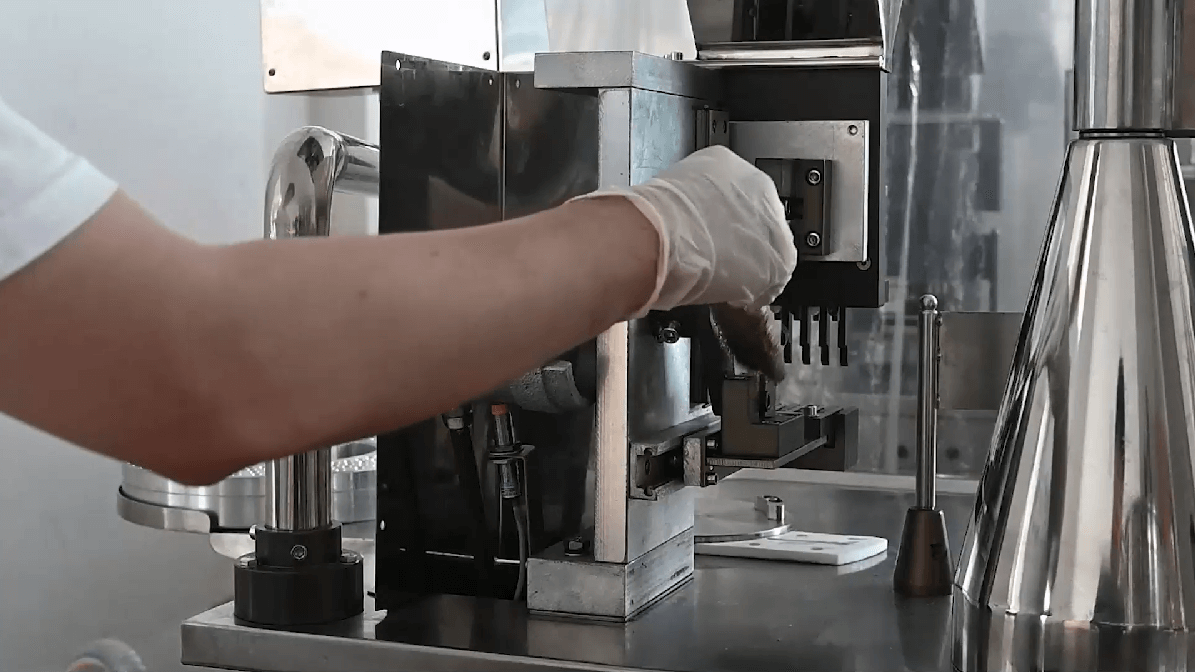
How to replace the filling shaft?
The filling shaft is a key part of the filling mechanism. It decides if a fixed amount of powder is filled into the capsule body in each cycle. Its speed and accuracy affect fill weight consistency and production speed. So you need to focus more on the maintenance for good filling. You may check the following steps to know how to replace it.
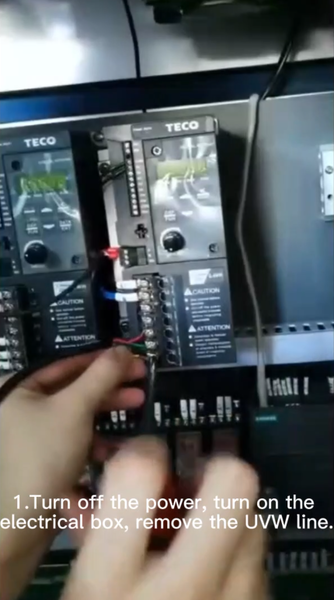
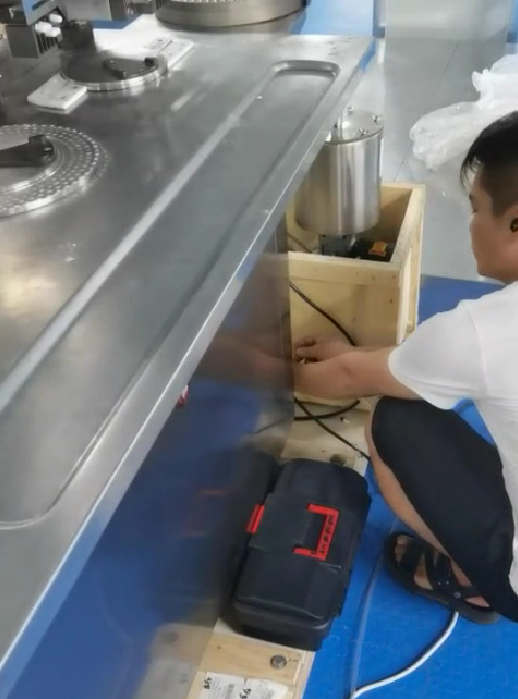
Step 1: At first, you need to turn off the power, turn on the electrical box and remove the UVW line.
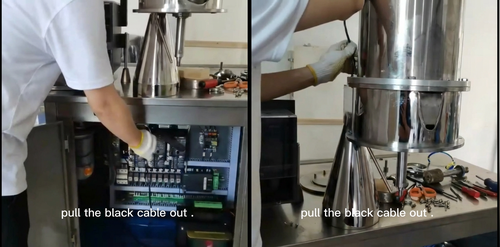
Step 2: Then, pull the black cable out.
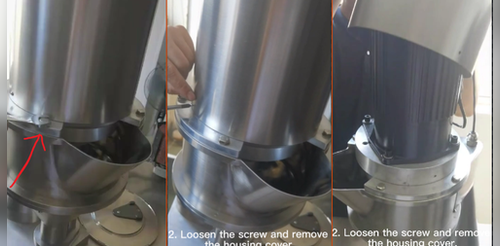
Step 3: Next, loosen the screws and remove the housing cover.
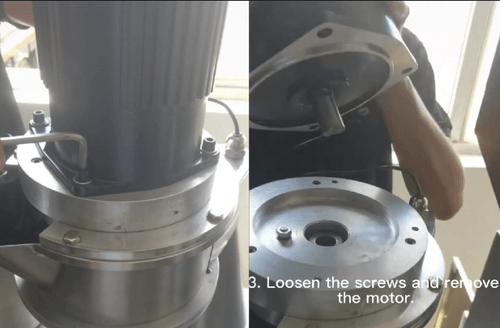
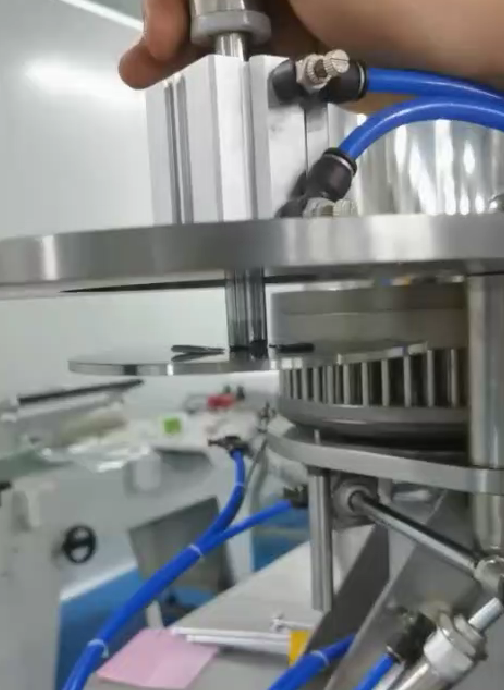
Step 4: Then, continue to loosen the screws and remove the motor.
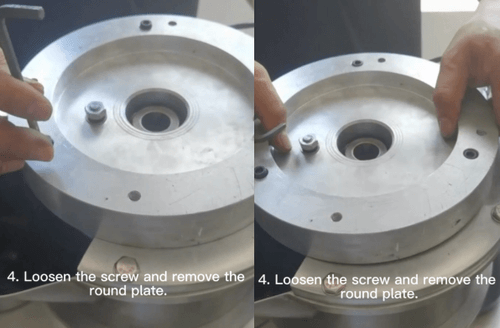
Step 5: After that, loosen the screws and remove the round plate.
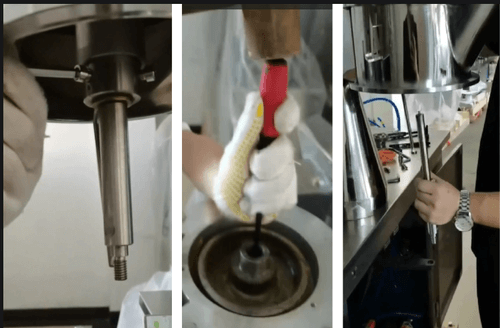
Step 6: Loosen the screw and use the wooden hammer to knock the shaft off. Please note that another person needs to hold the shaft when knocking. It prevents the shaft from falling on the ground. Also, take care not to damage the shaft end or the bearing when tapping.
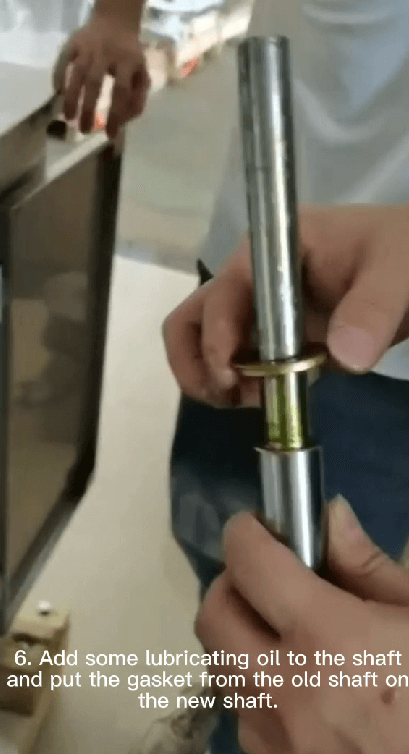
Step 7: Add some lubricating oil that the user guide requires to the shaft. Then, put the gasket from the old shaft on the new one.
Step 8: Knock the shaft on with a wooden hammer, making sure the bearing does not come out. You can hold it down with a hard thing.

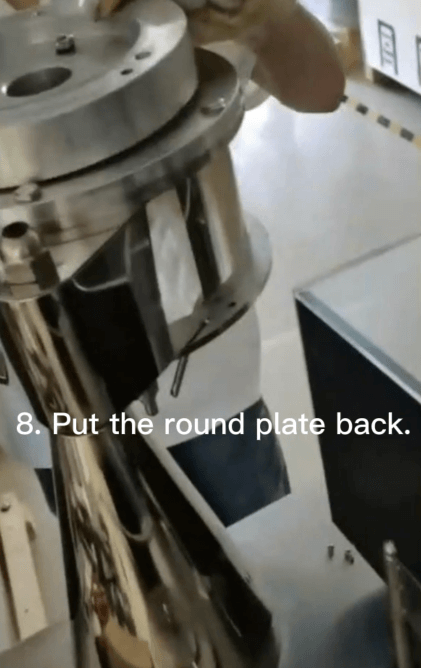
Step 9: Put the round plate back and tighten the screws.
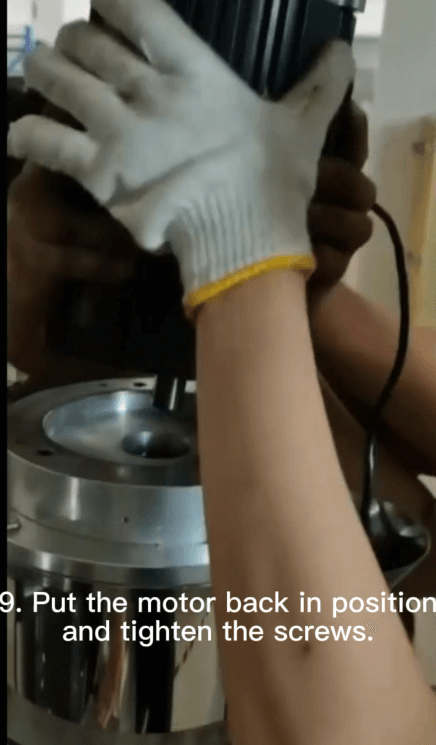
Step 10: Put the motor in position and tighten the screws.
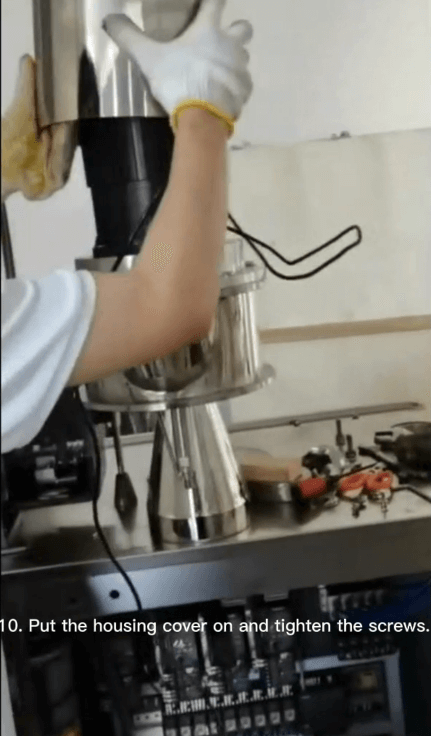
Step 11: Put the housing cover on and tighten the screws.
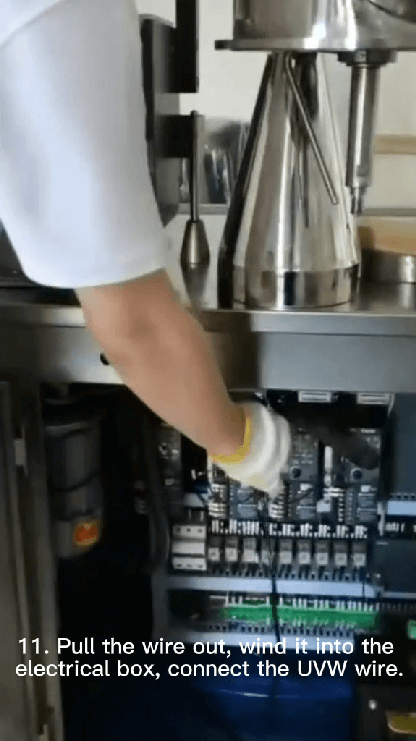
Step 12: Pull the wire out, wind it into the electrical box and connect the UVW wire.
Here is a video to show you how it is finished clearly.
How to maintain the machine parts?
Regular maintenance is necessary for good machine performance. It prevents the machine from breaking down and ensures a smooth filling. This video shows you how to maintain the key parts.
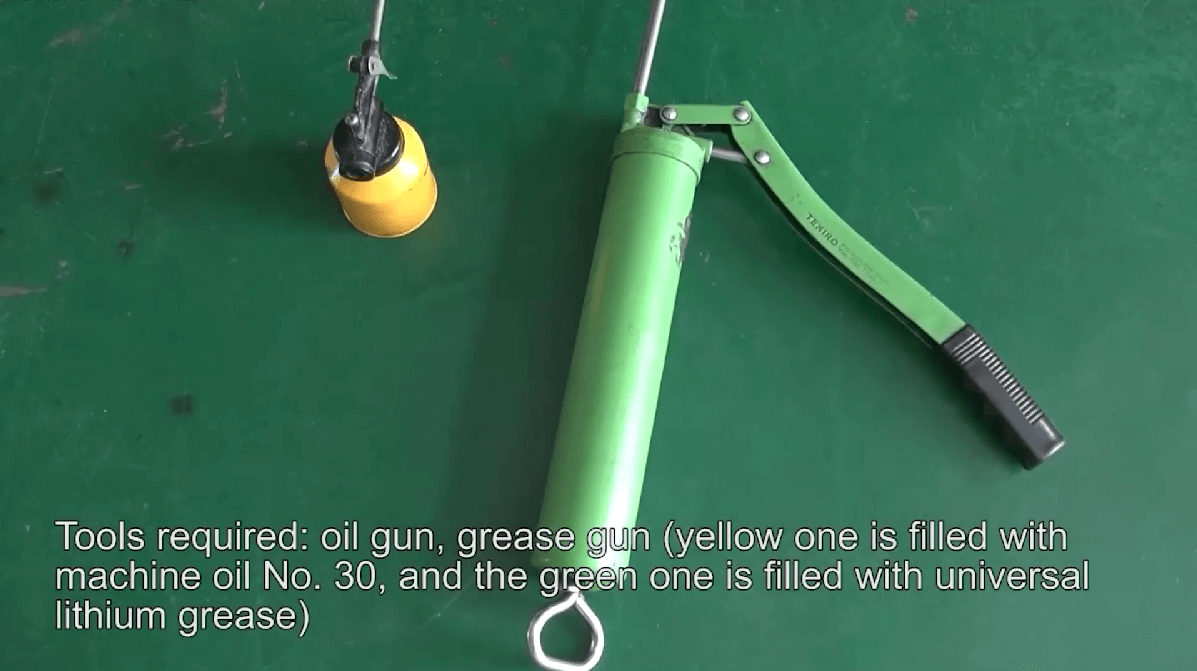
Step 1: Before the operation, you need to prepare the oil gun and grease gun. The grease selection could be based on your user guide.
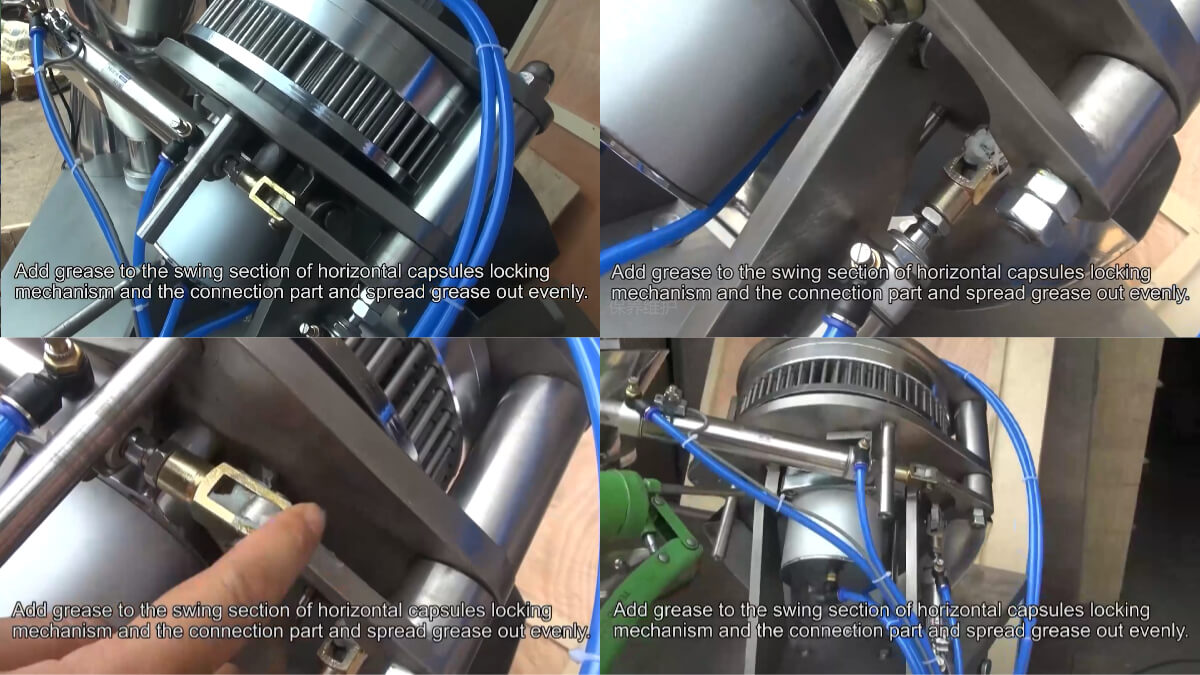
Step 2: Add grease to the swing section of the horizontal capsule locking mechanism and the connection part. Then spread the grease out evenly with fingers or other tools.
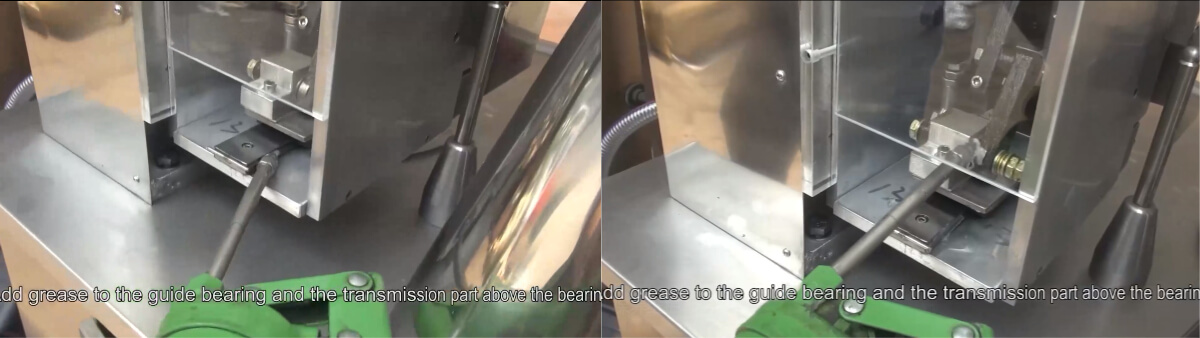
Step 3: Add grease to the guide bearing and the transmission part above the bearing.
How to maintain the capsule dispensing mechanism?
Step 1: Loosen the screws to remove the cover.
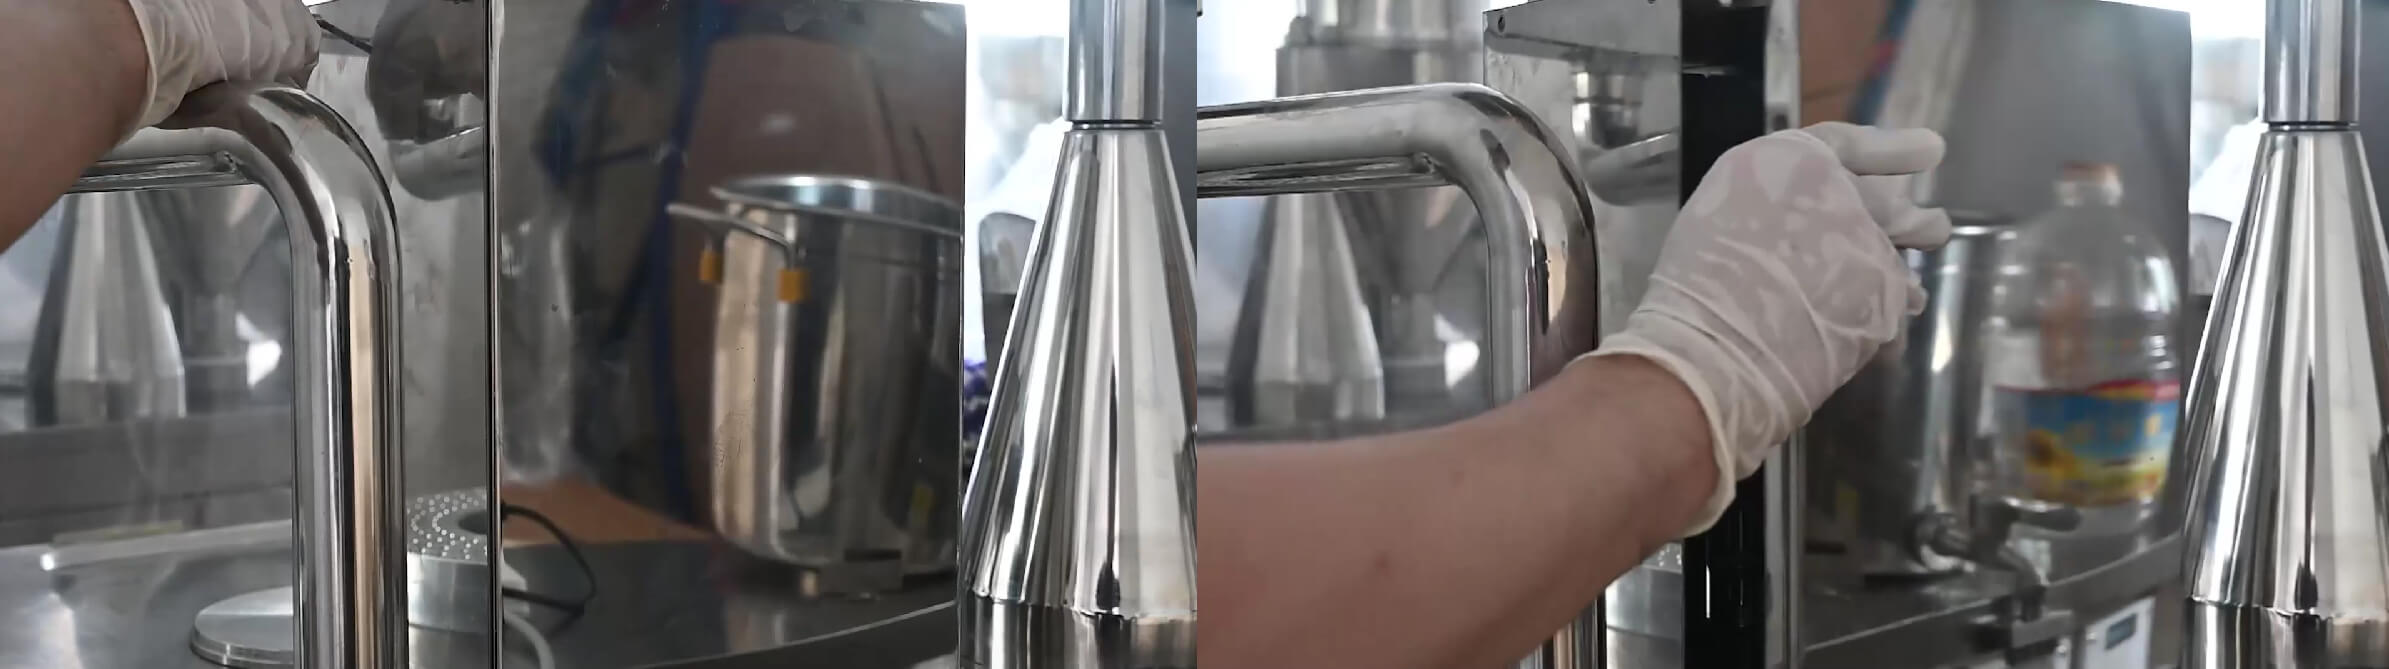
Step 2: Add grease to the working parts.
You may check the video to see it more clearly.
How to replace the molds to produce capsules in different sizes for a single loading system?
Many manufacturers would customize the mold to fit different sizes of capsules. Therefore, a good knowledge of how to change it is important. Here is a video that shows the detailed operation.
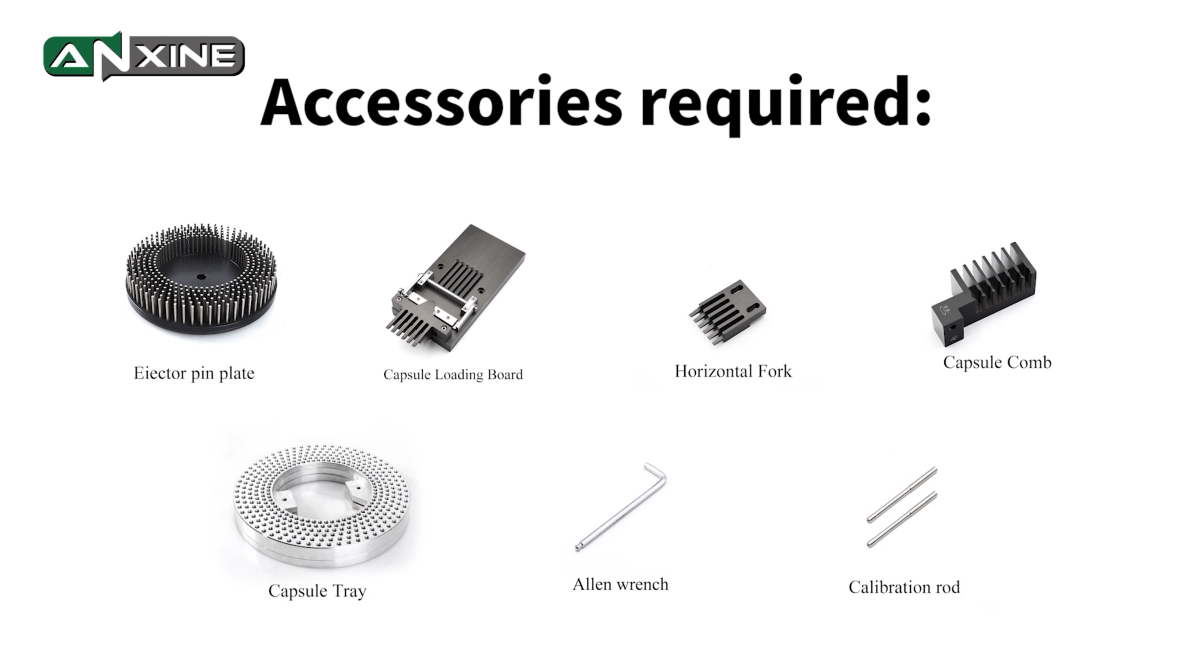
Step 1: Prepare the needed accessories, including
- Ejector pin plate.
- Capsule loading board.
- Horizontal fork.
- Capsule comb.
- Capsule tray.
- Allen wrench.
- Calibration rod.
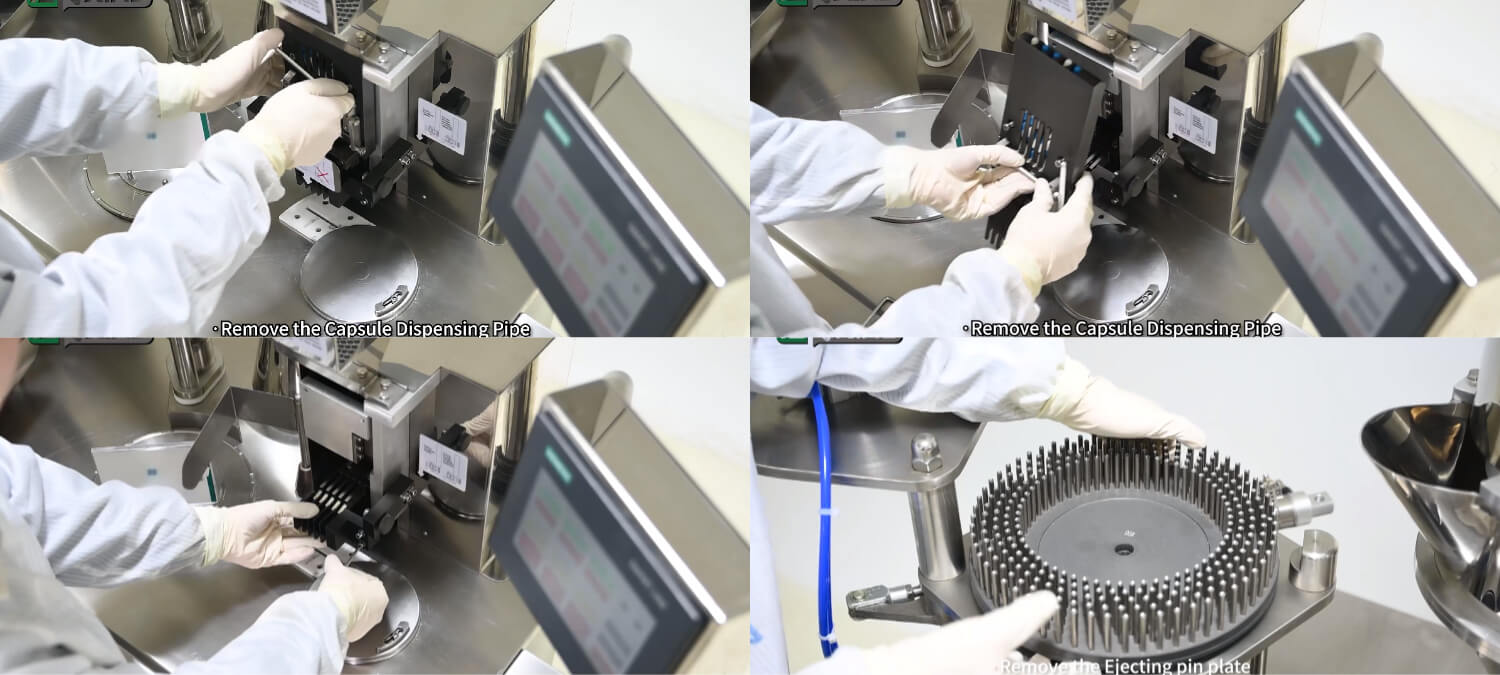
Step 2: Loosen the screws to remove the old capsule dispensing pipe, capsule push plate, capsule comb, and ejecting pin plate.
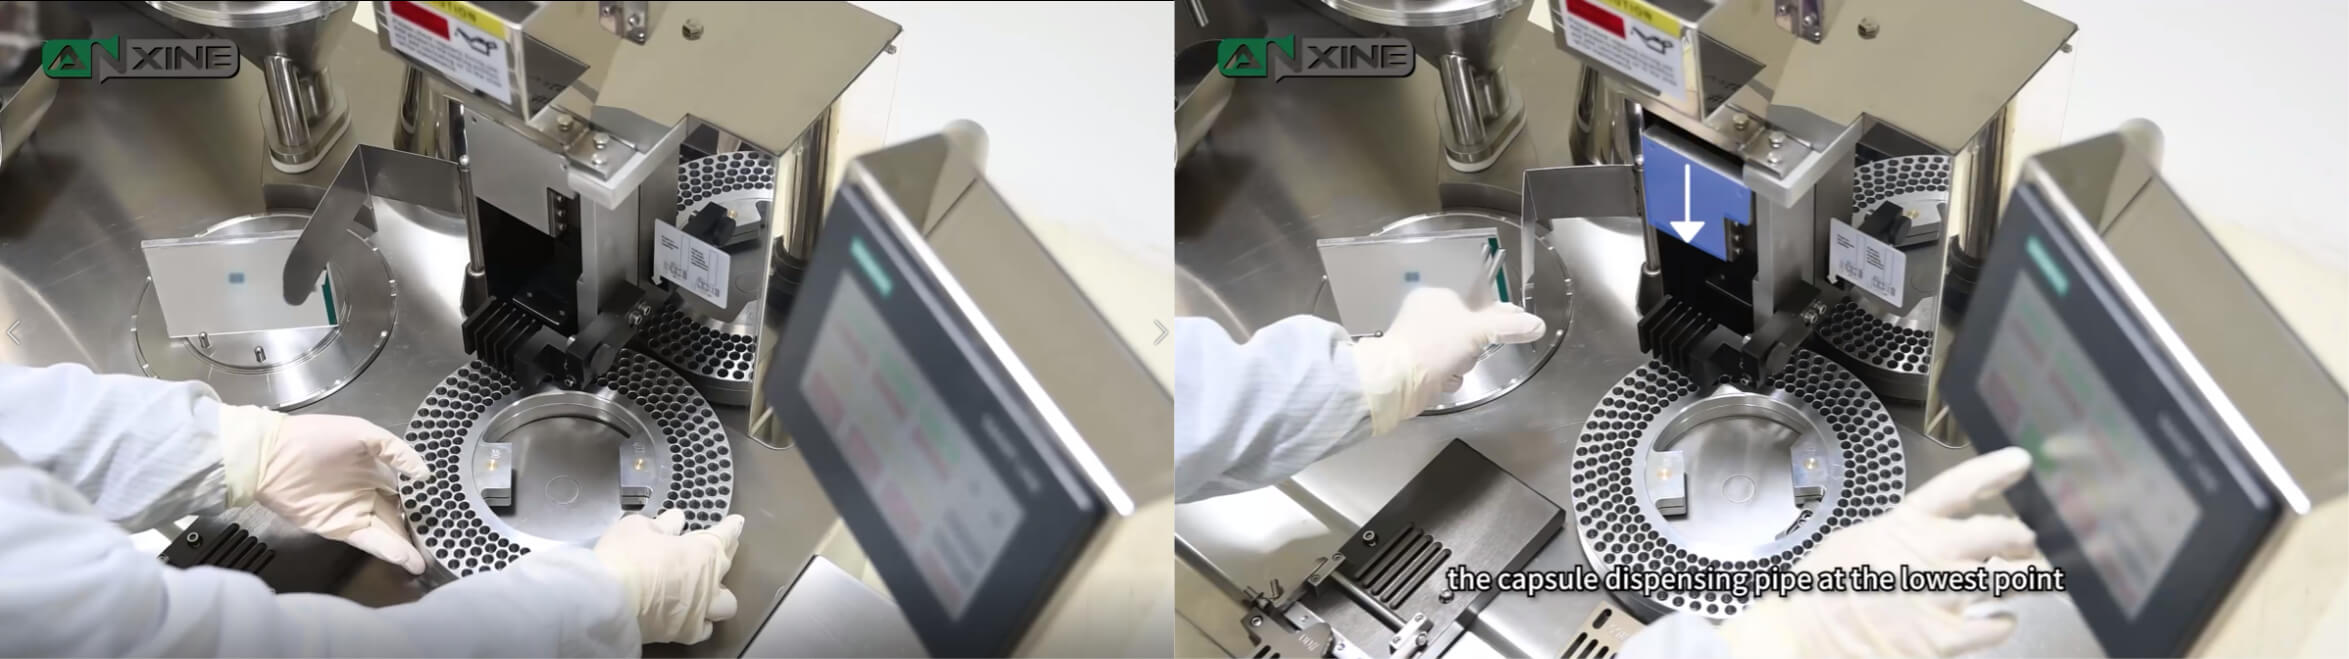
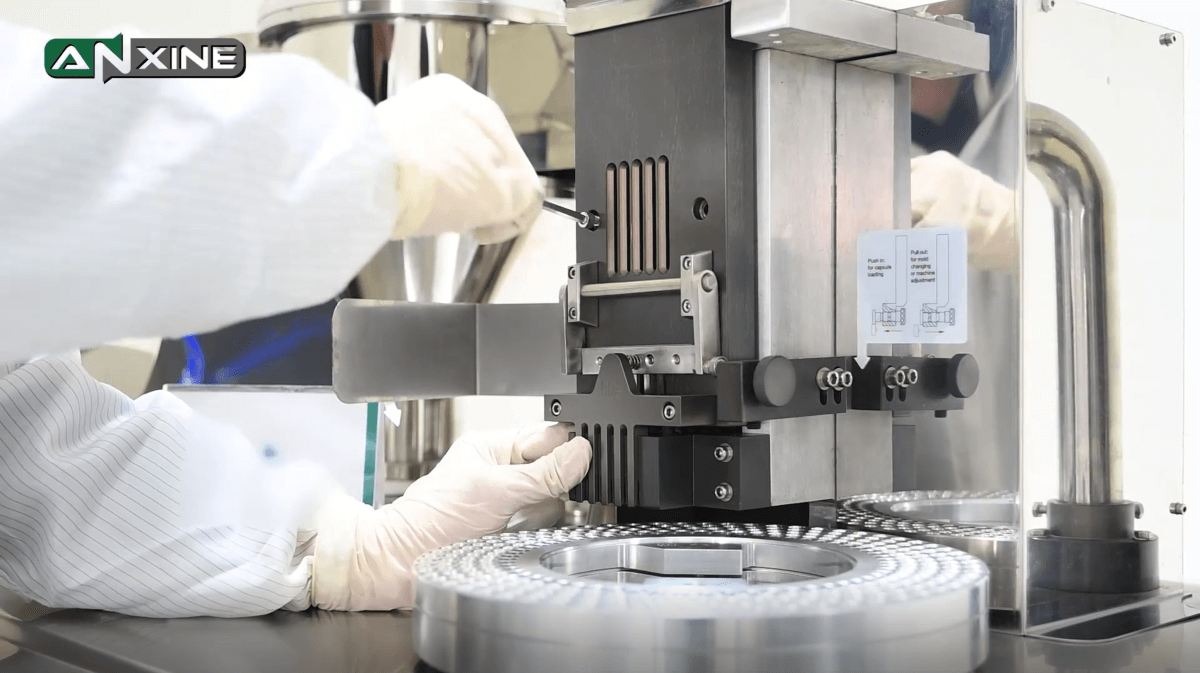
Step 3: It is time for new mold installation and debugging. You need to install the new capsule comb first. Next, put the rotary plate under the comb.
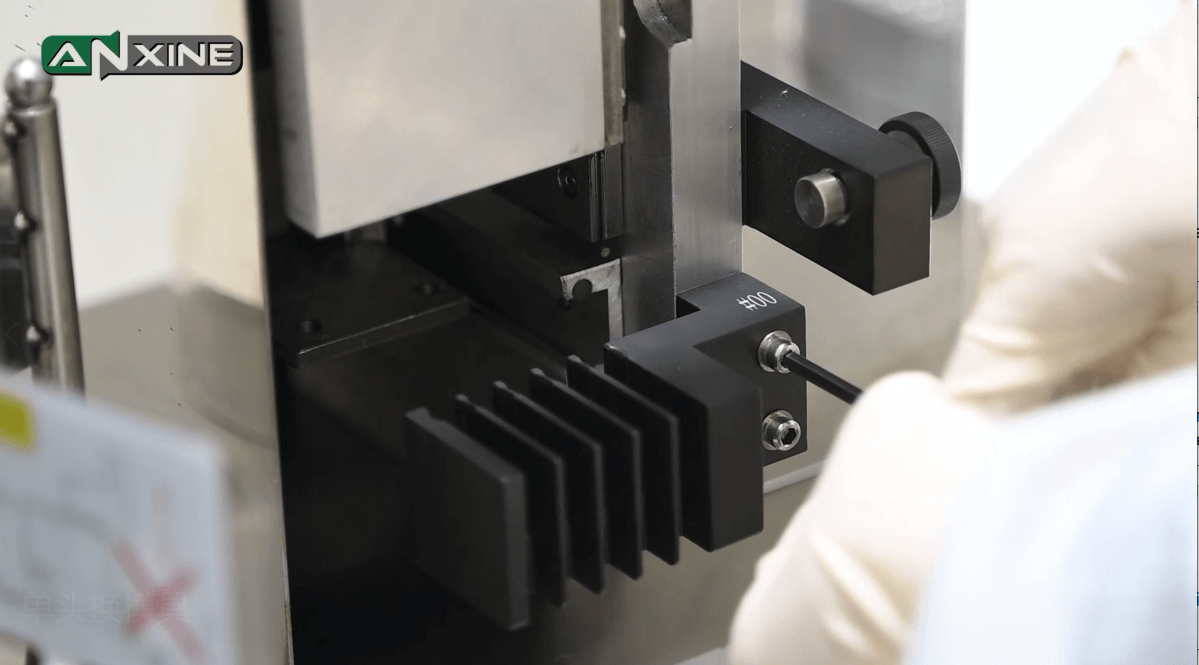
Step 4: Then, jog the machine to locate the pin behind and adjust the capsule dispensing pipe at the lowest point. The pipe is used to separate capsule caps and bodies from the hopper into the comb and mold bores.
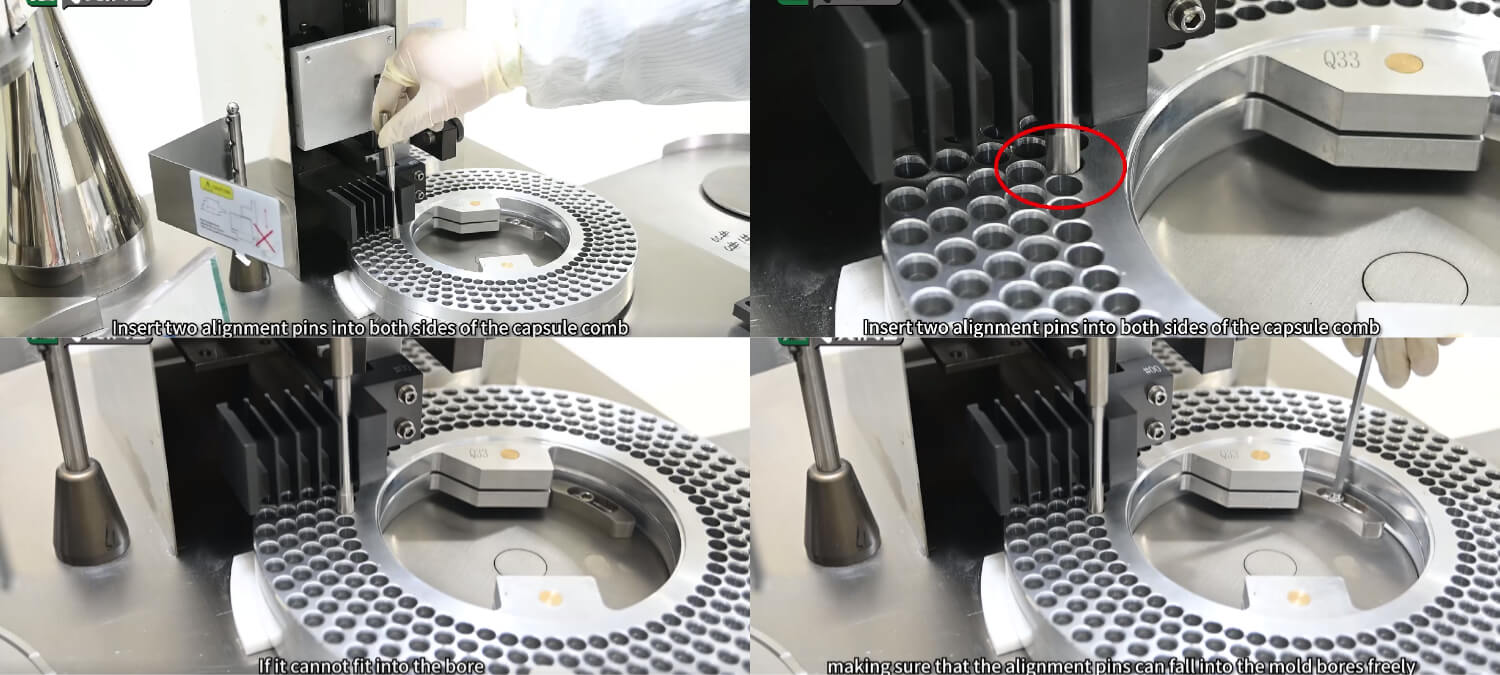
Step 5: Next, insert two alignment pins into both sides of the capsule comb. If it can’t fit into the bore, loosen the screw of the locking block of the rotary plate and adjust the position of the mold plate. The alignment pins can fall into the mold bores freely. Then, fasten the screw.
Please note that
- If there is friction when it falls, unscrew the capsule comb fixing screws for adjustment.
- If one of the pins encounters the above situation, please continue debugging.
- If both pins can easily fit into the bores, jog the machine and randomly test if both can easily fit into another hole.
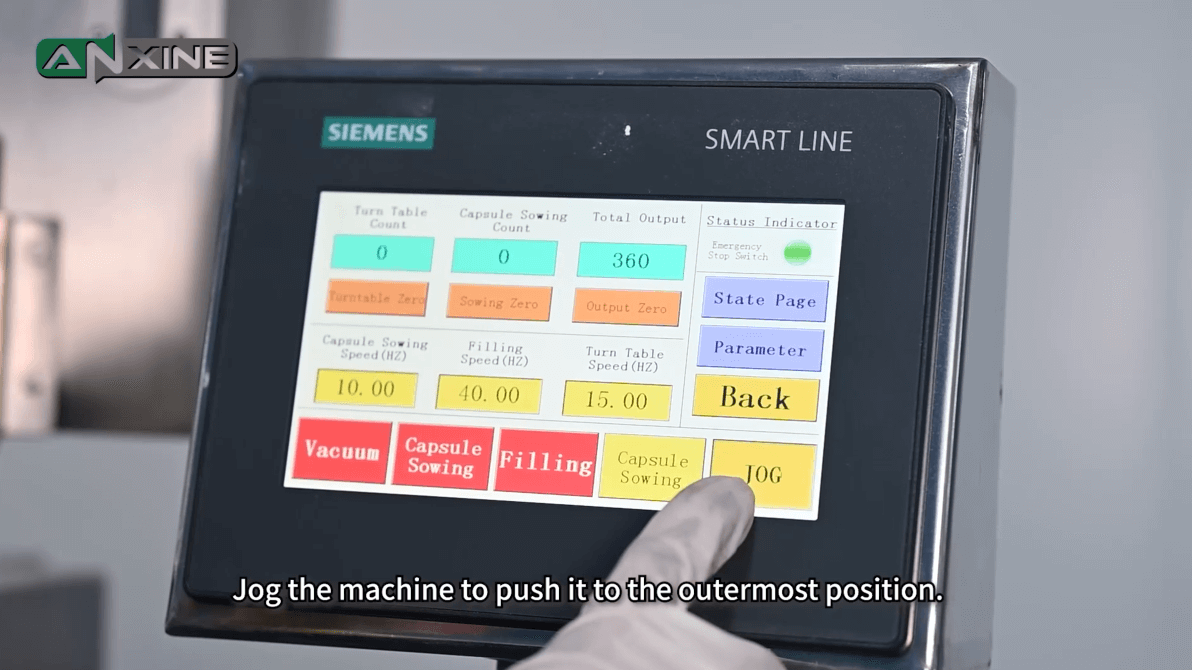
Step 6: Next, install the push plate. Jog the machine to push it into the outermost position.
Step 7: Put on the push plate and adjust it to the middle of the capsule comb. Remember to avoid friction with the capsule comb. Then tighten the screws.

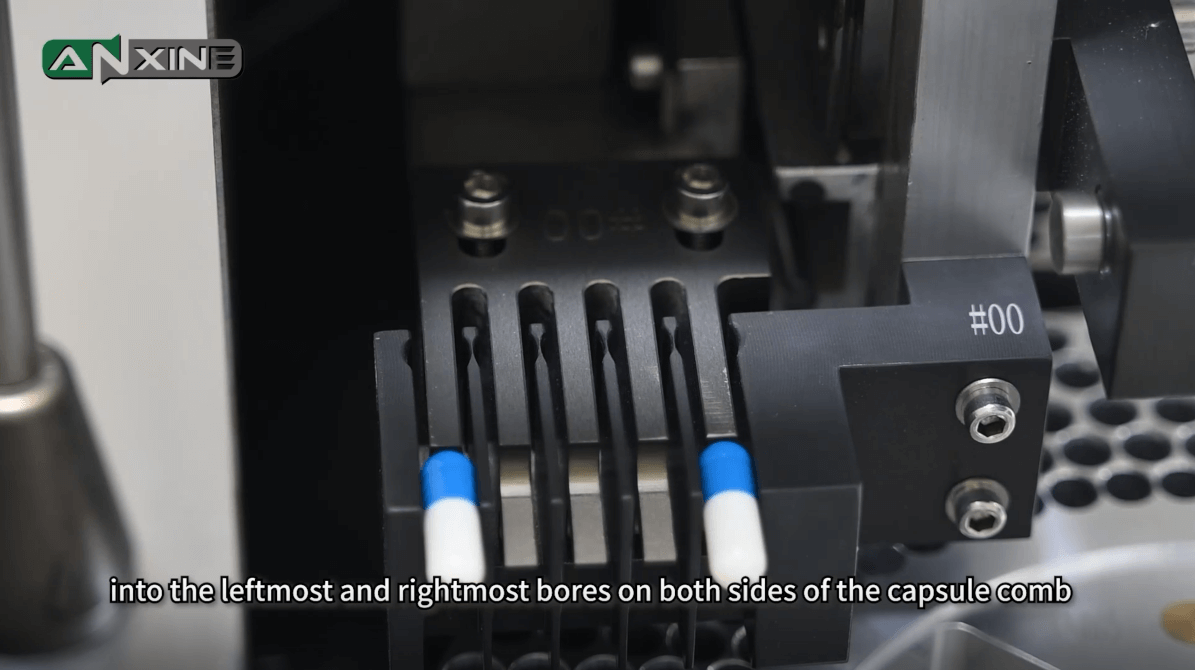
Step 8: Now you can test if the capsules can be placed correctly. Place two capsules respectively into the leftmost and rightmost bores on both sides of the capsule comb.
Step 9: Jog the machine to push these two capsules forward. You need to make sure that the capsules are exactly located in 1mm of the capsule push plate out of the capsule comb.
According to the capsule model, 00#-0# is 1mm beyond the edge of the capsule comb. 01#-05# is flush with the edge of the capsule comb.

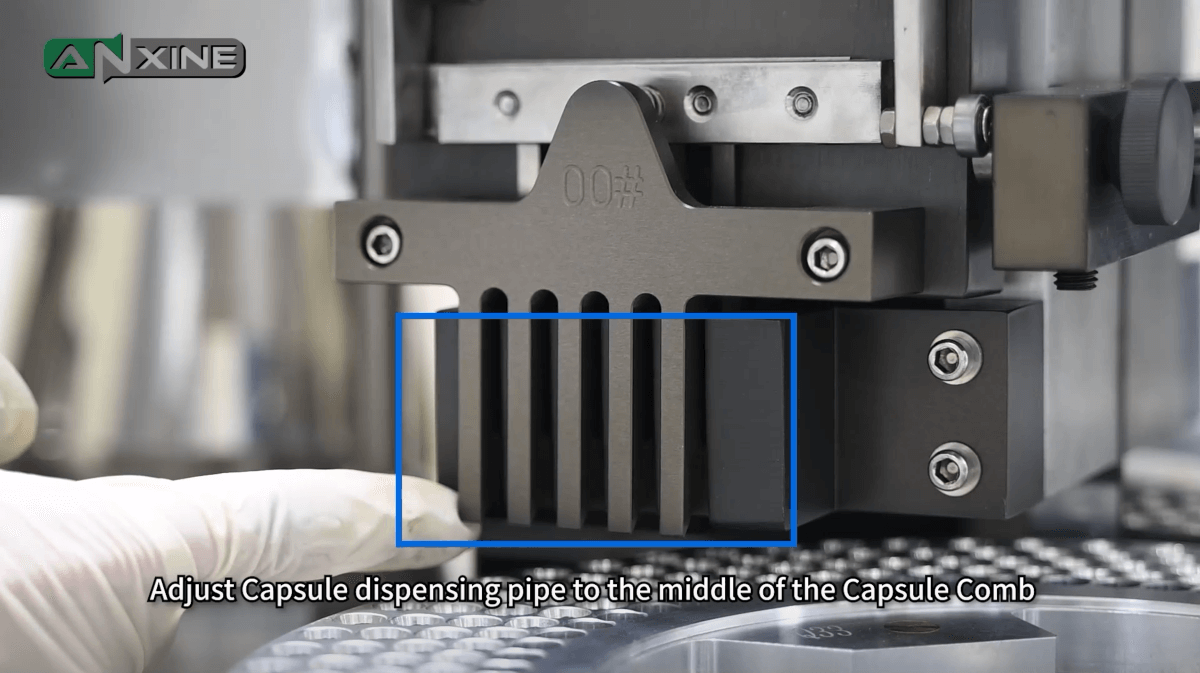
Step 10: Now you can install the dispensing pipe. Jog the machine to put the pipe in.
Step 11: Adjust the pipe to the middle of the capsule comb, and avoid friction with the capsule comb. If no problem, tighten the screws.
Step 12: Next, install the ejector pin plate. It has multiple pins that move up and down to push filled capsules out after locking is completed. You need to align the 3 holes of the plate with the pins. Then, tighten the screw.

How to replace the relay?
Good relay contact ensures efficient production. If not, you may meet the following problems.
- Unstable operation. The machine may start and stop intermittently.
- Some functions fail. For example, feeding may not operate well.
- Incorrect signal detection. The control system receives discontinuous status signals. It can cause false alarms or unexpected machine stops.
- The electrical components overheat. Poor contact increases resistance, raising the temperature of relays and terminals. Over time, this speeds up component aging.
To solve the problem, you can pull out another relay and change its place. Then, test if the machine works properly.
The video for replacement is also for your reference.
How to remove the crushed or stuck capsules on the locking part?
Sometimes, finished capsules can’t fall down freely. It is necessary to clean them for the next smooth production. The steps are easy.
Step 1: Turn off the air supply.
Step 2: Push the press plate down manually.
Step 3: Clean the crushed capsules with a tool.
You can check the video to have a clear understanding.
How to adjust the locking speed when the capsule sealing is not good?
In some cases, you may find the capsules are not sealed well. It is always because of the improper air pressure. You can adjust the pressure more strongly with the screw. It makes the ejection pins upward force and speed up.
If you find capsules are damaged after locking, such as flattened or deformed, you need to reduce the air pressure. It makes the upward movement of the ejection pins reduce and slow down. If the air pressure is reduced too much after adjusting, repeat the strengthening step above.
You may check the video to see how the operator adjusts it.
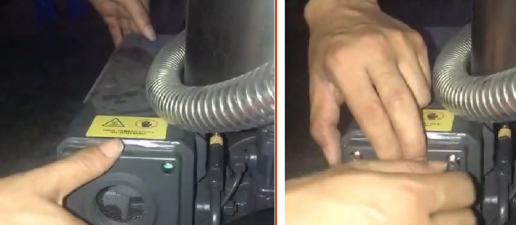
How to replace the filter?
During the capsule filling, powder is often generated. A filter is then needed to prevent dust from entering the system. It should be replaced regularly to keep the capsules clean.
Step 1: Put the new filter in. Then fix and tighten the screw.
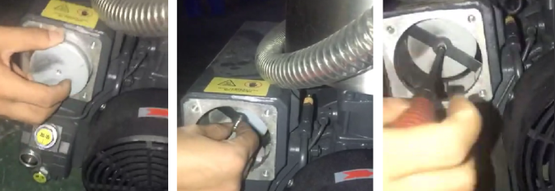
Step 2: Install the cover and tighten the screws.
If you are not sure how to perform during operation or maintenance, stop the machine and contact us in time. Our engineers can guide you remotely to avoid equipment damage or safety risks.


