NOTICE
- The following procedures are intended for the Anxine CHL Series only. For other brands, refer to the original manufacturer’s instructions.
- Always disconnect the power supply before performing maintenance, cleaning, or mold changeover.
- Only trained and authorized persons are permitted to work on the equipment.
- Your equipment may vary from images or videos due to ongoing upgrades.
- If any part of this guide is unclear, contact Anxine for technical support before proceeding.
Section 1: Operation Procedures
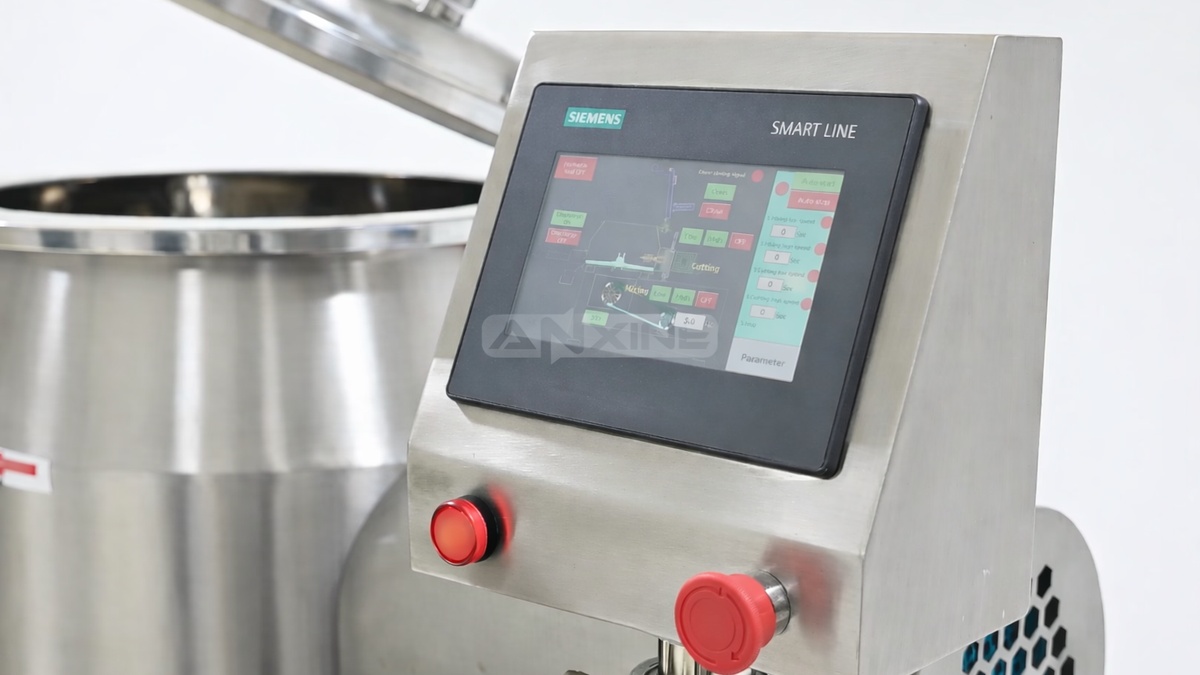
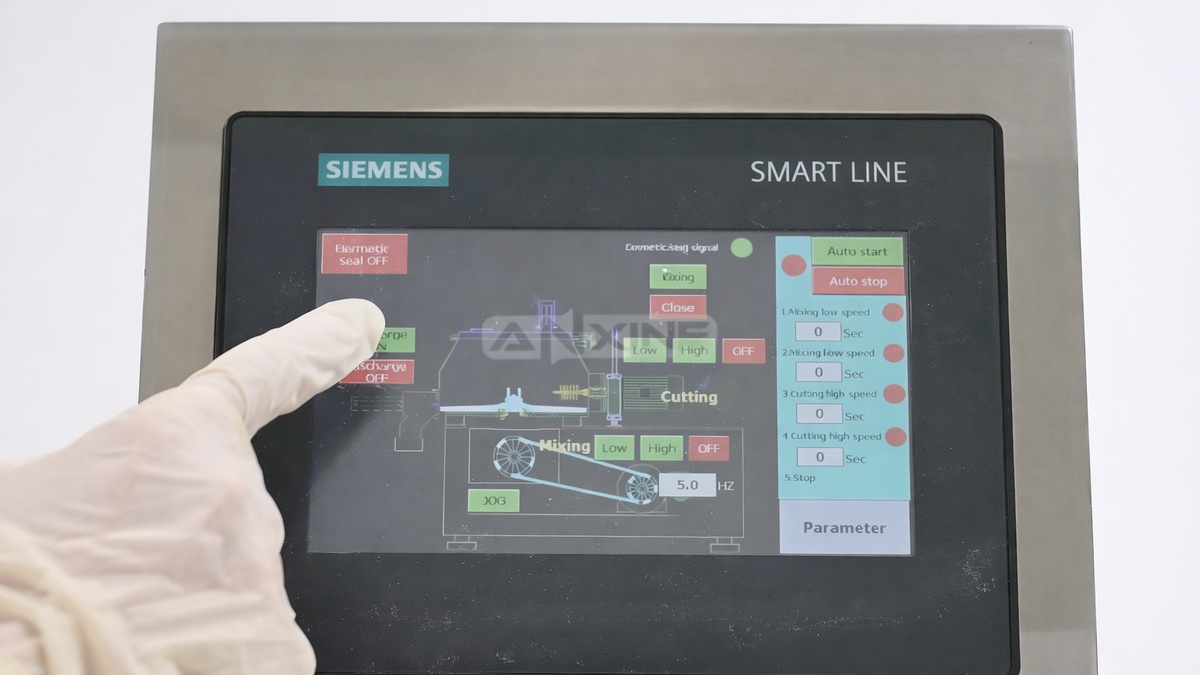
Step 1: Press the Open button on the touchscreen panel to raise the machine’s stainless steel lid. It uses a pneumatic lift to automatically open the lid.
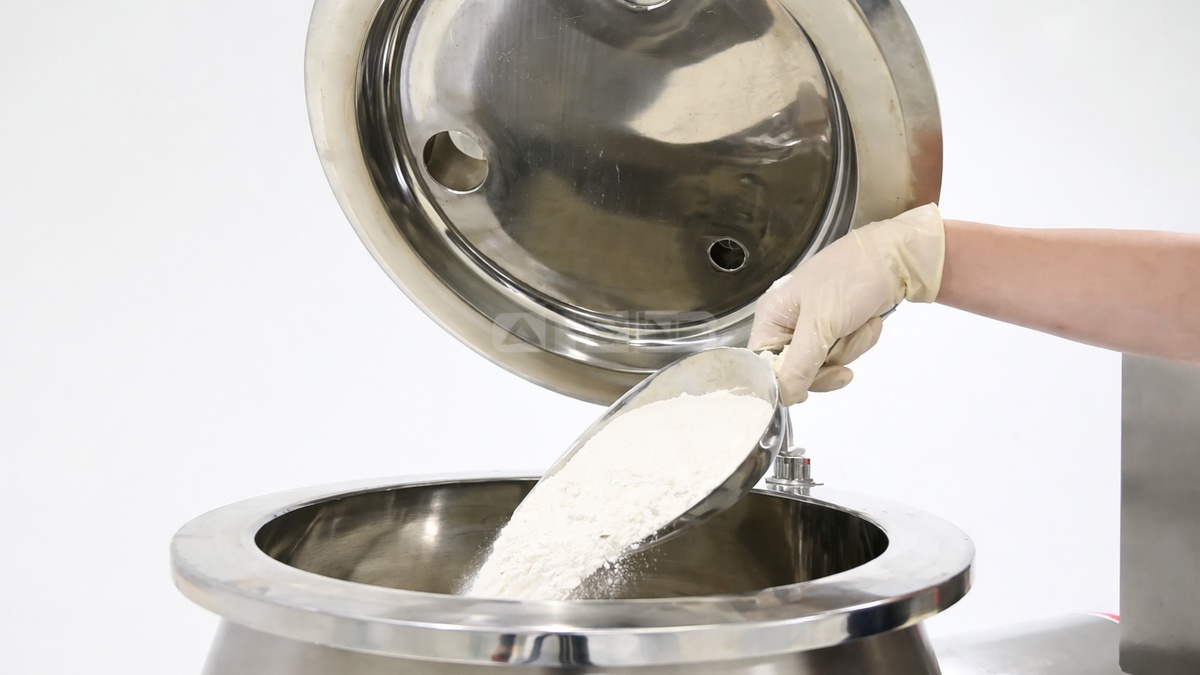
Step 2: Load powder ingredients into the mixing vessel. Depending on the configuration, this can be done manually or using vacuum transfer systems. Then press Close to lower the lid.
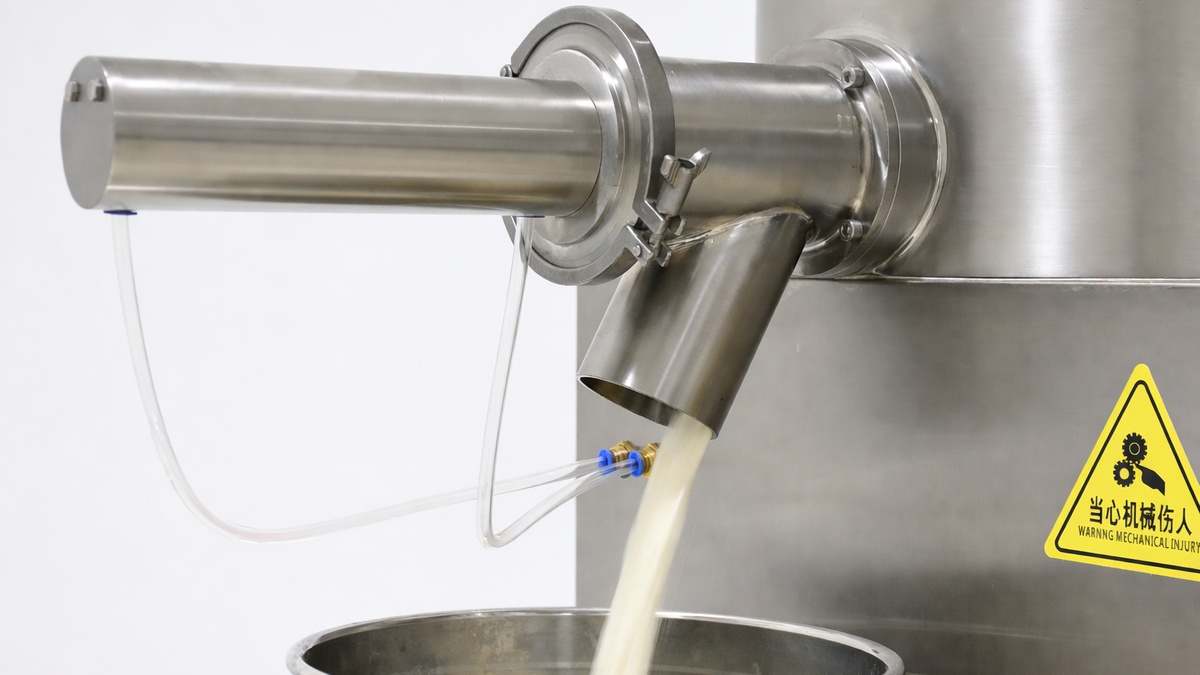
Step 3: Pour the liquid binder into the funnel at the top of the lid.
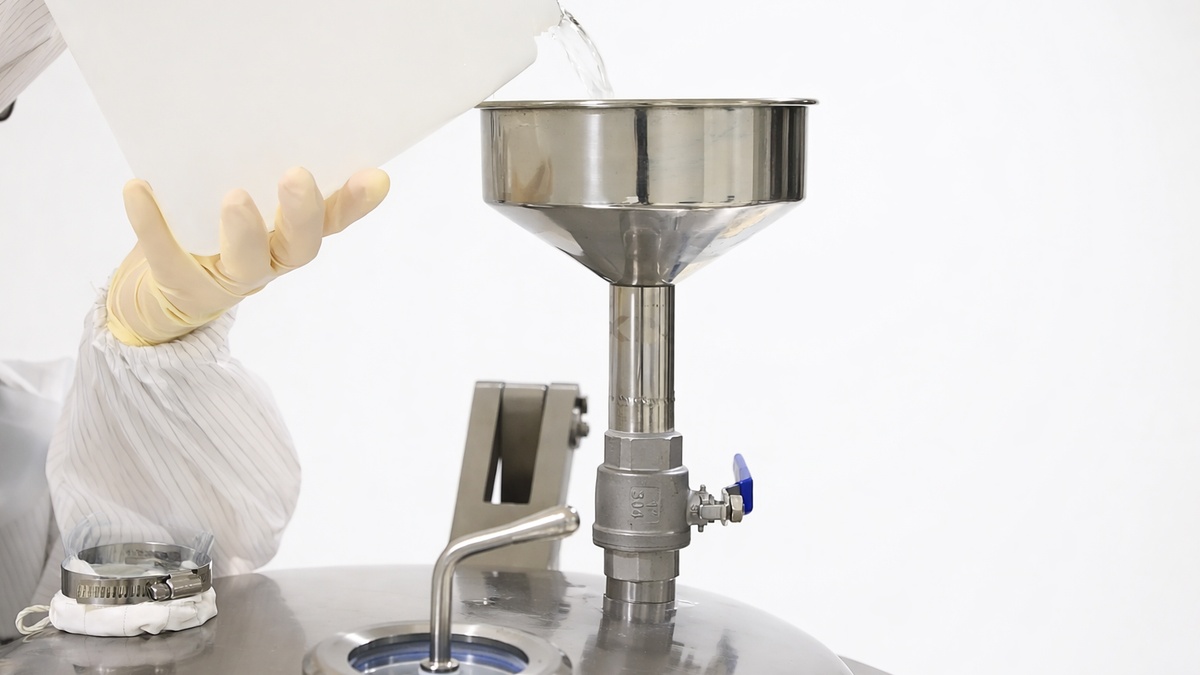
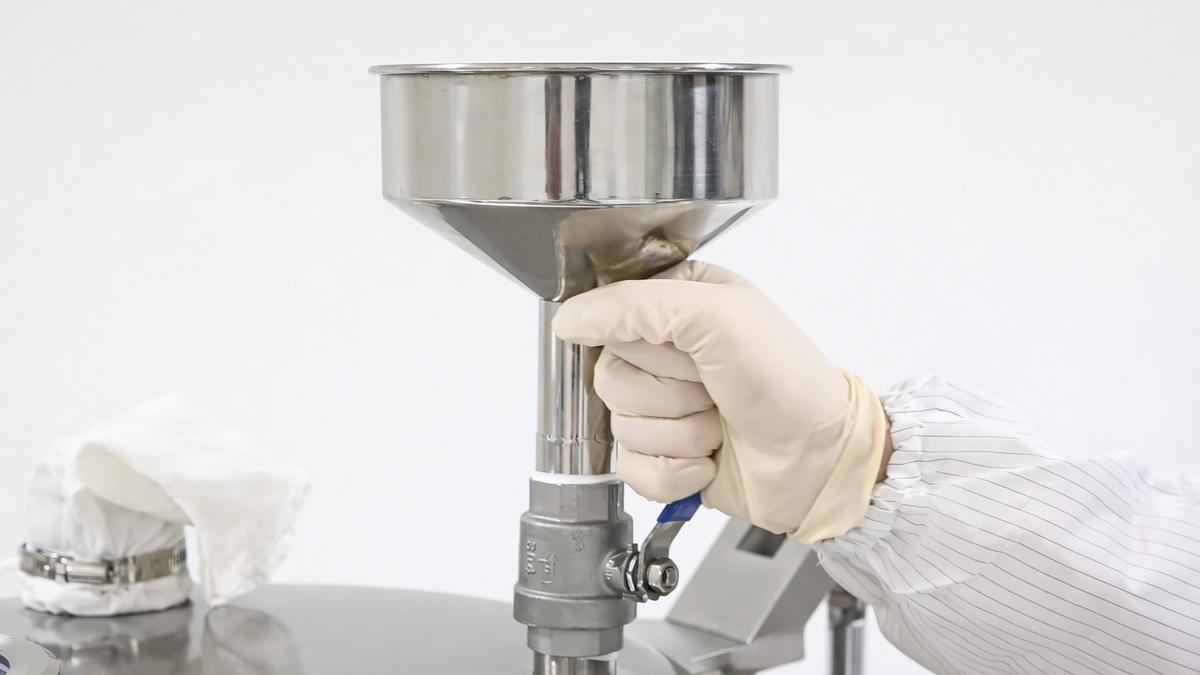
Step 4: Turn the ball valve handle to the open position. This allows the liquid to gravity-feed into the powder bed inside the vessel.
Step 5: Activate the Hermetic Seal function via the touchscreen to ensure a dust-free environment during granulation.
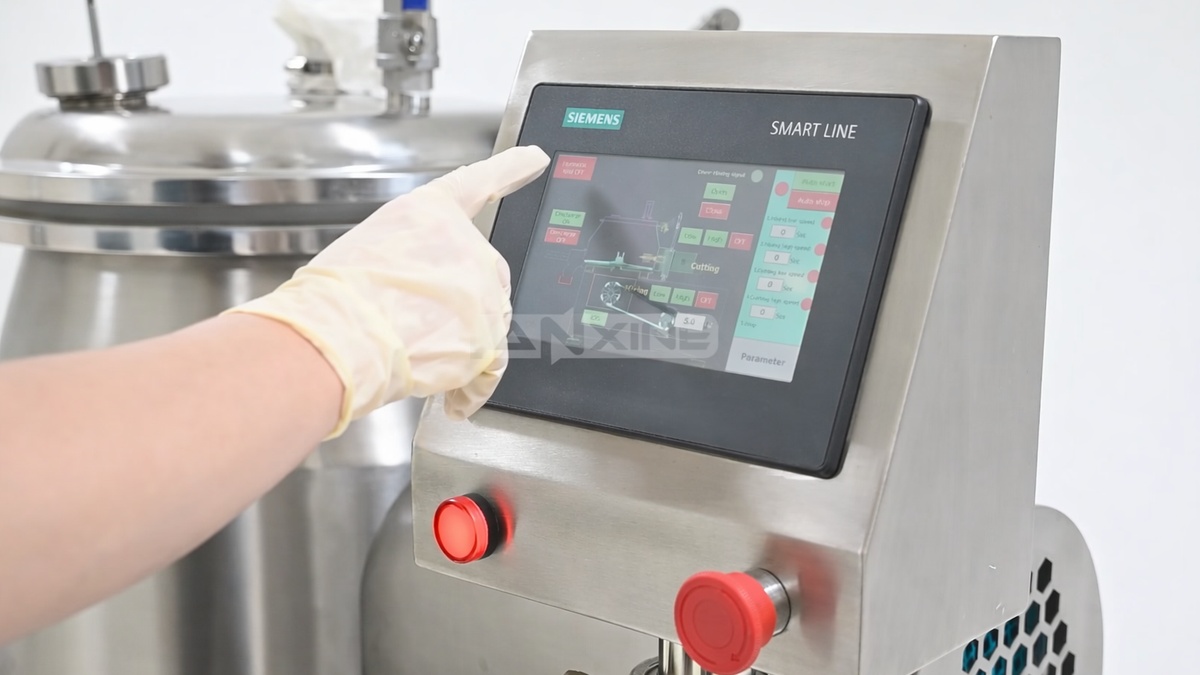
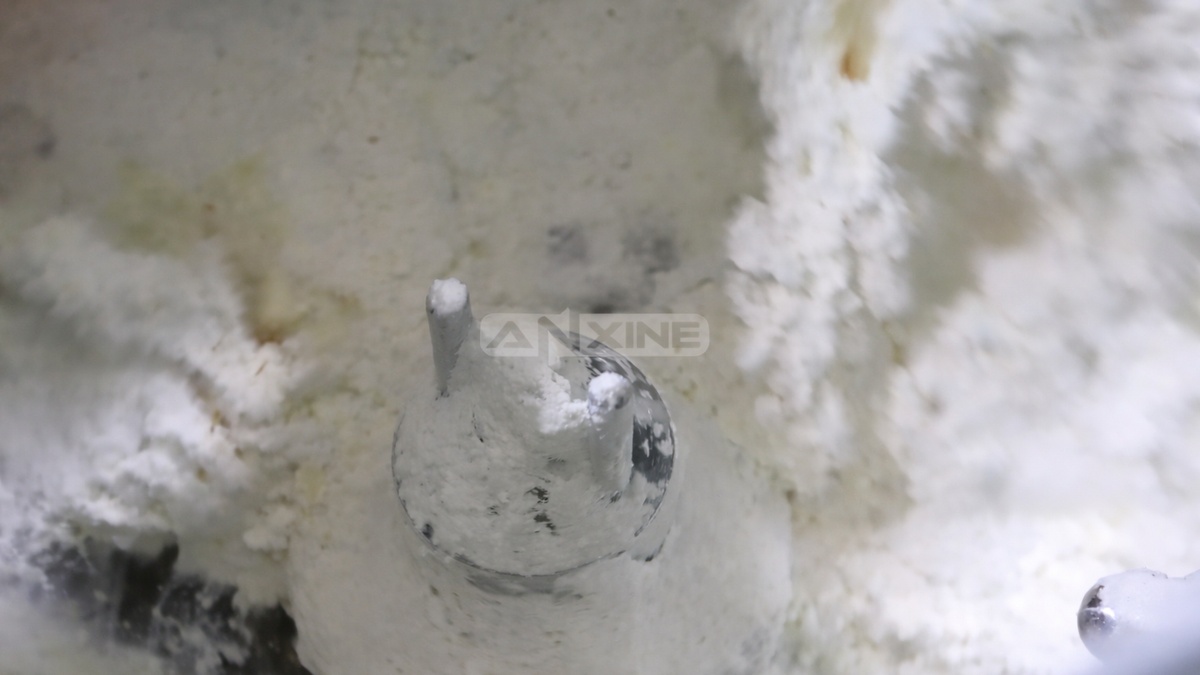
Step 6: Press Auto Start to initiate the main impeller and chopper. The impeller spins at a relatively low speed to evenly mix the dry powders and the liquid. The chopper rotates at very high speeds to break up large, wet lumps and shear them into uniform, dense granules.
Step 7: When the granulation cycle is complete, without stopping the main impeller, press the Discharge ON button. The side discharge port opens. And the rotating impeller pushes the finished granules out of the vessel. You can also jog the impeller to discharge the granules and empty the vessel.
Step 8: The granules fall directly into a stainless steel collection drum positioned below the chute.
Watch the full video below to view the complete high shear granulation process.
Section 2: Installation Procedures
Step 1: The installation site should be determined based on the process flow, machine layout, machine size, and energy source. A designated person should be responsible for the installation.
Step 2: Check and inspect the machine one by one according to the delivery list.
Step 3: Clean the machine of oil contamination.
Step 4: Install the machine on flat ground according to the machine installation drawing. The ground should have a 1/100 slope to prevent water accumulation.
Step 5: Connect the air source and water source.
Step 6: Connect the power supply and operational power, and ensure proper grounding protection.
Section 3: How to Adjust the Parameter
For wet granulation, the quality of granulation is influenced by factors such as raw materials and adhesive properties. Therefore, it is necessary to conduct repeated tests under different operating conditions for the material to determine the optimal process parameters.
The following suggestions are for reference:
A. To obtain large particles:
a) Shorten the cutting time;
b) Increase the concentration of the adhesive.
B. To obtain small particles, take the opposite conditions as mentioned above.
Section 4: Machine Maintenance and Safety Techniques
Note 1: Regularly inspect and replace seals. Below are seals to be replaced during machine maintenance.
| Specification Model | Quantity | Installation Location |
|---|---|---|
| O-ring seal | 2 | Mixing device |
| J-type oil seal | 1 | Mixing device |
| J-type oil seal | 1 | Cutting device |
| O-type oil seal ring | 1 | Cutting device |
Note 2: When the machine is operating, it is not allowed to open the cover; if the cover is opened, the machine will automatically stop. The discharge cylinder is not allowed to start when the granulation operation is not completed.
Note 3: During the granulation process, the viewing hole cover can be opened to observe the granulation condition.