NOTICE
- The following procedures are intended for the Anxine cone blender only. For other brands, refer to the original manufacturer’s instructions.
- Always disconnect the power supply before performing maintenance, cleaning, or mold changeover.
- Only trained and authorized persons are permitted to work on the equipment.
- Your equipment may vary from images or videos due to ongoing upgrades.
- If any part of this guide is unclear, contact Anxine for technical support before proceeding.
Section 1: Installation Tips
- Before installation, check the whole machine for whether there is any damage.
- During installation, adjust the level and tighten the anchor bolts.
- The external power supply should be 380V, 50Hz, three-phase four-wire system.
Section 2: Operation Procedures
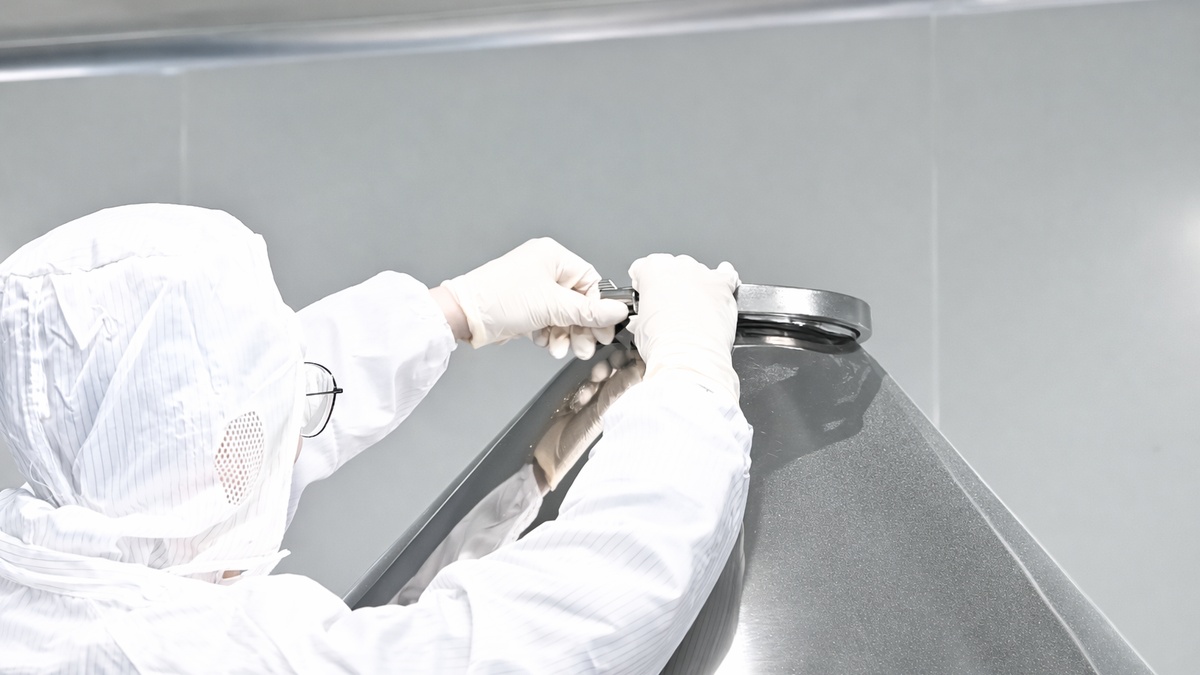
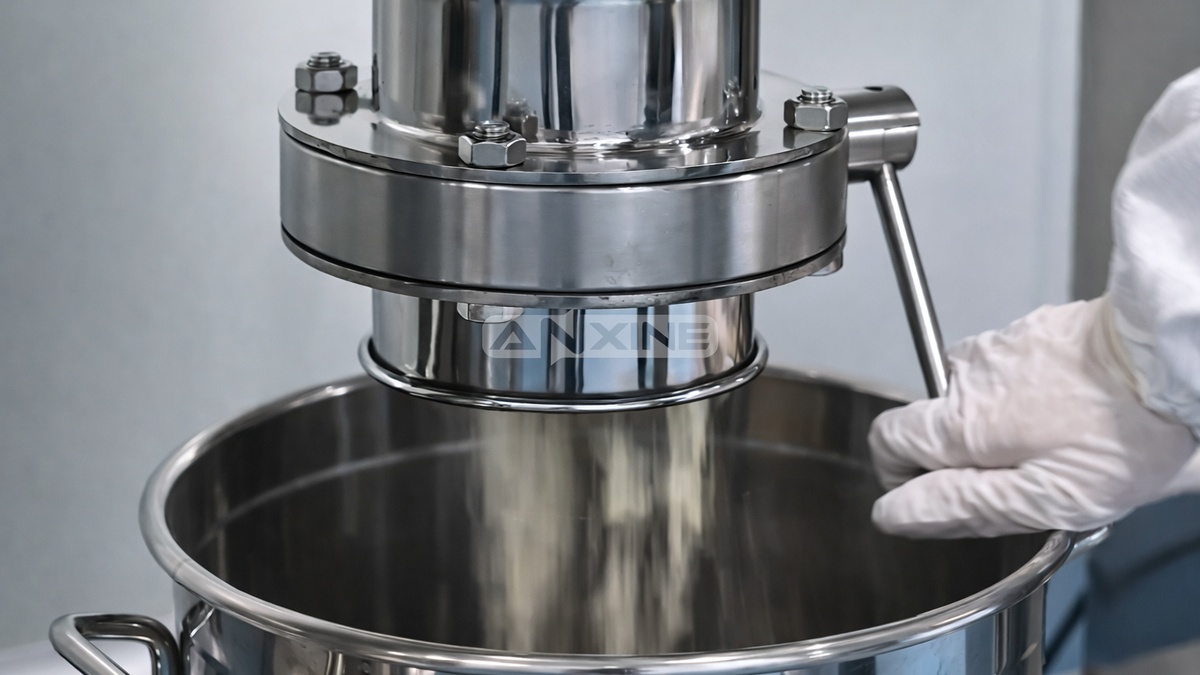
Step 1: Unfasten the quick-release clamp at the top of the feed inlet.
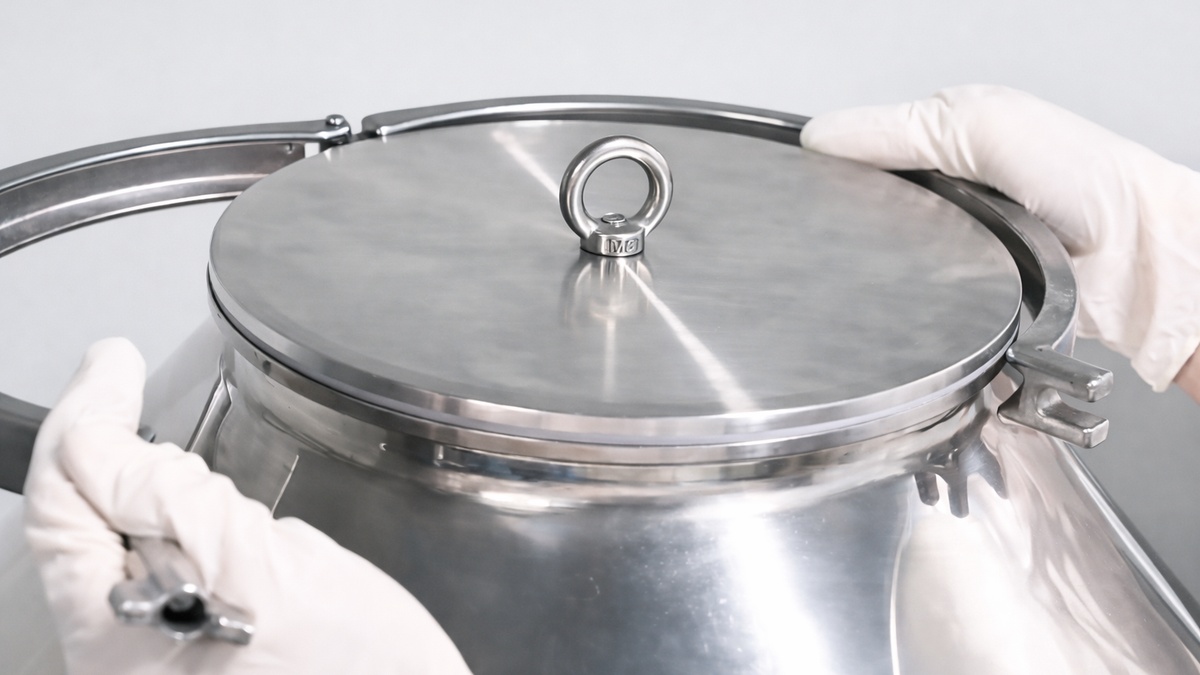
Step 2: Then remove the stainless steel cover and seal ring.
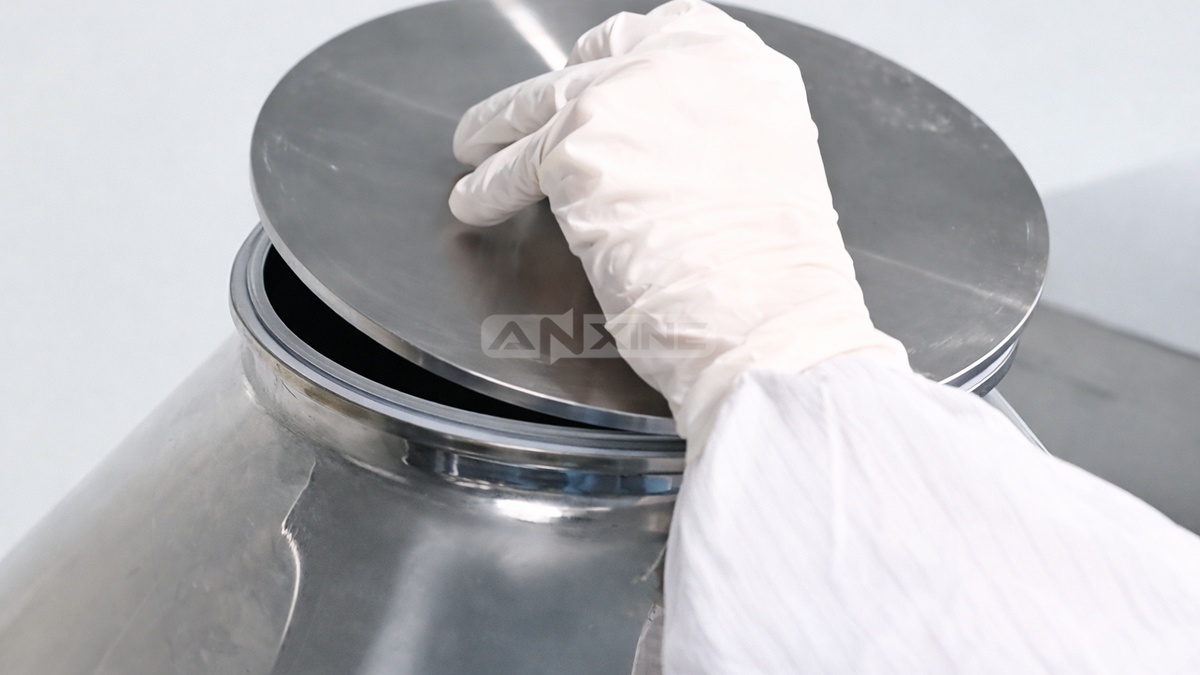
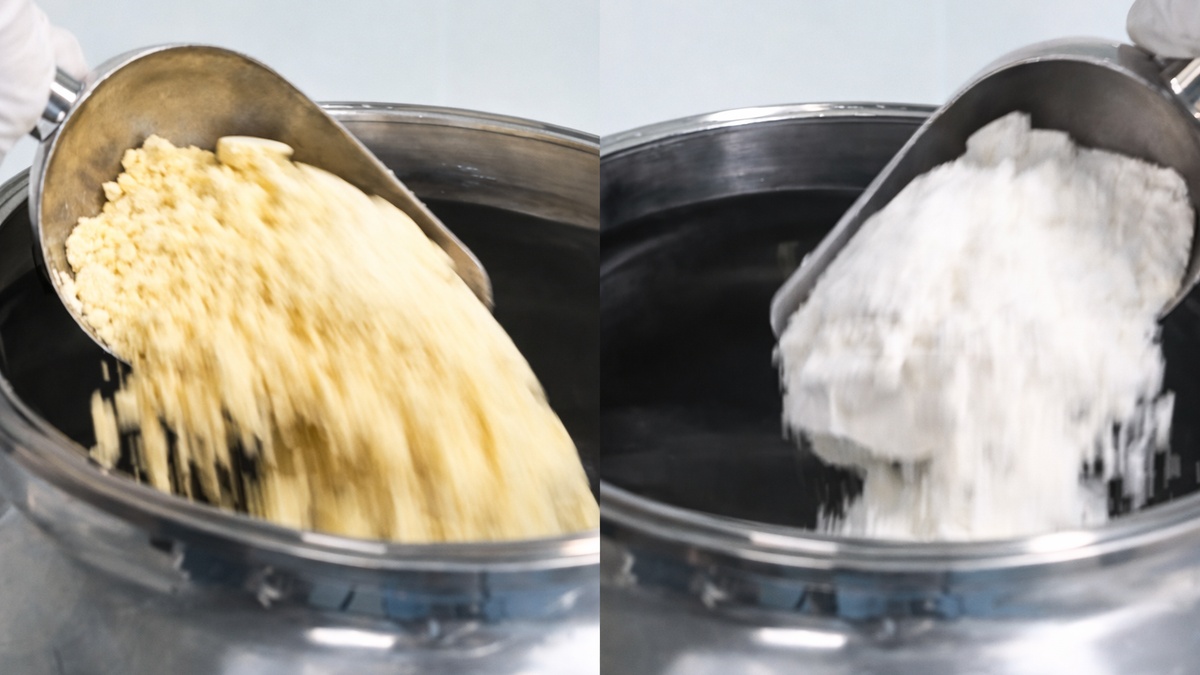
Step 3: Load powder materials into the double-cone mixing vessel.
Step 4: Place the cover back onto the inlet opening, and then re-attach the clamp.
Step 5: Locate the machine’s control panel. Press the small buttons on the digital timer to set the blending duration.
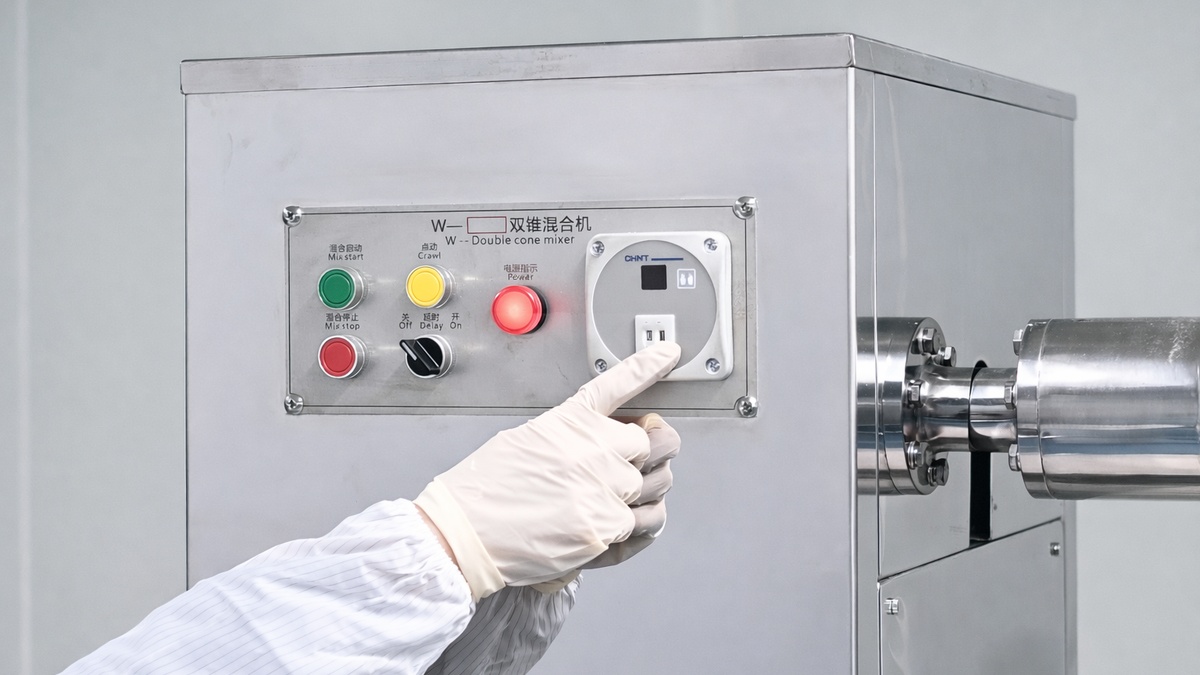
Step 6: Turn the switch to ON to power up the unit. Then press the Mix Start button to rotate the double cone vessel.

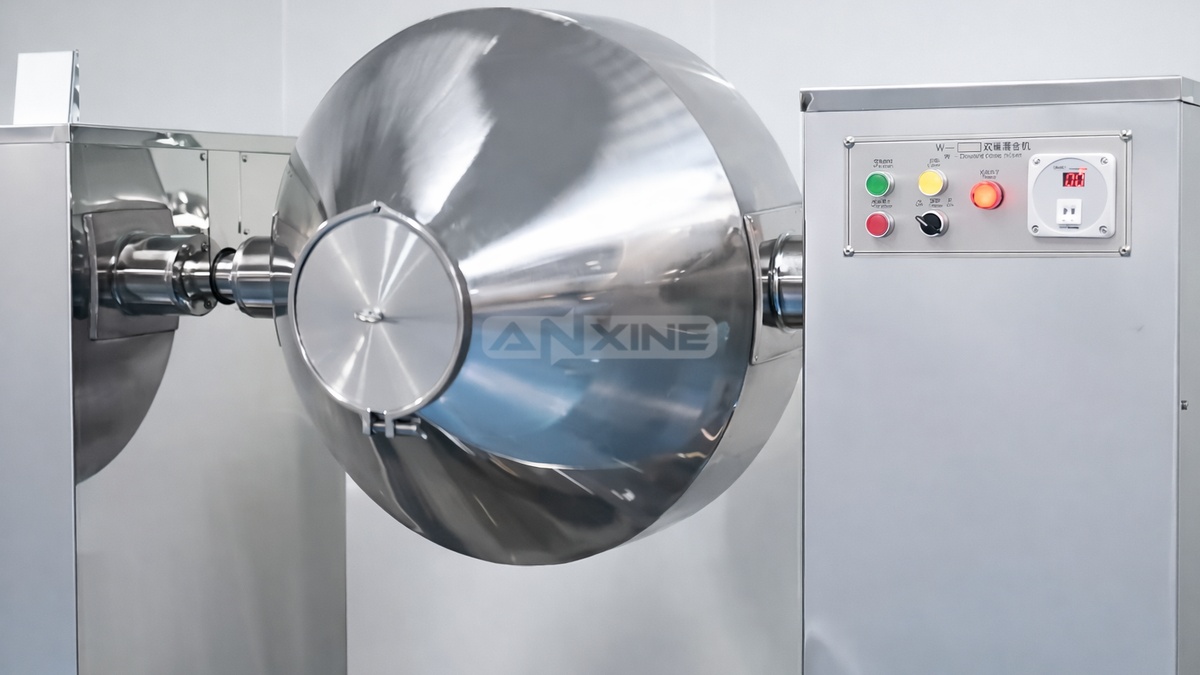
Step 7: Let the machine run for the set time. The unique double-cone shape causes powders to tumble and fold over to form a homogeneous mix.
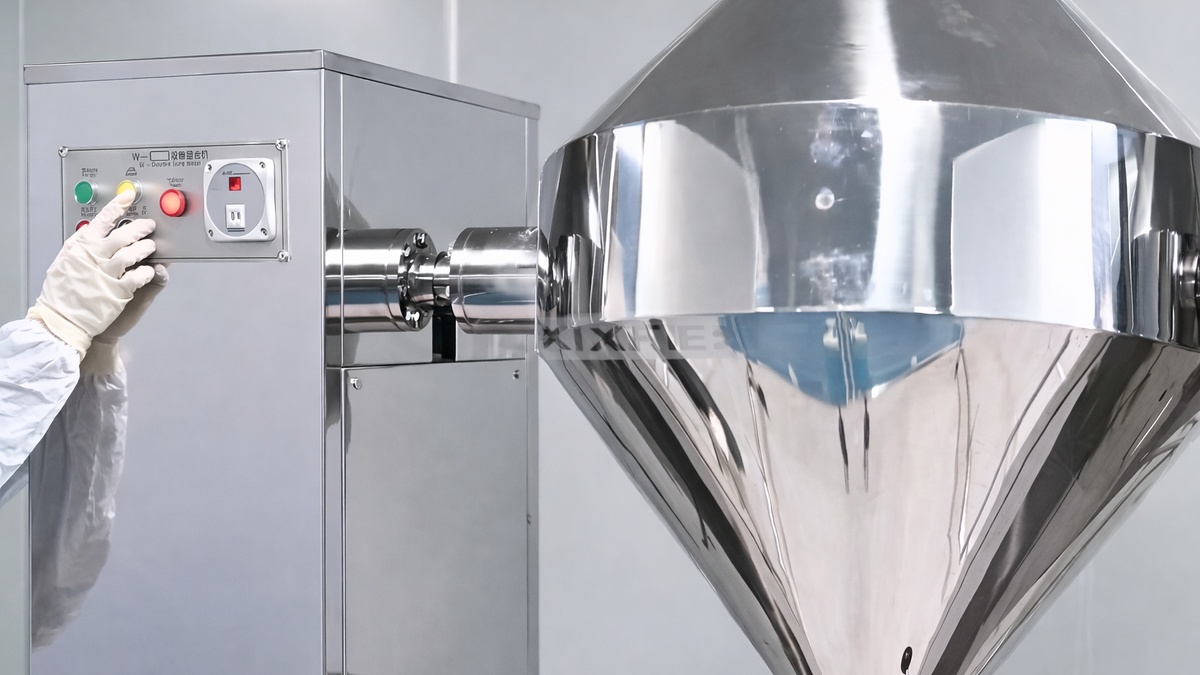
Step 8: The machine stops automatically when the mixing time’s up. If the discharge outlet is not facing directly downward, press and hold the Jog button to adjust it.
Step 9: Pull the handle on the bottom discharge outlet to open the butterfly valve. The mixed powder flows into the collection bin below by gravity.
You can watch the video directly to learn how to do it.
Section 3: Maintenance Procedures
Step 1: When feeding and cleaning, be careful not to damage the material inlet and the polishing mirror surface of the container. Otherwise, the sealing may not be tight and materials may stick to the surface and pile up.
Step 2: Check whether the motor belt is too loose or too tight. Adjust and replace it if necessary.
Section 4: Lubrication Tips
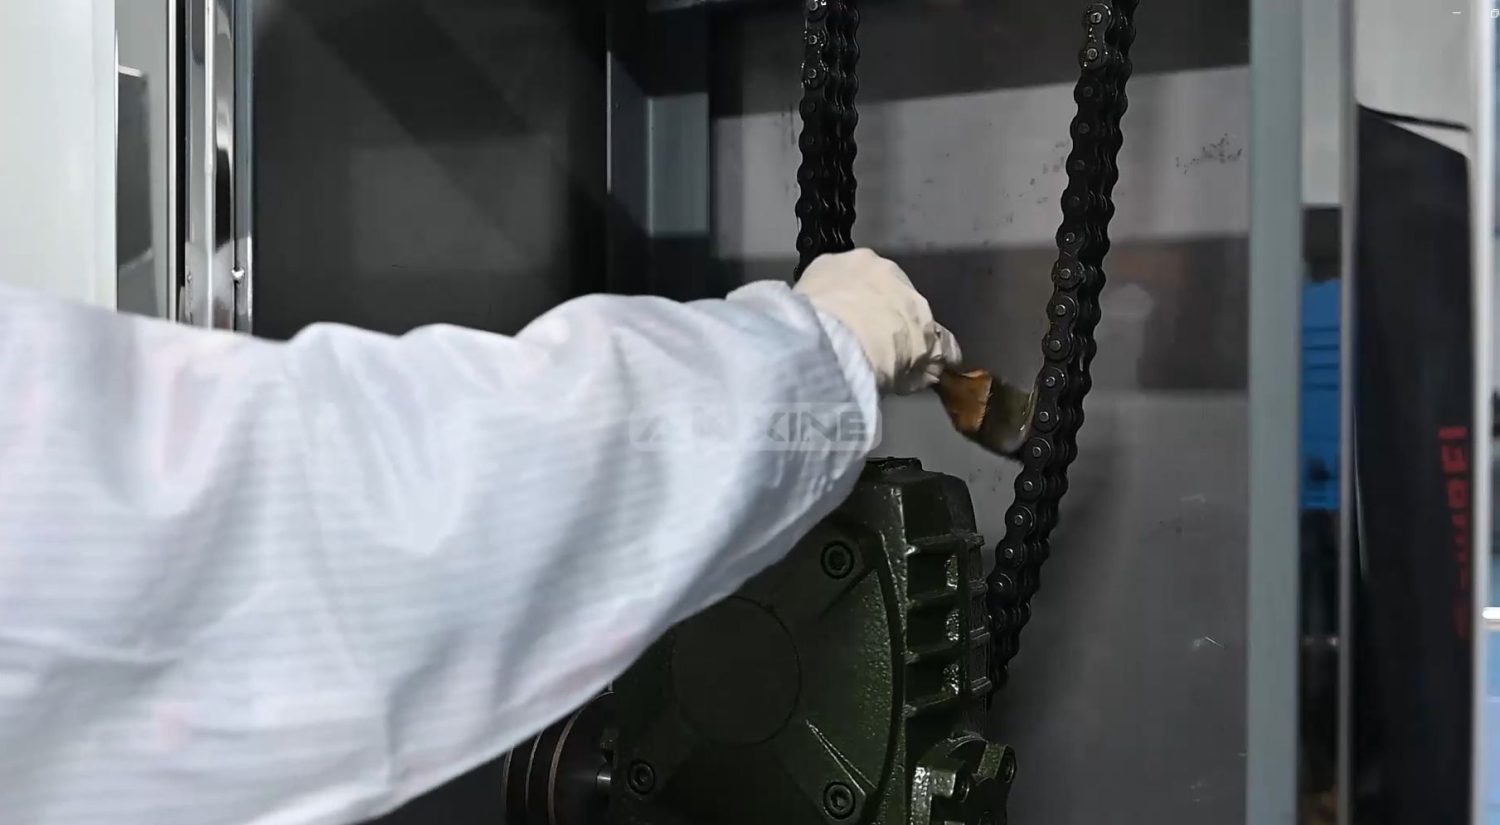
- Grease the chain wheel regularly for lubrication.
- Before the speed reducer runs, add lubricating oil until it reaches above the center point of the oil pointer. It is strictly forbidden to start the machine before that.
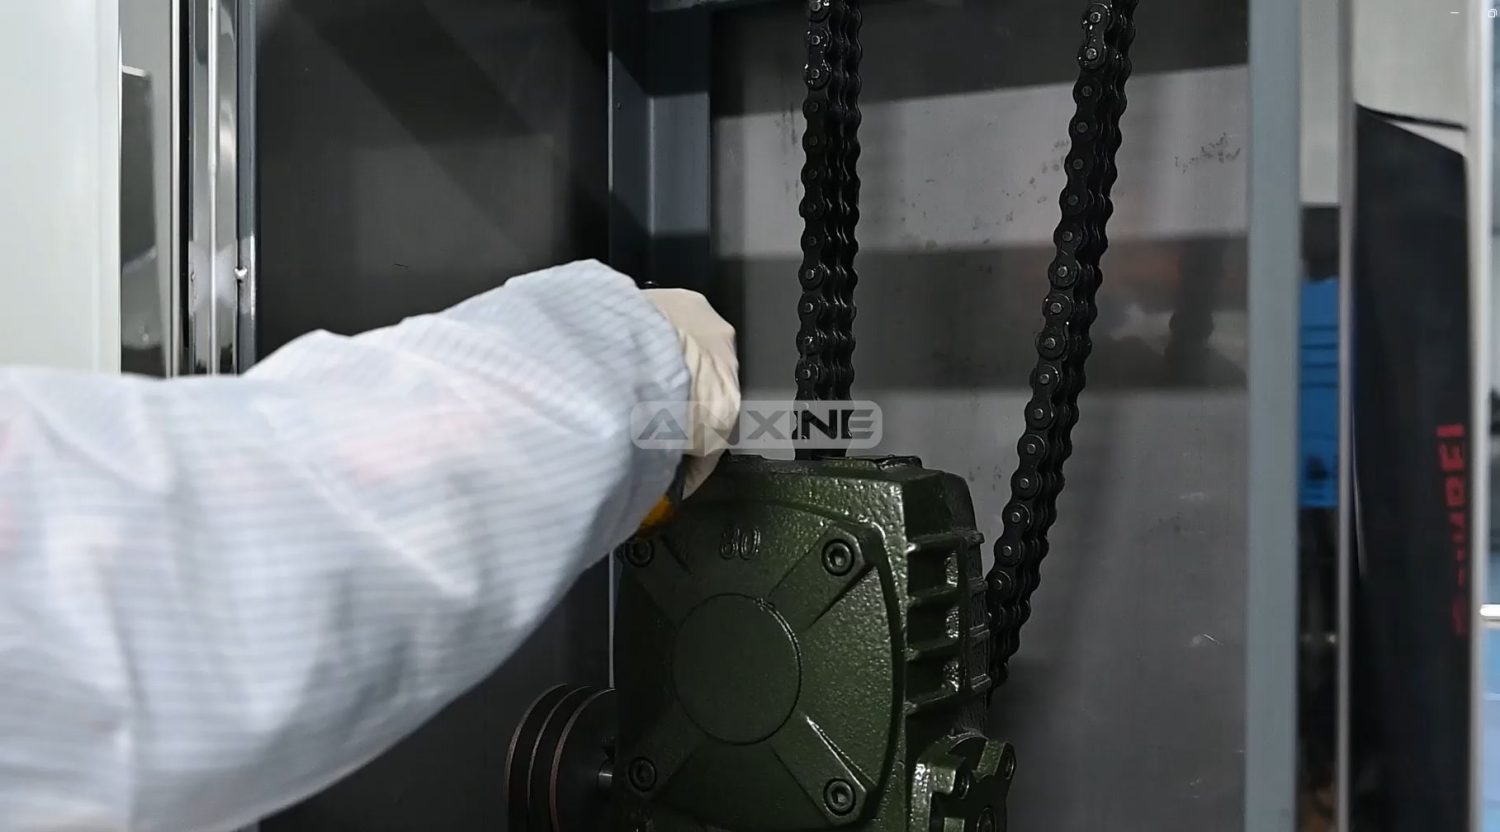
- When the reduction gearbox is used for the first time, change the oil after using it for 24 hours. Then, change oil every 500 to 1000 hours.


