NOTICE
- The following procedures are intended for the Anxine CYK Series only. For other brands, refer to the original manufacturer’s instructions.
- Always disconnect the power supply before performing maintenance, cleaning, or mold changeover.
- Only trained and authorized persons are permitted to work on the equipment.
- Your equipment may vary from images or videos due to ongoing upgrades.
- If any part of this guide is unclear, contact Anxine for technical support before proceeding.
Section 1: Operation Procedures
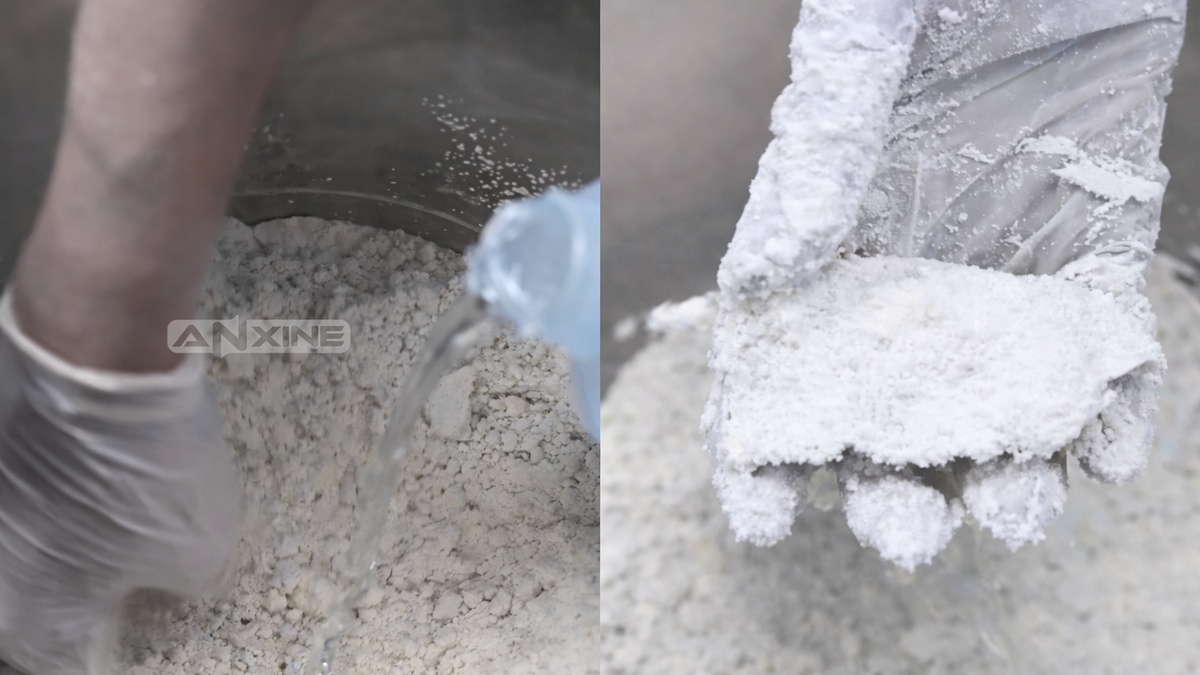
Step 1: Load powder into a clean container. Add a liquid to the material. Then mix them until a cohesive, moist mass forms. The mass should clump together when squeezed but break apart under slight pressure.
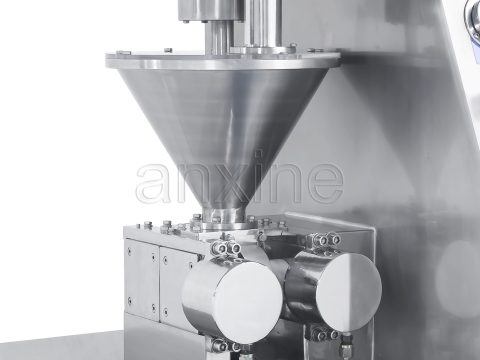
Step 2: Press the ON button on the control panel to activate the machine. The horizontal rotor begins a back-and-forth “oscillating” motion. Then use a stainless steel hand scoop to transfer the prepared wet mass into the wide-mouth, trapezoidal hopper.
Step 3: The damp mass rests directly against the horizontal rotor blades. The “oscillating” motion gently presses the material through a curved screen beneath the rotor.
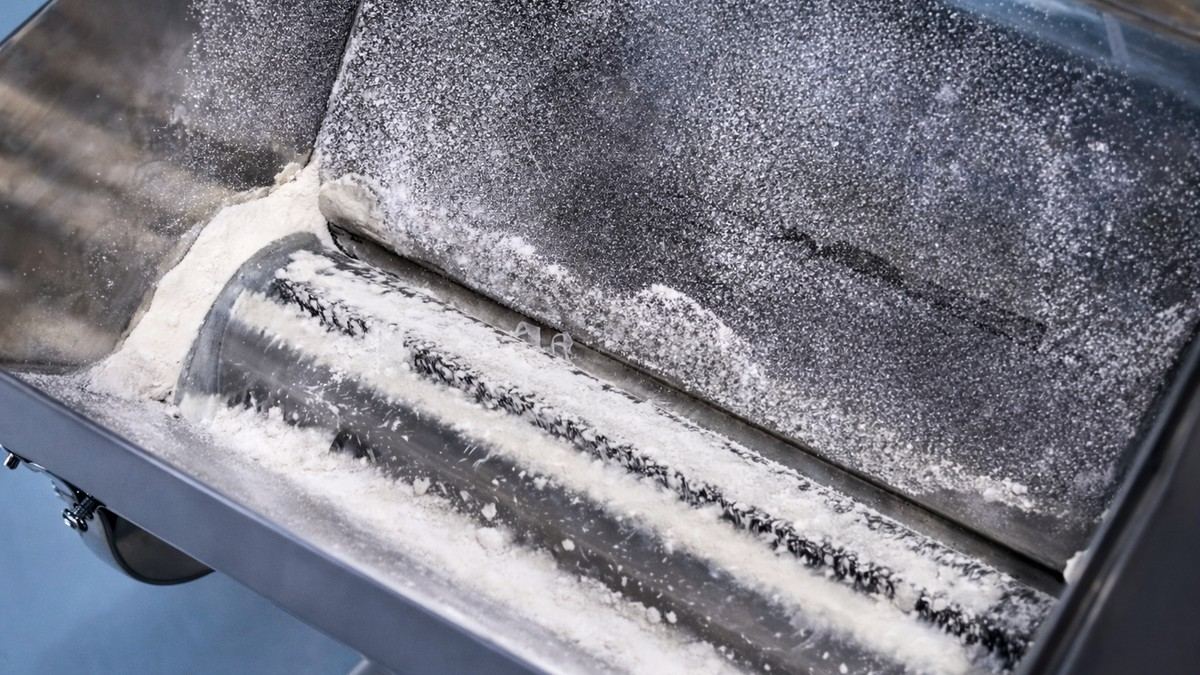
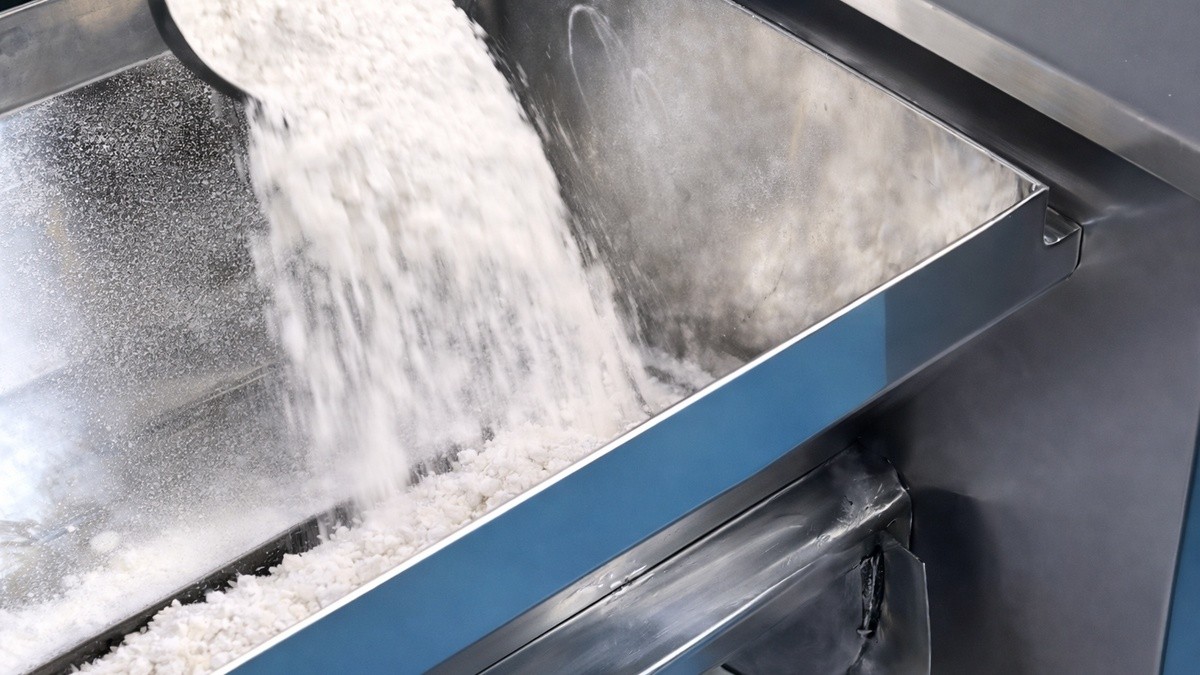
Step 4: As the material is forced through the wire mesh, it turns into uniform, small granules and falls into a collection container.
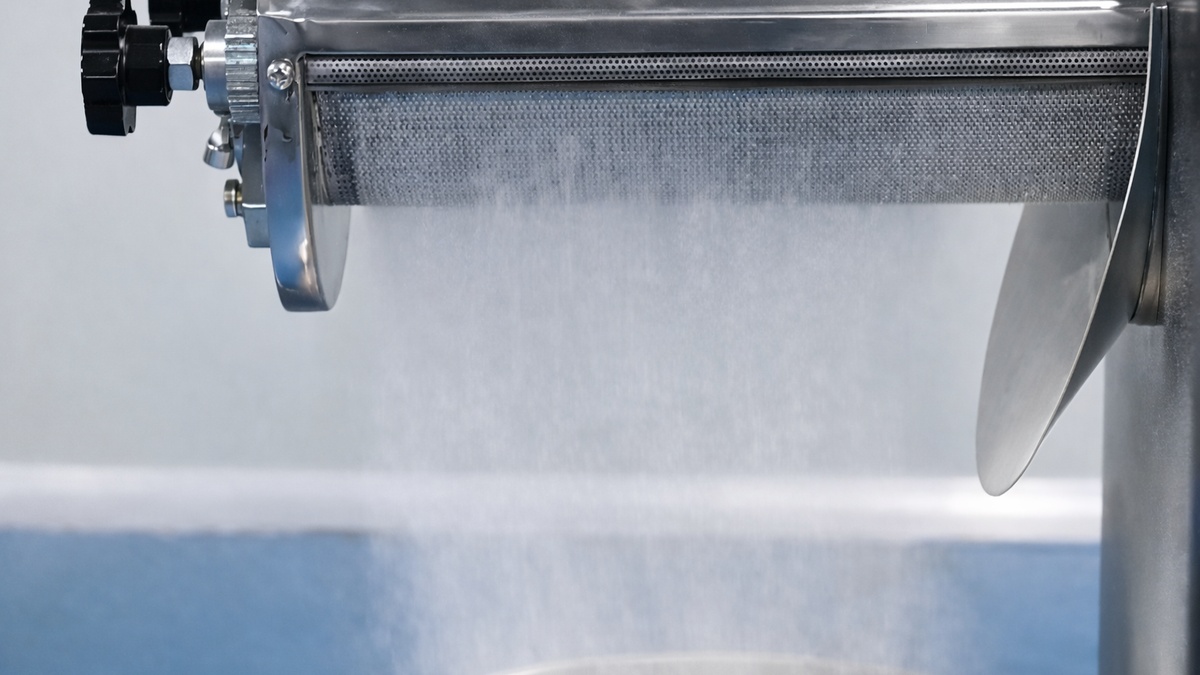
See the oscillating granulator in action: The following clip demonstrates the entire wet granulation process from damp mass to uniform granules.
Section 2: Screen Mesh Replacement Procedures
Step 1: When replacing the screen mesh, first turn off the machine’s power supply.
Step 2: Remove the transparent acrylic panels on both sides of the hopper.
Step 3: Loosen the fixing bolts of the clamping tubes and the pawl of the screen mesh. Then, lift the pawl and pull out the clamping tubes.
Step 4: During installation, ensure the screen mesh passes evenly through the clamping tube grooves, exposing about 5 mm of the clamping tubes.
Step 5: Rotate the clamping tubes at both ends outward simultaneously so that the pawl engages in the ratchet wheel groove.
Step 6: When fastening the screen mesh, press evenly to ensure it closely attaches to the rotary hob.
Section 3: Maintenance Procedures
Step 1: Regularly check the oil level in the gearbox. This oil is used to lubricate the driving parts.
Step 2: If the oil level is low, add oil through the oil plug at the rear of the gearbox.
Step 3: The bearings in the middle and rear bearing seats can be greased after the upper cover of the machine is opened.
Note: The lubrication list is as follows.
| Lubricating parts | Time | Oil or grease |
|---|---|---|
| Bearing in the front bearing seat | Per shift | HJ-30 machine oil |
| Bearing in middle and rear bearing seat | Every March | ZG-2 lubricating grease |
| Bearing in gearbox | Every six months | HJ-30 machine oil |
Section 4: Cleaning Guides
Step 1: After production is finished, the hopper, rotary hob, and screen mesh need to be cleaned.
Step 2: To wash the rotary hob, the rotary hob must be removed first.
Step 3: Unscrew the three fixed bolts on the front bearing seat. Then, remove the front bearing seat. Finally, pull out the hob.