NOTICE
- The following procedures are intended for Anxine equipment only. For other brands, refer to the original manufacturer’s instructions.
- Always disconnect the power supply before performing maintenance, cleaning, or mold changeover.
- Only trained and authorized persons are permitted to work on the equipment.
- Your equipment may vary from images or videos due to ongoing upgrades.
- If any part of this guide is unclear, contact Anxine for technical support before proceeding.
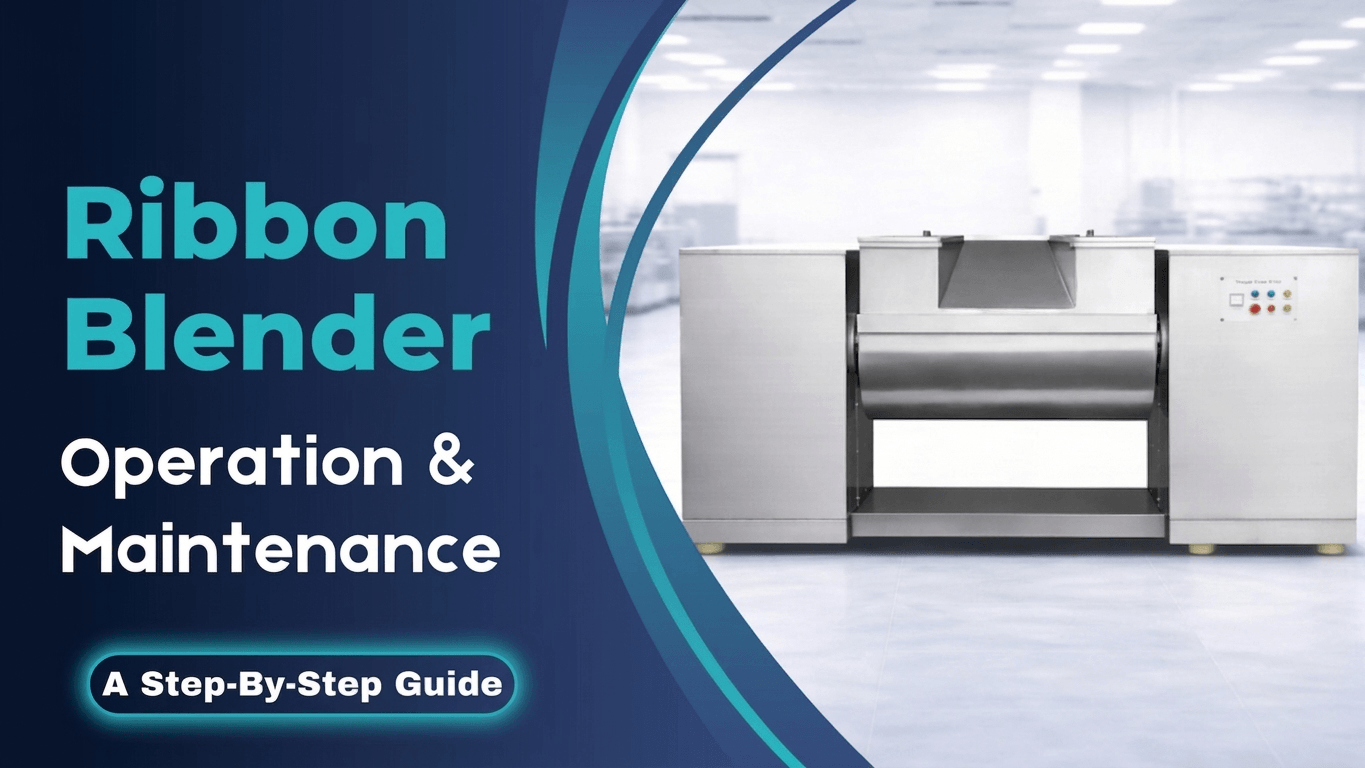
How to Use the CH Series Ribbon Blender
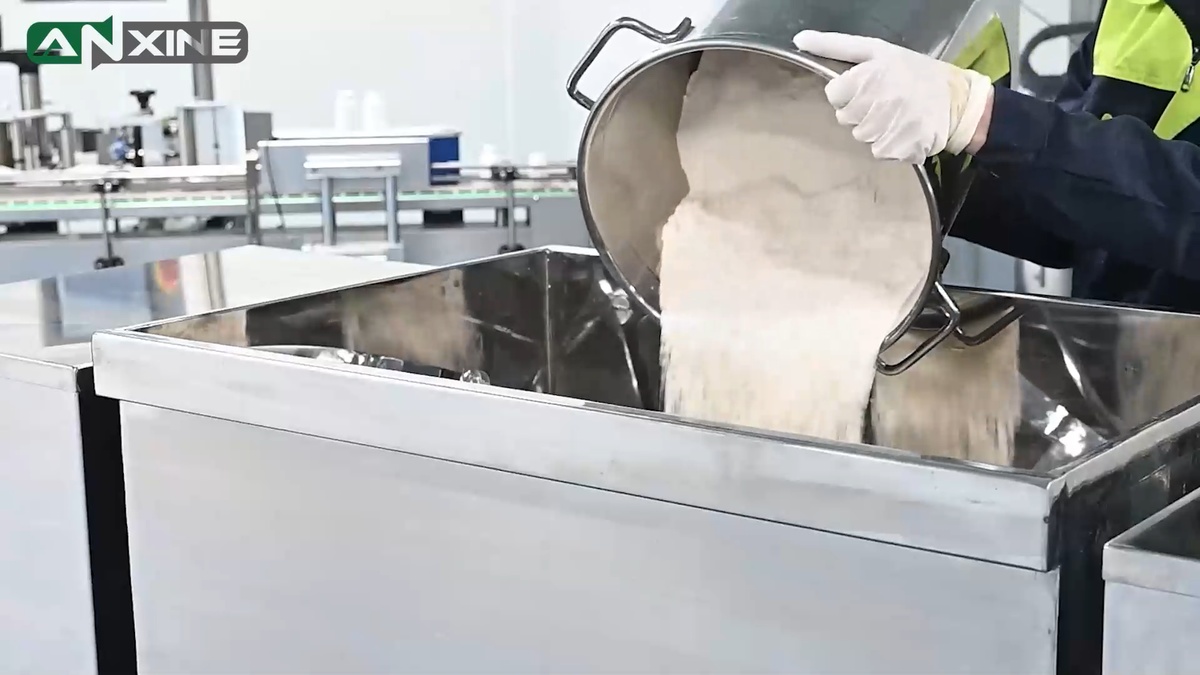
Step 1: Open the stainless steel lid of the mixing trough.
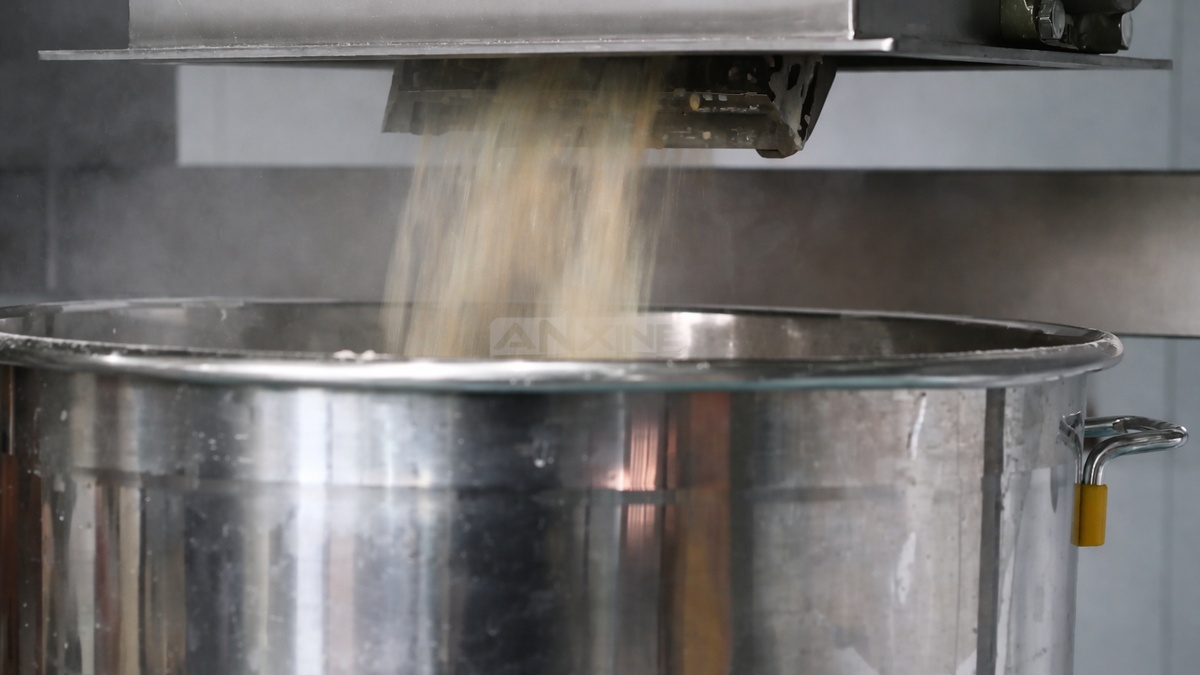
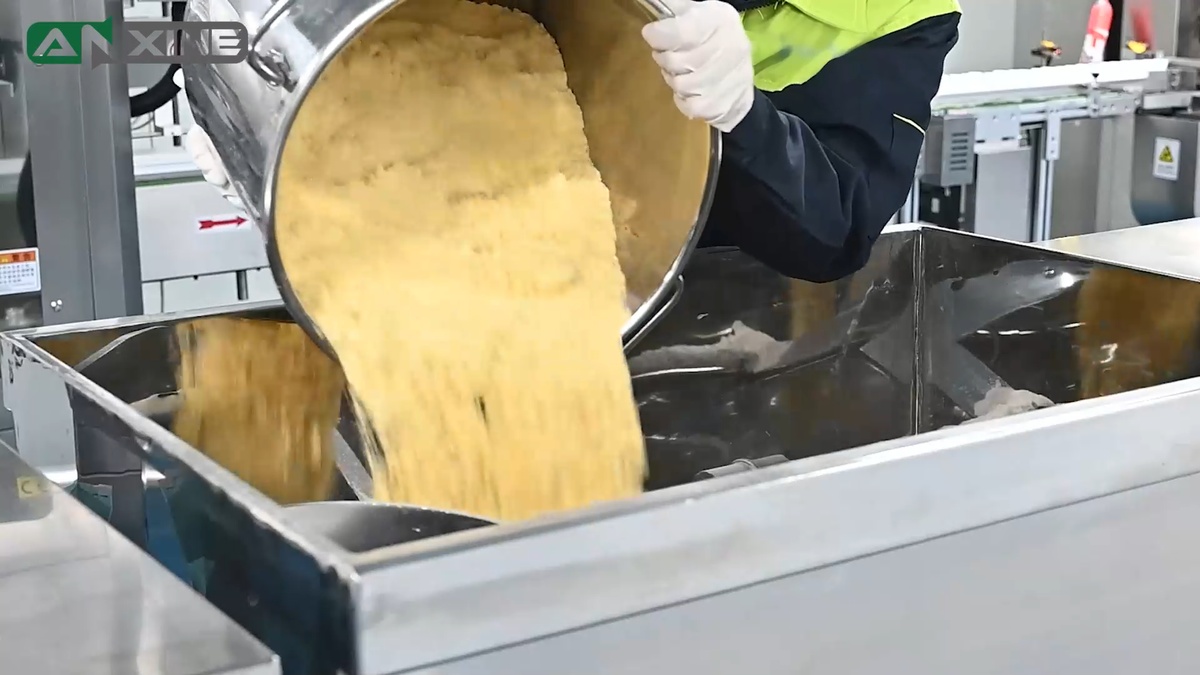
Step 2: Add the materials to be mixed. Then put the lid back on.
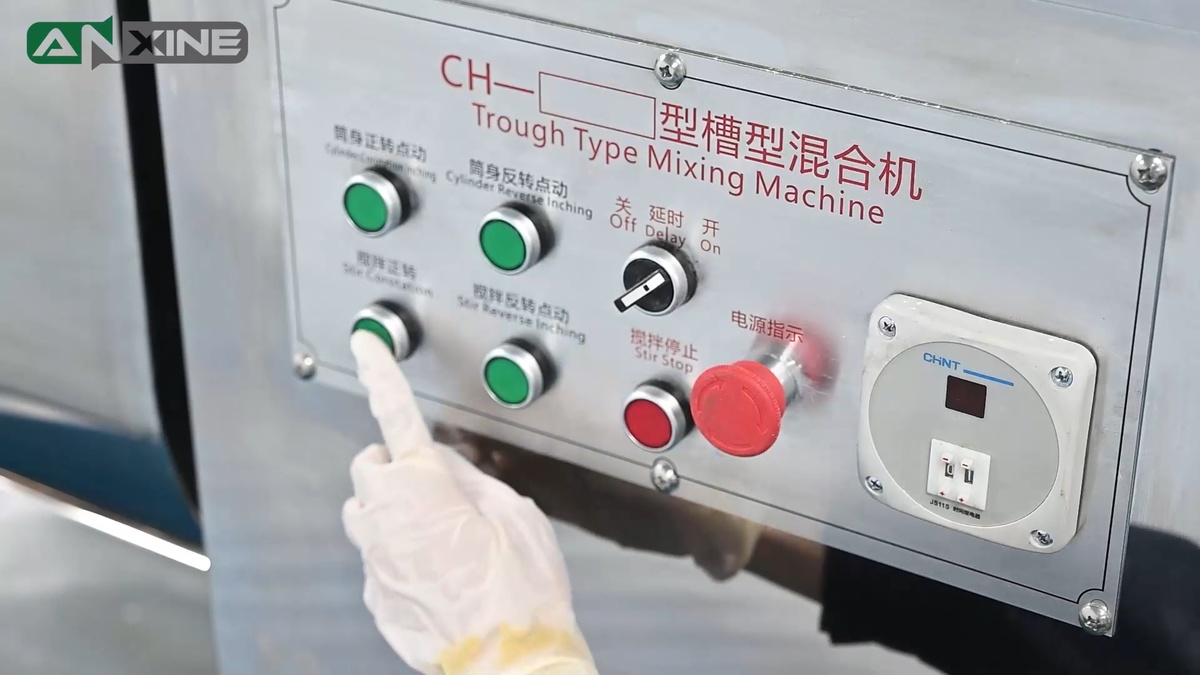
Step 3: Locate the control panel on the unit. This step may vary by model.
- On simpler models, press the START button to activate the motor.
- On more advanced units, switch the power ON, set the mixing time, and then turn on the stirring function.
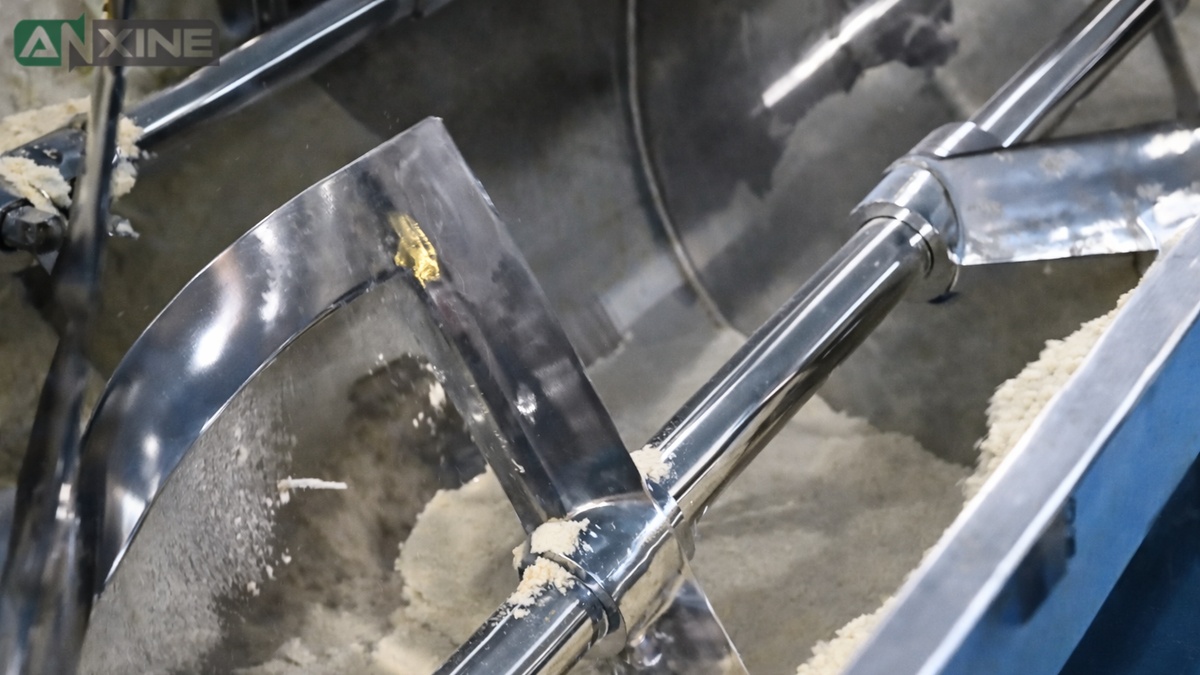
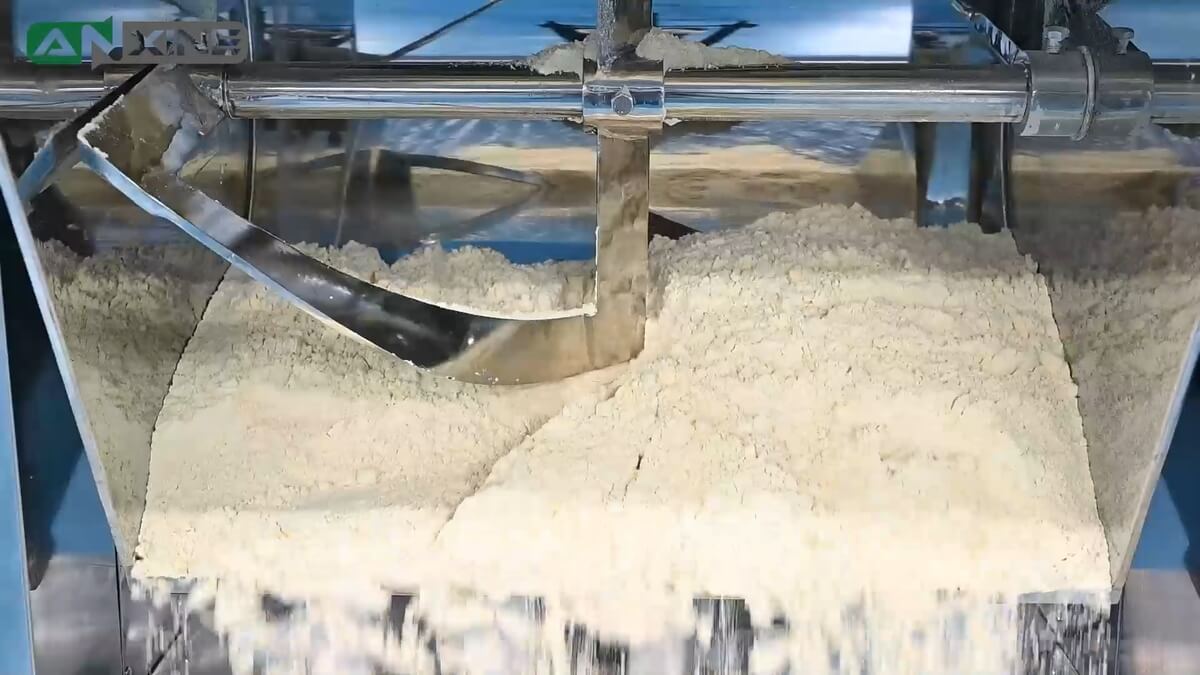
Step 4: Let the mixer run. The ribbon agitator rotates to blend all materials into a uniform mix. Once mixing is complete, the machine automatically stops.
Step 5: The discharge step will also differ depending on the mixer model. When the mixing cycle ends,
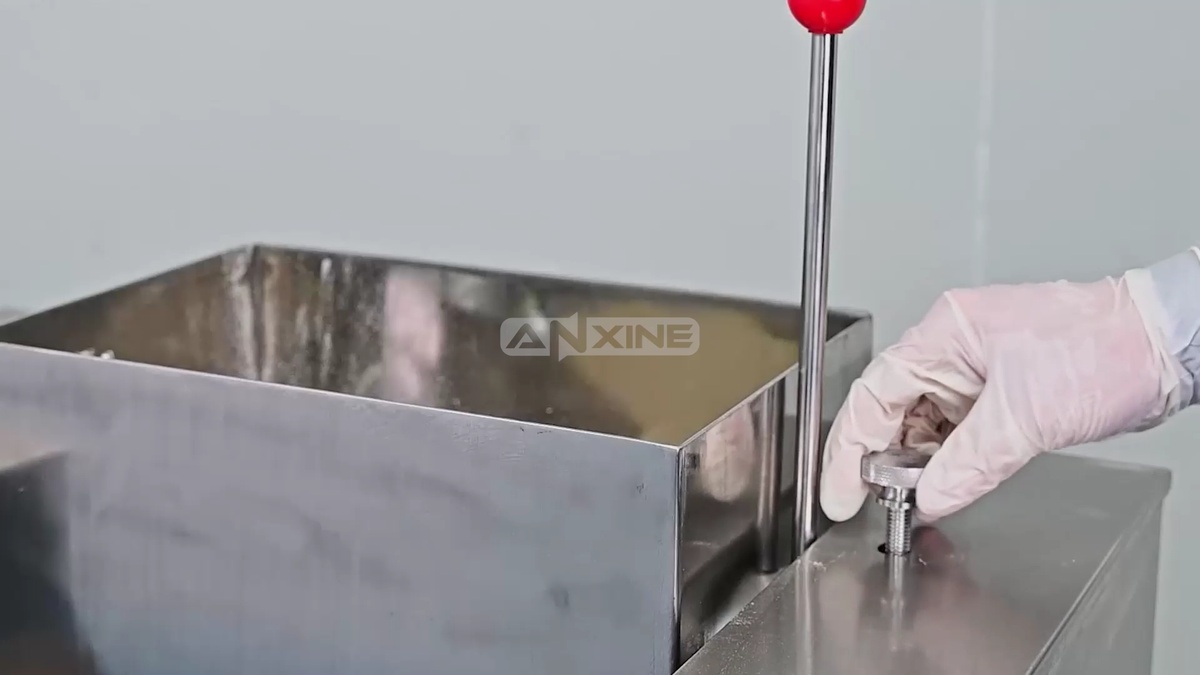
- For a simpler model, manually loosen the knob on the side of the machine to unlock the hand lever. Then pull the handle downward to tilt the mixing trough forward. The blended material is dumped into the collection container below.
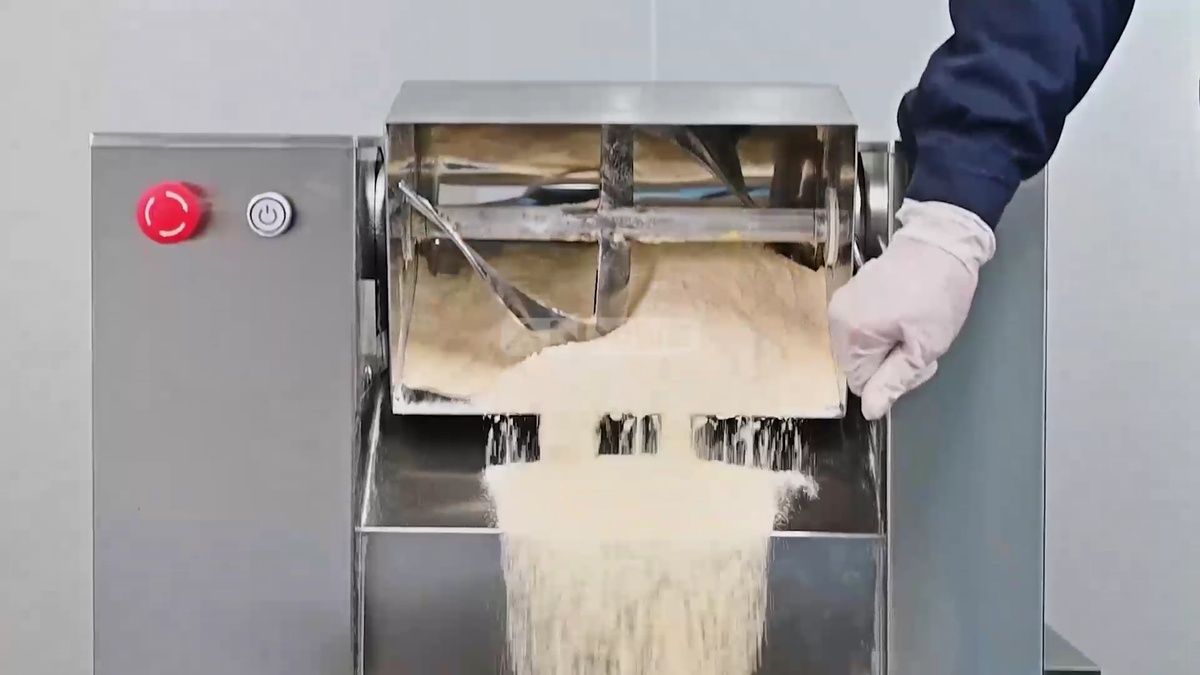
- For a more automated unit, simply press the Inching button to tilt the trough to discharge the finished product into the collection bin underneath.

How to Use the WLDH Series Ribbon Blender
Click to view the WLDH Series Ribbon Blender.
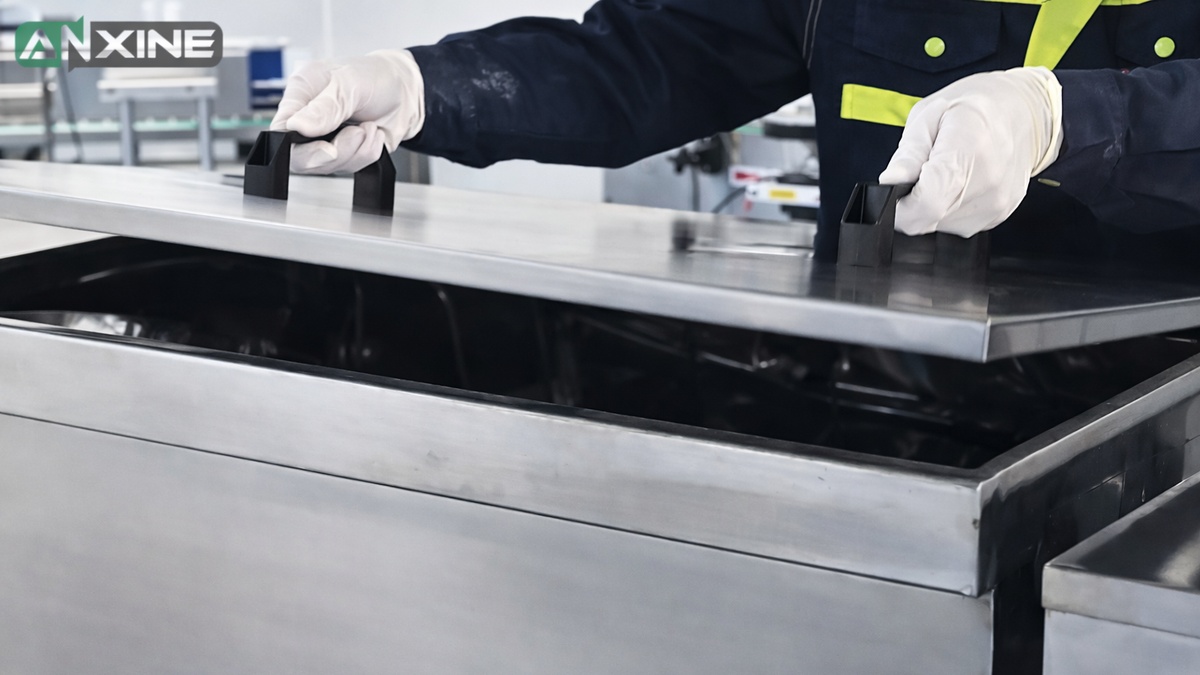
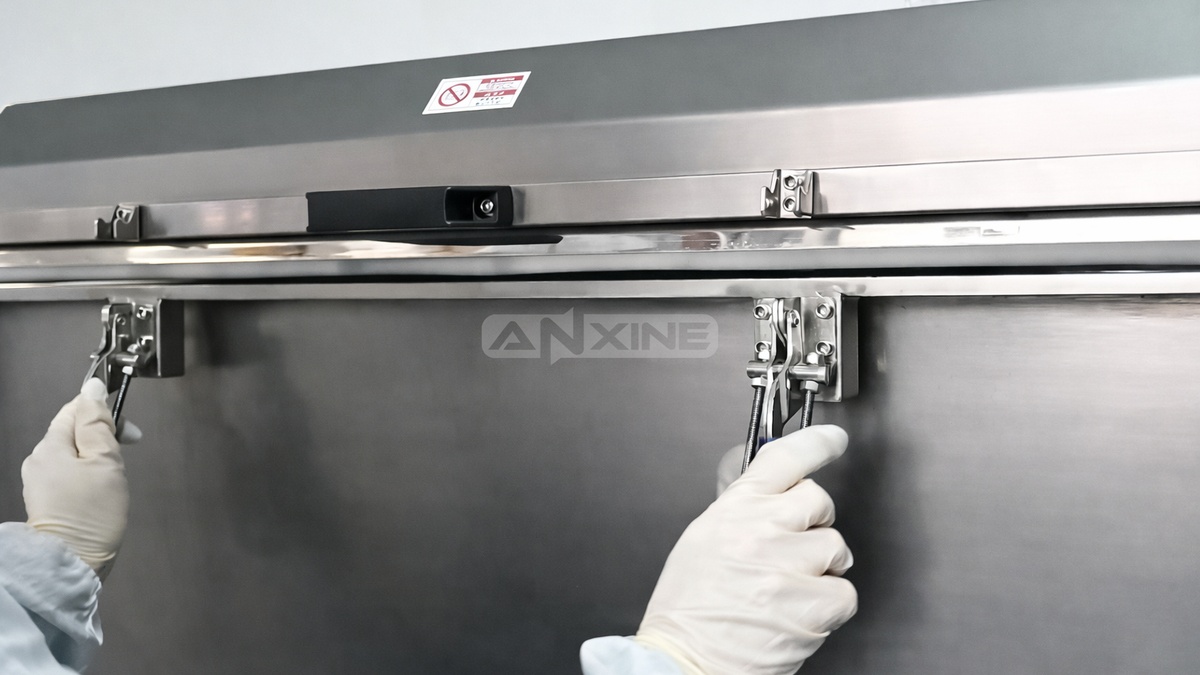
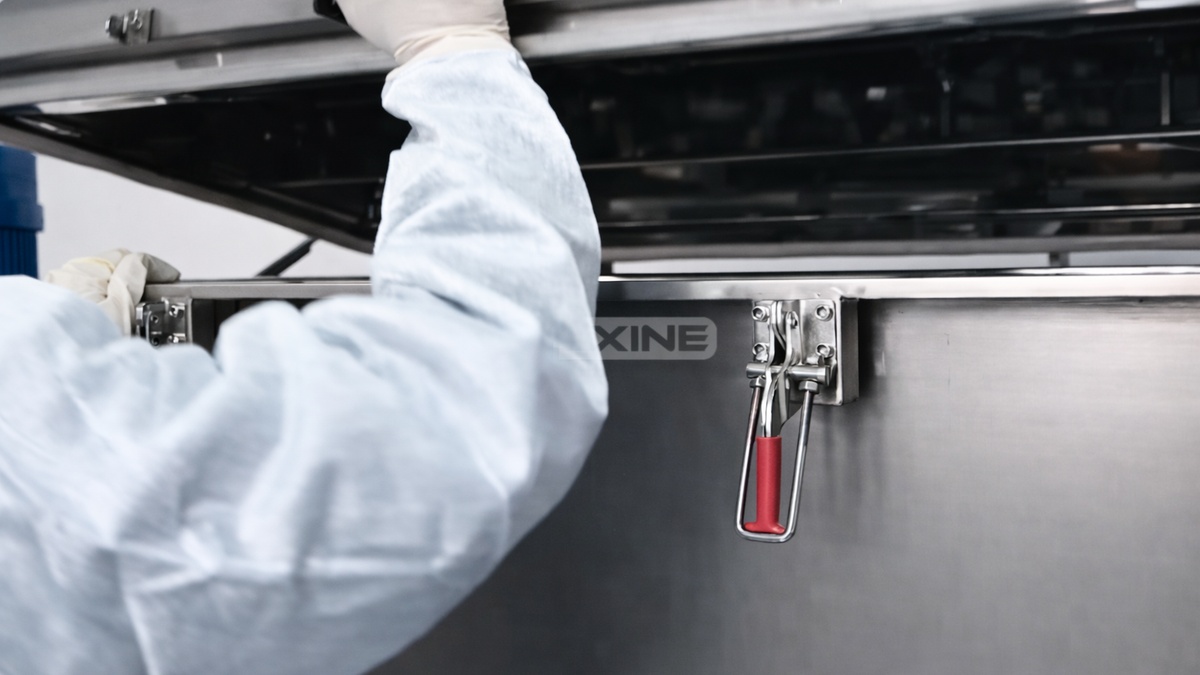
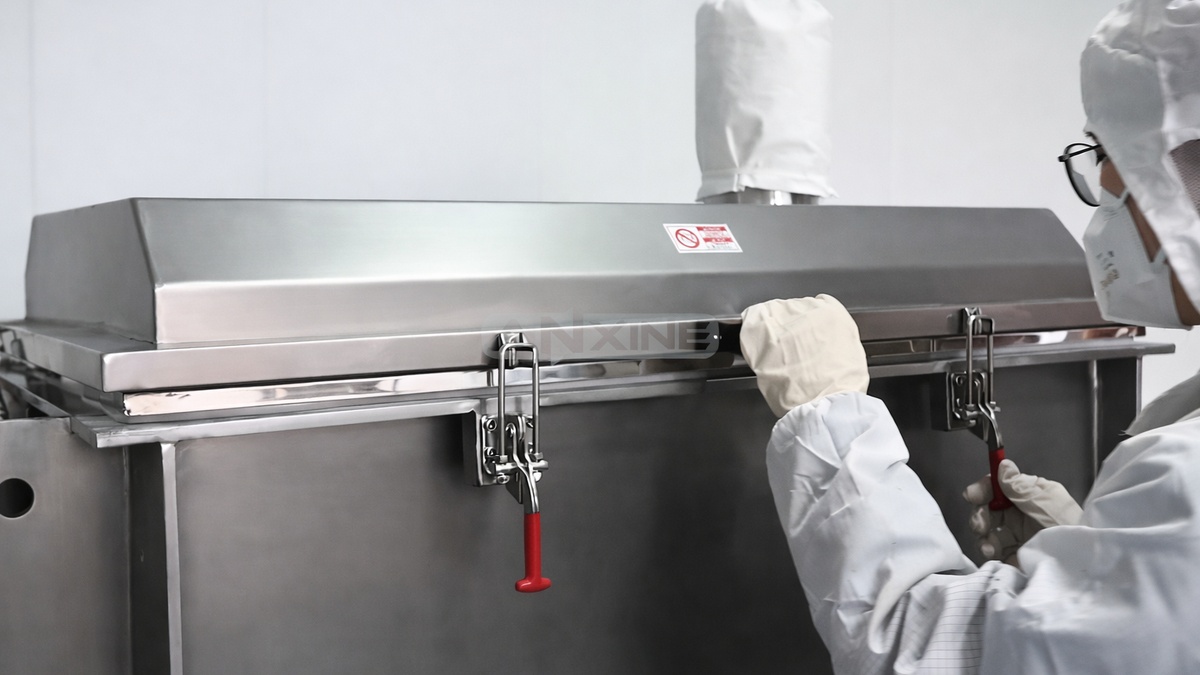
Step 1: Unlatch the safety clamps that lock the top cover of the ribbon blender.
Step 2: Lift the cover to reveal the mixing trough and ribbon agitator.
Step 3: Load bulk materials directly into the open trough. Spread them across the trough to help with uniform blending.

Step 4: Lower the top cover back into place. Then re-engage and tighten all safety clamps.
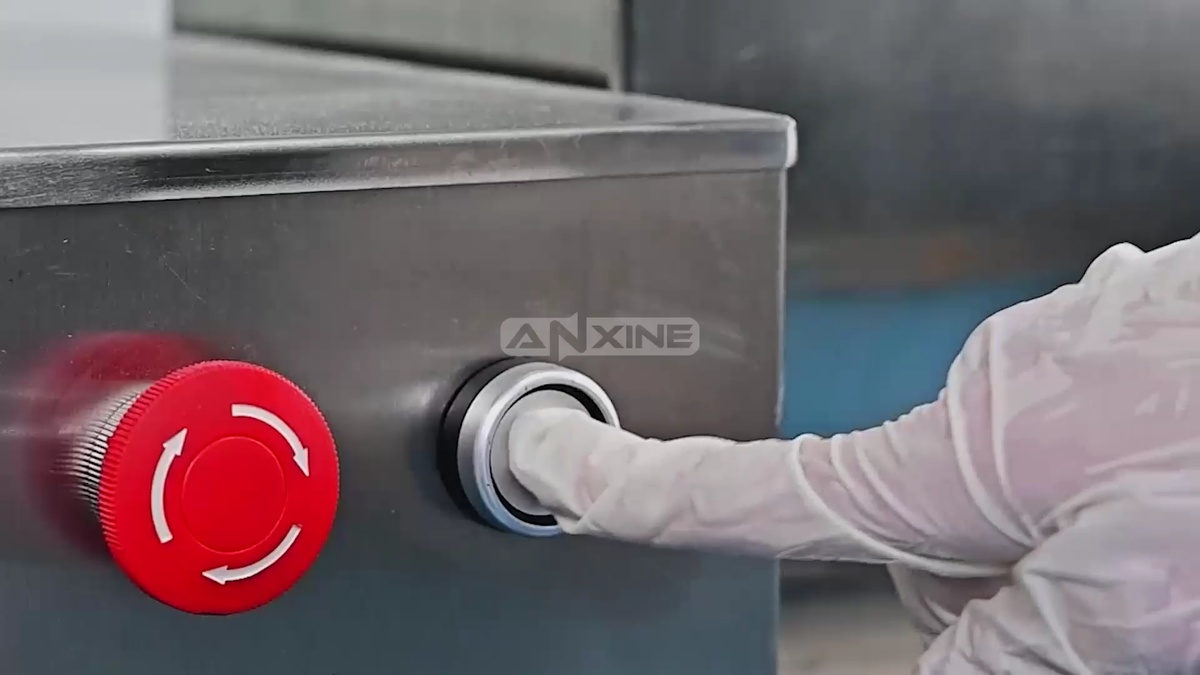
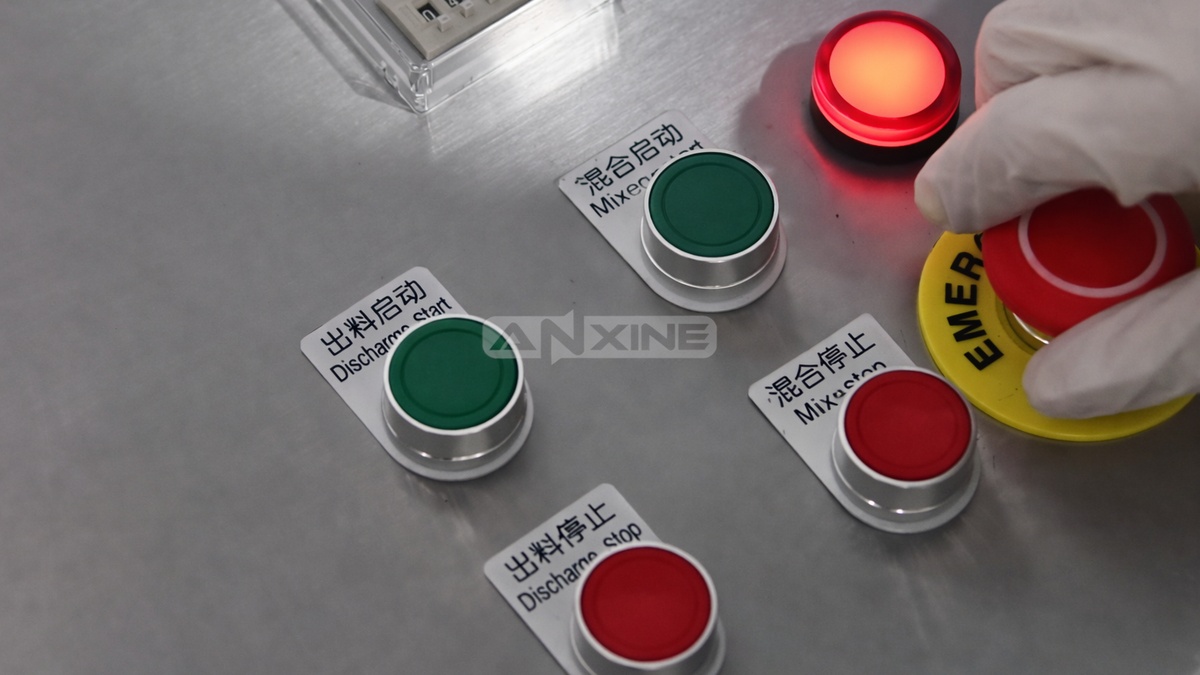
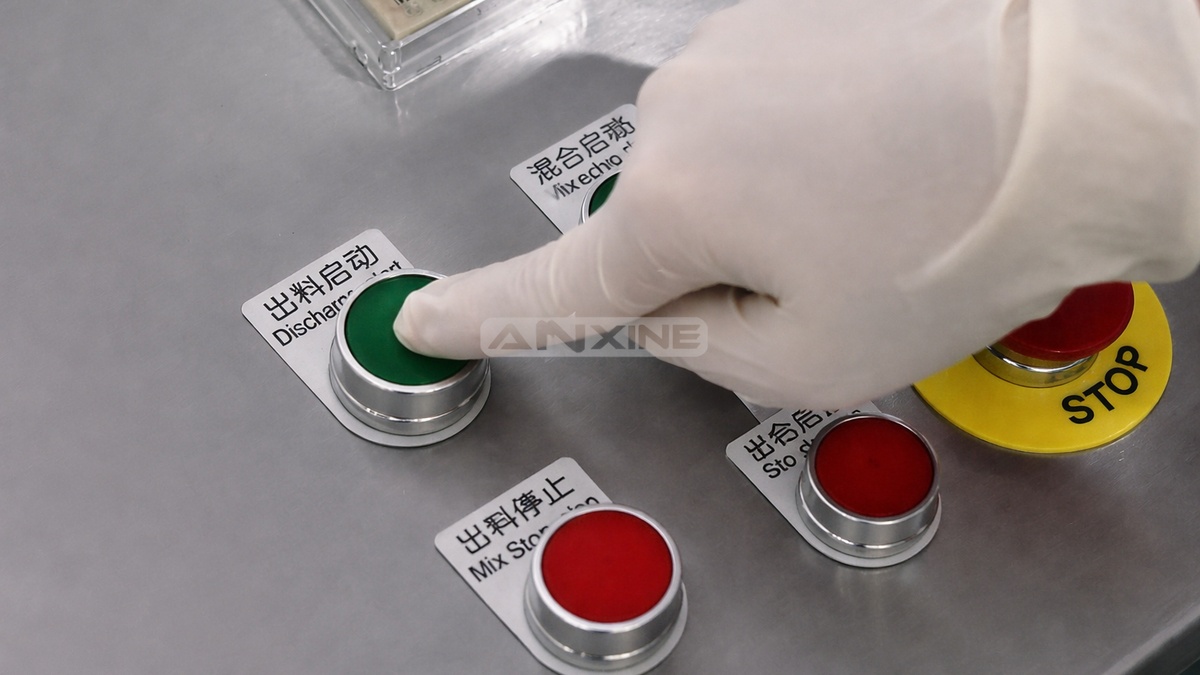
Step 5: Release the Emergency Stop button to restore power to the circuit. Then set the required mixing time on the digital timer.
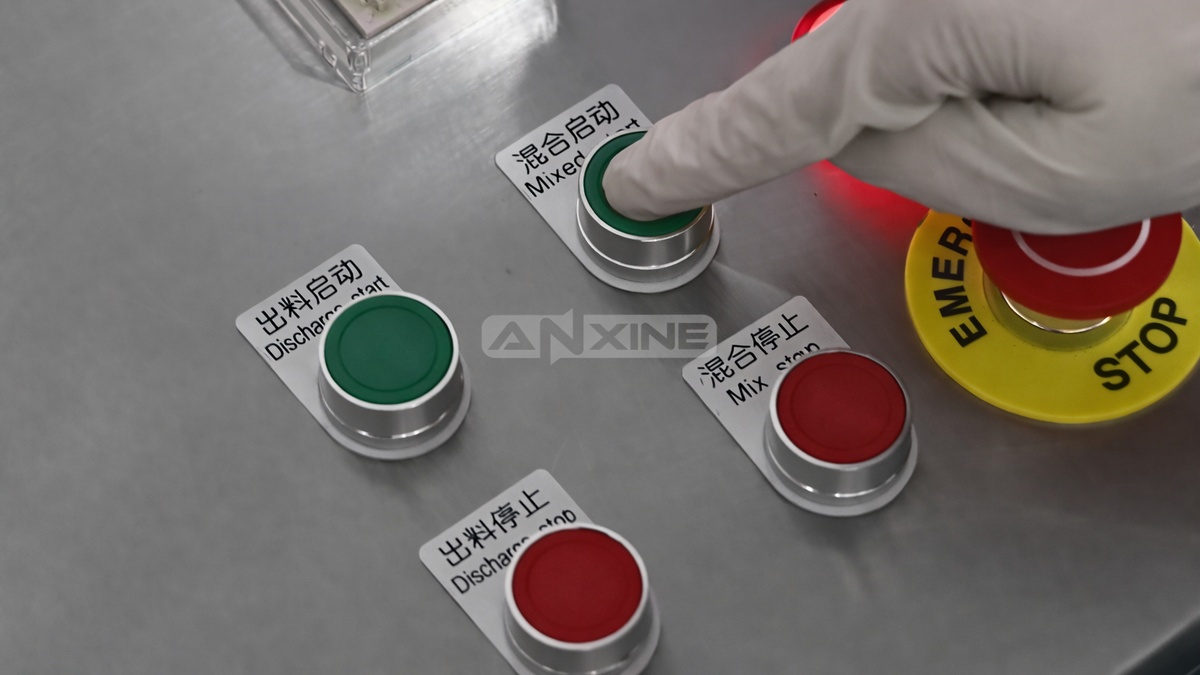
Step 6: Press Mix Start to activate the machine. And the internal ribbon agitator will begin rotating.
Step 7: The helical ribbons inside the trough move the materials in opposite directions to blend them evenly. The machine will stop automatically when the cycle is complete.
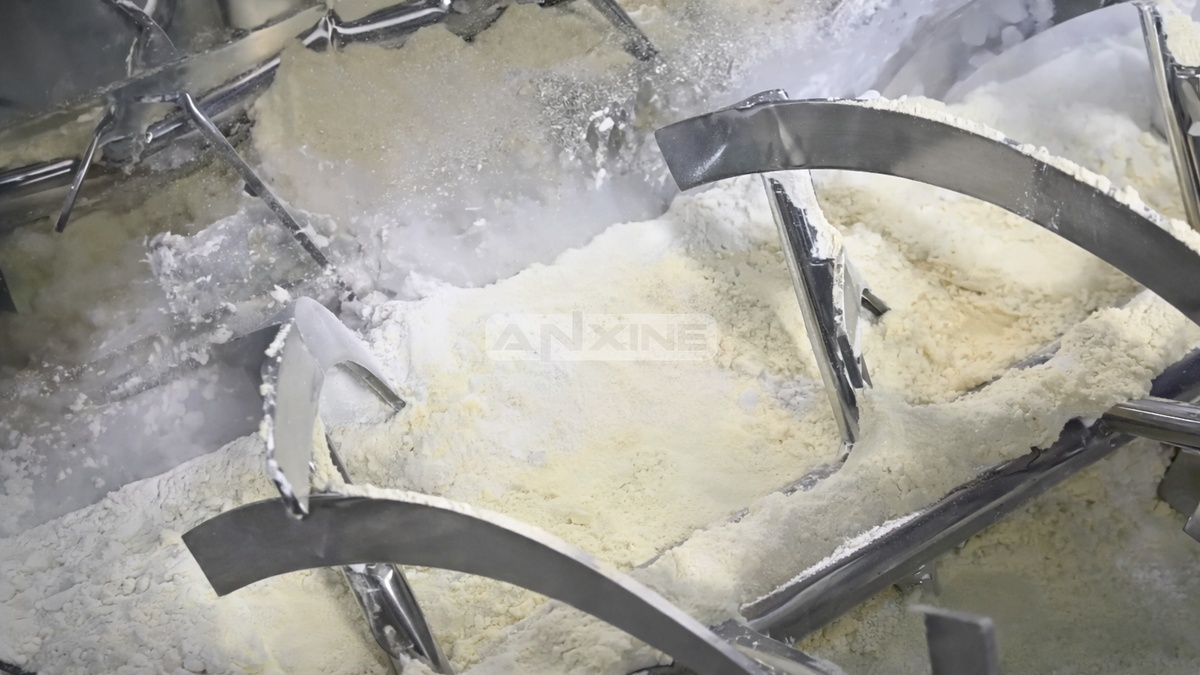
Step 8: When the blending cycle ends, press Discharge Start. This opens the pneumatic valve at the bottom center of the trough.
Step 9: The ribbons continue rotating slowly to help push the finished product toward the discharge port until the trough is empty.