NOTICE
- The following procedures are intended for Anxine equipment only. For other brands, refer to the original manufacturer’s instructions.
- Always disconnect the power supply before performing maintenance, cleaning, or mold changeover.
- Only trained and authorized persons are permitted to work on the equipment.
- Your equipment may vary from images or videos due to ongoing upgrades.
- If any part of this guide is unclear, contact Anxine for technical support before proceeding.
Section 1: Installation Instructions
Note: The machine is delivered as a complete unit. The machine can be placed in a suitable location and connected directly to the power supply for use. Alternatively, you can follow the steps below.
Step 1: Unpack the machine and move it to a suitable installation location.
Step 2: Install the foundation bolts and pour concrete.
Step 3: After the concrete has completely cured, evenly tighten the nuts of the foundation bolts.
Step 4: Connect the power supply cable to start the machine.
Section 2: Operation Procedures
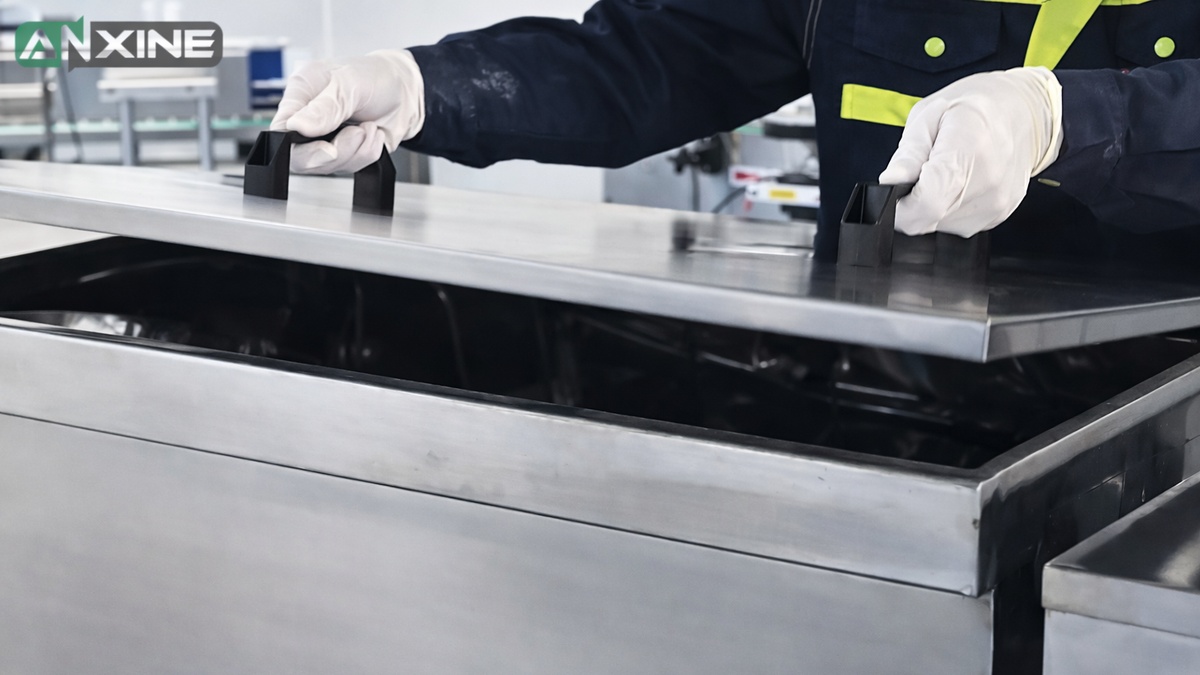
Step 1: Open the stainless steel lid of the mixing trough.
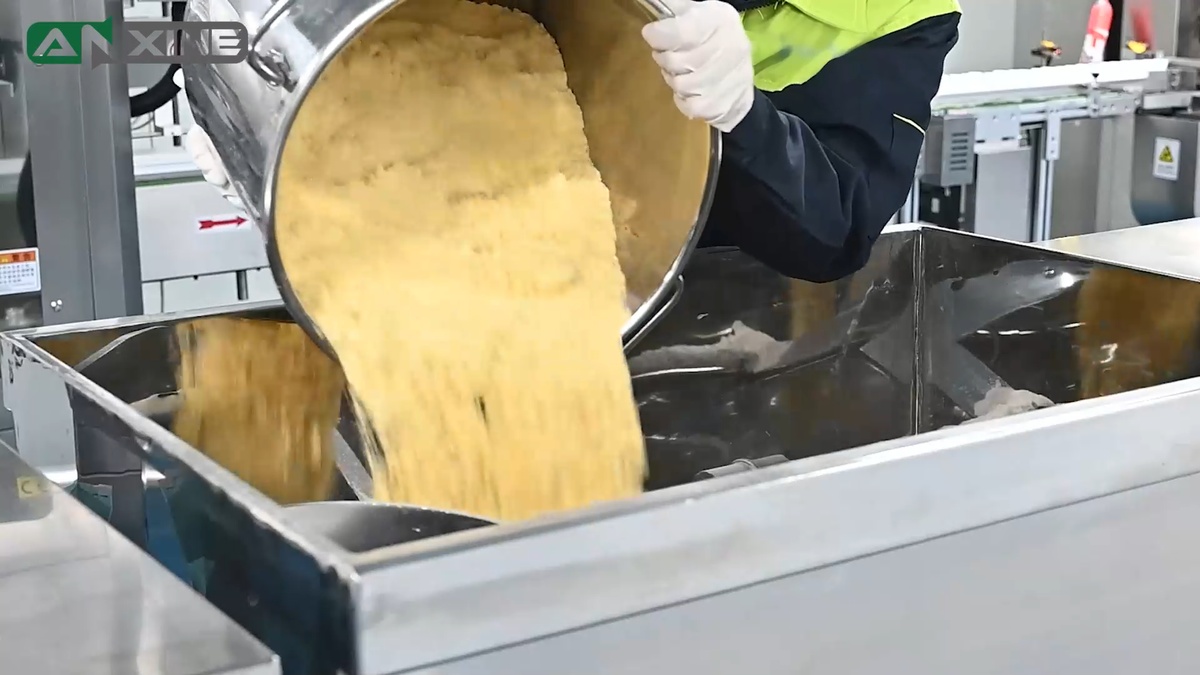
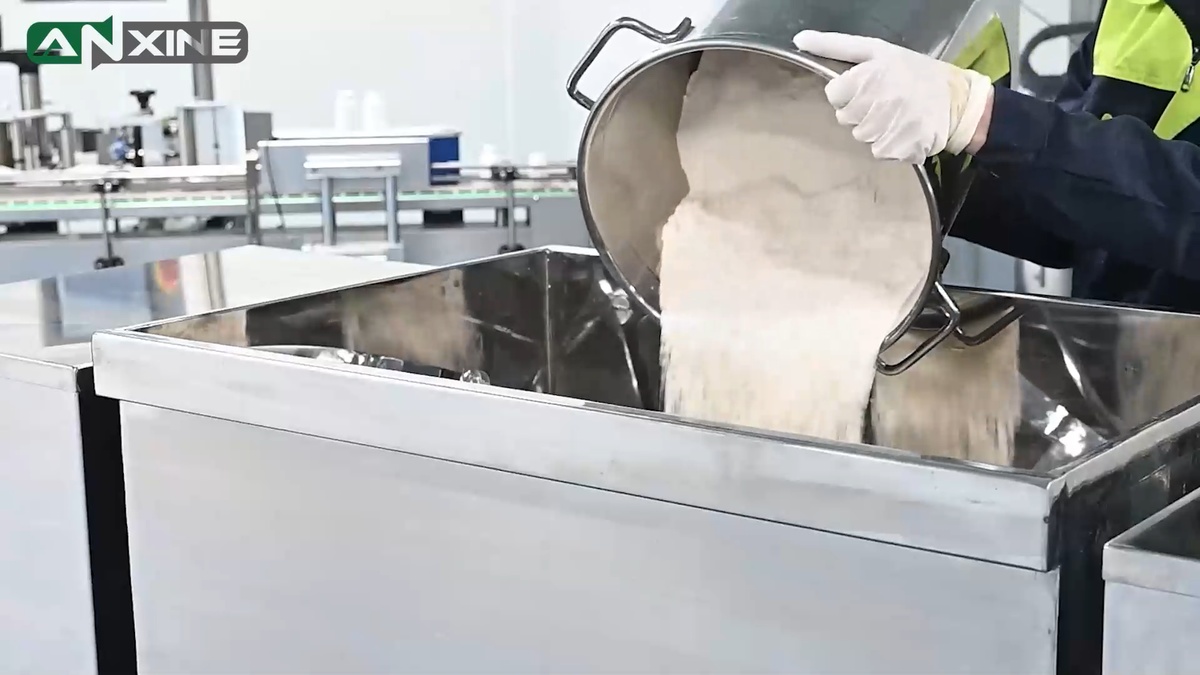
Step 2: Add the materials to be mixed. Then put the lid back on.
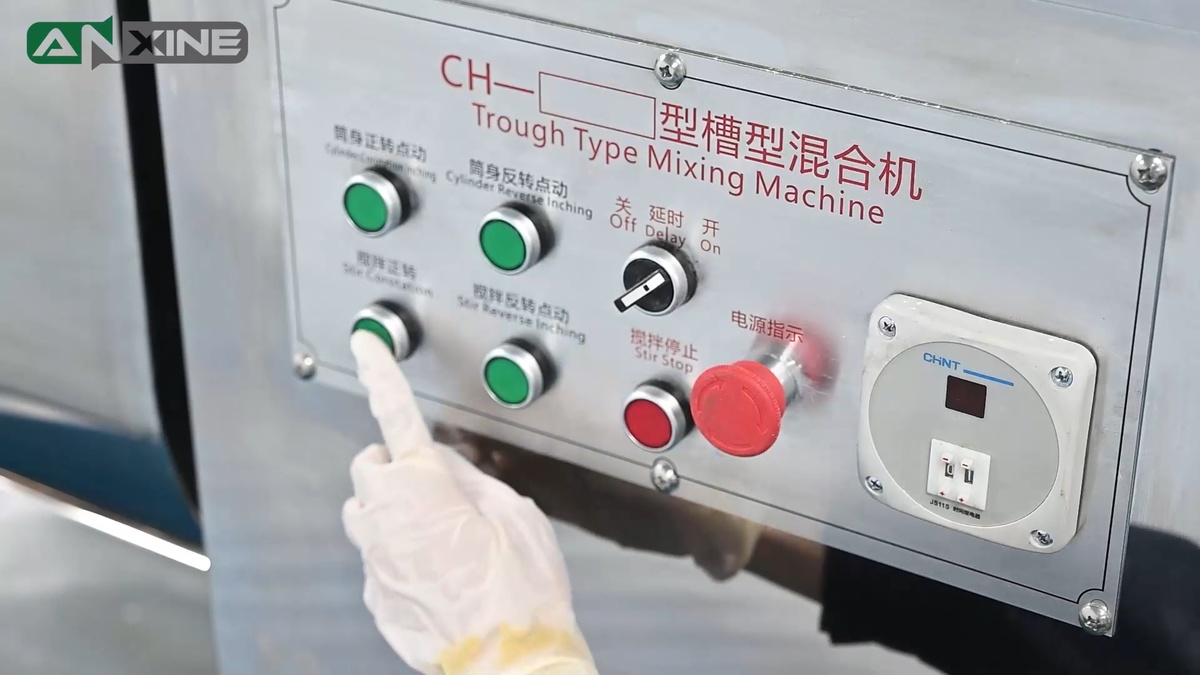
Step 3: Locate the control panel on the unit. This step may vary by model.
- On simpler models, press the START button to activate the motor.
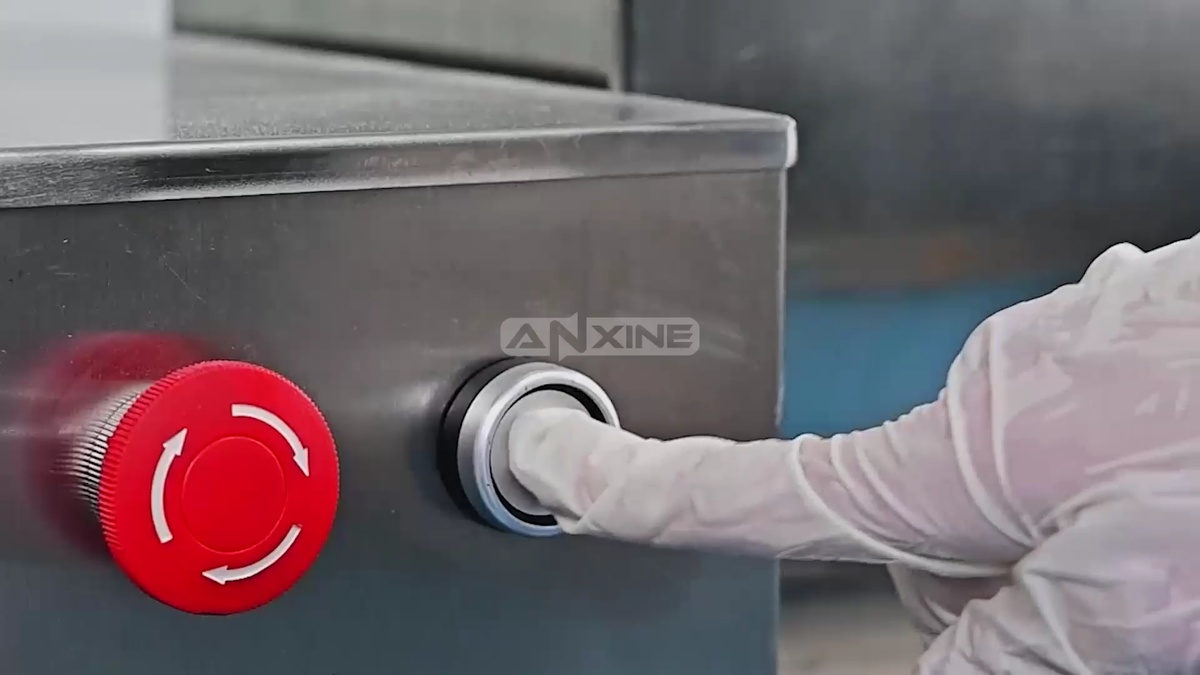
- On more advanced units, switch the power ON, set the mixing time, and then turn on the stirring function.
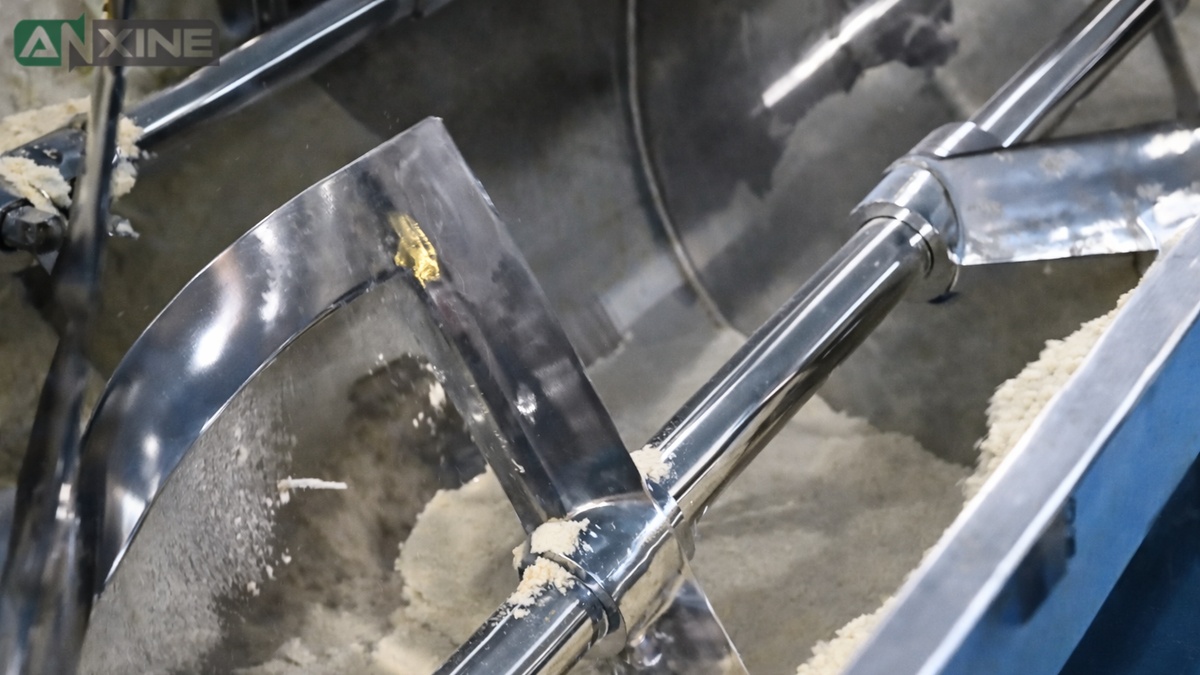
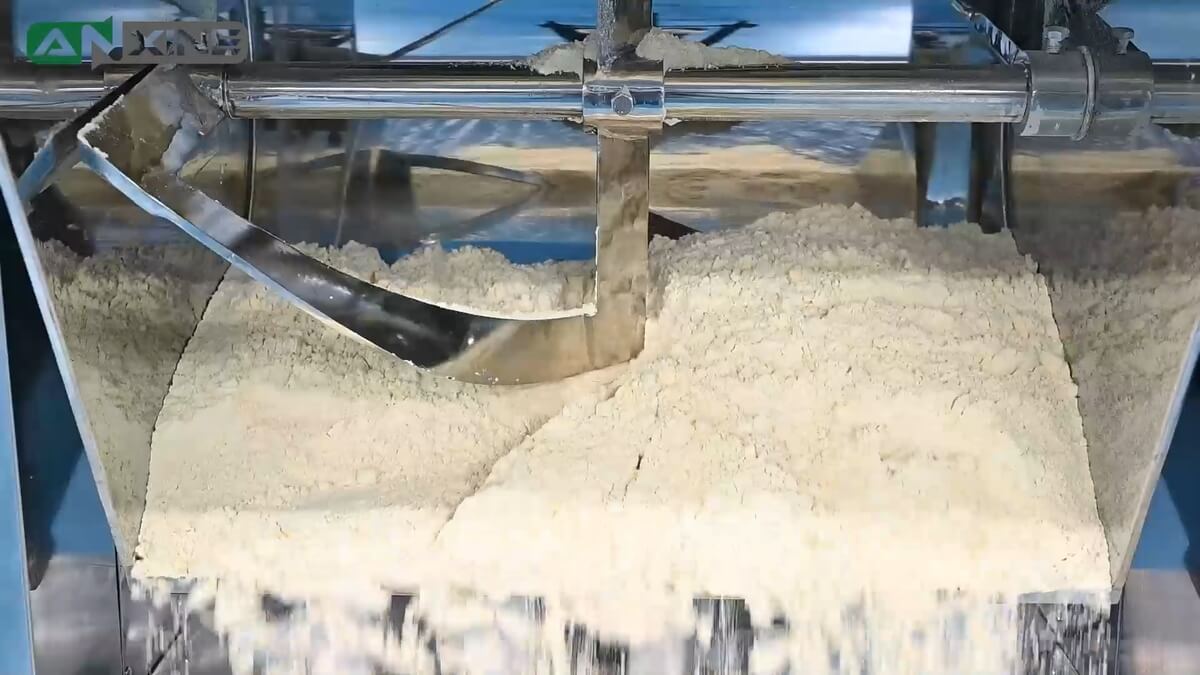
Step 4: Let the mixer run. The ribbon agitator rotates to blend all materials into a uniform mix. Once mixing is complete, the trough mixer automatically stops.
Step 5: The discharge step will also differ depending on the mixer model. When the mixing cycle ends,
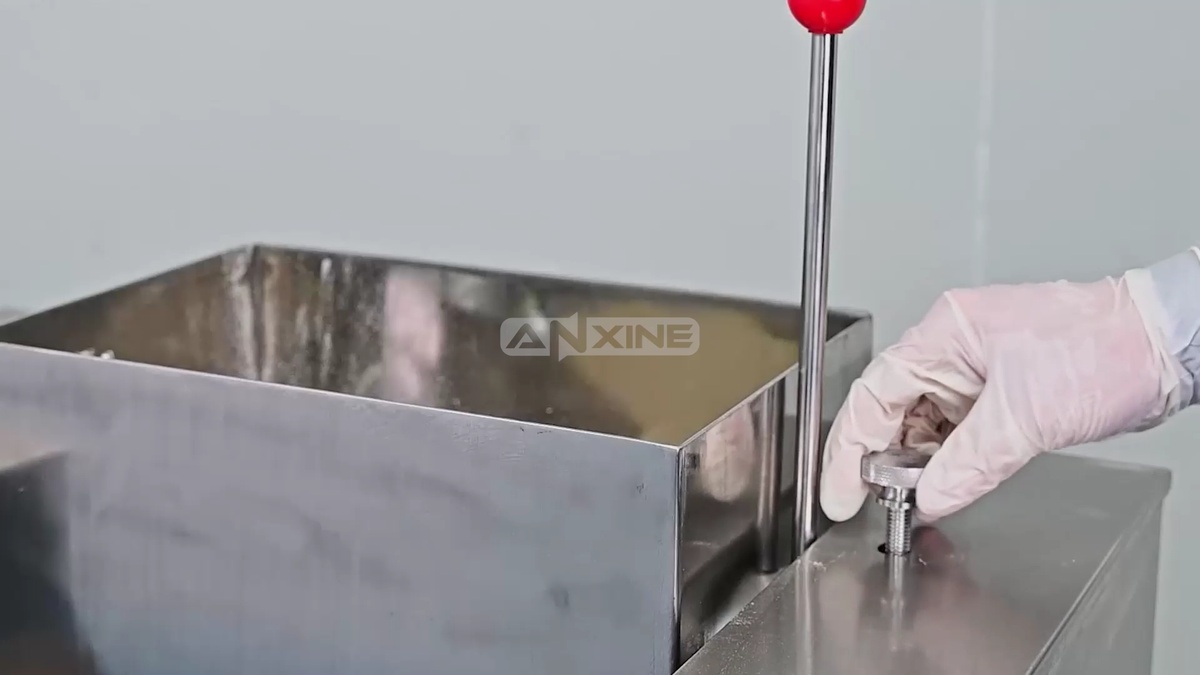
- For a simpler model, manually loosen the knob on the side of the machine to unlock the hand lever. Then pull the handle downward to tilt the mixing trough forward. The blended material is dumped into the collection container below.
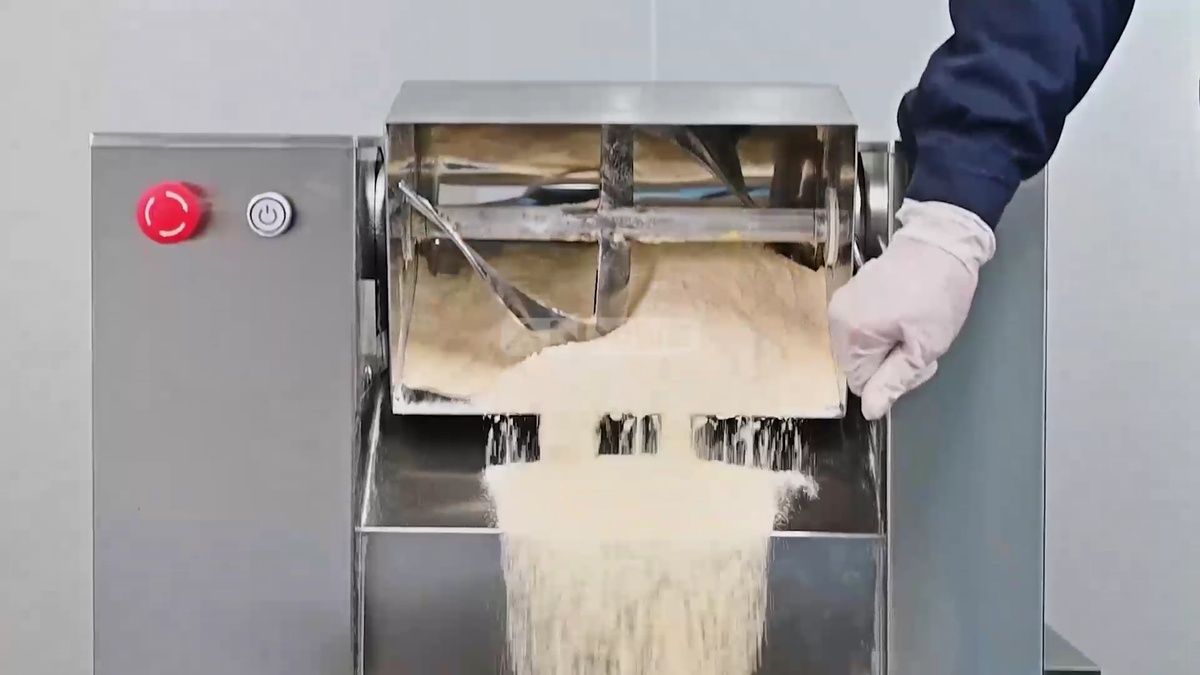
- For a more automated unit, simply press the Inching button to tilt the trough to discharge the finished product into the collection bin underneath.

Here is a video that can help you see each step more clearly.
Section 3: Maintenance and Repair
- If the gear reducer is in frequent use, the lubricating oil shall be replaced once every three months. During oil replacement, the gear reducer shall be thoroughly cleaned before refilling with new oil.
- During operation, lubricate the movable connection between the output shaft of the mixing gear reducer and the mixing paddle with an oil gun. Apply lubricant 1–2 times per shift, 2–3 drops each time.
- The machine components shall be inspected 1–2 times per month. The inspection items include the worm gear, worm shaft, bearings, oil seals, etc. Check whether all moving parts operate smoothly and whether fasteners are loosened. Any abnormal condition shall be handled promptly.
- During operation, if abnormal vibration or unusual noise is observed, stop the machine immediately and carry out an inspection.
- Electrical control components shall be kept clean and sensitive. Any malfunction shall be repaired promptly.
- During disassembly and installation of the mixing paddle, handle with care during removal, install steadily, and place gently to prevent deformation or damage.
- After use, all residual materials on the machine shall be thoroughly cleaned. If the machine is out of service for an extended period, it shall be completely wiped clean, the surfaces of machine parts shall be coated with anti-rust oil, and the machine shall be covered with a tarpaulin.


